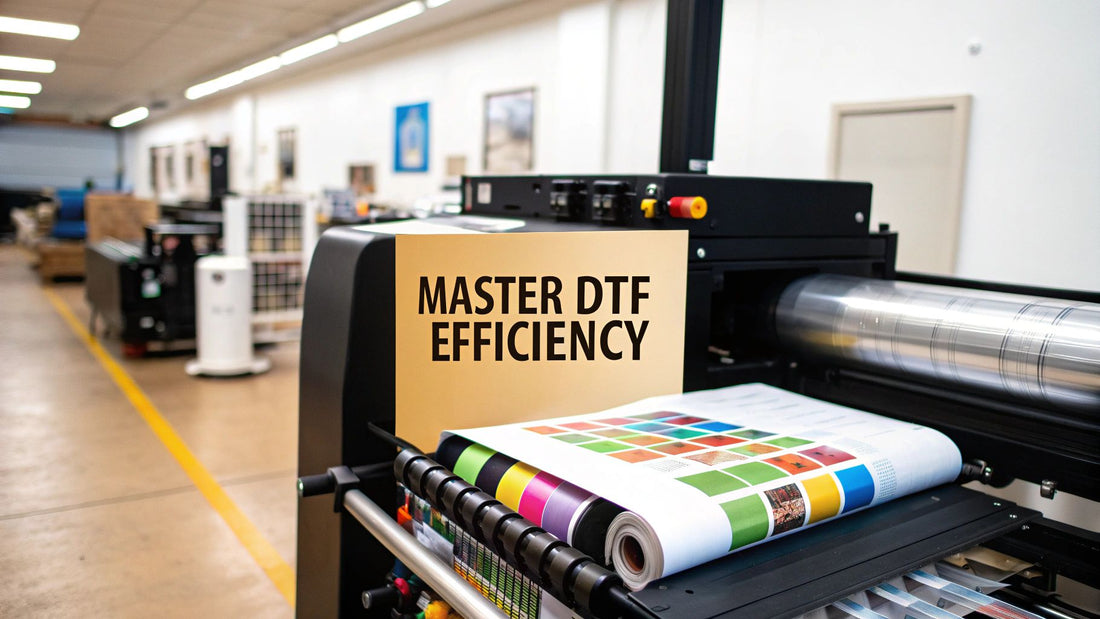
Mastering DTF Production Efficiency Improvement
In the world of Direct-to-Film printing, there's a fine line between being busy and being profitable. The difference? Production efficiency. It’s the secret sauce that lets you crank out high-quality prints while keeping a tight lid on wasted time, materials, and effort. Getting this right is how you stop just treading water and start seriously scaling your business.
Why DTF Production Efficiency Is Your Biggest Growth Lever
Let's be real—a mountain of orders means nothing if your profit margins are paper-thin. The true measure of a successful print shop is how smoothly you can turn a customer's design file into a finished, shipped product. Every minute your team spends fighting with a clogged print head, re-running a job because the colors are off, or waiting for transfers to cure is money straight out of your pocket.
These little hiccups might seem minor, but they add up fast. Think of efficiency less as a corporate buzzword and more as your game plan for winning. It’s what keeps customers happy, your team sane, and your shop capable of handling bigger and better jobs without everything grinding to a halt.
The True Cost of Inefficiency
A sloppy workflow does more than just waste a few minutes. It sends ripples through your entire operation. A delayed print run isn't just lost time; it’s a missed deadline, a potentially unhappy customer, and a blow to your reputation.
We’ve all been there. The hidden costs start piling up from common, everyday problems:
- Wasted Materials: Misprints from inconsistent ink flow or poor color management mean you're literally tossing expensive film, ink, and powder into the trash.
- Inflated Labor Costs: Every reprint is time your crew could have spent on a new, paying order. You're paying them to do the same job twice.
- Lost Opportunities: When your workflow is clogged, you can't say "yes" to those lucrative rush jobs or large-volume contracts that could be game-changers for your business.
Inefficiency is a silent tax on your profitability. Each reprint, wasted sheet of film, and moment of downtime chips away at your hard-earned revenue, making production efficiency improvement a crucial investment in your shop's future.
Before we dive into solutions, it's worth taking a hard look at where the financial drains really are.
Common DTF Bottlenecks and Their True Cost
Here’s a quick look at common efficiency killers in a DTF workflow and how they secretly drain your profits.
| Bottleneck | Operational Impact | Financial Impact |
|---|---|---|
| Inconsistent Print Quality | Requires constant monitoring and frequent reprints. | Increased spending on film, ink, and powder; wasted labor hours. |
| Frequent Equipment Downtime | Production stops completely, causing order backlogs. | Lost revenue from missed deadlines and inability to take on new work. |
| Slow Curing/Drying Times | Creates a major choke point in the workflow, slowing the entire line. | Reduced daily output capacity, limiting overall revenue potential. |
| Poor Color Management | Leads to customer dissatisfaction and rejected orders. | Cost of reprinting the entire job, plus potential damage to reputation. |
Recognizing these issues is the first step. The next is building a system that eliminates them.
Gaining a Competitive Edge
Fixing your workflow isn't just about saving a few bucks. It’s about building a stronger, more adaptable business. The wider manufacturing industry gets this—studies show that smart manufacturing practices can boost production output by 10% to 20% and slash costs by up to 20%. That’s a massive advantage.
By focusing on production efficiency, you position your shop to:
- Deliver orders faster and more consistently.
- Offer better pricing because your own costs are lower.
- Free up cash to reinvest in marketing, new equipment, or training your team.
This approach transforms your shop from a chaotic workplace into a well-oiled machine, ready for whatever growth comes your way. For more ideas on tightening up your finances, check out our guide on how to reduce production costs in your print shop.
Building a Bulletproof Pre-Press Workflow
So much of your valuable time gets eaten up before the printer even starts running. If you're looking to boost your shop's efficiency, the biggest gains often come from creating a rock-solid pre-press system—one that stops problems before they ever have a chance to mess up your schedule.
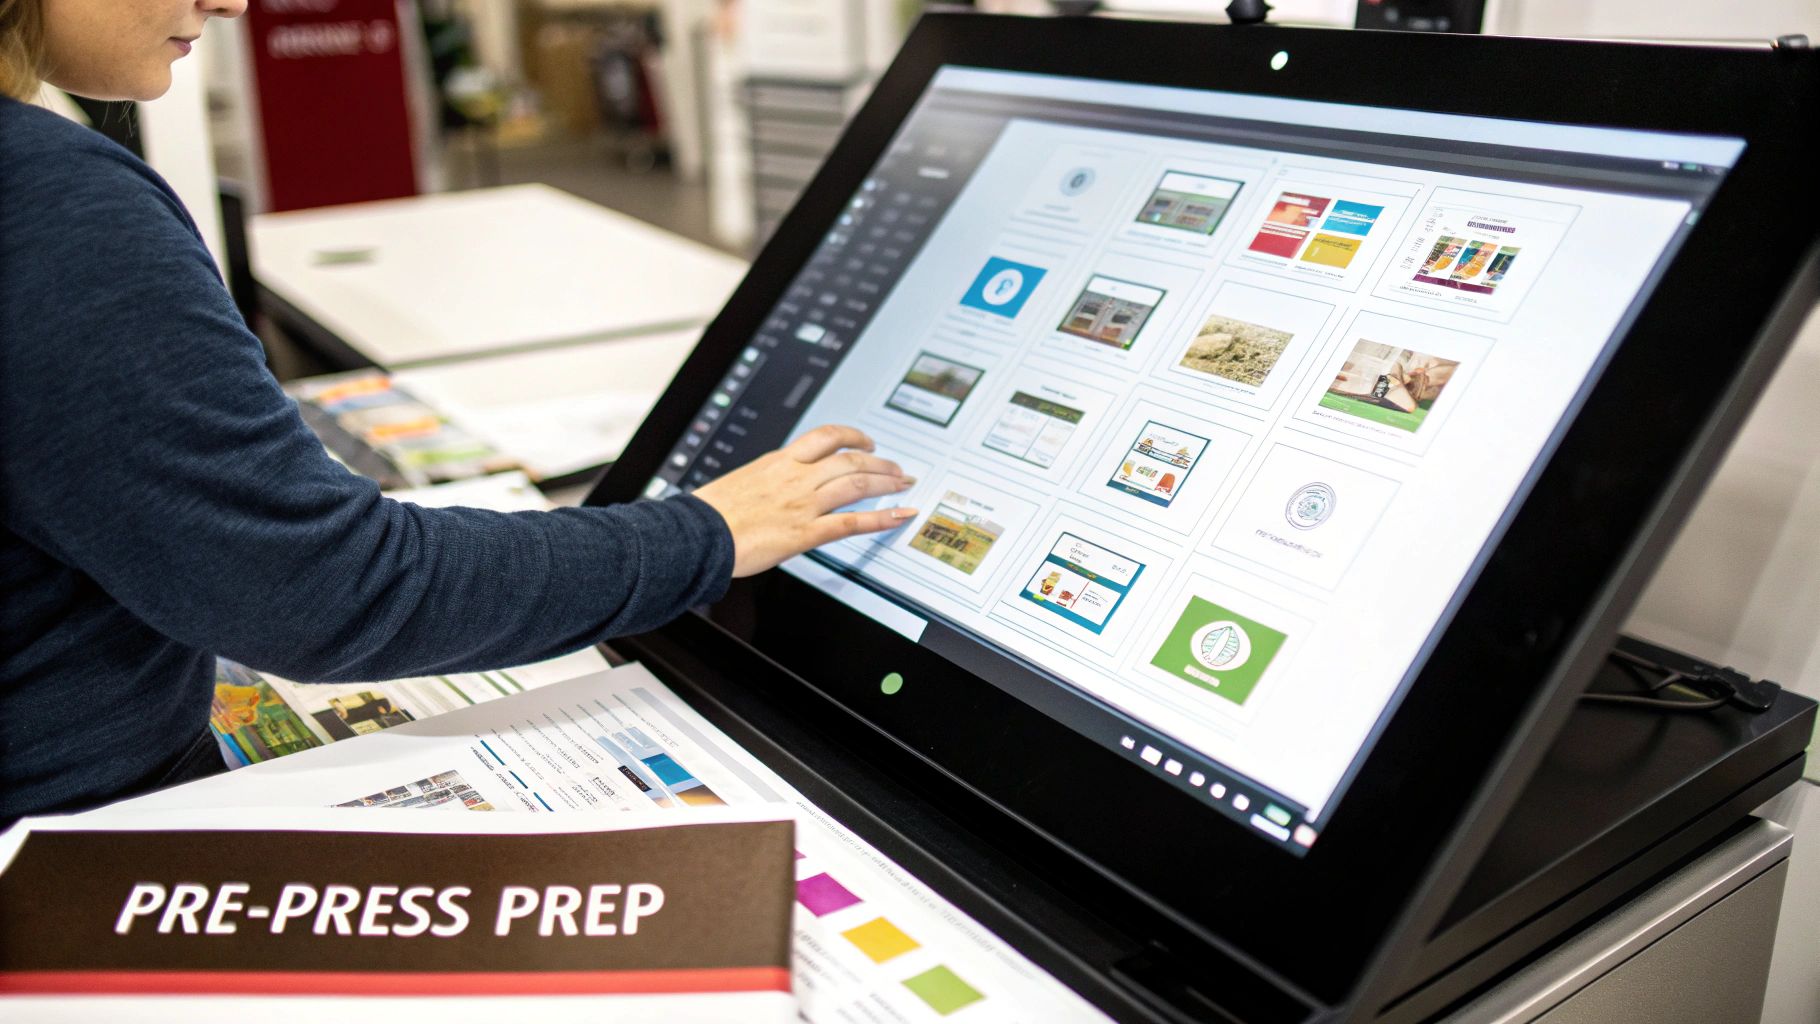
This is all about taking control. When every single file hitting your RIP software is already perfect, you kill a massive source of delay. Think about it: no more endless email chains with clients over fuzzy, low-res images or funky color profiles. Your team can just focus on what they do best: printing.
Standardize Your File Prep
Your first move? Stop treating every new job like a brand-new puzzle. Standardization is your secret weapon. You need to create crystal-clear, non-negotiable artwork guidelines and put them somewhere clients can't miss.
This one change shifts your entire workflow from reactive to proactive. For example, instead of your team manually resizing every customer file, your guidelines should insist on the right resolution (300 DPI is the industry standard) and dimensions from the get-go.
A well-defined pre-press workflow is the foundation of an efficient print shop. By standardizing file inputs and automating repetitive tasks, you can reclaim countless hours and drastically reduce material waste from unnecessary test prints.
Look at the jobs you do most often. Is it a ton of left-chest logos? Maybe full-back designs for local bands? Go ahead and build templates for these common sizes in your design software, whether that's Adobe Illustrator or Photoshop. These templates should be ready to roll with the artboard pre-sized and your specific color profiles locked in. You’ll shave minutes off every single order.
Automate the Grunt Work
Once you’ve got standards in place, you can start automating the repetitive stuff. Most design programs let you create scripts or "actions" that can plow through a checklist of tasks with just one click. It's a game-changer.
Here are a few automations that will immediately give you back some time:
- Color Conversion: Set up an action that automatically converts files from RGB to the exact CMYK profile your printer needs. No more guesswork.
- Transparency Checks: Build a simple script that flags any file that doesn't have a transparent background. This is a classic mistake that will absolutely ruin a DTF print.
- Gang Sheet Layouts: Let your RIP software do the heavy lifting. Its nesting or ganging feature can automatically and efficiently arrange multiple designs onto a single sheet of film, squeezing every last inch out of your media.
Fine-Tune Your Client Communication
The final piece of the puzzle is actually training your clients. It's not as hard as it sounds. A simple, one-page PDF guide or a quick tutorial video showing them how to submit print-ready art can work wonders.
When a client inevitably sends a file that doesn’t meet your specs, don't just quietly fix it. Use it as a teaching moment. Politely explain what the issue is and point them toward your guide. This approach not only prevents the same problem from happening again but also positions your shop as a knowledgeable, professional partner.
Getting this right is the key to producing flawless custom DTF transfers that are ready to press without all the frustrating and costly delays.
Getting Your Shop Environment Just Right
Your print shop's physical environment is a silent partner in your DTF operation, and honestly, it can make or break your entire day. We've all been there—frustrating film buckling, ink that just won't flow right, or prints that look faded straight out of the oven. More often than not, the culprit is something as simple as the air in the room. Nailing your environment is all about preventing these headaches before they even start.
A lot of shop owners I talk to think that creating the perfect printing environment means a huge, expensive overhaul. That's just not the case. Small, affordable tweaks can make a massive difference, giving you the kind of consistent, high-quality results you're aiming for. The goal is to create a stable, predictable space where your gear can do its job day in and day out.
Dialing in Temperature and Humidity
If there are two environmental factors that can wreak havoc on a DTF setup, it’s temperature and humidity. When these two are all over the place, your print quality will be too. DTF inks and films are surprisingly sensitive, and an uncontrolled environment is basically an open invitation for chaos.
You're looking for a sweet spot. For most DTF printers, that means keeping the room temperature between 68–75°F (20–24°C). Just as crucial is the relative humidity, which needs to stay between 40% and 60%. Stray outside that zone, and you'll start running into problems.
- When it's too dry (low humidity): You get static. Lots of it. This makes the adhesive powder cling everywhere on the film, not just on the ink, leaving you with messy, speckled prints. Dry air also tends to dry out your print heads faster, which is a one-way ticket to Clog City.
- When it's too damp (high humidity): The ink struggles to dry on the film. This can lead to colors bleeding together or smudging when you get to the powdering and curing stage.
Do yourself a favor and buy a simple digital hygrometer. They're cheap, and it’s one of the best tools you can have in your shop. Stick it on the wall near your printer and make checking it a part of your morning routine. This tiny habit gives you the real-time data you need to keep things stable.
The Daily Habits That Save You from Big Headaches
Beyond the climate, a simple cleaning routine is your best defense against unexpected downtime. Nothing stops production faster than a clogged print head, but the fix is often something that takes less than five minutes a day.
This infographic walks through the simple, step-by-step process for building a stable and efficient printing environment.
By focusing on these three pillars—controlling the temperature, managing humidity, and keeping up with daily cleaning—you lay the groundwork for reliable, consistent production.
Make it a habit to wipe down the capping station, the wiper blade, and the area around the print head. Use a proper cleaning swab and the right solution. This quick task gets rid of any stray ink or dust that can build up and cause a clog. Consistency is the key here. A few minutes every single day will save you hours of troubleshooting—and lost money—down the road.
Nailing the Curing Process
The last piece of the environmental puzzle is your curing process. An out-of-sync shaker and oven can completely ruin a perfect print, forcing you to start over. That's a waste of time and materials nobody can afford. The goal should be a perfect cure on the first pass, every single time.
Don't just trust the temperature display on your oven. Grab a non-contact infrared thermometer—a heat gun—and check the actual surface temperature of your heating element. It’s surprisingly common for the digital readout to be off by a few degrees. Experiment to find the exact time and temperature that gives your adhesive powder that perfect, fully melted, slightly glossy finish without scorching the ink.
Once you find that magic number, write it down! Post it on the machine. This eliminates guesswork and ensures everyone on your team can produce the exact same high-quality, retail-ready transfers. Getting this right is a huge leap forward in making your entire shop run more efficiently.
Swapping Reactive Fixes for Proactive Maintenance
In any print shop, unplanned downtime is the ultimate profit killer. When a printer suddenly stops working, everything comes to a screeching halt. Your workflow is dead in the water, orders start backing up, and the stress immediately spikes. The key is to shift your mindset from constantly putting out fires to preventing them from ever starting.
This means getting out of the reactive maintenance trap—where you wait for something to break before you fix it—and adopting a proactive approach. It’s a lot like maintaining your car. You don’t wait for the engine to seize up; you get regular oil changes to prevent a massive, expensive disaster down the road. That same logic is pure gold for your DTF equipment.
Build a Simple Maintenance Rhythm
Getting into a proactive groove doesn't mean you need some complicated, expensive system. It’s really just about building simple, consistent habits. The best place to start is by creating some basic daily, weekly, and monthly checklists that cover your most critical components.
A practical schedule might look something like this:
- Daily (5 minutes): At the beginning or end of your day, do a quick visual check. Wipe down the capping station and wiper blade, take a look at your ink levels, and run a quick nozzle check. This is your first line of defense against clogs.
- Weekly (15 minutes): Set aside a bit more time for a deeper clean. This is when you can manually clean around the print head with a proper swab, check for any sneaky powder buildup in the shaker, and give your white ink cartridges a good shake to keep the ink from settling.
- Monthly (30 minutes): Now for the more involved tasks. Think about flushing the waste ink tank, carefully inspecting your ink lines for kinks or blockages, and lubricating any moving parts according to your manufacturer's guide.
Following a simple structure like this turns maintenance from a chore you forget about into a strategy that actively protects your bottom line.
One of the most underrated tools for efficiency is a simple maintenance log. Seriously, just a cheap notebook next to the printer where you jot down the date, what you did, and any little quirks you noticed can help you spot patterns long before they turn into full-blown emergencies.
There's a reason predictive maintenance is a huge deal in the larger manufacturing world. Recent data shows that smart maintenance can slash production downtime by 20% and cut the costs that come with it by 25%. You might not be using complex AI, but the core idea is the same: use what you know to prevent failure. You can dive deeper into these trends by exploring these valuable industry insights.
By catching the small stuff early—like a capping station that’s just a hair off or a recurring error code—you get to schedule a repair on your own terms. You’re in control, not the machine. This consistent attention to detail is what separates the shops that always seem to be scrambling from the ones that run like clockwork.
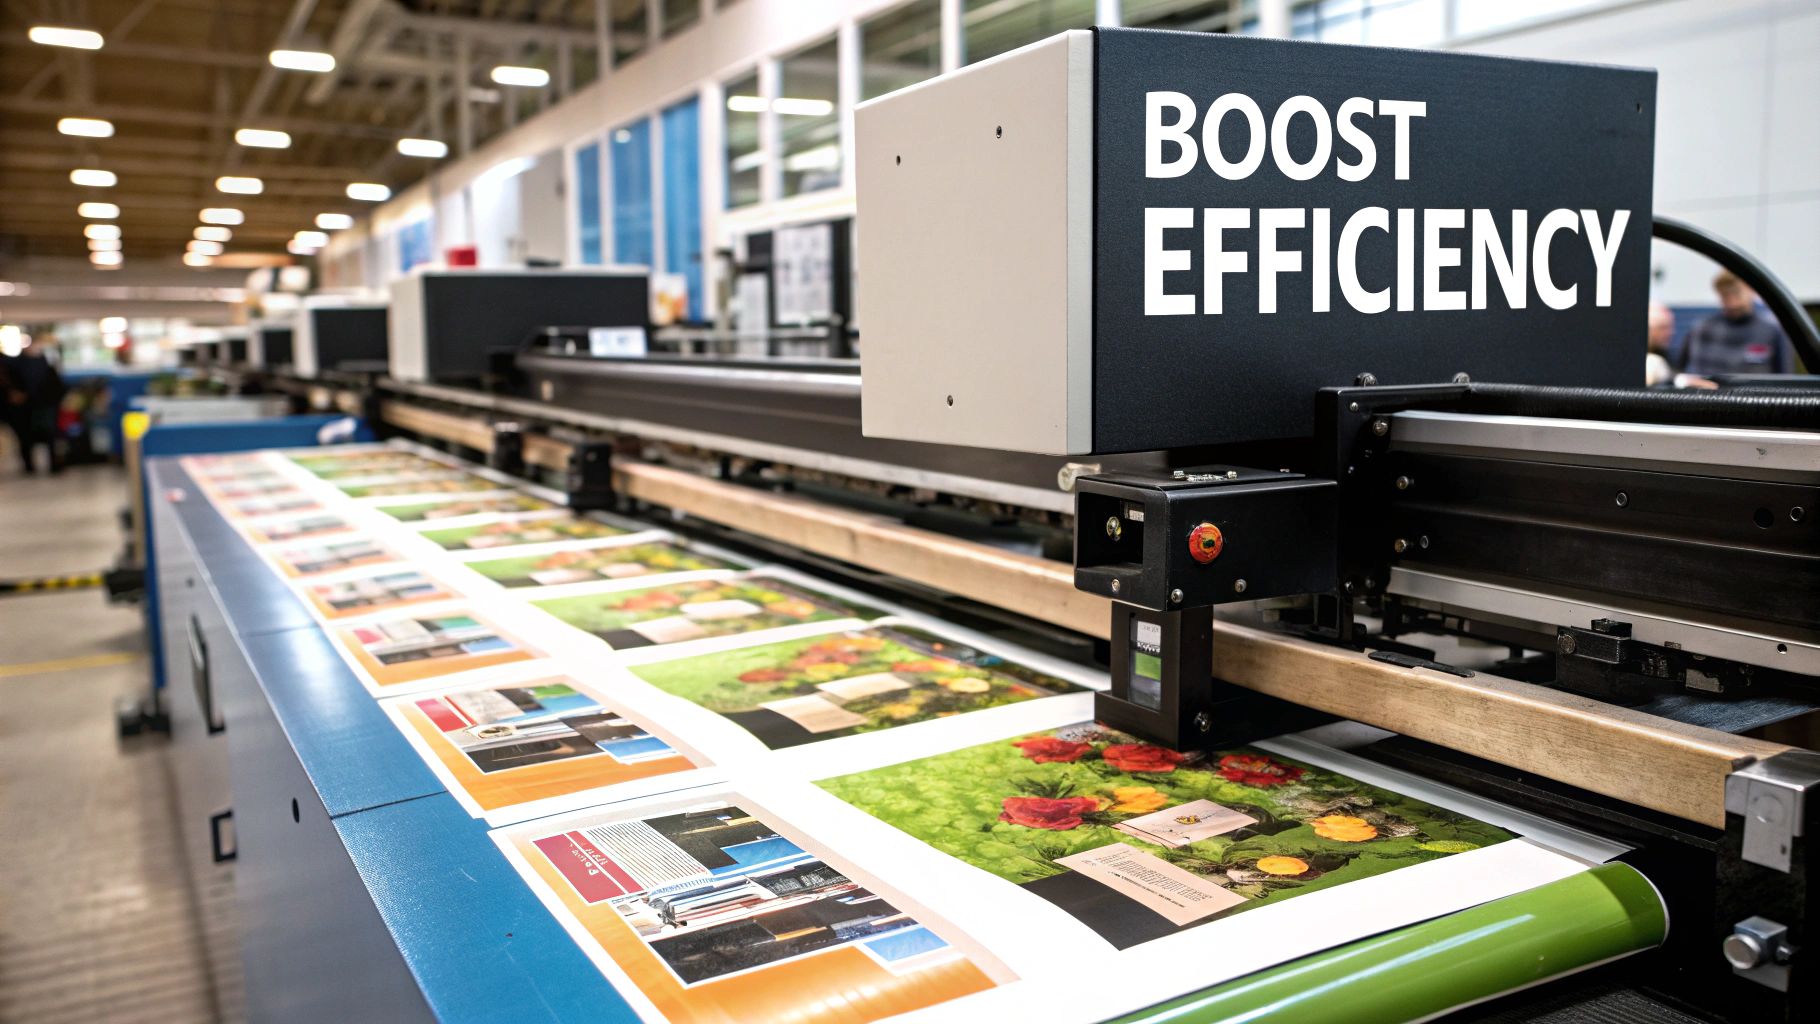
Using Smart Automation to Boost Productivity
When you hear the word "automation," it's easy to picture complex robots taking over the shop floor. But in the real world of DTF printing, that’s not what it’s about. Smart automation is about empowering your crew, not replacing them. It’s a strategy for handing off the tedious, time-sucking tasks to technology so your skilled people can focus on what really matters: quality control, customer interaction, and growing the business.
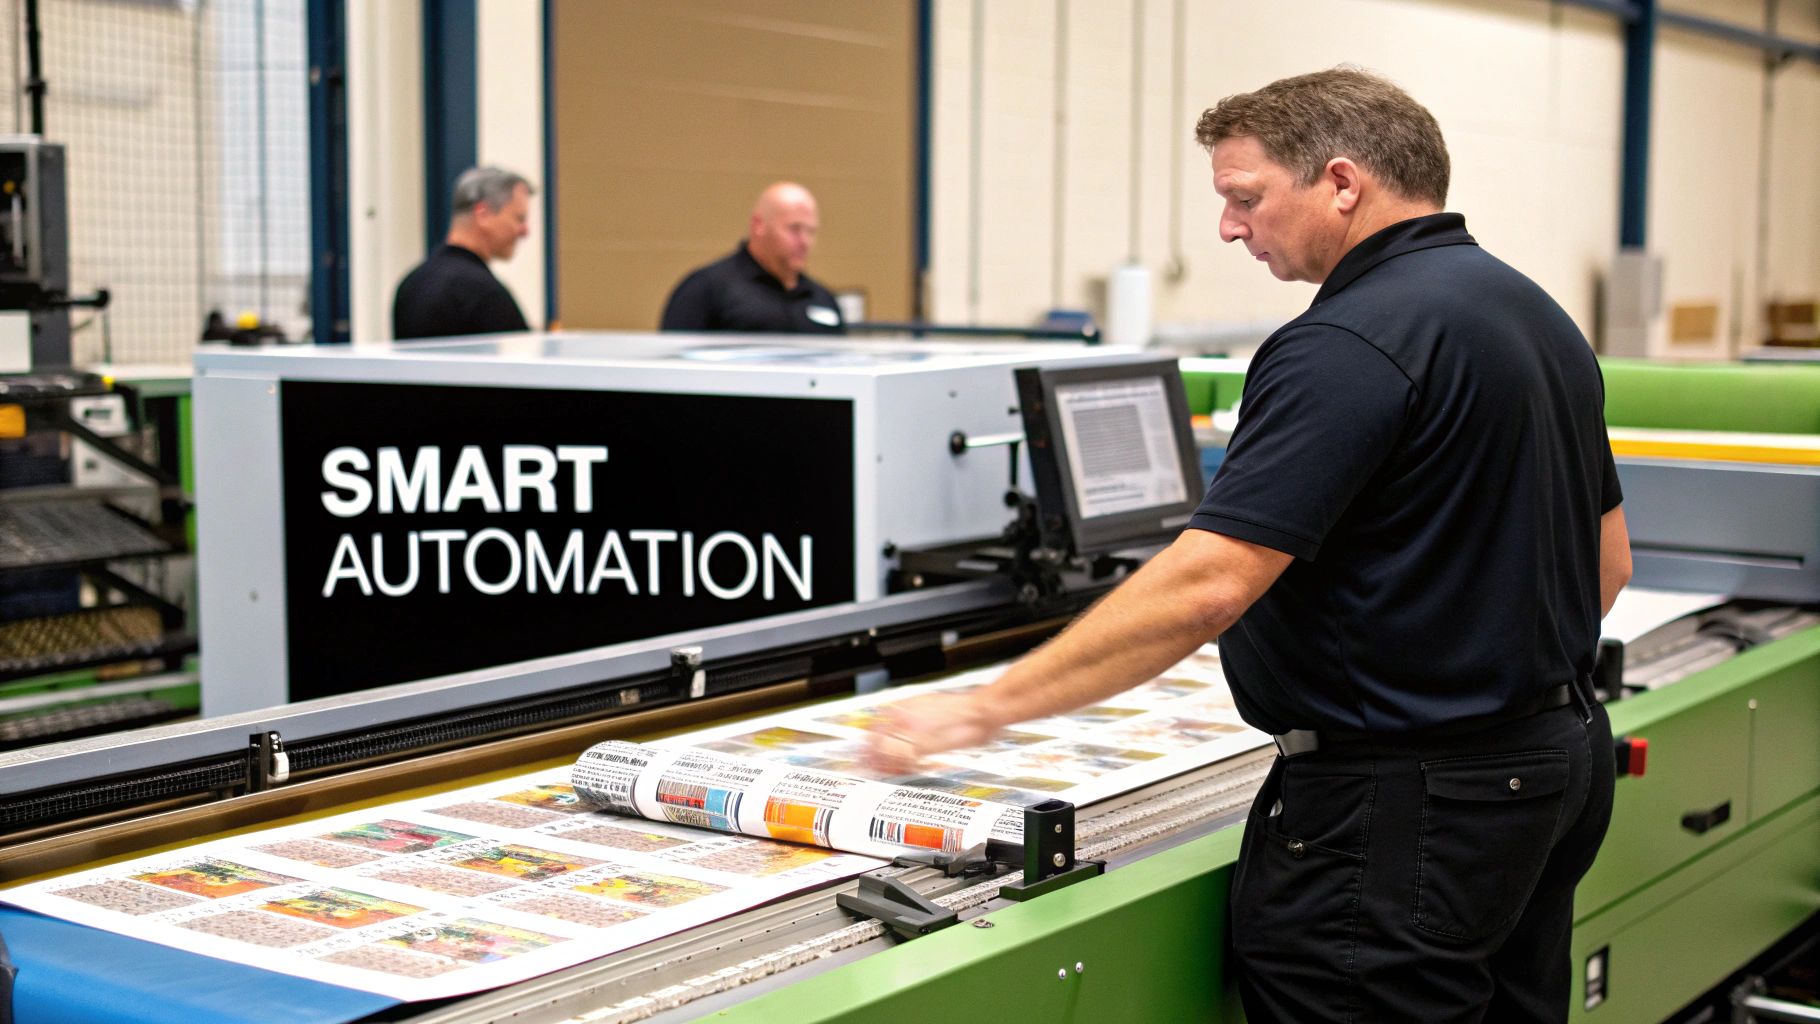
Think of it as a powerful tool for production efficiency improvement. By letting software and well-integrated hardware manage the monotony, you cut down on human error, lock in consistency, and see real cost savings. The end game isn't a shop run by robots; it's a smarter, more profitable one.
Let Your RIP Software Do the Heavy Lifting
One of the best places to start automating is probably sitting right on your computer: your RIP (Raster Image Processor) software. So many print shops only scratch the surface of what their RIP can do. Its true strength is in automating job prep, especially when it comes to getting the most out of every inch of your film.
Trying to manually place different designs onto a roll is a recipe for frustration and, almost always, wasted material. This is where a feature like automated job nesting becomes your best friend. A good RIP can take a whole batch of different designs and figure out the most compact way to arrange them, slashing the amount of unused film. That’s a direct cut to your material costs on every run.
Automation in printing isn't just about speed; it's about precision and resource management. Leveraging your RIP's automatic nesting feature is one of the fastest ways to cut material waste and boost your profit margins with zero extra labor.
This one simple change can add up to huge savings over the course of a year. To really nail this, it helps to understand the principles of creating tight, efficient layouts. Learning how to build effective UV DTF gang sheets is a great place to start, as the logic for maximizing space is nearly identical.
Creating a Hands-Off Workflow from Print to Cure
The next step up in smart automation is to get your physical equipment talking to each other. If you have a separate printer, a manual shaker, and a curing oven, you’ve created three distinct steps in your process. Each one is a potential bottleneck where an operator has to physically move film, apply powder, and then load the dryer. This introduces opportunities for error and slows everything down.
This is exactly where integrated systems, like those from Cobra DTF, make a world of difference. They’re built as a single, cohesive unit. The printer feeds the film directly into an automated shaker and dryer, creating a seamless workflow from the moment you hit "print" until a fully cured transfer pops out, ready to press.
This kind of integrated setup delivers some serious wins:
- Reduced Labor: One person can easily oversee a machine that powders and cures itself, freeing them up to prep the next job.
- Enhanced Consistency: Automated powdering gives you a perfectly even coat every single time, getting rid of the "too much" or "too little" problem you get with manual shaking.
- Increased Throughput: With no delays between printing, powdering, and curing, your daily output can increase dramatically.
This isn't just a trend for print shops; the entire manufacturing world is heading this way. Projections show that by 2025, advanced automation will be a major driver of operational efficiency, letting teams offload repetitive work to focus on more valuable tasks. You can read more about the future of manufacturing automation to see the bigger picture. By bringing smart automation into your shop, you’re not just keeping up—you’re building a stronger, more profitable business for the long haul.
Common Questions About DTF Production Efficiency
Even when you're doing everything right, you'll still run into nagging questions as you try to get more efficient. Let's tackle some of the most common hurdles I see shop owners face and give you some straight answers based on what we've already covered.
What's the Biggest Time-Waster in a DTF Workflow?
Every shop has its own quirks, but the most common black hole for time is almost always the pre-press stage. It’s not just one single thing, either. It’s a combination of wrestling with low-res customer artwork, the endless email chains for revisions, and manually tweaking colors for every single file. It's truly death by a thousand paper cuts.
Running a very close second is unplanned printer downtime. Nothing kills your momentum—and your mood—like a clogged printhead right in the middle of a big job. The good news is that both of these are almost entirely preventable. You can get hours back every week just by setting firm artwork submission rules for clients and, just as importantly, sticking to a non-negotiable daily maintenance routine.
How Can I Cut Down on Ink and Film Waste?
Slashing your material waste is one of the fastest ways to boost your bottom line. The single most powerful tool for this is a quality RIP (Raster Image Processor) software. A good RIP will automatically "nest" multiple designs onto your film in the tightest layout possible, drastically cutting down on that expensive, unprinted real estate.
Beyond that, reprints are a huge source of waste. When you use a well-maintained system with top-tier consumables, like the inks and films from the Cobra DTF ecosystem, you see a massive drop in misprints. When your transfers come out right the first time, you stop throwing your profits directly into the trash can.
Inconsistent print quality is a silent killer of efficiency. It's not just about the wasted materials; it forces you to do jobs over, which delays orders and chips away at your customers' trust. A stable, controlled process is the foundation of any profitable shop.
My Prints Are All Over the Place. How Does This Hurt Efficiency?
Inconsistency is absolute poison for an efficient shop because it creates rework, and rework is the sworn enemy of productivity. The root cause is almost always an unstable printing environment. Your print room needs to be a controlled space, with a steady temperature between 68-75°F (20-24°C) and a consistent humidity level of 40-60%.
When those numbers swing around, it affects everything from how the ink jets from the printhead to how the film absorbs it. On top of that, regular calibration of your printer and curing oven is crucial. A consistent process is what lets you churn out great, repeatable results without having to babysit the machine and make constant tweaks.
Will Upgrading My Equipment Actually Make a Big Difference?
It absolutely can, but only if it's a strategic upgrade. Just going out and buying a printer with a faster top speed won't solve your efficiency problems if the rest of your workflow can't keep up. You'll just move the bottleneck from the printer to your powdering and curing station.
This is exactly why integrated systems, where the printer, shaker, and dryer are engineered to work in harmony, are so effective. A balanced setup, like the systems you'll find from Cobra DTF, ensures you have a smooth production line with no weak links. The real leap in efficiency comes from upgrading to a cohesive, reliable system—not just chasing raw speed.
Ready to build a DTF operation that's more efficient, reliable, and profitable? Take a look at the full lineup of American-made printers, transfers, and supplies from Cobra DTF and discover how an integrated system can truly change your workflow. Visit the Cobra DTF website to get started.