Cobra DTF
UV DTF Transfer Gang Sheet Builder
UV DTF Transfer Gang Sheet Builder
Build Your Own UV DTF Gang Sheets – Fast, Flexible, and Fully Customizable - Custom UV Stickers for Any Surface
Take control of your print game with our all-in-one UV DTF Gang Sheet Builder – the easiest way to design, arrange, and order custom gang sheets online. Whether you’re a seasoned pro or just starting out, our builder streamlines the process from start to finish.
Drag. Drop. Done.
Upload your print-ready artwork, scale your designs, duplicate elements, and drag them into position with ease. No design software? No problem. Our user-friendly interface makes it simple for anyone to create high-quality gang sheets—no technical skills required.
Real-Time Preview, Real-Time Confidence
See exactly how your gang sheet will print before checking out. Our live preview feature ensures every image is perfectly placed and print-ready—no surprises, no mistakes.
Auto Layout in Seconds
Short on time? Use our Auto Build feature to instantly arrange your designs. Just upload, select quantities and sizes, and we’ll take care of the layout—automatically optimizing for space and efficiency.
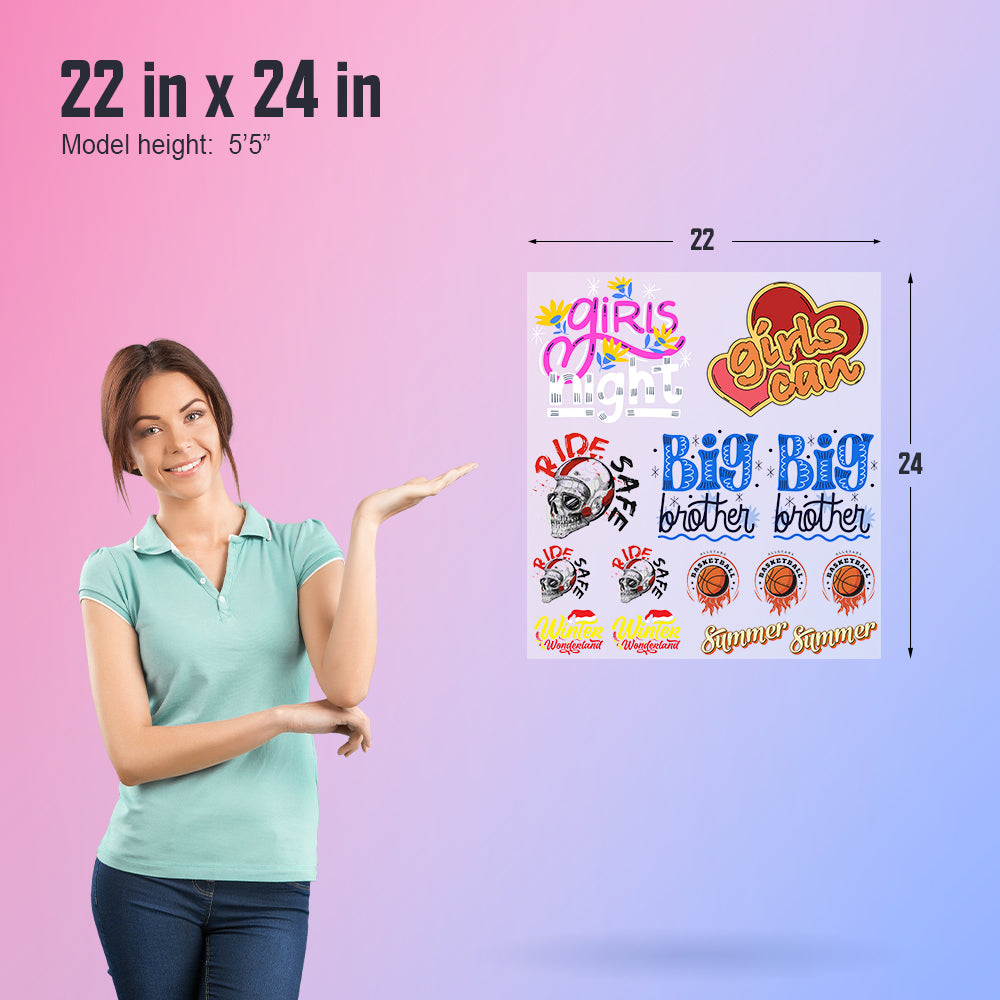
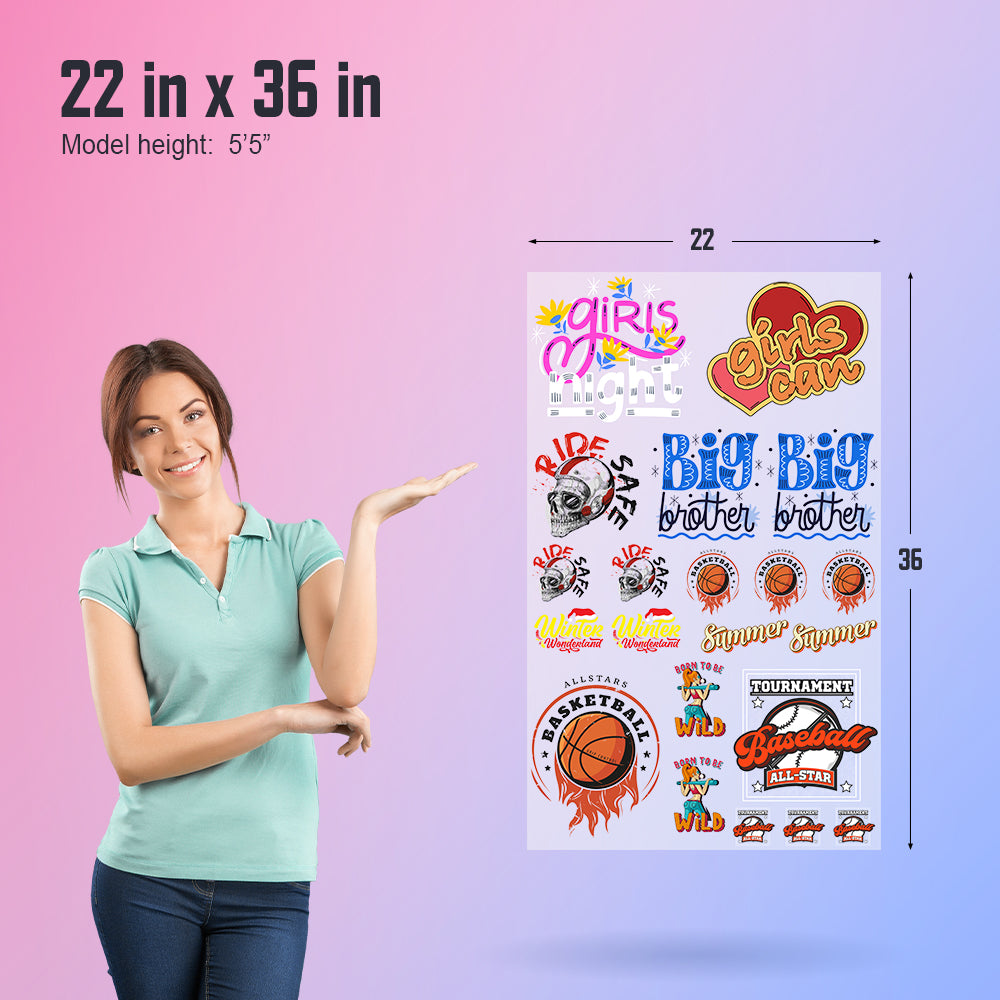
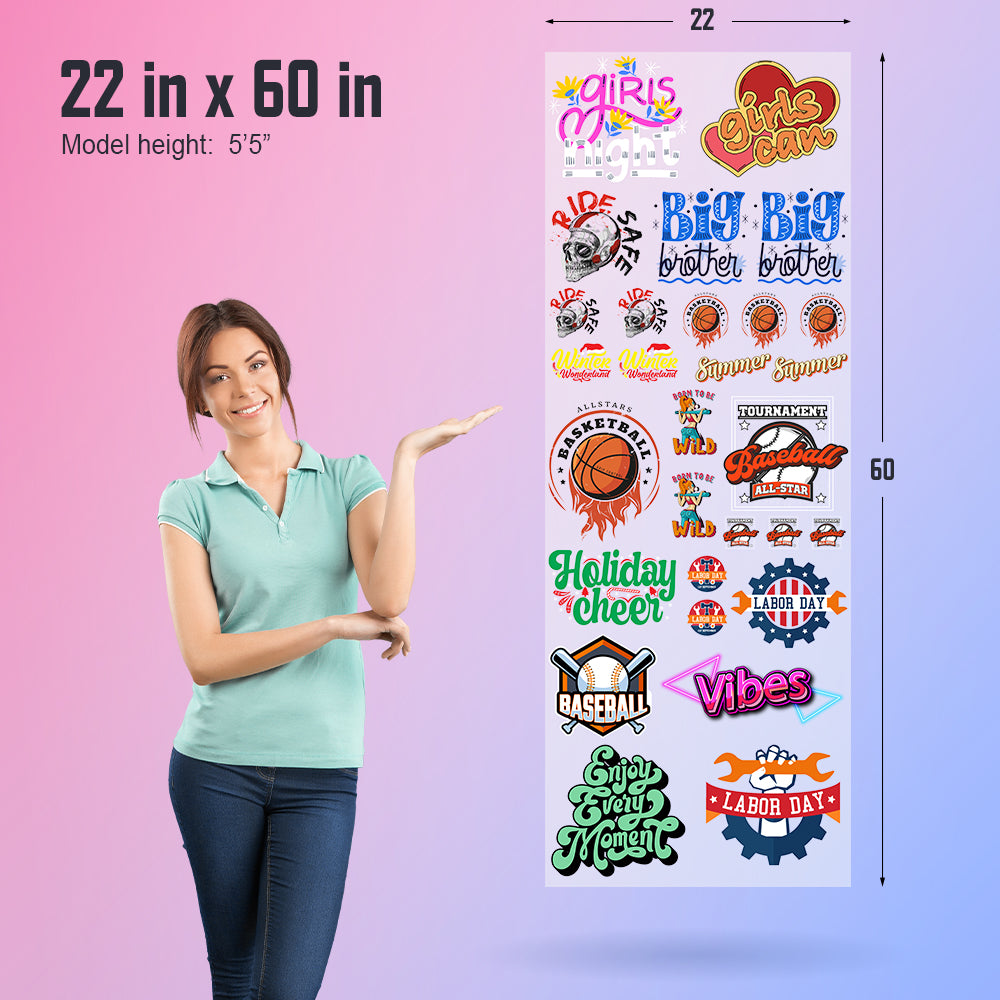
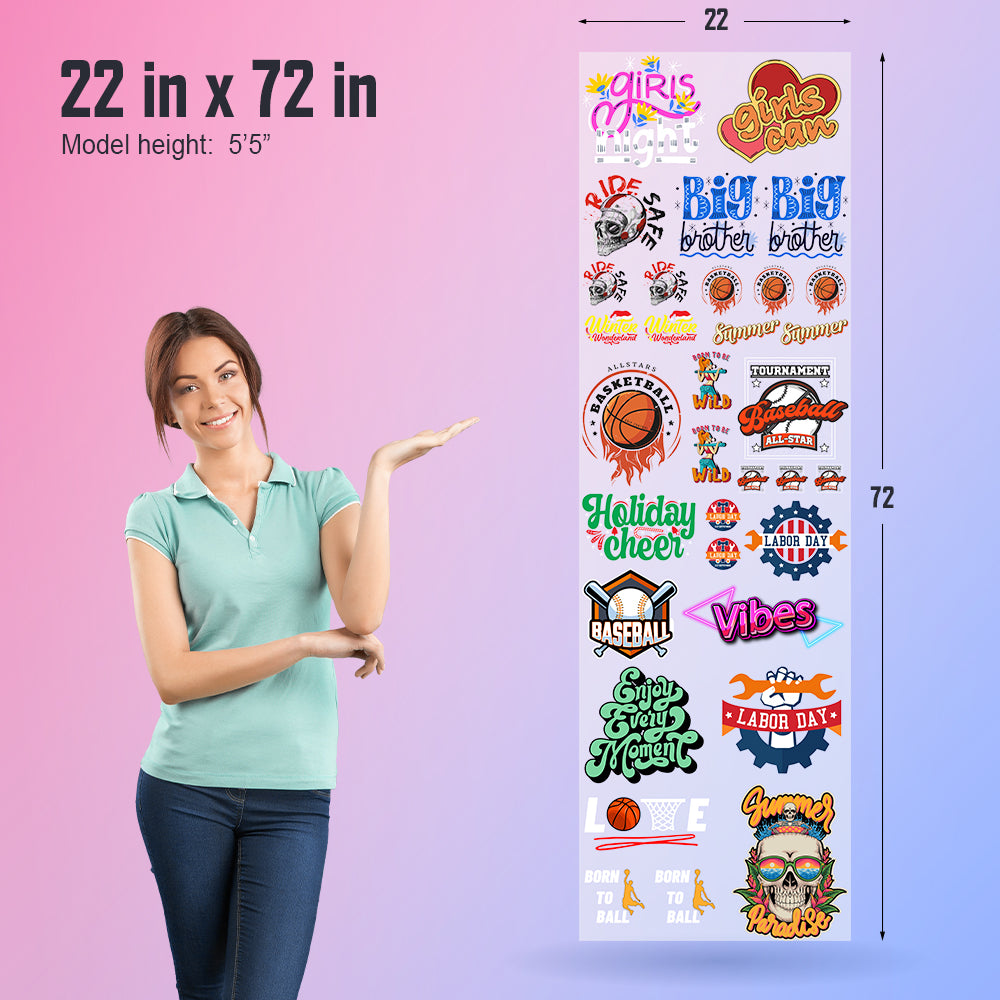
Sized to Fit Your Workflow
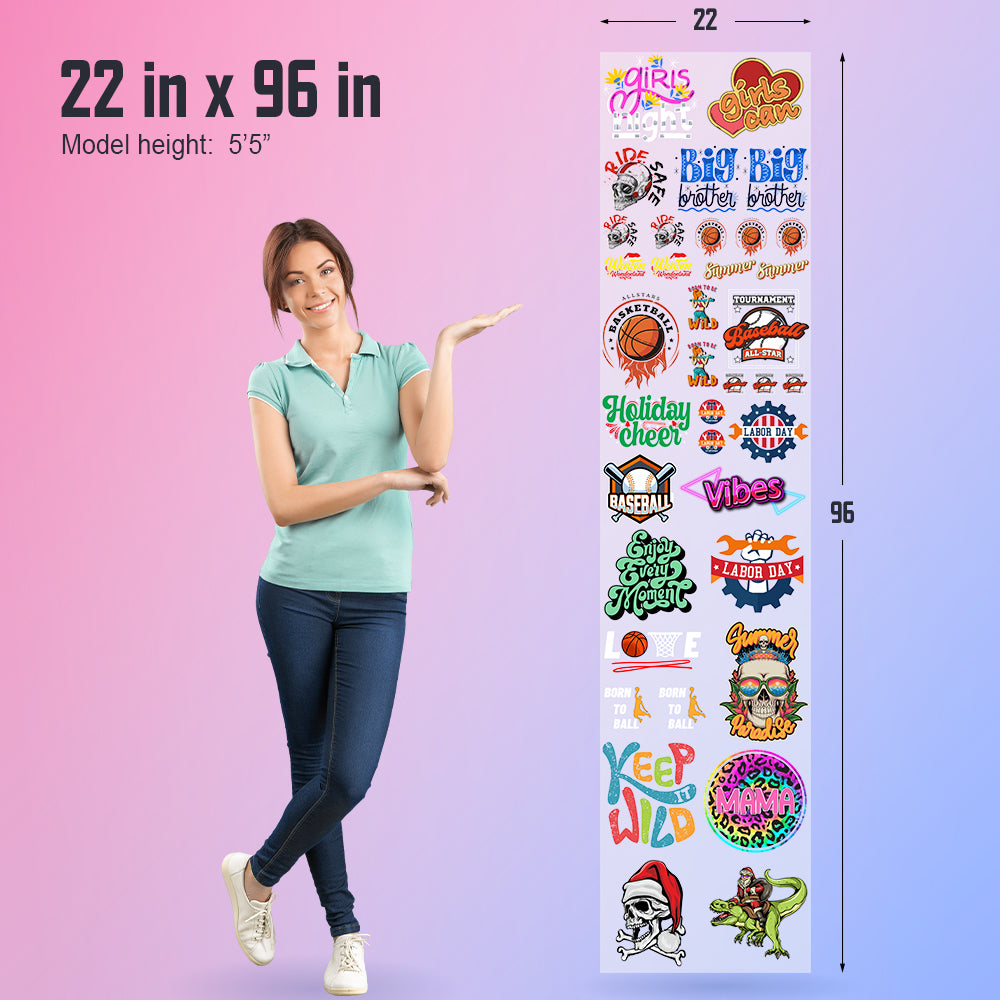
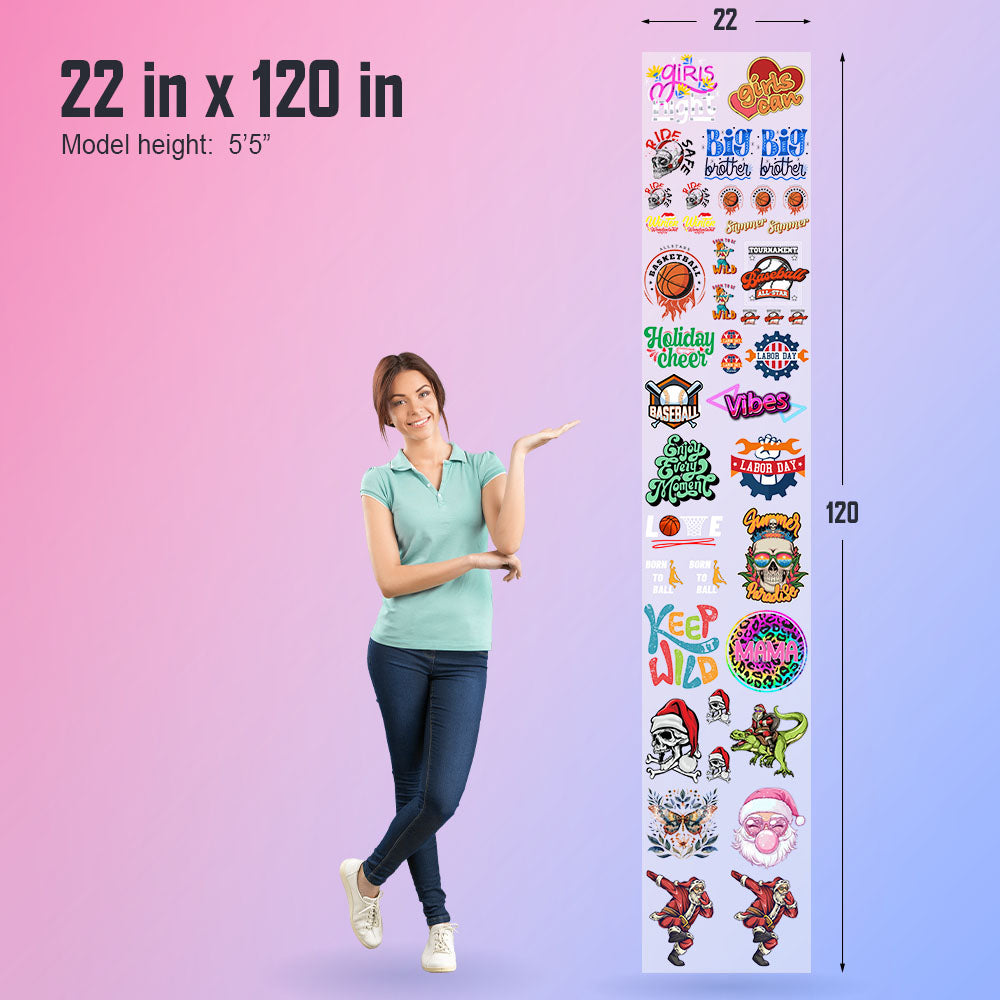
From 1 feet to 30 feet, choose the gang sheet length that fits your needs. Whether you’re printing small runs or large bulk orders, we’ve got a size that works for you.
Key Features:
✅ Fast Auto-Build Tool
✅ High-Resolution Upload Support
✅ Live Layout Preview
✅ Design Duplication & Resizing
✅ Flexible Sheet Lengths
✅ Streamlined Checkout Process
Create smarter, print faster, and elevate your custom transfers with our advanced UV DTF Gang Sheet Builder
Press Instructions
Press Instructions
Step 1 - Prep (Optional) Pre-pressing is not required with our DTF transfers. Skip this step unless you prefer to remove moisture or wrinkles first.
Step 2 - Position Your Transfer Place your transfer exactly where you want it and ensure it lies flat. You can press over seams (like side seams on shirts or panels on hats). For curved surfaces (like hats) or when using a household iron, use heat-resistant tape to keep the transfer in place.
Step 3 - Press & Peel
- Temperature: 300°F / 150°C (reduce to 275°F for 100% polyester fabric)
- Pressure: High
- Time: 10-12 seconds
- Peel: Immediately while warm
To protect your garment, use parchment paper or a protective sheet between the heat plate and the transfer.
Troubleshooting: If edges lift, reposition and press again with more pressure. Still not adhering? Increase temperature by 15°F increments. Our transfers can handle multiple presses without damage. If scorching occurs, reduce pressure first, then temperature if needed.
Step 4 - Final Press (Critical) This step sets our transfers apart. After removing the film, cover the design with parchment paper or another fabric and press for an additional 5-10 seconds. This final press:
- Maximizes durability
- Enhances softness
- Reduces shine
- Ensures professional results
Care Instructions Machine wash inside out with cold water. Tumble dry low or hang dry. The transfer is fully washable immediately after application.
Pro Tip: Test your settings on one piece first to dial in the perfect temperature and pressure for your specific garments.
Share