Custom DTF Transfers Ready to Press a Complete Guide
So, you've heard about custom DTF transfers ready to press, but what are they really? In simple terms, they're professionally printed designs on a special film that you can press onto almost any fabric using just a heat press. It's the secret sauce for creating vibrant, full-color custom gear without the messy, complicated setup of traditional screen printing.
What Exactly Are Custom DTF Transfers
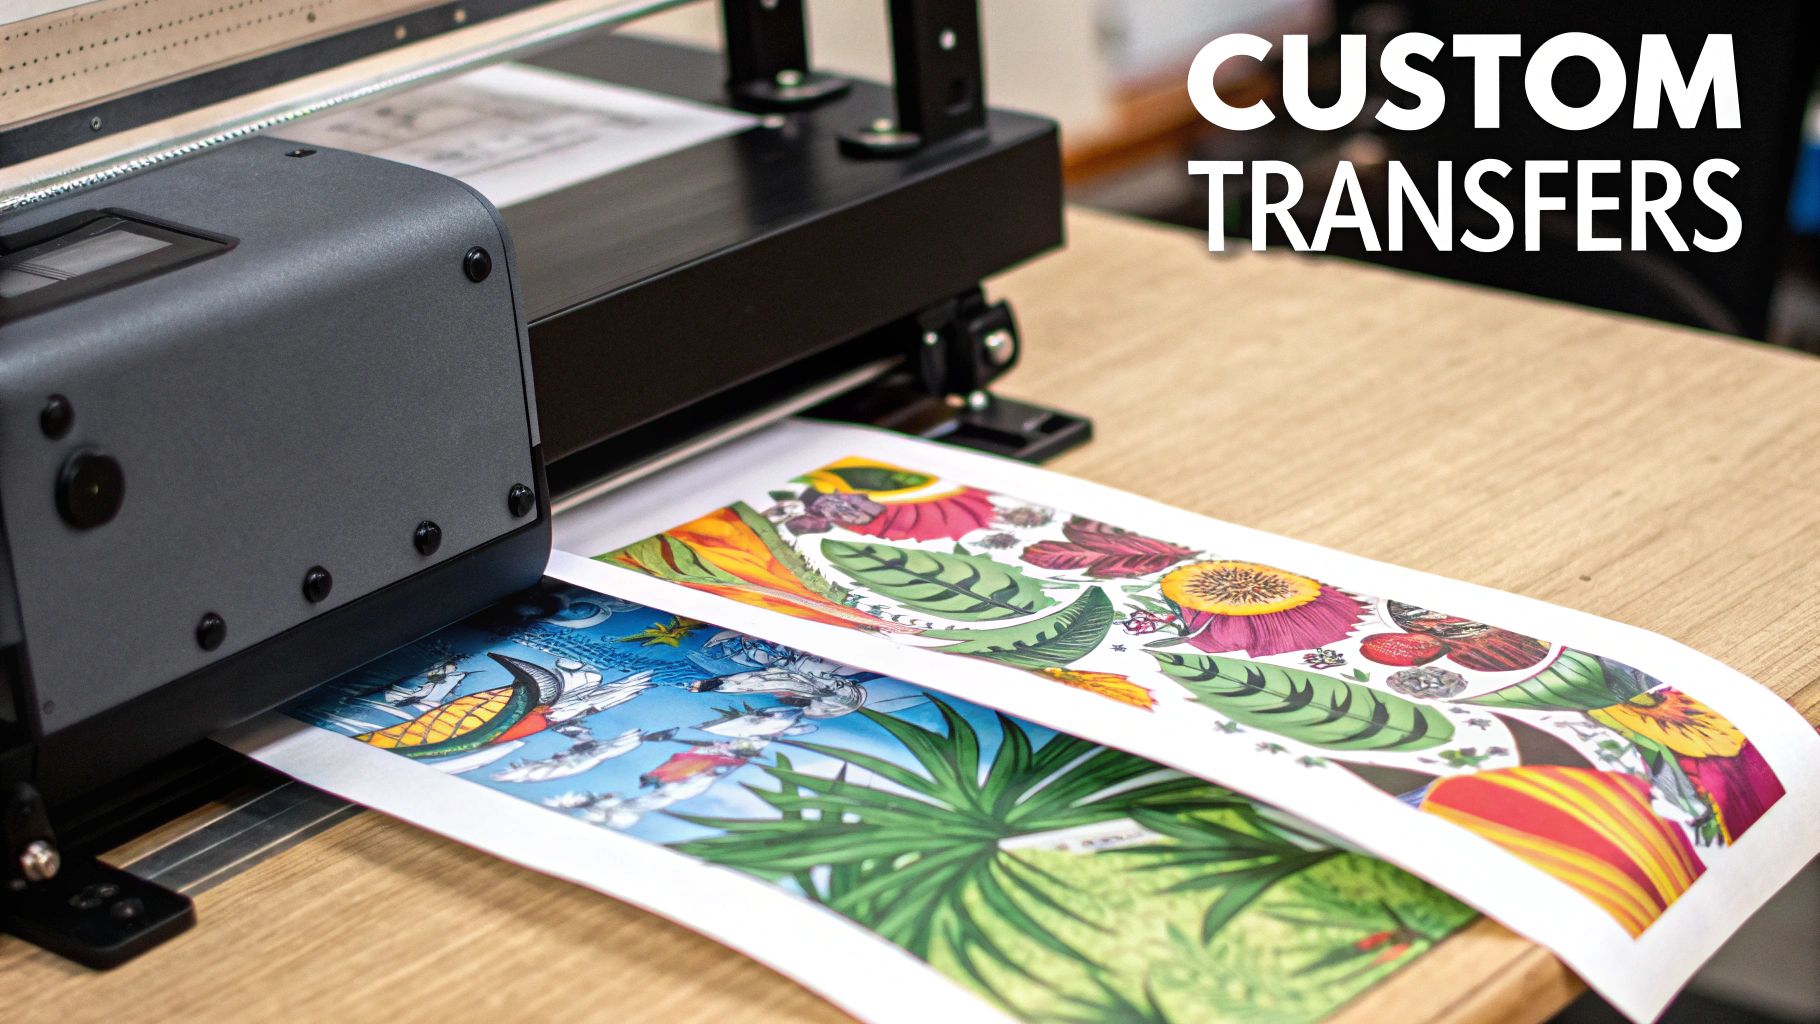
Think of a DTF transfer as the perfect middleman between your digital design file and a finished t-shirt or hoodie. Forget the tedious weeding that comes with heat transfer vinyl or the messy inks and screens of screen printing. With Direct-to-Film (DTF), the process is a whole lot cleaner. Your design gets printed onto a clear film, a special adhesive powder is applied, and it arrives at your door literally "ready to press."
This technology is a huge deal for small businesses, creative entrepreneurs, and even hobbyists. It completely removes the barrier to entry for producing small, custom batches of apparel, which used to be impossible due to high setup costs. Suddenly, you can print incredibly detailed, photorealistic designs with a limitless color palette—something that would be a nightmare (or just incredibly expensive) to pull off with screen printing.
The Core Benefits of DTF Transfers
The buzz around DTF isn't just about how easy it is. The real-world benefits are what truly make it a standout choice in the custom apparel industry. This isn't just a fleeting trend; it’s a solid solution to some of the most common printing headaches.
- Unmatched Versatility: You can press these transfers onto a massive range of fabrics. We're talking cotton, polyester, and blends, but also tougher materials like canvas and denim that other methods struggle with.
- Exceptional Durability: When you apply them correctly, DTF transfers are built to last. They can handle dozens of washes without cracking, peeling, or fading. The best part? They feel soft to the touch and stretch right along with the fabric.
- Full-Color Freedom: Forget color limitations. You can print smooth gradients, high-resolution photographs, and complex logos with perfect accuracy. Your creativity is the only limit.
The global Direct To Film (DTF) printing market was valued at approximately USD 2.72 billion and is projected to grow to around USD 3.92 billion by 2030. This isn't just a niche market; it's a booming industry driven by the high demand for custom, on-demand apparel.
This explosive growth is a testament to how effective and popular this technology has become. If you want to dive deeper into the nuts and bolts, our guide explaining what Direct-to-Film printing is breaks down the entire process from start to finish.
Getting Your Workspace Ready for a Perfect Press
A great transfer starts long before the heat press even warms up. Seriously, how you set up your workspace can make or break your project. A cluttered, unprepared area is just asking for frustration and wasted transfers. To get that clean, professional finish you're after with custom dtf transfers ready to press, you have to nail the prep work first.
Your setup doesn’t need to be fancy, but it does need to be right. Start with a clean, totally flat surface that can handle the heat. Besides the press itself, there are a few simple tools that I've found make a huge difference in how things turn out.
Your Go-To Toolkit
Before you get started, pull together your gear so everything is within arm's reach. The last thing you want is to be fumbling for something while the clock is ticking on a hot press. This is the basic kit that separates the pros from the beginners.
- A Good Lint Roller: This is your best friend. A single tiny speck of dust or a stray thread can get permanently trapped under your transfer, creating a little bump that sticks out like a sore thumb. Always, always give the garment a good roll right before you position the design.
- Heat-Resistant Tape: An absolute must-have. This stuff keeps your transfer locked down so it doesn't shift an inch when you close or open the press. Shifting is what causes those annoying "ghosted" or blurry edges on a finished design.
- Teflon Sheets or Parchment Paper: Think of this as an insurance policy. A sheet placed over your transfer protects the garment from direct, scorching heat and helps distribute the temperature evenly across the whole design. It’s a simple step that prevents a lot of headaches.
Getting these items lined up beforehand just makes the whole process smoother. You can stop worrying about the small stuff and just focus on getting a perfect press every time.
Why You Can't Skip the Garment Prep
This is probably the most skipped step I see, but it’s easily one of the most important. Every single garment, even one fresh out of the plastic, holds moisture. When you hit it with high heat, that moisture turns to steam and tries to escape—right through your transfer's adhesive. This is a primary cause of transfers peeling or failing to stick properly later on.
The fix is incredibly simple: always pre-press your garment. Just lay it on the press and give it a quick 5-10 second press at the temperature you'll be using for the transfer. You’ll often see a little puff of steam, which is exactly what you want to get rid of.
This quick pre-press does two things. It gets rid of that pesky moisture, and it also flattens out any wrinkles, giving you a perfectly smooth surface to work with. For instance, if you're pressing on a dark polyester shirt, pre-pressing also helps prevent dye migration—that's when the shirt's color bleeds into your transfer, turning a crisp white design a little pink. Taking those extra few seconds ensures your custom dtf transfers ready to press bond permanently for a vibrant, long-lasting print.
Dialing In Your Heat Press for Flawless Results
This is where the magic really happens. Getting your heat press settings just right isn't a suggestion—it’s the make-or-break step that determines if you get a stunning, durable print or a complete disaster. The success of your custom dtf transfers ready to press comes down to nailing that perfect trifecta of temperature, time, and pressure.
Think of these three elements as a team. If one is off, the whole project can fall flat. Too much heat might scorch the fabric or melt the adhesive into a mess. Too little, and you’re left with a weak bond that’ll start peeling after the first wash. The goal here isn't just to follow a generic guide, but to really understand how these settings work together to create a professional-grade product.
Temperature: The Key to a Solid Bond
Temperature is probably the single most important factor. It's what activates the DTF adhesive and allows it to bond with the garment's fibers. But here’s the thing: every fabric reacts differently to heat, so a one-size-fits-all approach is a recipe for frustration. A standard cotton t-shirt can take the heat, but those same settings could easily ruin a delicate polyester or spandex blend.
For a typical 100% cotton garment, I usually start somewhere between 300-325°F (149-163°C). But if I'm working with a polyester blend, I’ll drop that down to around 275-290°F (135-143°C) to prevent scorching or that dreaded dye migration. Always, always start with the recommended settings for your specific fabric and be prepared to make small adjustments.
Time and Pressure: The Supporting Cast
Once you’ve got the temperature set, it’s time to dial in the press time and pressure. Time dictates how long the heat is applied, giving the adhesive just enough opportunity to melt and seep into the fabric fibers. Pressure is what ensures the transfer makes solid, even contact across the entire design.
I see a lot of people make the mistake of thinking more pressure is always better. In my experience, medium to firm pressure is the sweet spot. Cranking it up too high can actually squeeze the adhesive out from under the design, leaving you with a thin, weak bond. Too little pressure, and you get an incomplete transfer with spots that didn't stick.
For most cotton and poly-blend garments, a press time of 10-15 seconds is a solid starting point. You might need to back off the pressure a bit for items with seams or zippers to avoid creating those ugly press marks around the design. It's a bit of a delicate dance, but once you find the rhythm for a specific type of garment, you can replicate it with confidence every time.
To help you get started, I've put together a quick-reference guide for some of the most common fabrics you'll likely be working with.
Recommended Heat Press Settings by Fabric Type
This table gives you a great starting point for the most common apparel fabrics. Remember that every heat press is a little different, so treat these as a baseline and adjust as needed.
| Fabric Type | Temperature Range (°F/°C) | Press Time (Seconds) | Pressure Level | Peel Type (Hot/Cold) |
|---|---|---|---|---|
| 100% Cotton | 300-325°F / 149-163°C | 10-15 seconds | Medium-Firm | Cold Peel |
| 50/50 Blends | 280-300°F / 138-149°C | 10-12 seconds | Medium | Cold Peel |
| Polyester | 275-290°F / 135-143°C | 8-10 seconds | Medium | Cold Peel |
| Tri-Blends | 275-290°F / 135-143°C | 8-10 seconds | Light-Medium | Cold Peel |
Keep in mind, these are tried-and-true starting points, not gospel. I can't stress this enough: always do a test press on a scrap piece of the same fabric or in an inconspicuous spot. Taking that extra minute to test will save you from ruining a perfectly good garment. Once you master these settings, you’ll see the quality of your work go from looking homemade to truly professional.
From Placement to Peel: Applying Your DTF Transfers
Alright, you’ve got your press dialed in and ready to go. Now for the fun part: actually applying your custom DTF transfers ready to press. This is where all that prep work pays off and you get to see your design come to life on the fabric. Let's walk through the hands-on techniques for getting that perfect placement and a clean, sharp peel every single time.
There’s a reason DTF has exploded, and it's largely thanks to the demand for custom apparel. The t-shirt market, in particular, makes up a huge slice of global DTF printing revenue. Why? Because the tech is practically made for the cotton and poly-blend fabrics we use for tees, delivering durable, high-quality prints consistently.
Nailing the Placement and Alignment
Getting the alignment just right is what separates the pros from the hobbyists. While you can sometimes eyeball it for a quick one-off job, if you're aiming for consistent, professional-looking results, you need a reliable method.
A great starting point for a standard t-shirt is to place the top of your design about three to four fingers down from the collar. Simple, but it works.
Of course, not everything is a standard crewneck. Here’s how I handle a few common items:
- Hoodies: The pocket is your main obstacle. You have to place the design higher up on the chest so it doesn't get awkwardly swallowed by the pocket seam.
- Tote Bags: First, lay the bag completely flat and get rid of any wrinkles. I use the handles as my guide to center the design both horizontally and vertically.
- V-Necks: This one is easy to mess up but simple to get right. Always align the center of your graphic with the very bottom point of the "V." It creates a much more balanced and polished look.
My Go-To Tip: If you're pressing anything with thick seams, zippers, or buttons, a pressing pillow is an absolute must-have. These heat-resistant foam pads go inside the garment, lifting the print area. This ensures the press applies even pressure right where you need it, preventing those pesky seams from causing gaps or weak spots in your transfer.
This image breaks down the core steps of the DTF application process beautifully.
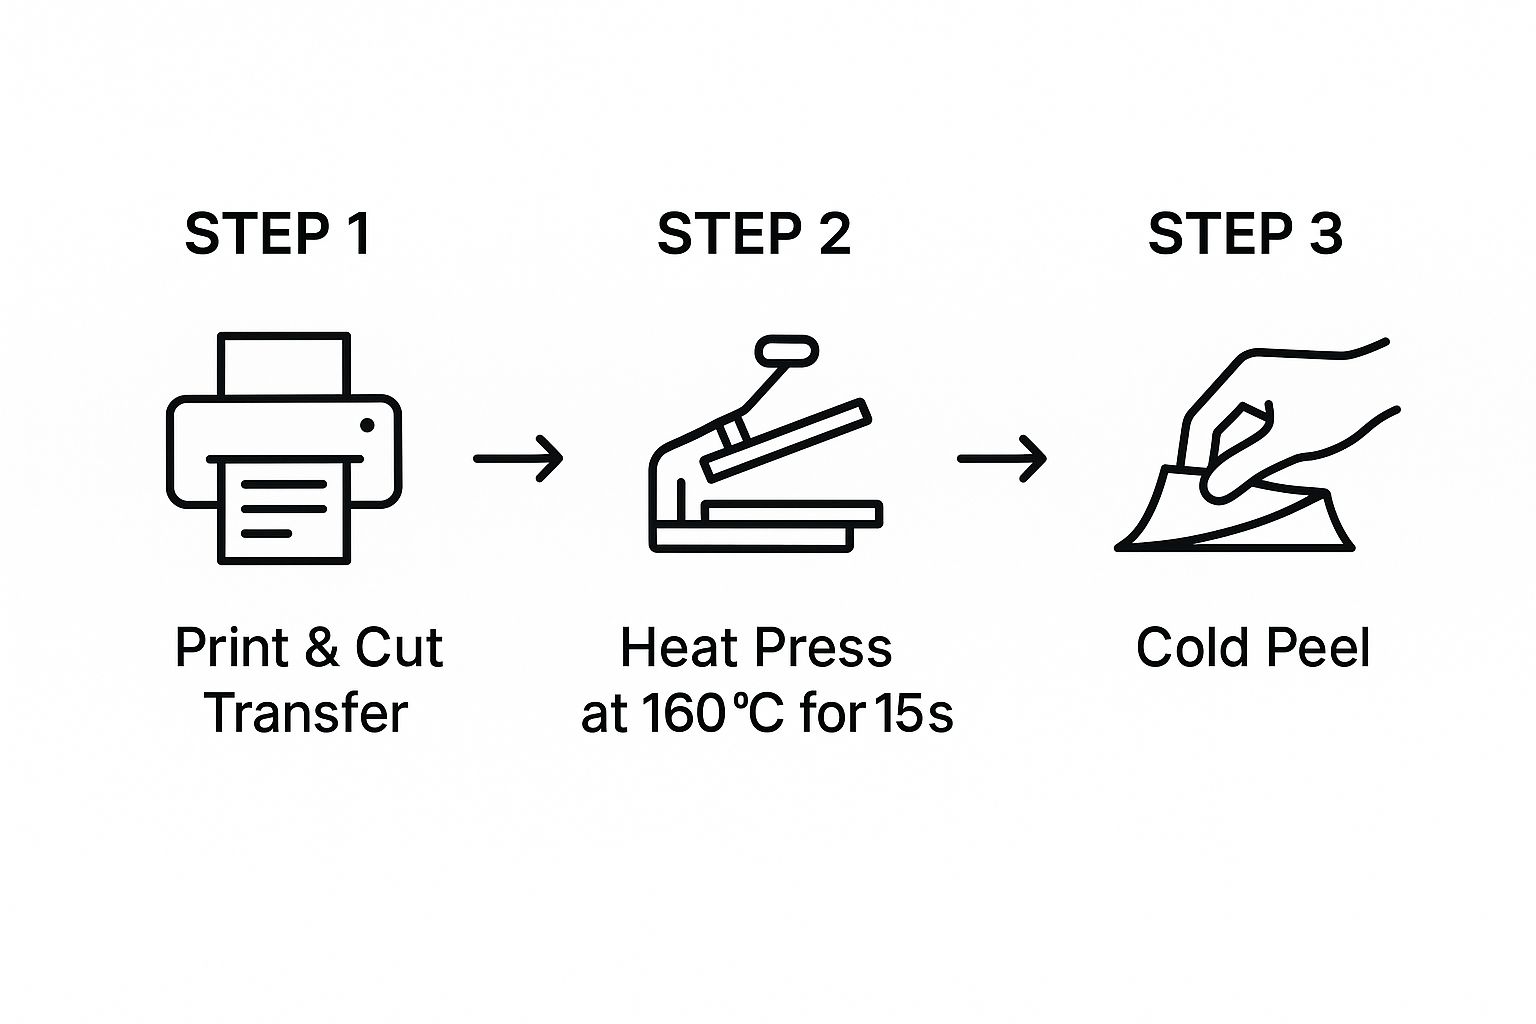
As you can see, it's a straightforward journey from the printed film to the final product, with the heat press and the cold peel being the two most critical stages.
The Make-or-Break Moment: The Peel
Once that press timer dings, what you do next is dictated entirely by the type of transfer you're using. Your supplier will tell you if it’s a hot peel or cold peel film, and believe me, you need to follow their instructions to the letter.
- Hot Peel: Just like it sounds. You peel the film off immediately after the press opens while everything is still piping hot. It's fast, but it can be a bit unforgiving if your temperature or pressure is even slightly off.
- Cold Peel: This is what you'll encounter most often with DTF. You absolutely must wait for the garment and transfer to cool down completely before you even think about peeling. This gives the adhesive time to fully cure and bond to the fabric fibers, which is the secret to a clean release and a long-lasting print.
Rushing a cold peel is probably the single biggest mistake new printers make. If you peel while it’s still warm, you risk pulling up parts of your design right off the shirt. Just be patient! A little trick I use is to lay the garment on a cool, flat surface or even gently rub the back of the transfer with a cloth to help dissipate the heat faster. For a deeper dive into film types, you can find more information in our guide on how to use DTF custom transfers.
Once the film is off, you’re not quite done. There’s one last step that makes a huge difference in the final feel and durability.
Place a Teflon sheet or a piece of parchment paper over the now-exposed design and give it a quick second press for about 5-7 seconds. This finishing press does wonders. It helps push the ink deeper into the fabric, knocks back any plastic-y shine, and gives the print a much softer, matte finish that feels like part of the shirt.
What to Do When DTF Transfers Go Wrong
Sooner or later, you're going to press a transfer that just doesn't cooperate. It’s part of the process, and it happens to even the most seasoned pros. The trick is knowing how to spot the problem and fix it fast, without wasting a perfectly good garment.
Think of it less like a failure and more like a puzzle. Every issue, from a peeling design to weird color shifts, is telling you something about your time, temperature, or pressure. Let’s break down the most common issues you'll run into with custom dtf transfers ready to press and get you back to making great-looking apparel.
Why Is My Transfer Not Sticking?
This is the big one. You’ve done the press, you've let it cool, and as you peel the film away, the design lifts right off with it. It's frustrating, but the fix is usually pretty simple once you know what to look for.
If you find your transfer is peeling up either partially or all the way, it’s almost always one of these culprits:
- Weak Pressure: The adhesive needs to be pushed firmly into the fabric's weave to create a strong bond. If your press is set too light, it's just not going to stick. Crank it up to a medium-firm pressure.
- Hidden Moisture: This is a sneaky one. Fabric can hold moisture you can't even feel, and that steam will ruin your adhesion. Always, always pre-press your garment for 5-10 seconds to cook out any dampness before you place your transfer.
- Cold Press: If the heat press isn't hot enough, the adhesive won't fully melt and activate. Double-check that your temperature matches the fabric you're working with.
How to Fix a Shiny, Plastic-Looking Design
You've just pressed a killer design, but it has this glossy sheen that makes it feel like a cheap sticker. That's a classic sign that your settings were a little too aggressive. The goal is a soft, matte finish that feels like it’s part of the shirt, not sitting on top of it.
When you see that unwanted shine, here’s what’s likely going on:
- It's Too Hot: Too much heat essentially overcooks the transfer, melting the ink and adhesive layers and creating that glossy look. Try dropping the temperature by 10-15°F.
- Too Much Squeeze: Just like heat, excessive pressure can over-melt the transfer. Ease up a bit and aim for a solid medium pressure instead.
- You Skipped the Finish Line: That final 5-second press with a protective sheet is non-negotiable! It's the secret sauce for knocking down the shine and locking in that professional, matte finish. Don't skip it.
Troubleshooting is a core skill in any printing method. The advancements in direct-to-film printing have been remarkable in reshaping textile decoration, partly because they simplify the process. DTF minimizes setup complexity and removes the need for screens, which makes it easier to produce small batches quickly. Learn more about the impact of these technological shifts on the printing industry.
Help! My Colors Are Bleeding on Polyester
You press a beautiful, crisp white logo onto a bright red poly shirt. You peel it back, and now your logo is... pink. That's dye migration, and it’s a constant battle when working with synthetic fabrics like polyester.
The dyes in these fabrics are designed to be vibrant, but under heat, they can turn into a gas and seep right into your transfer ink, staining it from behind. It’s also why understanding the differences between printing methods is so valuable; check out our guide comparing DTF vs DTG printing for more context.
Luckily, the solution is straightforward.
When you see the fabric’s color tainting your transfer, you have an issue with heat. The fix is to simply lower your temperature. For 100% polyester, you need to work in a much lower heat range.
Try pressing at 275-290°F (135-143°C) for a shorter time, maybe just 8-10 seconds. This is hot enough to cure the DTF adhesive but cool enough to keep those fabric dyes from gassing out and ruining your print.
Got Questions About DTF Transfers? We've Got Answers.
When you're working with custom dtf transfers ready to press, questions are bound to pop up. Even seasoned pros run into tricky situations. Let's tackle some of the most common questions we get from creators to clear things up.
How Should I Wash Garments with DTF Transfers?
Proper care is the secret to a long-lasting print. You want that design looking sharp wash after wash, right? The key is to turn the garment inside out before it hits the machine.
Always wash on a gentle cycle with cold water. Stay away from bleach and fabric softeners—those are the enemies of a good transfer and can break down the adhesive over time. To dry, you can either hang it up or tumble dry on the lowest heat setting. It’s that simple, and it makes a huge difference in preventing fading and cracking.
Can I Just Use My Home Iron?
I get this question all the time, and the answer is a firm no. While it's tempting to grab a regular iron for a quick press, it's just not built for the job. An iron can't deliver the consistent, even heat and pressure needed for a DTF transfer to bond properly with the fabric.
Honestly, using a home iron is probably the #1 reason we see for failed applications. It's a recipe for peeling corners and a print that just doesn't stick. If you're serious about creating quality products, investing in a good heat press is the best move you can make.
What's the Best File Type for My Custom Design?
Your final print will only ever be as good as your original artwork file. For crisp, clean lines and vibrant colors, nothing beats a vector file. We're talking formats like AI, EPS, or SVG. The beauty of vector is that you can scale it to any size without losing a drop of quality.
If you’re working with a raster image like a photograph, a high-resolution PNG is the way to go. Make sure it’s at least 300 DPI (dots per inch) and saved with a transparent background. A low-quality JPEG or a screenshot will look blurry and pixelated when printed, so getting the file right from the start is absolutely crucial.
Ready to bring your designs to life with custom apparel that actually lasts? At Cobra DTF, we're all about premium, American-made DTF transfers that are vibrant, durable, and ready to press right out of the box. See the difference for yourself with our quick shipping and satisfaction guarantee.