

Printing onto Transfer Paper: printing onto transfer paper Tips
Printing on transfer paper isn't just about hitting "print." It's a process where you use a specialized printer and inks to lay a design onto a coated sheet, which you then permanently bond to a garment with a heat press. The real game-changer in this space is Direct-to-Film (DTF), a method known for its incredible durability, eye-popping color, and ability to work on almost any fabric you can throw at it. It's quickly become the go-to for custom apparel shops that need professional, retail-quality results.
Choosing Your Foundation For Perfect Prints
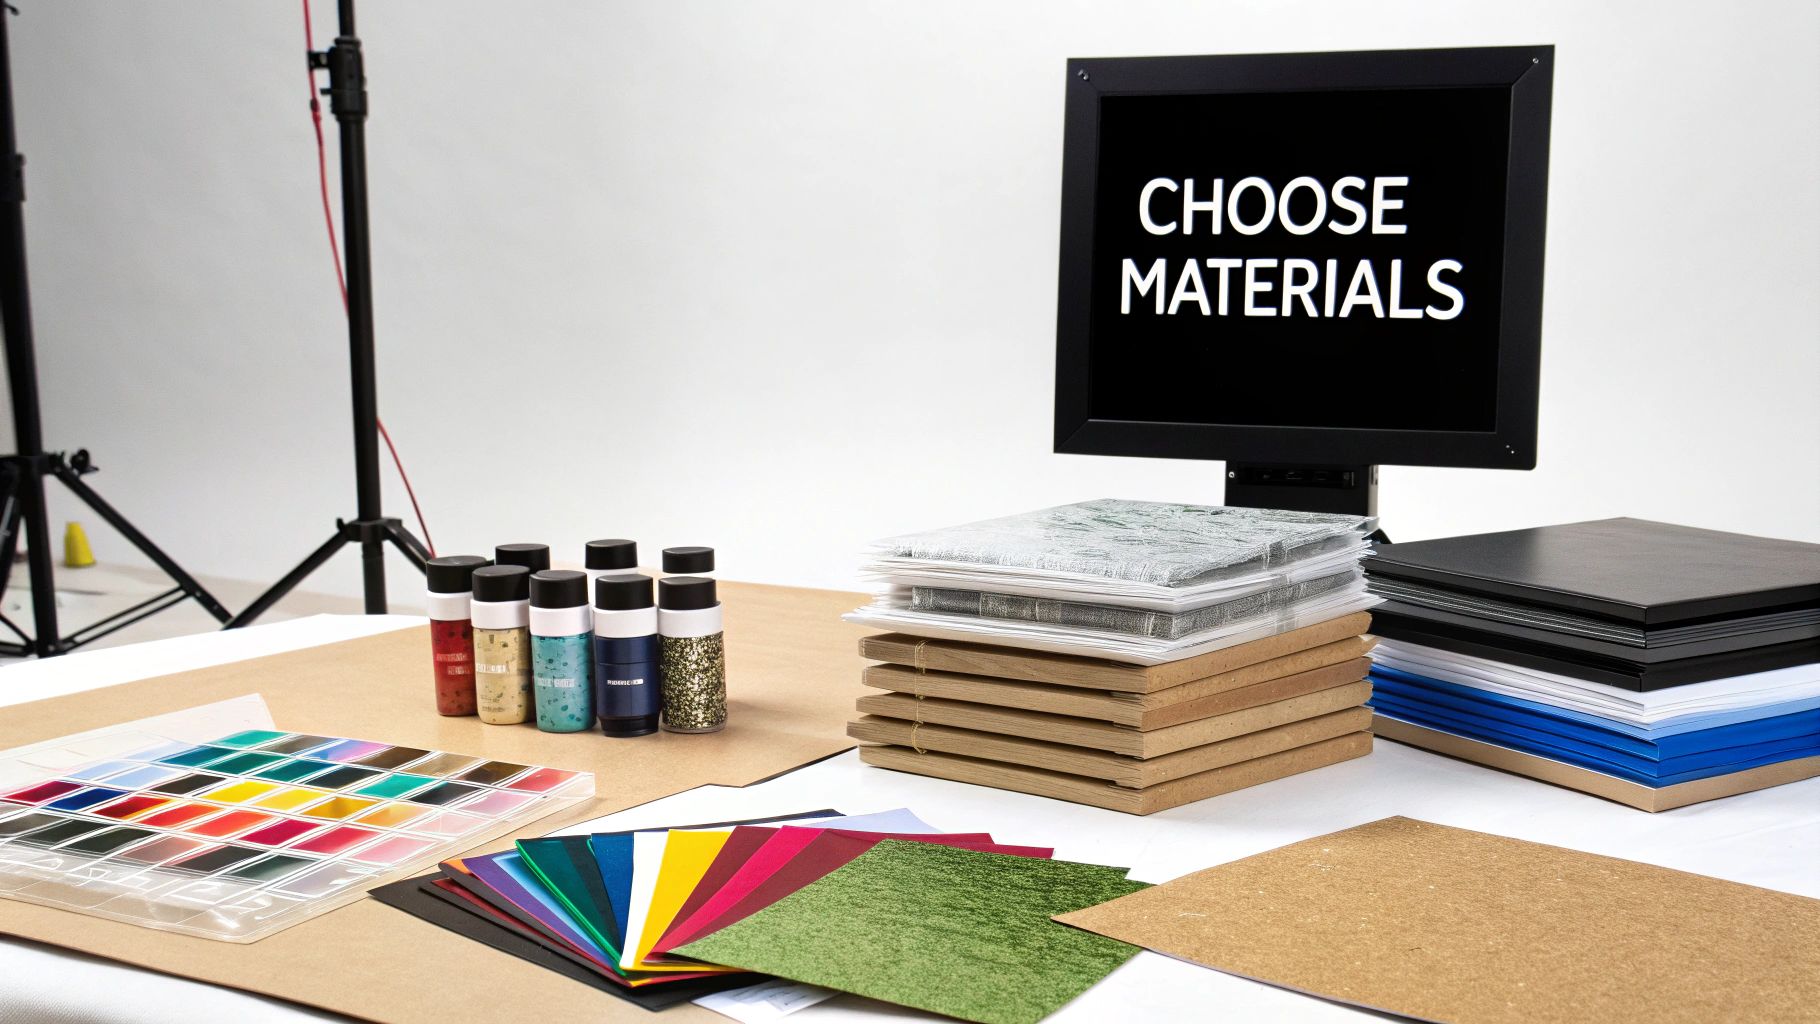
Before a single drop of ink even leaves the printer, the final look and feel of your print are already taking shape. The real foundation of any great transfer is the film and ink you choose. Getting this right is what separates an amateur-looking shirt from a professional-grade product that people are excited to wear. While traditional transfer paper still has a place, the industry has overwhelmingly shifted to DTF for its unmatched versatility and toughness.
The growth here is pretty telling. The DTF film market, currently valued at USD 583 million, is on track to more than double, hitting a projected USD 1,340 million by 2031. That's fueled by a steady 12.5% annual growth rate. This isn't just a trend; it's a reflection of the demand for high-quality prints that can survive over 50 washes without fading. That kind of longevity is a huge selling point for any apparel business.
Hot Peel vs. Cold Peel DTF Films
Once you dive into DTF, you’ll quickly see two main types of films: hot peel and cold peel. The names are pretty straightforward—they just tell you when to pull the film off the shirt after pressing. You either peel it right away while it’s still hot, or you wait for it to cool down completely.
- Hot Peel Films: These are a lifesaver for high-volume jobs. You can press, peel, and stack shirts in seconds, which seriously speeds up your workflow. The prints usually have a softer, more matte finish that feels like it’s part of the fabric.
- Cold Peel Films: These make you wait a minute for the transfer to cool before peeling. That little bit of patience pays off, though. You typically get a glossier finish with incredibly crisp details, making it the clear winner for designs with fine lines or small text. The adhesive gets more time to set, which often means a slightly more durable bond.
A good rule of thumb I've learned from experience: For big orders with simple graphics, hot peel is the way to go to keep things moving. But for one-off custom pieces or really detailed art, I always grab a cold peel film to make sure every last detail comes through perfectly.
When you're first getting started, it can be confusing to know which transfer media is the right fit. While we're focusing on DTF, it's helpful to see how it stacks up against the older, more traditional transfer papers you might see in a craft store.
Transfer Media Comparison DTF Film Vs Traditional Paper
| Feature | DTF Film (e.g., Cobra DTF) | Traditional Transfer Paper |
|---|---|---|
| Fabric Compatibility | Works on cotton, polyester, blends, leather, and more. Even dark fabrics. | Primarily for light-colored cotton or poly/cotton blends. |
| Durability & Feel | Excellent. Soft, stretchy, and can withstand 50+ washes without cracking. | Stiffer feel ("hand"). Prone to cracking and fading after a few washes. |
| Color Vibrancy | Superior. White ink base makes colors pop on any garment color. | Colors can appear muted, especially on anything but pure white fabric. |
| Detail & Weeding | No weeding required. Intricate designs are easy to transfer. | Requires manually weeding away excess material, which is difficult for complex designs. |
Ultimately, while traditional paper is accessible for hobbyists, DTF film is the clear choice for anyone serious about producing professional, long-lasting custom apparel.
The Critical Role Of High-Quality Inks
The ink you use is every bit as important as the film. For DTF, you absolutely need specialized pigment-based inks formulated to work with the film and the adhesive powder. Trying to use standard inkjet inks is a recipe for disaster—you'll get terrible adhesion, dull colors, and a design that washes right off.
High-quality DTF inks bring a few key things to the table:
- Vibrant, Accurate Colors: Premium inks are engineered for maximum color saturation, giving you brilliant reds, deep blacks, and a bright white underbase that makes everything stand out.
- Excellent Elasticity: The ink has to be able to stretch with the fabric without breaking. Good inks create a flexible layer that moves with the garment, whether it’s cotton, polyester, or a blend. Understanding the nuances of different fabrics can really elevate your work. You can learn more in our detailed guide comparing cotton and polyester.
- Superior Wash Fastness: This is the whole point, right? A transfer has to last. Investing in reputable inks ensures your designs won't fade, peel, or crack after a few trips through the laundry.
Sourcing your materials from a supplier you trust is non-negotiable. When you have consistent film quality and ink formulation, you can dial in your process and get predictable, professional results every single time. That consistency is the bedrock of any successful printing business.
Dialing In Your Printer for Perfect Transfers
Let's be clear: your printer is the heart and soul of your transfer setup. You can have the best film and the most vibrant inks on the market, but if your machine isn't configured correctly, you're just going to get disappointing results. Getting these settings right is the critical step that turns a great design on your screen into a fantastic-looking final product.
One of the first forks in the road you'll encounter is deciding between converting a standard inkjet printer or ponying up for a dedicated DTF machine. A lot of people start by converting an Epson printer, which is a great, wallet-friendly way to get into the game. Just know that it takes a bit of technical comfort and an understanding that you're pushing the machine beyond its original purpose.
On the other hand, a purpose-built DTF printer is a serious investment upfront. The trade-off is that it’s ready to rock right out of the box, with built-in features like white ink circulation systems that will save you a world of headaches. To really dig into which path is right for you, check out our guide on the best printers for heat transfer paper.
Nailing the Print Settings
No matter what printer you're running, your final quality comes down to a few core settings. Think of these as your primary levers for controlling the output. Getting them right isn't optional if you want pro-level transfers.
- Resolution (DPI): Don't skimp here. You should always be aiming high, at least 1440x720 DPI. A higher DPI (dots per inch) means the printer lays down more ink, which translates directly to sharper details and richer, more saturated colors. Sure, lower resolutions print faster, but you'll likely end up with fuzzy or pixelated images.
- Print Speed: It’s so tempting to crank up the speed to get jobs done faster, but trust me, that's almost always a mistake. Slowing things down with a unidirectional print speed gives you much more precise ink placement. This dramatically reduces the chance of banding—those awful horizontal lines that can instantly ruin a print—and gives you much better overall clarity.
- Ink Channels: With DTF, you're not just printing CMYK; you're running a CMYK+White (CMYK+W) setup. The process lays down a white base layer first, and then the CMYK colors are printed right on top. This is the magic that makes your designs look vibrant and opaque, even on a black t-shirt.
I can't stress this enough: get into the habit of running a daily nozzle check. It takes 30 seconds but can save you hours of frustration and piles of wasted film by letting you spot a clog before it ruins an entire batch of prints.
Why You Absolutely Need RIP Software
You can't just open a design in Photoshop, hit "print," and expect a good DTF transfer. It just doesn't work that way. You need a piece of software called a Raster Image Processor, or RIP. This program essentially becomes the brain of your whole operation, giving you granular control over exactly how ink hits the film.
The number one reason RIP software is non-negotiable is its ability to manage the white ink layer. Your standard printer drivers have no idea what to do with a white underbase. A RIP, however, lets you control the white ink density, create a "choke" (which pulls the white layer in just a tiny bit so it doesn't peek out from the edges of your color), and manage the whole CMYK+W dance flawlessly.
Beyond just handling white ink, your RIP is command central for color management. It’s what lets you use ICC profiles—special files that make sure the colors you see on your monitor are the same ones that come out of your printer. This is how you guarantee a client’s specific brand red doesn't come out looking like a weird shade of orange. It takes your digital file and translates it into a language the printer can execute perfectly, every single time.
Mastering The Printing And Curing Process
Alright, this is where your digital design starts to become a real, tangible thing. Getting a perfect print isn't just about hitting "print" and walking away. It’s a deliberate process that transforms a digital file into a vibrant, durable transfer ready for the press. And it all begins in your RIP software, long before any ink ever touches the film.
Your Pre-Print Checklist
Think of your RIP software as your mission control. This is where you dial in all the critical settings that make or break your final product. Before you even think about sending the job to the printer, you absolutely must mirror your image. It’s a simple checkbox, but forgetting it is a classic rookie mistake that I’ve seen countless times. If you don't flip it, your design will be backward when you press it onto the shirt. That’s a fast way to waste expensive ink and film.
Just as important is getting your white base layer right. Your RIP software gives you fine-tuned control over this, letting you lay down a solid, opaque foundation for your colors. This is the secret to making your designs pop, especially on dark-colored garments. A weak white base results in a washed-out, unprofessional-looking print.
This simple flow—settings, RIP, test print—is your best friend for avoiding costly errors.
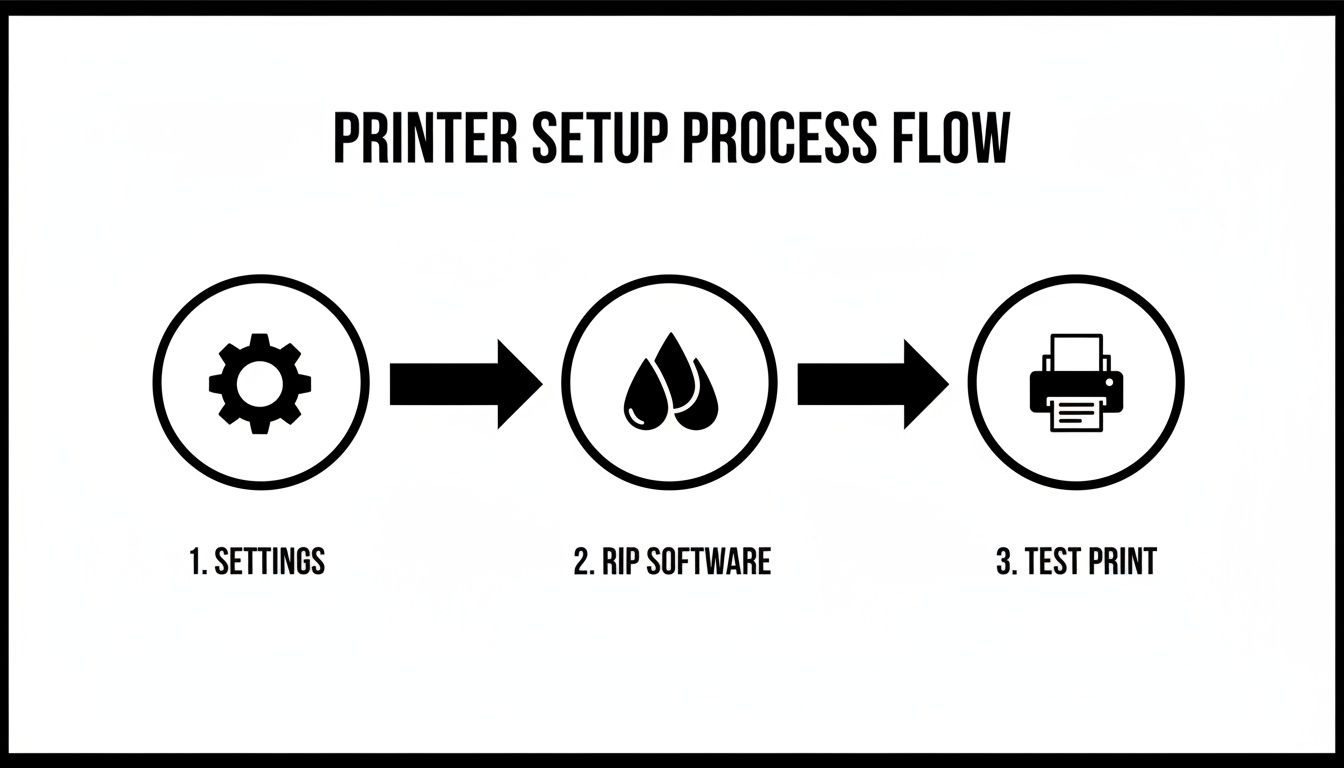 Always follow this sequence. Tweaking your settings, processing the file through the RIP, and running a quick test print will save you a world of frustration and ensure your production runs are consistent.
The Art Of Applying Adhesive Powder
Once your design is printed and the ink is still wet, it’s time to apply the adhesive powder. This stuff is essentially the "glue" that will permanently bond your print to the fabric. The go-to technique for this is affectionately known as the "shake and bake."
First, handle the printed film carefully by the edges—you don't want to smudge that wet ink. Lay it inside a shallow tray or bin that’s bigger than the film. Now, generously coat the entire print with your DTF adhesive powder, making sure every last bit of ink is covered. Don't be stingy here; any excess powder can be collected and reused.
Next, gently pick up the film and rock it back and forth, side to side, to make sure the powder is evenly distributed. Then, give the back of the film a few firm taps to knock off all the loose powder that isn't clinging to the ink. A perfectly powdered transfer will have adhesive only on the inked areas. The clear parts of the film should be completely clean. Any stray powder left behind will transfer to the garment, creating a messy look.
Here's a little pro tip from my own experience: I keep a small, soft-bristled brush on my bench to gently whisk away any stubborn powder specks from the non-printed areas. A clean powder application is the first step to a clean final press.
Curing Your Transfers To Perfection
With the powder applied, the final step before pressing is to cure it. This process melts the adhesive, turning it from a powder into a uniform, slightly textured layer over the ink. Getting the cure just right is absolutely critical for the feel and durability of the finished print. If you under-cure it, the transfer will peel and crack after a few washes. Over-cure it, and you risk scorching the film and ruining the design.
You've got two main ways to get this done:
- Heat Press Hover: This is a solid method if you don't have a dedicated curing oven. Set your heat press somewhere between 350-375°F (176-190°C). Place the transfer on the bottom platen, but—and this is important—do not close the press. You just want the top platen to hover about half an inch above the film for roughly 2-4 minutes.
- Dedicated Curing Oven: For anyone doing higher volume, a small curing oven is a total game-changer. These things provide consistent, even heat and eliminate the risk of hot spots that you can get with a press. The time and temperature settings are pretty much the same as the hover method.
You’ll know the transfer is perfectly cured when the grainy powder melts into a glossy, slightly bumpy surface. Most of us in the industry describe the ideal finish as a subtle "orange peel" texture.
Once your transfers are cured, they’re ready to be pressed onto a garment or stored for later. If you're storing them, keep them in a cool, dry spot, laid flat with a protective sheet (like parchment paper) between each one to stop them from sticking together.
Perfecting Your Heat Press Application
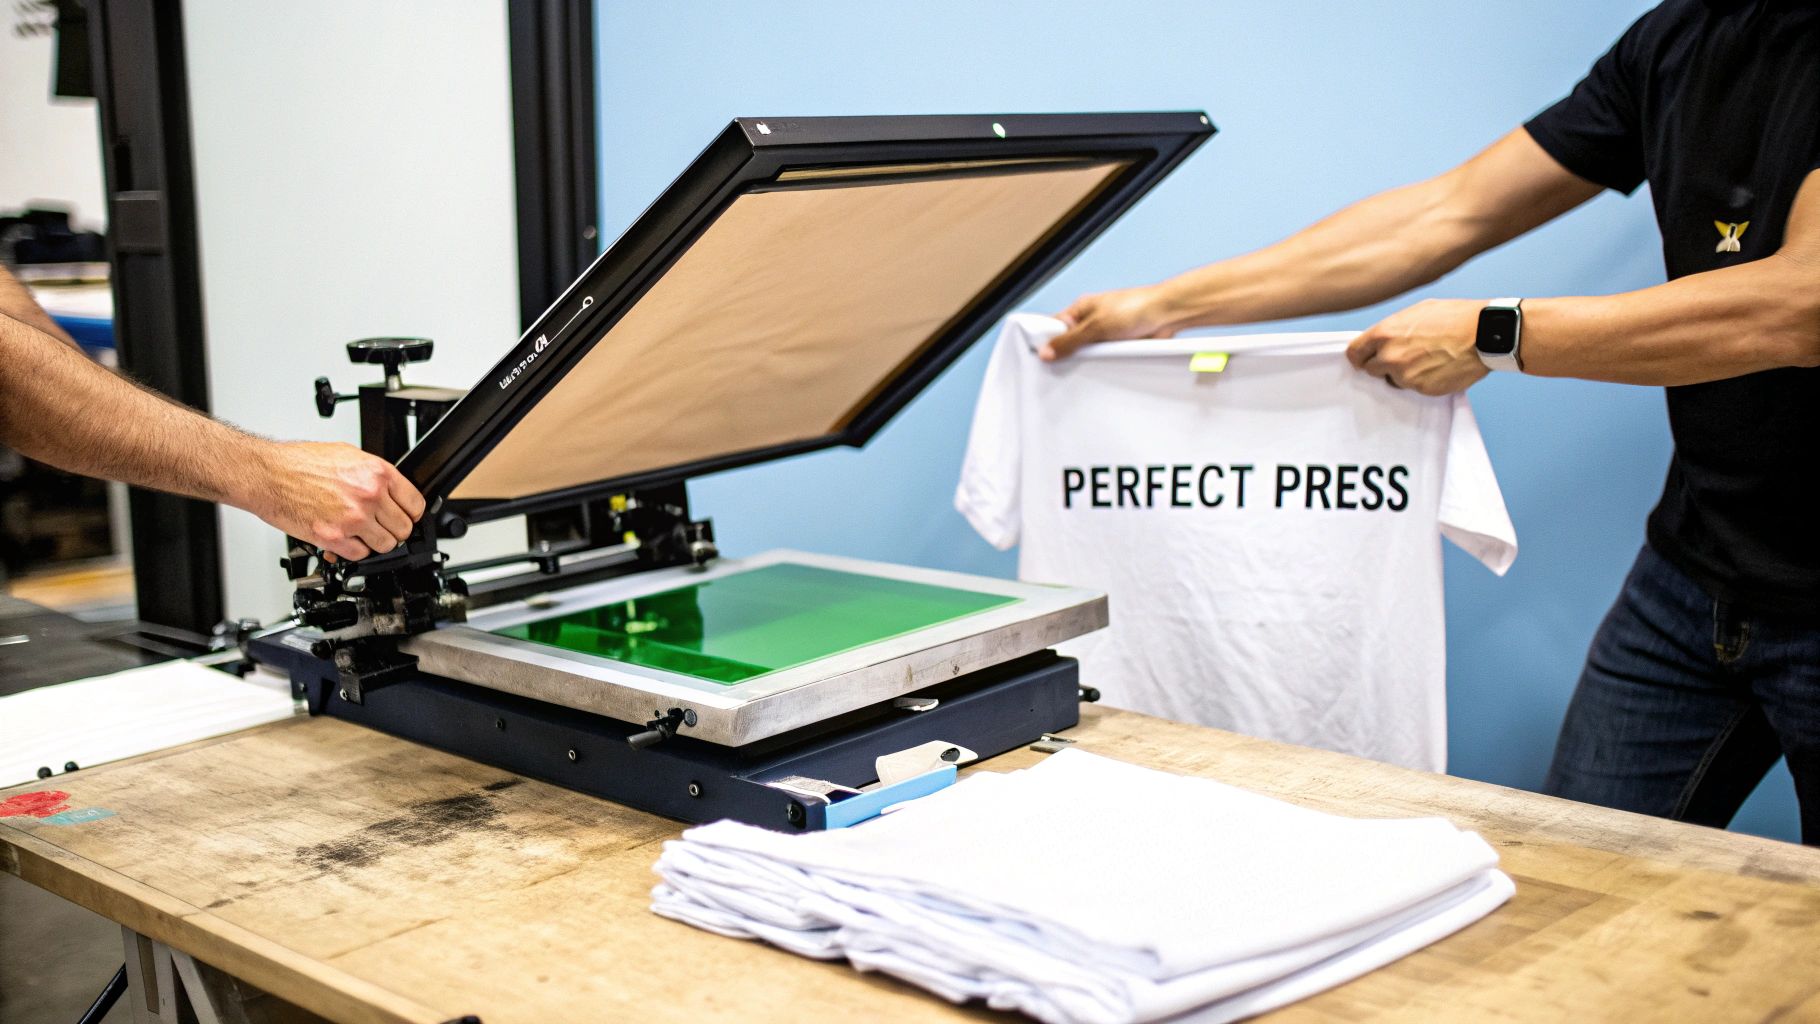
This is it—the moment where all your prep work comes together. The final press is what turns that cured transfer into a professional, wearable piece of art. It’s a delicate dance of time, temperature, and pressure. When you nail it, the result is a garment that looks and feels incredible. But if you get it wrong, even the most beautiful print can be completely ruined.
This crucial step is at the very heart of the Direct to Film (DTF) printing boom. The market jumped from USD 2.89 billion to USD 3.08 billion in just one year, and it’s on track to hit USD 4.56 billion by 2032. That 6.72% compound annual growth rate shows just how many shops are finding success with this method. You can get the full scoop on this expansion in the complete Direct to Film printing report.
Prepping The Garment
Before your transfer gets anywhere near the fabric, there's a quick but essential step you can't afford to skip: the pre-press.
Just place your garment on the heat press and give it a quick press for about 5-10 seconds. This simple move does two critical things. First, it zaps any lingering moisture hiding in the fibers, which can create steam pockets and mess with your adhesion. Second, it smooths out every last wrinkle, giving you a perfectly flat canvas to work on.
Honestly, skipping the pre-press is one of the most common ways to end up with a failed transfer. A tiny wrinkle can prevent part of the design from making contact, and that hidden moisture can lead to a weak bond that starts peeling after the first wash.
Aligning Your Transfer
With a smooth, dry garment ready to go, it’s all about placement. This is what separates the pros from the amateurs. Even a slightly crooked design can make a shirt look cheap and homemade.
Here are a few tricks I use to get it right every time:
- The Fold-and-Crease Method: Fold the shirt in half vertically and give it a quick press. This leaves a faint centerline to guide you. You can do the same with your transfer (just fold it gently without creasing the ink) to find its center point.
- Invest in Alignment Tools: If you’re doing this regularly, laser alignment systems or even a simple T-square ruler are game-changers. They take all the guesswork out of it.
- Measure from the Collar: A good rule of thumb for a standard chest print is to place the top of the design about three to four fingers' width down from the collar.
Heat Press Settings And Peeling Technique
Remember, your heat press settings are never one-size-fits-all. Different fabrics require different approaches. Using the wrong temperature or time can scorch the material or, worse, cause dye migration—especially with polyester.
I’ve learned the hard way that polyester is sensitive. Too much heat can cause the fabric's dye to sublimate into your print, turning a crisp white design into a faded, discolored mess. Always start with lower temperatures for synthetics.
This table is a great starting point, but always test on a scrap piece first!
| Fabric Type | Temperature Range | Pressure | Time |
|---|---|---|---|
| 100% Cotton | 320-350°F (160-177°C) | Medium-Firm | 10-15 seconds |
| Polyester & Blends | 280-300°F (138-149°C) | Medium | 8-12 seconds |
| Tri-Blends | 270-290°F (132-143°C) | Medium | 8-12 seconds |
After pressing, how you peel the film is just as important. For hot peel films, you need to pull the sheet off immediately in one smooth, confident motion. For cold peel films, you have to let the garment cool down completely to room temperature before removing the film. This ensures all the fine details transfer perfectly. To really get into the weeds, check out our comprehensive heat press settings guide.
The Final Post-Press
Once the film is off, don’t celebrate just yet. There’s one last step for the best possible result: the post-press.
Cover the design with a finishing sheet (parchment paper or a Teflon sheet works great) and press it again for 5-10 seconds. This final touch locks the design into the fabric, boosts its durability in the wash, and gives the print a softer, matte finish that really elevates the quality.
9. Troubleshooting Common Transfer Printing Problems
Sooner or later, every print shop runs into a snag. You can have the most dialed-in process, but things can still go sideways, usually right in the middle of a big run. When that happens, you don't want to be guessing what went wrong.
This section is your field guide for those moments. We'll walk through the most common headaches you'll face with transfer printing and get you back on track without wasting a ton of time or materials.
Diagnosing Print Quality Issues
Let's start where most problems begin: the printer. When your transfers just don't look right coming off the film, it’s almost always a setting or maintenance issue.
The Colors Look Dull or Washed Out
This is a classic. You send a file with brilliant, popping colors to the printer, but what comes out looks faded and lifeless. Nine times out of ten, this comes down to how your printer is handling the ink and color information.
- Check Your Color Profile: Make sure your RIP software is using the right ICC profile for your specific ink set and film. Using the wrong one is like trying to translate a language with the wrong dictionary—the output will be completely off.
- Boost Ink Density: Don't be afraid to nudge the color ink density up a bit in your RIP settings. A small bump of 5-10% can often bring the saturation back to life. Just be careful not to oversaturate the film.
- Inspect the White Underbase: On anything but a white shirt, a weak white underbase is the number one killer of vibrancy. Your colors need a bright, opaque foundation to really pop. Check that your white ink channels are firing perfectly and the density is set high enough, usually somewhere in the 60-80% range.
I See Lines or Banding in the Print
Nothing ruins a great design faster than a series of thin, horizontal lines running through it. This "banding" is a dead giveaway that you've got an ink flow problem.
Expert Tip: Before you do anything else, run a nozzle check. Banding is almost always caused by a clogged print head. If that test pattern comes out with broken lines, you've found your culprit.
Your first move should be to run a head cleaning cycle through your printer's software. Sometimes it takes two or three cycles to clear a stubborn clog. If that doesn't fix it, you might be looking at a more involved manual cleaning, but always start with the automated option first.
Solving Application and Durability Problems
Sometimes the print itself looks flawless, but the trouble starts during the application or after the first wash. These issues usually point to a problem with your adhesive powder, curing method, or heat press technique.
The Adhesive Powder Is Clumpy and Uneven
You shake your freshly printed transfer in the powder, but instead of a nice, even coat, you get clumps and bare spots. This is almost always an environmental problem.
- Humidity is the Enemy: DTF adhesive powder is hygroscopic, which is a fancy way of saying it loves to suck moisture right out of the air. If your shop's humidity is above 50%, you’re going to get clumping. A good dehumidifier is a worthy investment for any DTF setup.
- Static Electricity: On the flip side, very dry air can cause static to build up, making the powder stick everywhere you don't want it. You can gently wipe the film with an anti-static brush before powdering to solve this.
The best defense is good storage. Keep your powder in a sealed, airtight container with a desiccant pack thrown in. It’ll stay dry and ready to go.
Transfers Are Cracking After Washing
This is the one that really hurts—the design looks perfect on the shirt, but it cracks and peels after a single wash. This means the transfer never properly bonded with the fabric, which points straight to a failure in the curing or pressing stage.
- Improper Curing: You have to melt that adhesive powder until it gets a glossy, slightly bumpy "orange peel" texture. If it's not fully melted, it can't create a durable bond. Revisit your curing temperature and time to make sure the entire design is getting evenly heated.
- Incorrect Heat Press Settings: Too little pressure or not enough time under the heat is just as bad as poor curing. The transfer might stick initially, but it won't survive the wash. Always follow your film manufacturer's guidelines and do a test wash on a sample before you run a full batch.
A quick final press for 5-10 seconds after peeling the film can work wonders for locking in the design and dramatically improving washability.
When you're in the middle of a print job, a quick reference can be a lifesaver. Here's a table to help you rapidly diagnose the most common issues you'll encounter and get back to printing.
Quick Troubleshooting Guide For Transfer Printing
| Problem | Potential Cause | Quick Solution |
|---|---|---|
| Dull or Faded Colors | Incorrect ICC profile or low ink density. | Verify the correct ICC profile is selected in your RIP. Incrementally increase ink density by 5-10%. |
| Banding (Lines in Print) | Clogged print head nozzles. | Run a nozzle check. If lines are missing, perform 1-2 head cleaning cycles. |
| Ink Bleeding or Smudging | Ink limit is too high for the film. | Reduce the total ink limit in your RIP software. Ensure the film is not oversaturated. |
| Uneven Adhesive Powder | High humidity causing clumps, or static. | Use a dehumidifier to keep humidity below 50%. Store powder in an airtight container with desiccant. |
| Transfer Not Sticking | Insufficient heat, pressure, or time. | Check heat press settings against the manufacturer's recommendations. Increase pressure or dwell time. |
| Cracking After Washing | Incomplete curing of adhesive or poor press. | Ensure powder is fully melted to an "orange peel" texture. Perform a final 5-10 second post-press. |
| Color Shift After Pressing | Dye migration from polyester-blend fabrics. | Use a blocker-type transfer film or lower your heat press temperature and extend the time. |
Remember, these are starting points. Every printer, ink set, and environment is a little different, so don't be afraid to experiment and take notes on what works for your specific setup.
Why Sourcing Your Supplies in the USA Matters
Where you get your supplies from is one of the biggest decisions you'll make for your printing business. It directly hits your wallet and your reputation. When you're printing onto transfer paper, choosing a supplier here in the USA isn't just about waving a flag—it’s a smart, strategic move that helps you stay fast, maintain quality, and keep your finances in check.
Let's talk about the most obvious win: logistics. A domestic partner can have your essential DTF films and inks on your doorstep in just 1-3 business days. That kind of speed means you can say "yes" to those last-minute rush orders and keep your production line humming without staring at a tracking number stuck in customs for 20+ days.
The Real Price of Importing
Looking overseas for supplies might look cheaper on paper, but those initial prices are often just the tip of the iceberg. The hidden costs pile up fast. You’re suddenly dealing with import tariffs, fees for customs brokers, and wild swings in international shipping rates that can blow up your cost-per-print when you least expect it.
And it’s not just about the money. It's about risk. What happens when that crucial shipment is delayed for weeks, or worse, shows up damaged? Your whole operation grinds to a halt. You have almost no way to fix the problem, and you're stuck making excuses to unhappy customers.
Choosing a domestic supplier transforms your supply chain from a potential liability into a competitive advantage. Predictable costs and reliable delivery schedules allow you to focus on what you do best—creating amazing products.
The global market for direct-to-film printing is huge, with Europe currently holding a 36.0% share. However, the Americas are catching up fast, and that growth is being fueled by U.S. shops using local suppliers to sidestep tariffs that can slap a 25% tax on certain imports. This gives you a serious leg up in a fiercely competitive e-commerce apparel market. You can dive deeper into these market trends in this comprehensive industry report.
Quality You Can Count On
Working with a USA-based supplier brings another huge benefit: better, more consistent quality control. The materials are often made under stricter manufacturing regulations. This means the DTF film and ink you get today will perform exactly like the batch you order next month.
That kind of consistency is everything when you're trying to lock in your printer settings and get repeatable, professional-grade results every single time. To make sure you pick the right partner, using a thorough supplier vetting checklist is a fantastic way to compare your options and find the best fit for your business.
Common Questions About Transfer Printing
Getting into custom apparel printing always brings up a few key questions. Let's tackle some of the most common ones I hear from people just starting out, so you can get printing with confidence.
DTF vs. Heat Transfer Vinyl: What’s the Real Difference?
The main distinction really boils down to feel, detail, and versatility. Think of Heat Transfer Vinyl (HTV) as a sheet of colored plastic. You cut out your design, weed away the excess, and press it onto the fabric. It works great for simple, bold graphics like team numbers, but it often has a thicker, heavier feel and you're limited to one color per layer.
Direct-to-Film (DTF) is a whole different ballgame. You're printing a full-color design—photos, complex logos, gradients, you name it—directly onto a special film. This means you get unlimited colors and incredibly fine detail in a single application. The final print is much softer and more flexible, almost becoming part of the fabric itself for that high-end, retail feel.
Can I Get Away With Using a Home Iron Instead of a Heat Press?
I get this question all the time, and the short answer is no—at least not for anything you plan to sell or want to last. While you could technically stick a design on a shirt for a one-off hobby project, an iron is a recipe for disaster in the long run.
The problem is that a home iron can't provide the two things a transfer absolutely needs for a durable bond: consistent, even heat and uniform pressure. A proper heat press delivers both perfectly across the entire design, ensuring the adhesive melts correctly and bonds deep into the fabric fibers. An iron will give you hot spots and uneven pressure, which is why you'll see peeling and cracking almost immediately, often after the very first wash.
If you're serious about creating professional, sellable products, a heat press isn't just a suggestion—it's essential. It is the single most important tool for guaranteeing the quality and longevity of your work.
How Should I Care for DTF-Printed Garments?
Making the print last is all about proper aftercare. You'll want to pass these simple instructions on to your customers to keep their shirts looking great wash after wash.
- Always turn the garment inside out before washing.
- Stick to cold water on a gentle cycle.
- Tumble dry on low, or even better, hang it up to air dry.
- Stay away from bleach and harsh fabric softeners.
Following these steps will protect the print’s vibrant colors and prevent it from breaking down over time.
Ready to step up your quality without the printing hassle? Cobra DTF prints custom, USA-made DTF transfers that are ready to press, with same-day shipping on orders placed by 1 PM CT and 1-3 day delivery. Order custom DTF transfers at CobraDTF.com.