

How to Use T Shirt Transfer Paper for Perfect Custom Tees
Ready to turn that plain t-shirt into something special? Using t-shirt transfer paper is a fantastic way to do it. The basic idea is simple: print your design onto the special paper, position it on the shirt, and use a heat press or an iron to make the magic happen.
The two most critical things to remember are to mirror your design before you print and to apply firm, even pressure. Get those right, and you're well on your way to a great-looking shirt.
Your Guide to Flawless DIY T-Shirt Designs
Let's walk through how to transform a blank tee into a custom piece of wearable art. I'll take you through the entire process, from picking the right supplies to that final, satisfying peel, so your first project comes out looking like you've been doing this for years.
This isn't just a niche hobby anymore; it’s a booming market. The demand for personalized apparel has exploded, and transfer paper is at the heart of it. The global market was valued at an impressive USD 3.3 billion in 2025 and is expected to hit USD 5.8 billion by 2035. That's some serious growth, and you can dive into the full research on the transfer paper market to see how this trend is playing out.
What to Expect in This Guide
Think of this as your personal cheat sheet. We're going to cover the must-knows to help you avoid common mistakes and get those vibrant, durable designs you're after.
Here's what we'll be tackling:
- Choosing Your Materials: We’ll look at the differences between transfer paper for light and dark fabrics (yes, it matters!).
- Gathering Your Tools: Is a professional heat press necessary, or can you get great results with a household iron? We'll figure out what's right for you.
- Understanding the Process: We'll go step-by-step, from printing your artwork to the final reveal.
If you're more of a visual learner, watching a video can be a game-changer. Learning about creating engaging educational videos can show you just how effective a well-made tutorial can be for clarifying the hands-on steps of a process like this.
Key Takeaway: Your custom t-shirt's success boils down to three things: using the right paper, prepping your artwork correctly, and applying heat properly. Nail these, and you've found the recipe for professional-looking results every single time.
To get started, here’s a quick-glance summary of the entire process. This table lays out the core steps and some key tips so you know what to expect as you move through each phase.
Quick Start Guide to T-Shirt Transfers
| Phase | Key Action | Pro Tip for Success |
|---|---|---|
| Preparation | Select the correct transfer paper (light vs. dark fabric) and mirror your digital artwork. | Always do a test print on regular paper first to check colors and size. |
| Printing | Print your mirrored design onto the transfer paper using an inkjet printer. | Use the printer's highest quality setting for the most vibrant and detailed output. |
| Application | Preheat your garment, position the transfer, and apply heat with an iron or heat press. | Pre-pressing the shirt for 5-10 seconds removes moisture and wrinkles, ensuring a better transfer. |
| Finishing | Let the transfer cool completely (or as instructed) before peeling the backing paper away. | Peel slowly and steadily at an even angle to avoid tearing the design or the paper. |
Now that you've got the roadmap, let's dive into the details and get you ready to create.
Picking the Right Gear for Your Project
The secret to a killer custom t-shirt isn't just a great design—it's starting with the right materials. The quality of your paper, your shirt, and your tools is what separates a professional-looking final product from one that fades and peels after the first wash. Getting this part right is the foundation for everything that follows.
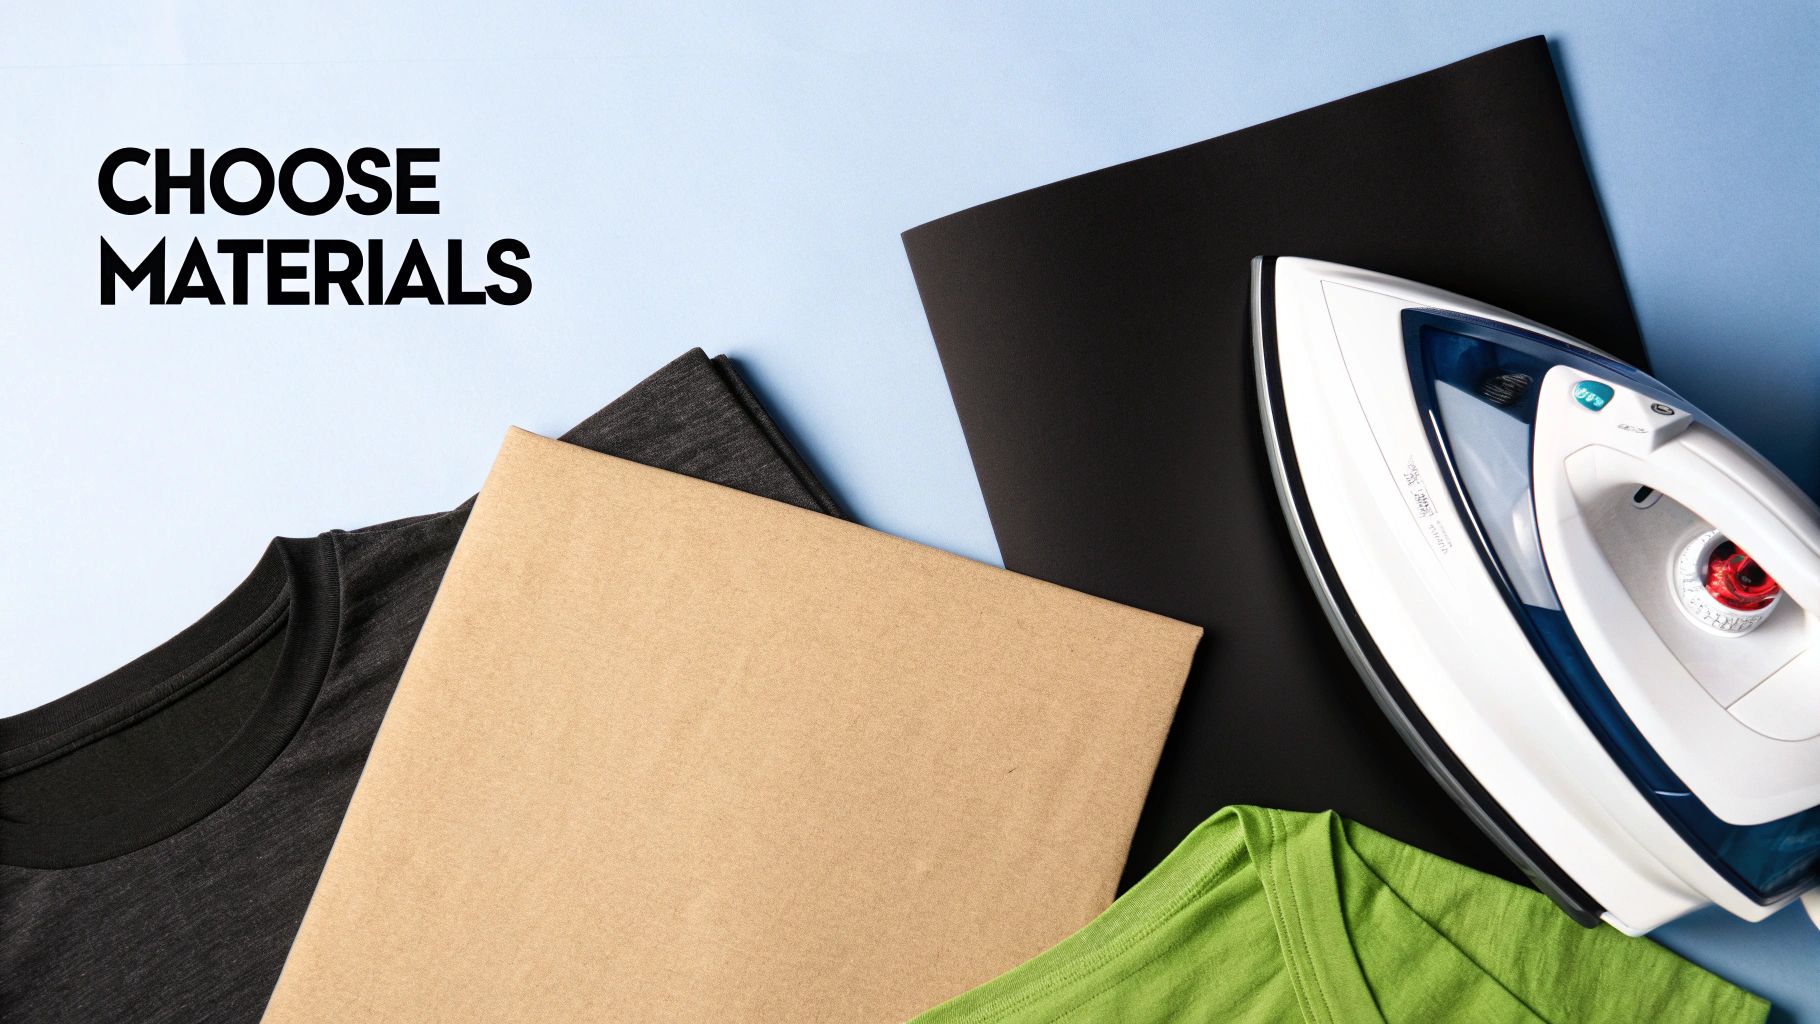
So, before you even think about hitting "print," let's walk through the essential gear you'll need to have on hand.
Light vs. Dark Fabric Transfer Paper
Your first big decision is matching the transfer paper to the color of your shirt. This isn't just a minor detail; it completely changes how your design will look and feel on the final garment.
-
Paper for Light Fabrics: Think of this paper as a transparent canvas. The ink soaks into it, and when you apply heat, that ink transfers directly into the shirt's fibers. Any white parts of your design won't print—they'll just be the color of the shirt showing through. This is your go-to for white, heather gray, and any pastel-colored tees.
-
Paper for Dark Fabrics: This type is totally different. It has a solid, opaque white background. You print your design onto this white film, and the whole thing gets pressed onto the shirt. You need this for black, navy, forest green, or any dark-colored garment. That white base is crucial for making your colors pop instead of getting swallowed up by the dark fabric.
A good way to remember the difference is that light fabric paper is like a stain, becoming part of the shirt, while dark fabric paper is like a high-quality sticker that sits on top.
Finding the Perfect T-Shirt Fabric
You can press a transfer onto a lot of different materials, but the fabric you choose will make a huge difference in the final look and durability.
For the brightest, most vibrant colors that really last, 100% cotton is the undisputed champion. Cotton fibers are fantastic at absorbing the transfer's ink, which means you get rich, deep colors that hold up wash after wash.
Polyester blends, like a 50/50 cotton-poly mix, are also an option. Just be aware that the colors might look a bit duller compared to pure cotton. The synthetic fibers just don't bond with the ink in quite the same way. If you want to get really granular, we have a whole guide on choosing the best t-shirt fabric material that breaks it all down.
My Two Cents: Always, always pre-wash your shirts before you press them. Don't use fabric softener. This gets rid of any factory chemicals and, more importantly, pre-shrinks the fabric. Skipping this step is a classic rookie mistake that can cause your beautiful design to pucker and warp later on.
The Great Debate: Heat Press vs. Home Iron
The last piece of your setup is the heat source. While you can use a home iron, if you're planning on making more than one shirt, a heat press is a game-changer.
A heat press is built for one job: delivering perfectly even temperature and pressure across your entire design. This is the key to a strong, permanent bond that won't peel away.
A standard home iron, on the other hand, is notoriously inconsistent. It has hot spots and cooler areas, and trying to apply even pressure by hand is nearly impossible. This often leads to parts of the transfer not sticking properly, which means it will probably start lifting after a few washes.
No matter which tool you use, a Teflon sheet is an absolute must-have. You'll place this over your transfer paper during pressing. It acts as a protective barrier, preventing the intense heat from scorching your design or the shirt itself. Don't press without it.
Getting Your Artwork Ready for a Flawless Print
A great design is only half the battle. If you rush the prep work on your computer, that brilliant idea can easily become a blurry mess on fabric. Getting your artwork print-ready is where the real magic happens, making sure what you see on screen is exactly what you get on the shirt. This is the bridge between your vision and a professional-looking finished product.
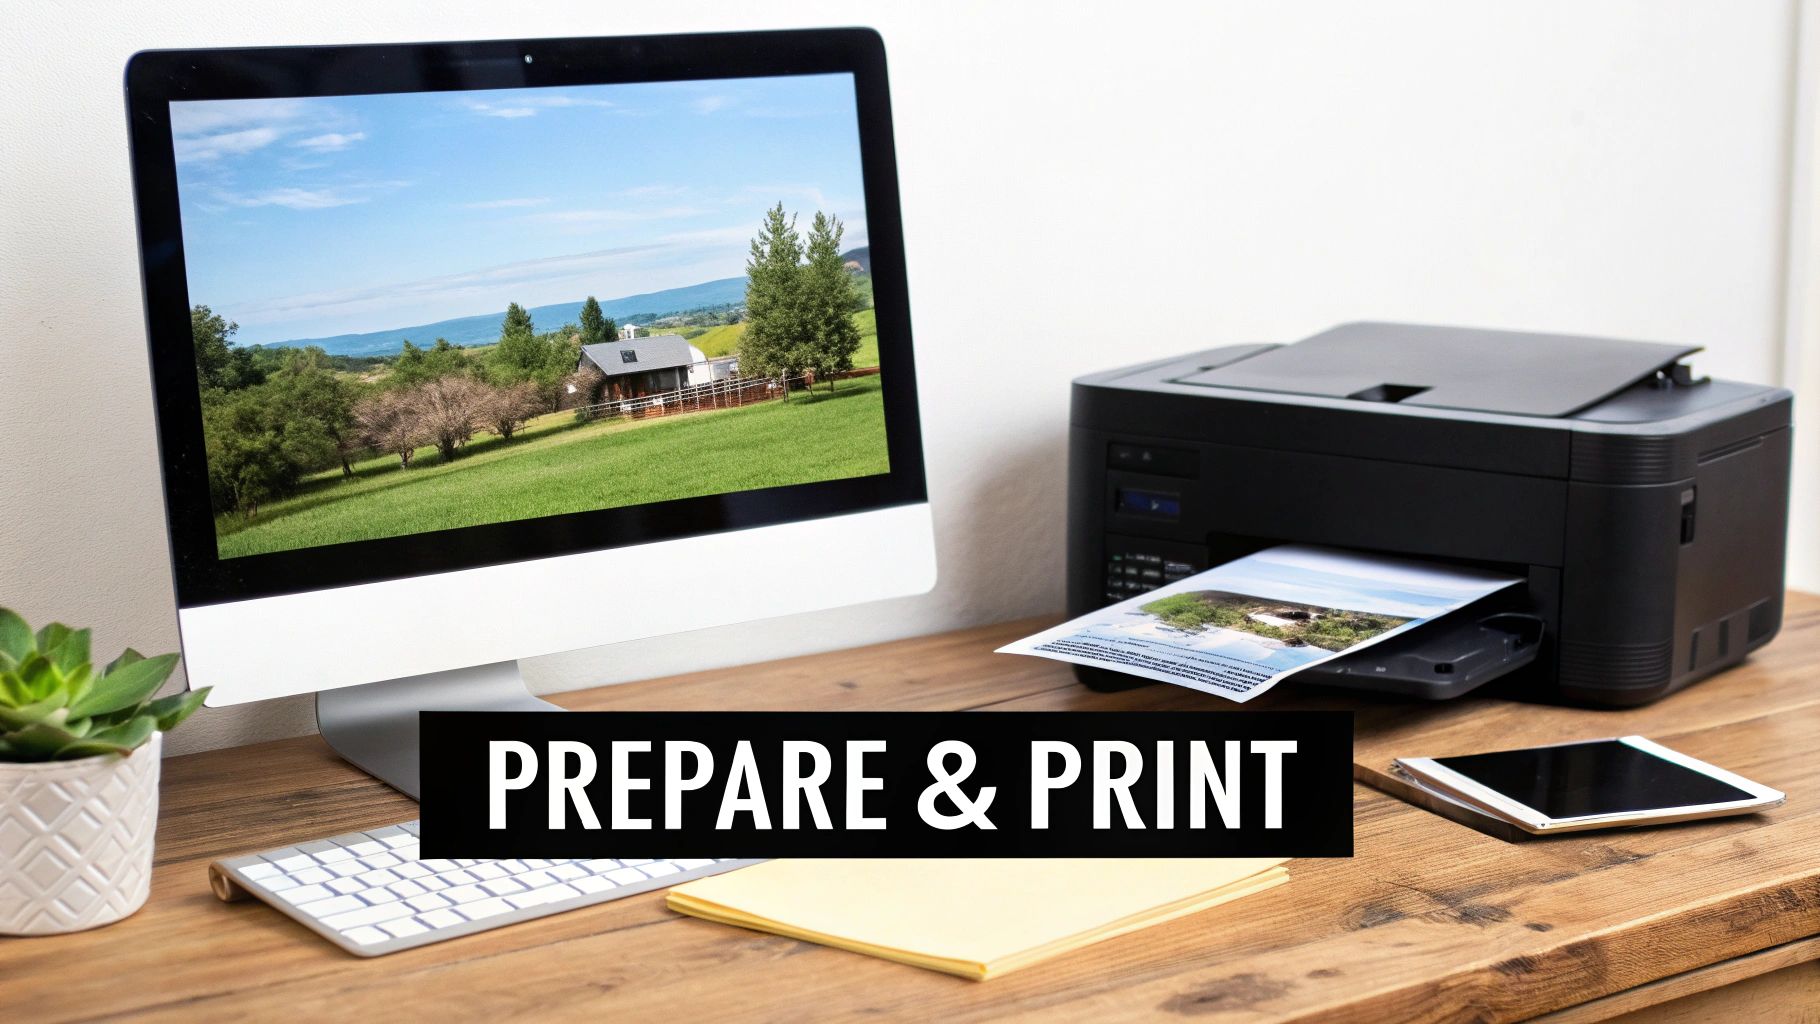
Let’s walk through exactly how to prepare and print your design, setting you up for a perfect transfer every single time.
Fine-Tuning Your Digital Design
Before you even touch your printer, let's get your digital file in perfect shape. The single most important thing to get right here is resolution. To avoid a fuzzy, pixelated transfer, you absolutely need your image set to 300 DPI (dots per inch) at the final print size.
Whether you're using Adobe Photoshop, Illustrator, or a free tool like Canva, this setting is key. So, if your graphic is meant to be 10 inches wide on the shirt, your digital canvas must also be 10 inches wide at 300 DPI. Trust me, this high resolution is non-negotiable if you want sharp lines and punchy colors.
Pro Tip: You can't just scale up a low-quality image and call it a day. Grabbing a small, fuzzy graphic from the internet and stretching it won't magically add detail—it just makes the pixelation worse. Always, always start with the highest quality source file you can get your hands on.
The Make-or-Break Mirror Image Step
This is the one step that trips up so many people when they're starting out: mirroring your artwork. When you’re using transfer paper designed for light-colored fabrics, you have to flip your design horizontally before you print.
Why? It’s simple mechanics. You’ll be placing the printed paper face-down onto the t-shirt to press it. If you don't mirror the image first, any text or logos will end up backward on the final shirt. It’s a gut-wrenching mistake to make.
-
In Photoshop: Just go to
Image > Image Rotation > Flip Canvas Horizontal. -
In Canva: Select your design, find the
Flipoption, and chooseFlip Horizontal.
This one click will save you a world of frustration. It's worth noting that this rule is typically only for light fabric paper. Transfer papers made for dark garments are applied differently and usually don't need to be mirrored.
Dialing in Your Printer Settings
Okay, your printer is the final checkpoint for quality. Don't just hit "Print" and hope for the best. You need to dive into your printer’s settings to get the best possible output for your t shirt transfer paper.
First, you need to tell the printer what kind of paper it’s handling. In the print dialog box, look for the paper or media type setting. Choose an option that sounds right, like "T-Shirt Transfer," "Matte Photo Paper," or "Premium Matte." Selecting one of these tells the printer to lay down more ink, which gives you much richer and more saturated colors.
Next, you have to max out the print quality. Look for a setting labeled "High," "Best," or "Photo" and select it. This will slow down the printing process, but it’s absolutely worth it for the detail you’ll get. The demand for vibrant, durable prints is a big reason why the related fast-dry sublimation transfer paper market is projected to hit USD 1.5 billion by 2025.
For a deeper dive into the technical side of printing, our guide on how to print on transfer paper has even more advanced tips. Once your design is perfected and your printer is dialed in, you're ready to move on.
Bringing Your Design to Life with Heat
This is the moment of truth—where your hard work on the screen becomes a real, wearable piece of art. Applying the heat is part science, part technique, but it's not nearly as intimidating as it sounds. Once you get the hang of it, you'll be a pro. Getting this step right is the key to a transfer that not only looks fantastic but also holds up in the wash.
The custom apparel world has absolutely exploded, and it's easy to see why. The market for heat transfer materials, valued at USD 1.6 billion in 2025, is expected to jump to a staggering USD 2.27 billion by 2034. That growth tells you one thing: this method works, it's accessible, and creators everywhere are jumping on board.
Setting the Stage for a Perfect Press
Before you bring the heat, a little prep work goes a long way. Start by laying your garment flat on your heat press or another hard, heat-resistant surface. A sturdy wooden table works great, but an ironing board is a definite no-go.
Next, give the shirt a quick "pre-press" for about 5 to 10 seconds. This simple action accomplishes two critical things: it evaporates any moisture hiding in the fibers and irons out all the wrinkles. A wrinkled, damp shirt is the enemy of a clean transfer because it prevents the adhesive from making a solid bond with the fabric.
Applying the Heat: Press vs. Iron
With your shirt prepped and ready, it's time for the main event. Your exact approach will depend on the tools you have on hand.
With a Heat Press
If you've got a heat press, you're already ahead of the game. It provides the consistent, even pressure and temperature that are tough to replicate by hand. For a standard 100% cotton tee, a great starting point is 320-350°F (160-177°C).
- Position your trimmed transfer on the shirt, design side down.
- Lay a Teflon sheet over the top to shield the fabric from direct contact.
- Clamp it down with medium to firm pressure and let it cook for 15-20 seconds.
The combination of controlled heat and pressure is what gives you those professional, long-lasting results every single time.
With a Home Iron
No heat press? No problem. You can still get great results with a household iron, but you have to be more hands-on. First things first: turn the steam function off and crank the heat up to the highest setting for cotton.
Critical Tip: Do not use an ironing board. Its soft, padded surface just won't work. The padding absorbs the pressure you need for a good transfer. Instead, find a solid surface like a countertop or a heavy table and protect it with a pillowcase.
Press down with some serious muscle and keep the iron in constant motion for 60-90 seconds. Pay extra attention to the edges, as that's where peeling usually starts. For a deeper dive into this method, be sure to read our complete guide on how to properly iron on a transfer.
We get asked all the time whether a heat press is really worth it. Here’s a quick breakdown based on real-world experience.
Heat Press vs Home Iron A Real-World Comparison
| Feature | Heat Press | Home Iron |
|---|---|---|
| Heat Distribution | Even and consistent across the entire surface. | Uneven, with "hot spots" that can scorch. |
| Pressure | Uniform, adjustable, and easily repeatable. | Inconsistent and depends entirely on your strength. |
| Temperature Control | Precise digital thermostat for accurate settings. | Vague settings (e.g., "Cotton") with no real accuracy. |
| Results | Professional, durable, and reliable every time. | Can be good, but prone to peeling or cracking. |
| Best For | Anyone serious about selling or making many shirts. | Occasional hobbyists or one-off projects. |
While an iron can certainly get the job done for a personal project, if you're planning on making shirts regularly or for customers, investing in a heat press is one of the best moves you can make for your quality and sanity.
The Big Reveal: The Hot or Cold Peel
The final step is peeling away the backing paper, and this is where timing is absolutely everything. Every transfer paper is different; they're designed as either "hot peel" or "cold peel." Ignoring the instructions here is a surefire way to ruin your work.
- Hot Peel: Just like it sounds, you peel the backing off immediately after pressing while the transfer is still scorching hot. Be quick, smooth, and confident.
- Cold Peel: This requires a little patience. You must let the garment cool down completely to room temperature before you even think about touching the backing.
If you peel a cold-peel paper while it’s still warm, the design will likely stretch, tear, or lift right off the shirt. Always, always check your paper's specific instructions to know which type you're working with.
Making Sure Your Custom T-Shirt Lasts
You did it. You’ve pressed your design and made a killer custom shirt. Now, what you do in the next 24 hours is probably the most important part of the entire process. This is when the magic really happens—the ink and adhesive need this time to fully cure and grab onto the fabric fibers for good.
Think of it like this: you wouldn't drive a car with freshly glued parts. You've got to give it time to set. Rushing to wear or wash your new shirt is the quickest way to ruin your hard work. Let it rest for a full day; that patience pays off with a design that looks professional and actually lasts.
The whole process, from start to finish, is about building a strong foundation for that transfer.
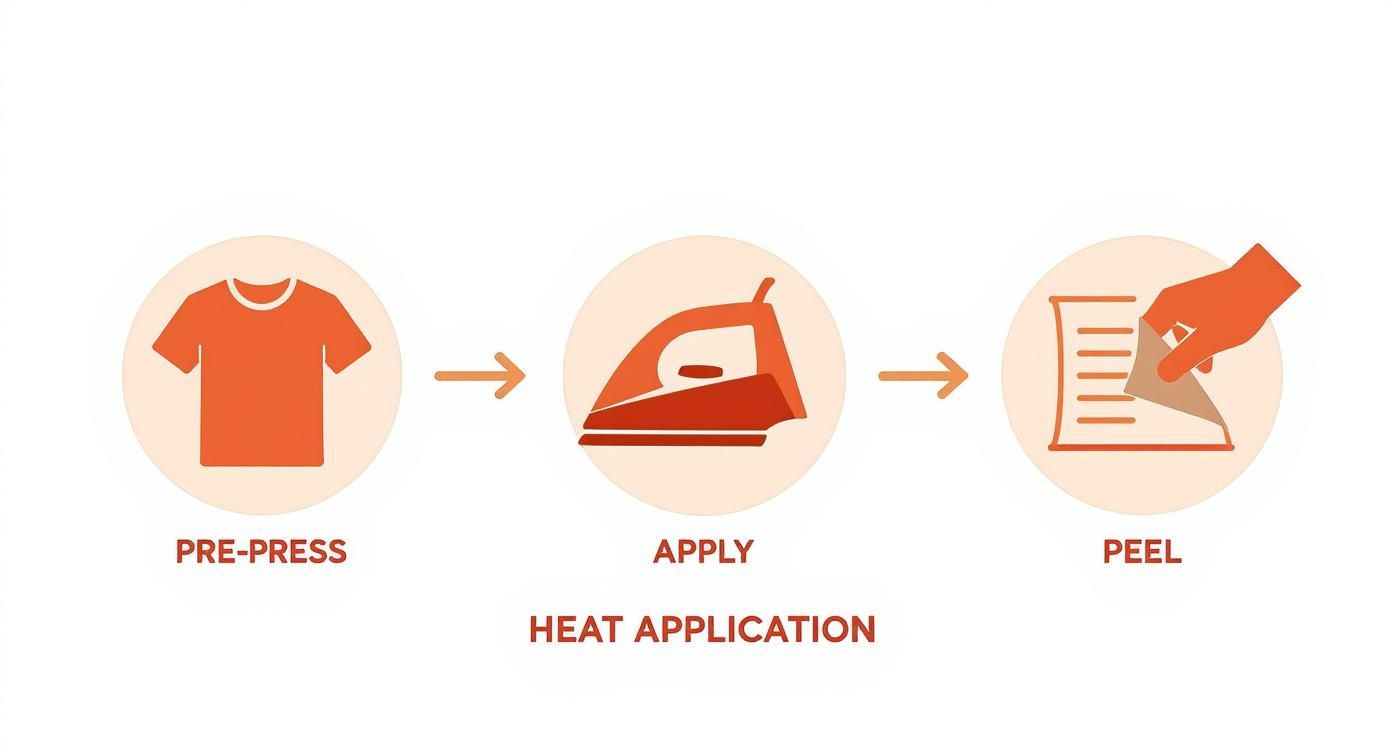
From pre-pressing the shirt to get the moisture out, to the main press, and finally the peel, every moment counts. Each step sets the stage for the next, locking in the quality.
How to Wash and Dry Your Shirts the Right Way
After that initial 24-hour curing window has passed, it’s all about proper care. How you wash and dry the shirt from here on out will dictate its lifespan. Your main goal is to be gentle.
First rule: always turn the t-shirt inside out before it even touches the washing machine. This is a non-negotiable step. It protects the design from getting roughed up by other clothes and the machine itself.
When you're ready to wash, stick to these rules for the best results:
- Cold Water Only: Hot water is the enemy. It can soften the adhesive and make your colors fade way too fast.
- Use a Mild Detergent: Stay away from the heavy-duty stuff. Bleach and harsh chemicals are a definite no-go, and even fabric softeners can break down the transfer over time.
- Gentle Cycle is a Must: You don’t need an aggressive wash cycle here. Less agitation means less stress on both the fabric and your design.
Expert Insight: If you can, just hang your shirt up to air-dry. It's the absolute best thing you can do for the transfer. Laying it flat works great, too. By avoiding the dryer altogether, you're dodging the two biggest culprits of damage: high heat and tumbling.
If you’re in a pinch and have to use a machine dryer, make sure the shirt is still inside out and use the lowest heat setting you possibly can—or even just the air-fluff cycle. Pull it out as soon as it's dry to keep it from getting wrinkled.
The Everyday Habits That Destroy Transfers
Even if you get the washing routine down perfectly, a few bad habits can still wreck your custom shirts. A little mindfulness goes a long way in keeping those prints looking sharp.
Do your best to avoid these common mistakes:
- Ironing the Design: Never, ever let a hot iron touch the transfer directly. It will melt into a sticky, permanent mess in seconds. If the shirt is wrinkled, turn it inside out, use a low heat setting, and be very careful to iron around the design area.
- Stretching It Out: DTF prints have fantastic stretch, which is one of their biggest selling points. But yanking and pulling on the design constantly will eventually cause tiny cracks to form in the ink layer.
- Wadding It Up: Tossing a damp shirt into the hamper might seem harmless, but if the design folds over on itself, it can stick. When you pull it apart later, you might take a piece of the print with it.
Following these simple care instructions isn't just about doing laundry—it's about protecting your work. A few easy steps will ensure your custom apparel stays looking vibrant and professional for a long, long time.
Getting Ahead of Common Transfer Paper Problems
Even when you follow all the steps for using T-shirt transfer paper, things can still go sideways. It happens to everyone. The good news is that most of these issues are simple to fix once you know what to look for. Let's walk through some of the most common hiccups and how to get your project back on track.
One of the biggest frustrations is seeing a design start to peel up around the edges after only a wash or two. Nine times out of ten, this comes down to one thing: uneven pressure when you applied it. This is especially true if you're using a standard home iron, since it's almost impossible to get consistent pressure across the entire design. The middle might be stuck on perfectly, but the corners just didn't get the same attention.
Tackling Peeling and Adhesion Issues
If you're using an iron, you really have to put some weight behind it. Press down hard and give extra love to the outer edges of your transfer. Keep the iron moving for the entire time recommended in the instructions. If you're using a heat press and still getting peeling, chances are your pressure is just a bit too low. Bumping it up slightly can make a massive difference in how well the transfer bonds to the fabric.
Another headache is when the transfer just won't let go of the backing paper cleanly. It might tear or leave bits of the design behind. This is a classic symptom of peeling at the wrong temperature.
Key Insight: Every transfer paper is designed as either a "hot peel" or a "cold peel." There’s no in-between. If you try to peel a cold-peel paper while it's still hot, the design will likely stretch, warp, or lift off unevenly. Always, always check the instructions for your specific paper—a little patience goes a long way here.
How to Fix Faded and Dull Colors
What about when the transfer goes on smoothly, but the colors look weak and washed out? This problem almost always starts back at the printer.
Before you print, dive into your printer settings and make sure you've selected the highest quality option available, usually called something like "Best" or "Photo Quality." You'll also want to tell the printer what kind of paper you're using. A setting like "Premium Matte Paper" signals the printer to lay down more ink, which gives you those deep, saturated colors you're looking for.
If you’ve done all that and the colors are still a bit dull, try pre-pressing the shirt for 5-10 seconds before you apply the transfer. This removes any lingering moisture from the fabric, which can mess with the ink's vibrancy and create a better surface for the transfer to bond to. Paying attention to these small details is what separates an okay shirt from a great one that looks professional and lasts.
Ready to create stunning, long-lasting custom apparel without the common frustrations? Cobra DTF offers premium, American-made DTF transfers that guarantee vibrant colors and incredible durability. Skip the guesswork and get professional results with our easy-to-use products, shipped right to your door in 1-3 days. Explore our high-quality DTF transfers at cobradtf.com and take your projects to the next level.