
How to Iron On a Transfer for Flawless Results
At its core, ironing on a transfer is a straightforward process: prepare your fabric, position the design, and apply firm, even heat. The real secret to getting it right lies in the details—like pre-washing the garment without fabric softener, using a hard, flat surface instead of a wobbly ironing board, and carefully following the specific heat and peel instructions for your exact transfer type.
Your Guide to a Perfect Iron-On Transfer
Welcome to the incredibly fun world of custom apparel! If you've ever wanted to bring your own designs to life, you're in the right place. Learning how to properly iron on a transfer is a skill that opens up so many possibilities, from personalizing your own clothes to making one-of-a-kind gifts or even starting a side hustle. This guide is designed to walk you through everything, step by step.
This isn't just a niche hobby anymore. The DIY apparel scene is booming. In fact, the global market for iron-on transfer sheets was valued at a staggering $1.21 billion in 2024 and is expected to hit $2.19 billion by 2033. That growth is fueled by people just like you who are passionate about creating custom gear.
Setting You Up for Success
Before we jump into the hands-on steps, let's talk about the game plan. My goal here is to make this process feel less like a science experiment and more like a creative project. We'll cover the techniques I've learned from experience that deliver professional-looking results every time.
A little prep work up front makes all the difference. By understanding the fundamentals, you'll sidestep common frustrations like peeling edges, cracked designs, and colors that fade after the first wash. Trust me, it's worth the effort.
And if you're creating your own transfers from scratch, don't forget how important color selection is. Checking out some winning color combinations for your designs can give you that extra polish and make your final product really pop.
Here’s a sneak peek at the key areas we'll cover:
- Fabric Prep: I'll explain why pre-washing and pre-pressing your garment is a non-negotiable step for a strong, lasting bond.
- Heat & Pressure: We'll dive into mastering that crucial balance between the right temperature and firm, even pressure.
- Aftercare 101: You'll learn simple washing and drying tips to keep your custom designs looking fantastic for the long haul.
Getting Your Fabric Ready for a Perfect Press
The secret to an iron-on transfer that looks incredible and actually lasts is all in the prep work. If you skip these steps, you're setting yourself up for peeling edges and a faded design down the road. Think of your fabric as a canvas—it needs to be clean, smooth, and ready for the art.
First things first, you absolutely have to pre-wash the garment. Brand new clothes, straight from the store, are often coated with chemicals like sizing or starch. These create a barrier that stops the transfer's adhesive from getting a solid grip. A simple wash cycle is all it takes to get rid of them.
But here's the golden rule: no fabric softener. Not in the wash, and definitely no dryer sheets. These products leave behind a waxy film that’s the arch-nemesis of transfer adhesive. It'll cause your design to fail, sometimes right away. Just stick to a basic detergent.
Choosing Your Material
The fabric you're working with makes a huge difference. While DTF is incredibly versatile, some materials are easier to work with than others. For instance, 100% cotton is a classic choice for a reason; it's a stable fabric that can handle the high heat needed for a strong bond.
On the flip side, polyester and poly-blends are a bit more delicate. They can scorch or even melt if the heat is too high, so you'll need to dial back the temperature. Knowing how different fabrics react to heat is key. To get a better handle on this, check out our guide comparing cotton vs polyester for printing.
Pro Tip: Always, always read the instructions that came with your transfers. They'll have specific recommendations for different fabric types and the exact heat settings to use, which takes all the guesswork out of the process.
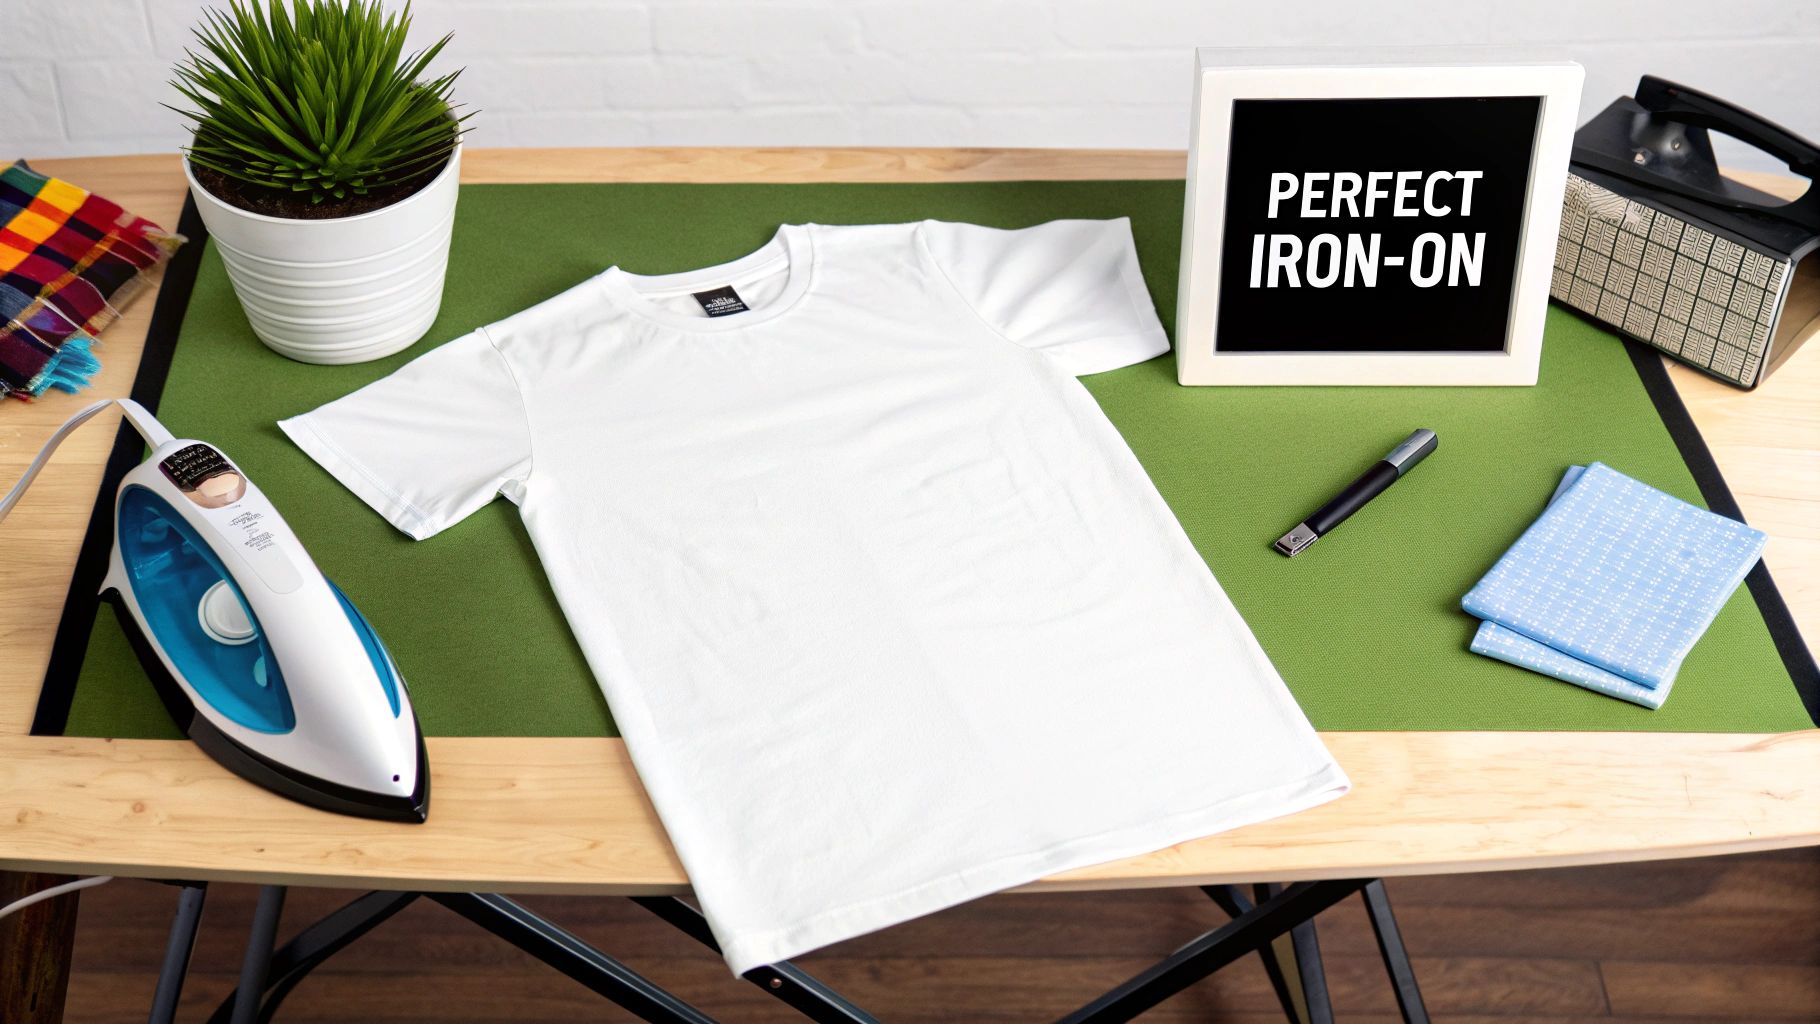
Setting Up Your Pressing Station
With your garment clean and dry, it's time to set up your workspace. You need a hard, flat, and heat-resistant surface. A solid countertop or a sturdy table, protected with a pressing mat or a Teflon sheet, is ideal.
Whatever you do, don't use a standard ironing board. They're built with padding and a mesh top designed to let heat and steam escape—the complete opposite of what we need here. You can't get the firm, even pressure required for a strong adhesive bond on a soft, wobbly surface.
Your final move before placing the transfer is to give the fabric a quick pre-press for 5-10 seconds. This isn't just about smoothing out wrinkles; it's about zapping any leftover moisture hiding in the fibers. This one little step creates a perfectly dry, smooth foundation for a flawless application.
Getting the Heat and Pressure Just Right
Alright, your fabric is prepped and your transfer is in place. Now for the fun part—making it permanent. This is where the real skill comes in, and it all boils down to a perfect trifecta: heat, pressure, and time. Nailing this combination is the secret to an iron-on transfer that looks like it was done by a pro and lasts wash after wash.
It's no surprise that custom apparel is booming. In fact, the heat transfer film market is projected to hit nearly $8.9 billion by 2035. That's because today's transfers are engineered for incredible durability, but only if you apply them correctly. You can read more about the industry's growth over on Future Market Insights.
Finding That Perfect Balance of Heat and Pressure
The temperature setting on your iron is non-negotiable. If it's too low, the adhesive won't melt and bond properly with the fabric fibers. Go too hot, and you can scorch the shirt or even melt the transfer itself. Your first move should always be to check the instructions that came with your specific transfer—they'll give you the ideal temperature range.
When you're ready to press, apply firm, even pressure. Don't be shy; use your body weight to really press down. I find it's best to move the iron slowly across the design, either in small circles or a steady back-and-forth motion. Pay extra attention to the edges, as they're often the first part to peel if they don't get enough love. You'll typically need to do this for about 15-30 seconds.
The infographic below shows the simple prep work that makes this step possible.
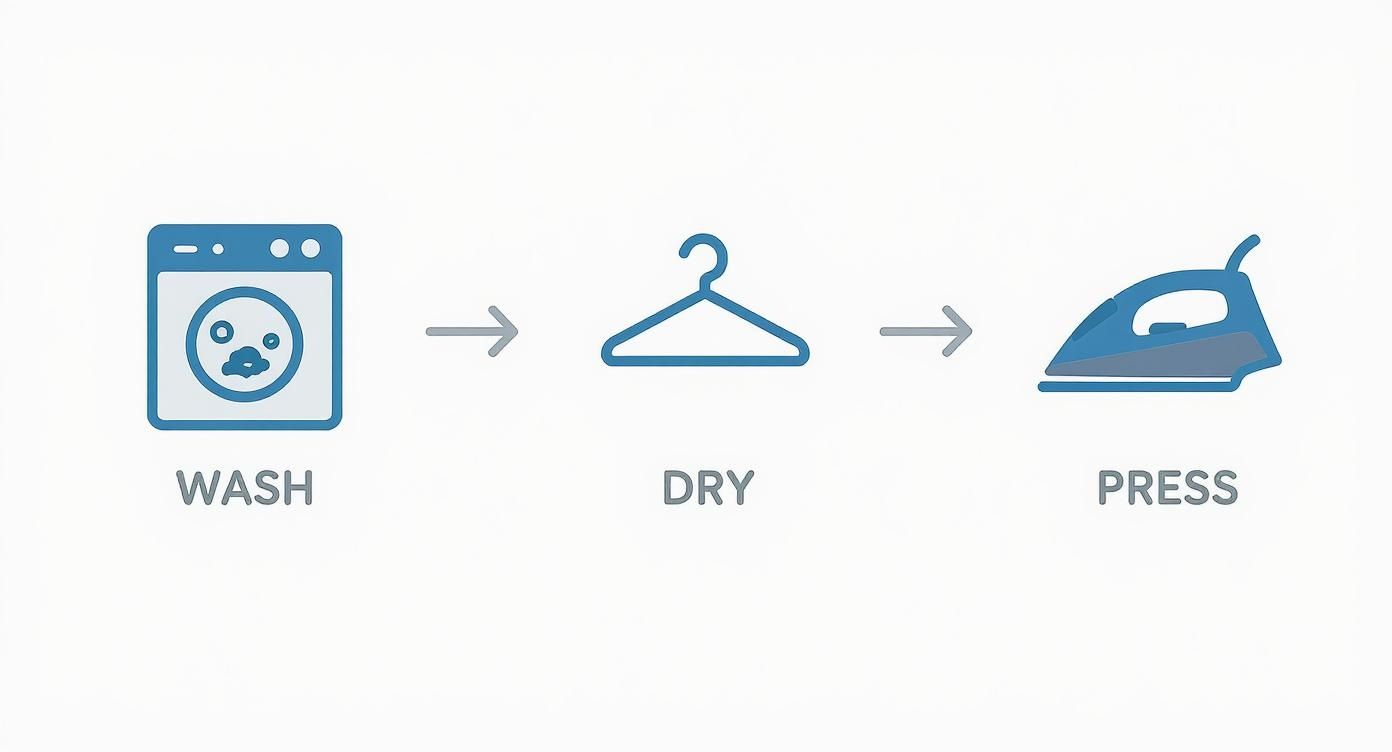
As you can see, starting with a clean, dry, and totally smooth surface gives the adhesive the best possible foundation to grab onto.
Hot Peel or Cold Peel? It Matters. A Lot.
Here's a detail that trips up a lot of beginners: knowing whether you have a hot peel or a cold peel transfer. This determines when you remove the clear backing film, and messing this up can completely ruin your project.
- Hot Peel: This means you peel the backing off immediately after you lift the iron, while everything is still piping hot. If you wait, the cooling adhesive can stick to the film again instead of your shirt.
- Cold Peel: Just the opposite. You need to let the garment and transfer cool down completely. If you can still feel any warmth, wait longer. Peeling too soon will cause the design to stretch, crack, or lift right off the fabric.
Pro Tip: Always, always double-check the instructions for your transfer. This one detail is the difference between a crisp, clean design and a frustrating failure.
For a more detailed breakdown of different application techniques, our guide to heat transfer shirt printing goes into even more depth on these nuances.
Keeping Your Design Looking Great: Aftercare Tips
So, you've successfully pressed your transfer, and it looks fantastic. Great job! But your work isn't quite done just yet. To make sure that vibrant design lasts wash after wash, a little bit of aftercare is essential.
The number one rule? Be patient. You absolutely have to wait at least 24 hours before throwing that new shirt in the laundry. This waiting period is critical because it gives the adhesive time to fully cure and really lock onto the fabric. Trust me, washing it too early is a surefire way to see your hard work peel or crack.
When that 24-hour mark has passed and it's time for the first wash, a few simple habits will go a long way.
- Turn it inside out: This is an old trick, but it works. It protects the design from rubbing against other clothes or the machine itself.
- Keep it cool: Always use cold water on a gentle cycle. Hot water is a major enemy of the transfer's adhesive, weakening it over time. A mild detergent is all you need.
- Skip the harsh stuff: Steer clear of bleach and fabric softeners. They can degrade the transfer and cause it to fade or fall apart.
The Best Way to Dry Your Custom Garment
When it comes to drying, your best bet is always to air-dry. Just lay the garment flat or hang it up. If you're in a pinch and need to use a dryer, make sure the item is still inside out and use the lowest heat setting you possibly can. High heat is the design's worst enemy, both during application and in the dryer.
These might seem like small steps, but they make a huge difference in the longevity of your custom apparel. The transfer paper market is booming—it's expected to hit $5.8 billion by 2035—and while the technology keeps getting better, you still can't beat proper care. If you're interested in the business side of things, you can discover more insights about this growing market and see why quality application and care matter so much.
Troubleshooting Common Iron-On Problems
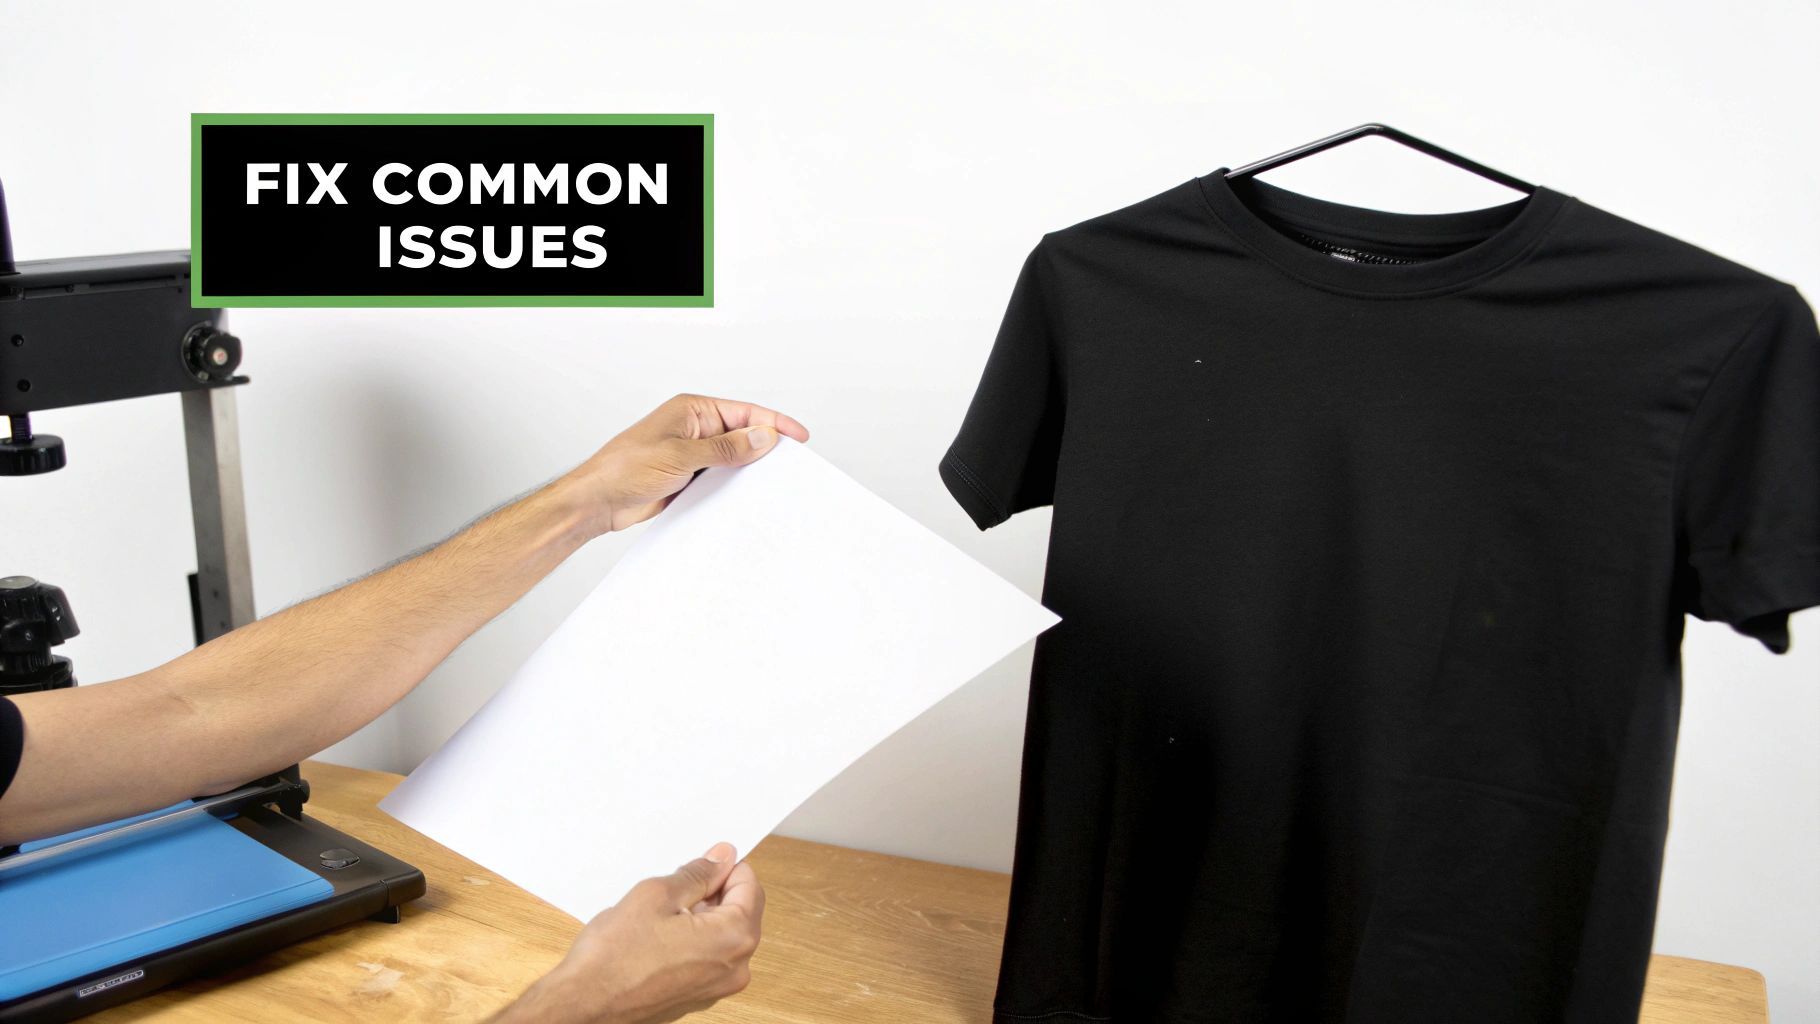
Even when you follow all the steps perfectly, sometimes things just don't go according to plan. It happens to everyone, so don't sweat it. Most iron-on mishaps are surprisingly fixable, and figuring out how to solve them is a key part of mastering the craft.
The most common issue I see is a transfer that refuses to stick. In 9 out of 10 cases, the culprit is simply not enough heat or pressure. A standard home iron often struggles to reach the necessary temperature, or it's tough to apply enough consistent, firm pressure by hand to get that adhesive to bond properly.
Another classic headache is when the edges of the design start to peel up. This is usually a dead giveaway that you’re working on the wrong surface, like a padded ironing board. Without a solid, flat foundation, your iron can't apply pressure evenly, leaving the outer edges of the transfer without a solid grip on the fabric.
Fixing Lifts and Peeling Edges
So you've just peeled back the carrier sheet and notice a corner of your design is lifting. First thing: don't panic! The fix is usually pretty simple, but whatever you do, don't just mash the hot iron directly onto the exposed design. That's a surefire way to melt the ink into a goopy mess.
Here’s the right way to handle it:
- Get your garment back onto a hard, flat pressing surface.
- Cover the entire design with a piece of parchment paper or a Teflon sheet. This protective layer is non-negotiable.
- Now, press the problem area again for 10-15 seconds, focusing on applying firm, steady pressure right on that lifting spot.
- Let it cool down completely before you even think about touching it or checking the bond.
This little trick lets you spot-treat the problem without risking the parts of the transfer that have already adhered perfectly. It's a game-changer for getting that clean, professional look.
A cover sheet is your best friend when making repairs. Never, ever apply a hot iron directly to an exposed transfer. That thin piece of parchment paper is the only thing standing between you and a ruined project.
Preventing Cracking and Fading
There's nothing more disappointing than pulling your awesome new shirt out of the wash only to find the design cracked or faded. This is almost always caused by one of two things: either too much heat was used during the initial application, or you didn't wait the full 24 hours before washing.
Every transfer is a little different, so always double-check the recommended temperature settings. For a more detailed breakdown of working with different materials, check out our guide on how to use iron transfer paper. Once you understand what causes these common issues, you’ll be ready to fix just about anything that comes your way.
Got Questions? We've Got Answers.
Even the most straightforward instructions can leave you with a few "what ifs." It happens to everyone. Let's tackle some of the most common questions that pop up when you're ironing on a DTF transfer, so you can press with confidence.
Can I Just Use My Regular Ironing Board?
I get this one a lot, and the short answer is: please don't. Your standard ironing board is designed to be soft and forgiving, with a mesh surface that lets steam pass through. That's great for wrinkles, but it's terrible for transfers.
For a DTF transfer to really stick, it needs a ton of firm, even pressure. An ironing board just can't provide that solid foundation. The padding and mesh create weak spots, which is a surefire way to get a transfer that peels off later. Instead, find a hard, flat surface like a sturdy table or countertop. Just make sure to protect it with a heat press mat or a Teflon sheet.
Help! My Design Started Peeling After I Washed It.
This is the most frustrating problem, but it’s almost always preventable. When a design peels, it usually comes down to one of three things: not enough pressure, the wrong temperature, or washing it too soon. You really have to lean into it when you press!
But the number one mistake I see is people throwing their new shirt in the laundry right away. You have to give the adhesive time to fully cure and bond with the fabric. Always wait at least 24 to 48 hours before that first wash.
What's This "Hot Peel vs. Cold Peel" Thing?
This is a crucial detail that tells you when to remove the clear film after pressing. Getting this wrong can ruin your whole project, so always double-check the instructions for your specific transfers.
- Hot Peel: Just like it sounds, you peel the film off immediately while everything is still piping hot.
- Cold Peel: You have to exercise some patience here. Let the garment and the design cool down completely to the touch before you even think about peeling.
If you peel a cold peel transfer while it's still warm, you can stretch the design or pull it right off the fabric.
Do I Really Need to Use Parchment Paper or a Teflon Sheet?
Yes, 100%. Don't even think about skipping this step. Placing a protective sheet over your transfer before ironing is non-negotiable.
It does two very important jobs: it shields your design from the harsh, direct heat of the iron, and it keeps your iron from getting gunked up with melted adhesive. It also helps distribute the heat more evenly, which means no weird shiny spots and a much more professional-looking result.
Ready to create stunning custom apparel with transfers that last? Cobra DTF offers premium, USA-made DTF transfers with vibrant colors and incredible durability. Order today and get your transfers shipped the same day