Heat Transfer Shirt Printing for Perfect Results
So, you're ready to make custom shirts that look like they came straight from a high-end print shop? You've come to the right place. We're going to dive into the world of heat transfer shirt printing, specifically using Direct-to-Film (DTF) transfers to get those durable, super-vibrant results everyone wants. It's a surprisingly straightforward process that uses heat and pressure to make your designs a permanent part of the fabric.
Why Heat Transfer Printing Is a Game Changer
Heat transfer printing has become the go-to method for everyone from hobbyists creating one-of-a-kind pieces to businesses scaling up their apparel line. The idea is simple: your design gets printed onto a special film, you place it on the garment, and a heat press does the work of bonding the ink directly into the fabric fibers.
What's great about this is that you can skip the messy, complicated setups that other methods require. This opens the door to creating incredibly detailed, full-color designs without a massive learning curve. Think fine lines, photorealistic images, and complex gradients—all come out looking crisp and consistent every time.
Key Advantages for Creators
The accessibility of DTF is its biggest selling point. With just a few key pieces of equipment, you can be producing retail-quality shirts from your own workshop or spare room. For a small business, having that level of control over quality and inventory is huge.
Here’s why so many printers are making the switch:
- Vibrant, Full-Color Designs: DTF is a beast when it comes to color. It handles complex palettes and smooth gradients beautifully, which is something you just can't get with traditional vinyl.
- Fabric Versatility: Cotton, polyester, tri-blends, you name it. This method works on almost anything, giving you way more options for the products you can offer.
- Durability and Soft Feel: When you press them right, these transfers feel like part of the shirt. They stretch, they don't crack, and they have a soft-hand feel that customers love.
This isn't just a niche hobby; it's a massive, growing industry. The global custom t-shirt printing market was valued at USD 4.9 billion recently and is on track to hit USD 11.37 billion by 2035. That incredible growth is fueled by the demand for personalized gear, and methods like DTF are perfectly built to meet it. You can explore more data on the custom t-shirt printing market to see just how big the opportunity is.
Think of this guide as your complete playbook. We're breaking down everything from the essential tools you'll need to the pro techniques that make your shirts pop. The goal is to give you the confidence to produce top-tier apparel on your own.
From here, we'll walk you through every step of the process. You'll learn how to nail your machine settings, avoid the common mistakes that trip up beginners, and master the perfect press. Let's get you started turning those creative ideas into real, sellable products.
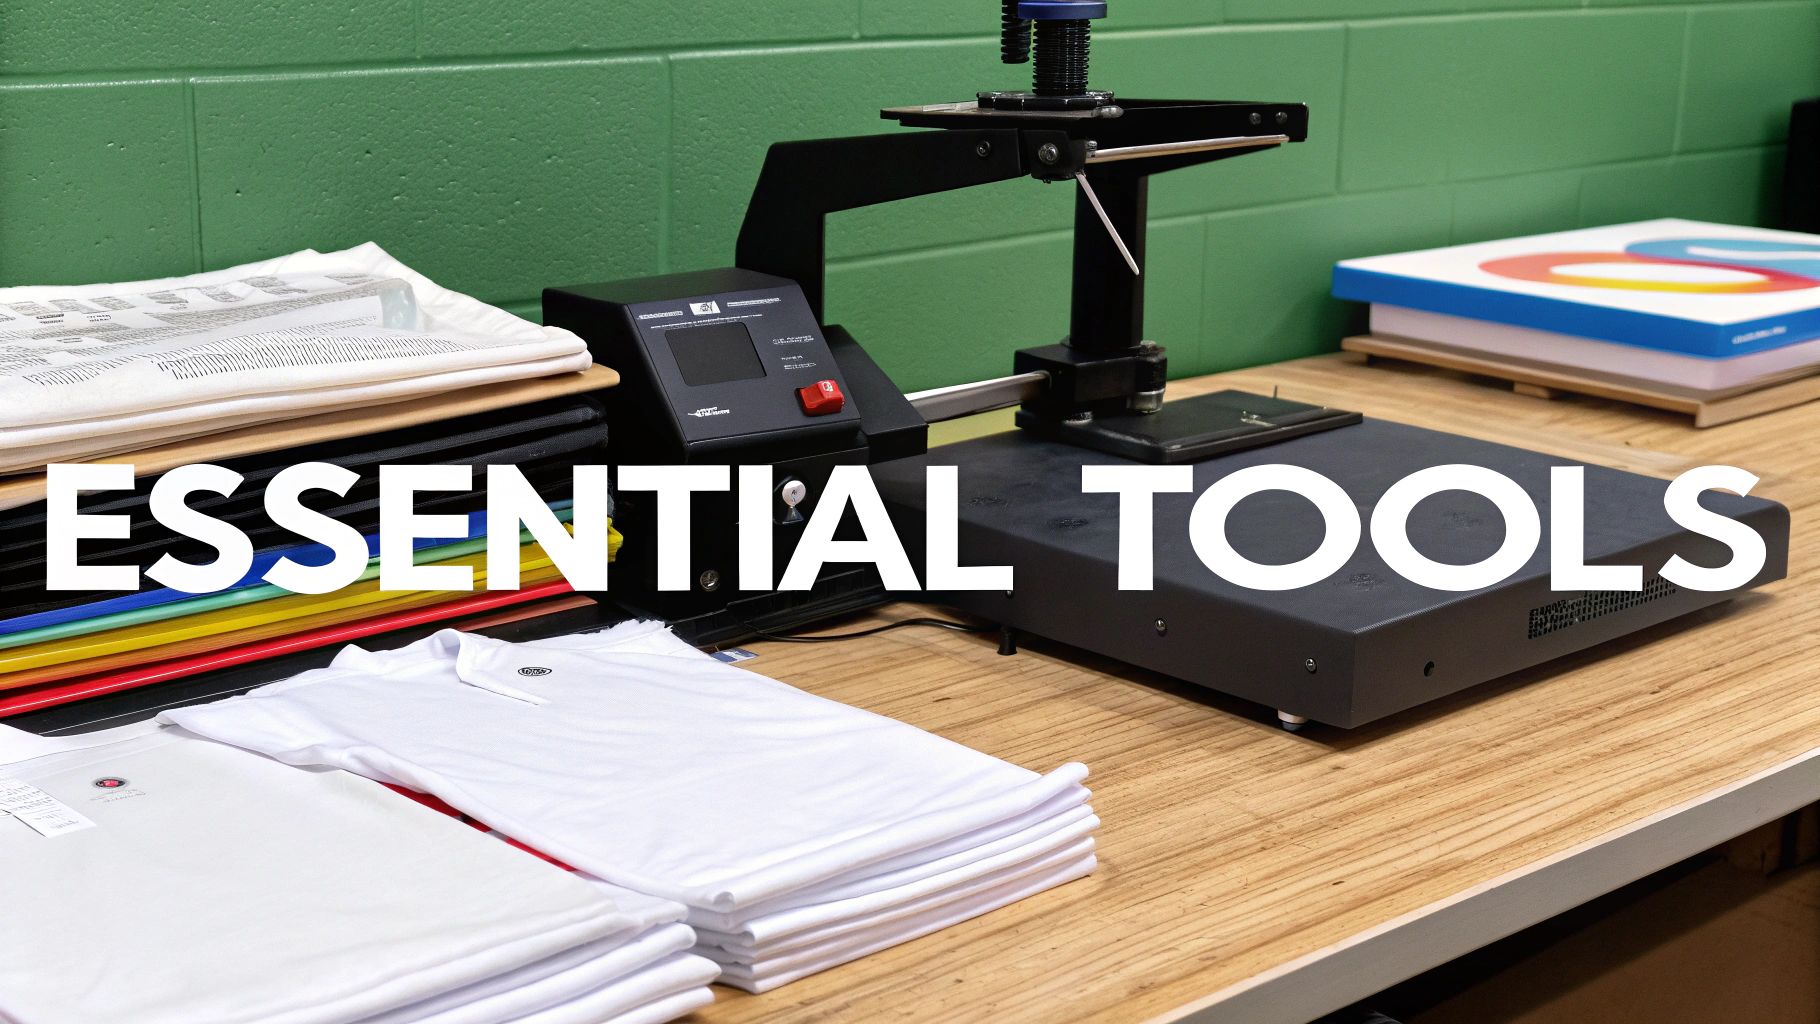
Your Essential Heat Transfer Printing Toolkit
Before you press your first shirt, you need to make sure you have the right gear. A solid setup is the foundation for quality results, and cutting corners here will only lead to headaches later.
Here's a quick rundown of the must-have items for any serious heat transfer printing operation.
| Item | Purpose | Pro Tip |
|---|---|---|
| Heat Press | Applies consistent heat and pressure to bond the transfer to the fabric. | A clamshell press is great for beginners, but a swing-away model gives you better access and reduces the risk of accidental burns. |
| DTF Transfers | The pre-printed designs on a special film that you'll apply to the garments. | Always order a sample pack first to test colors and feel before committing to a large batch. |
| T-Shirts/Garments | The blank apparel you'll be printing on. | 100% cotton and 50/50 blends are the easiest to work with. Always pre-wash them if you're worried about shrinkage. |
| Teflon Sheet | Protects your garment from direct heat and prevents ink from sticking to your press. | Keep it clean! A dirty Teflon sheet can transfer residue onto your next shirt. Wipe it down between presses. |
| Heat-Resistant Tape | Secures your transfer in place on the garment to prevent shifting during pressing. | Use it sparingly on the corners. Too much tape can leave impression marks on the fabric. |
| Weeding Tool | (Optional for DTF, but good to have) Helps remove any excess material around the design. | While not needed for DTF, it's a lifesaver if you also work with heat transfer vinyl (HTV). |
Having these tools ready to go will make the entire printing process smoother and help you achieve consistent, professional-looking results from day one.
Setting Up Your Workspace for Flawless Results
Great prints don't just happen by accident. The secret to a transfer you can be proud of often starts before you even turn on the heat press. Getting your workflow dialed in is the first real step toward producing consistent, professional-quality apparel.
It all begins with the garment itself. The fabric you choose directly impacts your heat press settings and how the design feels once it's on the shirt. Since different materials react differently to heat, knowing their quirks is essential.
Choosing the Right Garments
While DTF transfers are known for their versatility, the quality of your shirt still makes a huge difference. A better canvas not only looks and feels better but also helps the transfer hold up through countless wash and wear cycles.
Here’s a quick rundown of what you’ll likely be working with:
- 100% Cotton: This is the old standby for a reason. It’s breathable, soft, and handles heat like a champ, making it incredibly forgiving for beginners. I personally lean towards ringspun cotton because its smoother surface helps the transfer adhesive grab on for a softer final feel.
- Polyester Blends (50/50): A cotton/poly blend gives you the best of both worlds—the comfort of cotton with the durability and moisture-wicking of polyester. A major plus is that they're far less prone to shrinking.
- Tri-Blends: Made from cotton, polyester, and rayon, these shirts feel exceptionally soft and premium. Just be warned, they are more sensitive to high heat. You’ll definitely need to dial back your temperature to avoid scorching the fabric.
Before you press an entire order, do yourself a favor and run a test on a sample garment, especially if it's a new fabric for you. That one small step can save you a lot of time, money, and frustration.
Pro Tip: Not all shirts are created equal. I've found that garments with a tighter weave create a smoother, more uniform surface for the transfer’s adhesive. This leads to a much cleaner application and a design that feels like it’s part of the fabric, not sitting on top of it.
The Importance of Pre-Pressing
If you only take one piece of advice from this section, let it be this: always pre-press your shirt. Seriously. This is a non-negotiable step that knocks out the two biggest culprits of failed transfers: moisture and wrinkles.
Even a shirt fresh out of the bag holds a surprising amount of moisture. When that moisture hits the heat, it turns to steam and can completely block the transfer's adhesive from bonding with the fabric. A quick pre-press for just 5-7 seconds is all it takes to zap that hidden humidity.
Pre-pressing also gives you a perfectly flat canvas to work with. Any little wrinkle or crease under your design will be permanently pressed into the final print, which can cause it to crack or peel down the line. It's such a simple action that dramatically improves your odds of a perfect press.
Calibrating Your Heat Press
Your heat press is the heart of your operation, but it’s only as good as its settings. If your temperature or pressure is off, your results will be inconsistent. I make it a habit to double-check my machine before every single session.
Here's what to keep an eye on:
- Temperature Accuracy: Don't just trust the digital readout. Use an infrared temperature gun to check different spots on the platen. Many presses have "cold spots," and knowing where they are helps you position garments for an even press every time.
- Pressure Settings: You're aiming for firm but not crushing pressure. Too little, and the transfer won't stick properly. Too much, and you might see the adhesive ooze out from the edges, creating a weird glossy outline around your design. Get a feel for what "medium-firm" pressure is on different garment thicknesses.
Finally, organize your space for a smooth flow. Have your blank shirts in one pile and your DTF transfers laid out and ready to go. A logical setup minimizes extra handling and reduces the chance of mistakes, making your heat transfer shirt printing sessions way more productive and a lot less stressful.
Executing the Perfect Heat Press Application
Alright, you've got your space set up and your heat press is warmed up and ready to go. Now comes the fun part—actually bringing your design to life on the shirt. This is the moment where all that prep work really counts, turning a plain garment and a DTF transfer into something that looks professionally made. The process itself isn't complicated, but nailing the details is what separates an okay shirt from a great one.
Think of your heat press settings as a recipe. You can't just guess the numbers. They’re specifically calibrated to melt the transfer’s adhesive just right, so it permanently bonds with the fabric. Get it wrong, and you could end up with a design that peels, cracks, or worse, a scorched shirt.
This is also where you get a real sense of the industry's momentum. The demand for custom gear is exploding. The market recently hit USD 8.17 billion and is expected to soar to USD 13.55 billion in the next five years. That growth is fueled by people like you, mastering this craft to create top-notch products.
This graphic breaks down the pressing process into its core steps, from lining everything up to that final, satisfying peel.
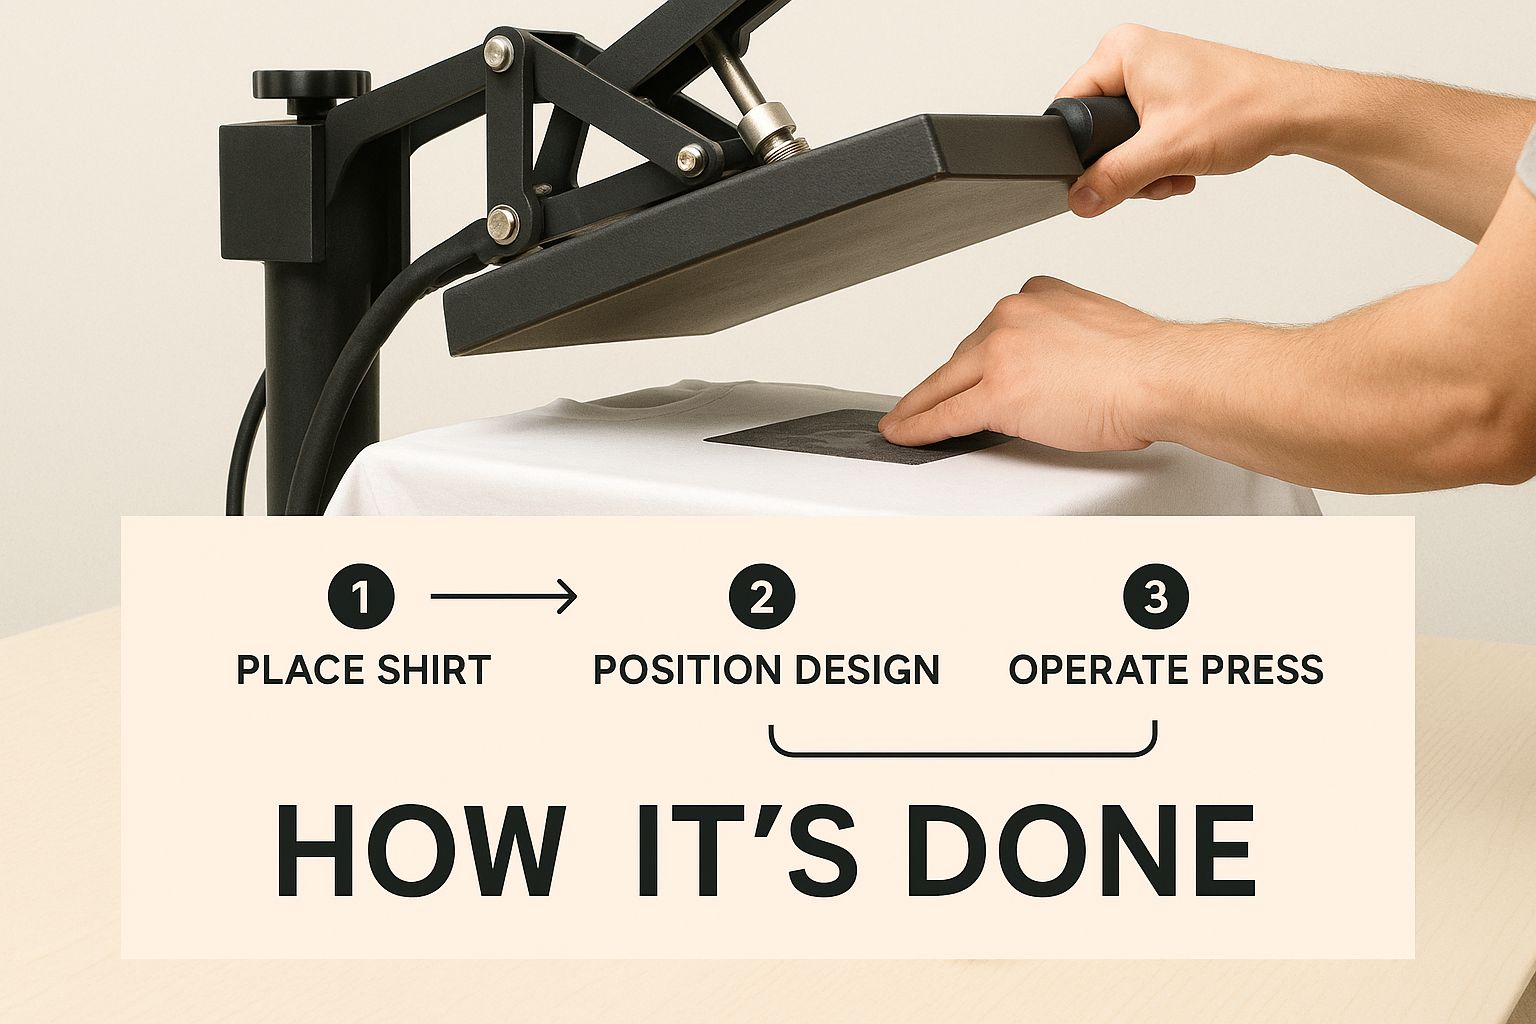
As you can see, it’s just a series of deliberate, simple actions that all add up to a flawless final product.
Nailing Your Heat Press Settings
The right settings will always hinge on two things: the type of transfer you're using (hot peel or cold peel) and the shirt’s fabric. Your first move should always be to check the supplier's recommendations, but here are some battle-tested starting points I use all the time.
For Standard Cotton and 50/50 Blends:
- Temperature: I usually work in the 290°F to 320°F (143°C to 160°C) range. Starting around 300°F is a safe bet for most standard transfers, and you can tweak from there.
- Time: A 10-15 second press is almost always enough. If you press for too long, you risk pushing the ink too deep into the fibers, which can make the colors look dull.
- Pressure: Go for medium-firm pressure. You need enough force to get solid, even contact across the whole design, but not so much that you see the adhesive oozing out from the edges.
For Polyester and Tri-Blends:
- Temperature: You have to be more careful with synthetics. Lower your temp to 260°F to 280°F (127°C to 138°C). This is your best defense against scorching the fabric or leaving that dreaded shiny "press box" outline.
- Time: A shorter press of 8-12 seconds is usually all it takes.
- Pressure: Stick with medium pressure. These fabrics are more delicate and don't require the same heavy hand as a thick cotton tee.
Achieving Perfect Placement and Alignment
What makes a shirt look professional? Consistent placement. A design that's even slightly crooked or off-center can instantly make the whole thing feel amateur. You don't need a fancy laser system to get this right; a couple of old-school tricks work perfectly.
First, I always fold the pre-pressed shirt in half vertically and give it a quick, light tap with the press for a second or two. This leaves a faint crease right down the middle, giving you a perfect guide for centering your transfer.
Next, think about vertical placement. For a standard adult t-shirt, a great rule of thumb is to place the top of the design about three inches down from the collar. I just use my hand—for most people, a three or four-finger width is a pretty reliable measurement.
Before I ever lock down the press, I always take a step back and just eyeball it. Does it look balanced? Is it straight? That final two-second check has saved me from more misprints than I can count.
Once you’re happy with where it is, a small piece of heat-resistant tape on a corner or two can be a lifesaver. It’s especially useful on slippery polyester to stop the transfer from shifting when you close the press. Just don’t go overboard, or the tape itself can leave a mark.
The Peel: Hot vs. Cold
The very last step is peeling away the film carrier sheet. How and when you do this is critical, and it all comes down to whether you're using a hot peel or a cold peel transfer. Getting this part right is essential for a clean, sharp result.
Understanding the Hot Peel: A hot peel transfer is meant to be peeled immediately after the press opens, while everything is still piping hot.
- The second the timer buzzes, open the press.
- Without hesitating, grab a corner of the film and pull it back in one smooth, confident motion.
- You have to be quick. If you pause, parts of the design can start to cool and lift off with the film.
There’s nothing more satisfying than a perfect hot peel. The design releases cleanly and leaves behind a vibrant, matte finish. This is my go-to for big jobs because it's so incredibly efficient. To learn more about different transfer options, check out our guide on custom DTF transfers ready to press.
Mastering the Cold Peel: Cold peel transfers, as the name suggests, demand a little patience. The adhesive needs to cool down completely to set into the fabric before you remove the film.
- After pressing, take the shirt off the platen and set it on a flat surface to cool.
- Let it sit until the design is completely cool to the touch. This might take anywhere from 30 seconds to a minute or two.
- Once it's cool, peel the film back slowly and at a sharp angle. If you see any part of the design starting to lift, stop right away. You can usually fix this by laying it back down, covering it with parchment paper, and giving it another quick press for just a few seconds.
Cold peels are fantastic for creating a slightly glossier, smoother finish and are often preferred for designs with really fine lines or tiny details. Whichever method your transfer calls for, a clean peel is the final confirmation of a job well done.
Troubleshooting Common Heat Transfer Problems
Even when you follow all the right steps, the world of heat transfer shirt printing has a way of throwing a curveball at you. Nothing’s more frustrating than a transfer that won’t stick or a design that peels off after one wash—especially when you’re on the hook for a client’s order. But don't sweat it. Most of these issues are common, and more importantly, they’re fixable.
Think of these problems as part of the learning curve, not as failures. Every little hiccup teaches you something new about your materials, your heat press, and your technique. This section is your field guide for figuring out what went wrong and how to make it right, turning potential disasters into minor speed bumps.
Why Is My DTF Transfer Not Sticking?
This is probably the number one problem everyone runs into at first. You open the press, start to peel the film, and the design either stays stuck to the carrier sheet or only patches of it stick to the shirt. It’s a maddening moment, but the root cause is almost always one of three simple things.
Before you start blaming the transfers, run through this quick mental checklist:
- Did you pre-press the shirt? Moisture is the ultimate enemy of a good transfer. A shirt can feel perfectly dry to the touch but still hold enough humidity to create steam under the press, which gets in the way of the adhesive. A quick 5-10 second pre-press is an absolute must—it solves this problem more than 90% of the time.
- Is your pressure firm enough? DTF transfers need solid, even pressure. The heat press has to apply enough force to really push that adhesive into the fabric's fibers. If the pressure is too light, the design just sits on the surface, ready to lift off at the first opportunity.
- Is your temperature right? Not enough heat means the adhesive never fully melts and activates. Take a second to double-check that your press is set to the recommended temperature for both your transfers and the specific fabric you’re working with.
I once had a whole batch of hoodies where the transfers just would not stick. After checking everything, I realized the thick fleece was soaking up so much of the pressure that it wasn't reaching the transfer. I cranked the pressure dial up quite a bit, and boom—problem solved.
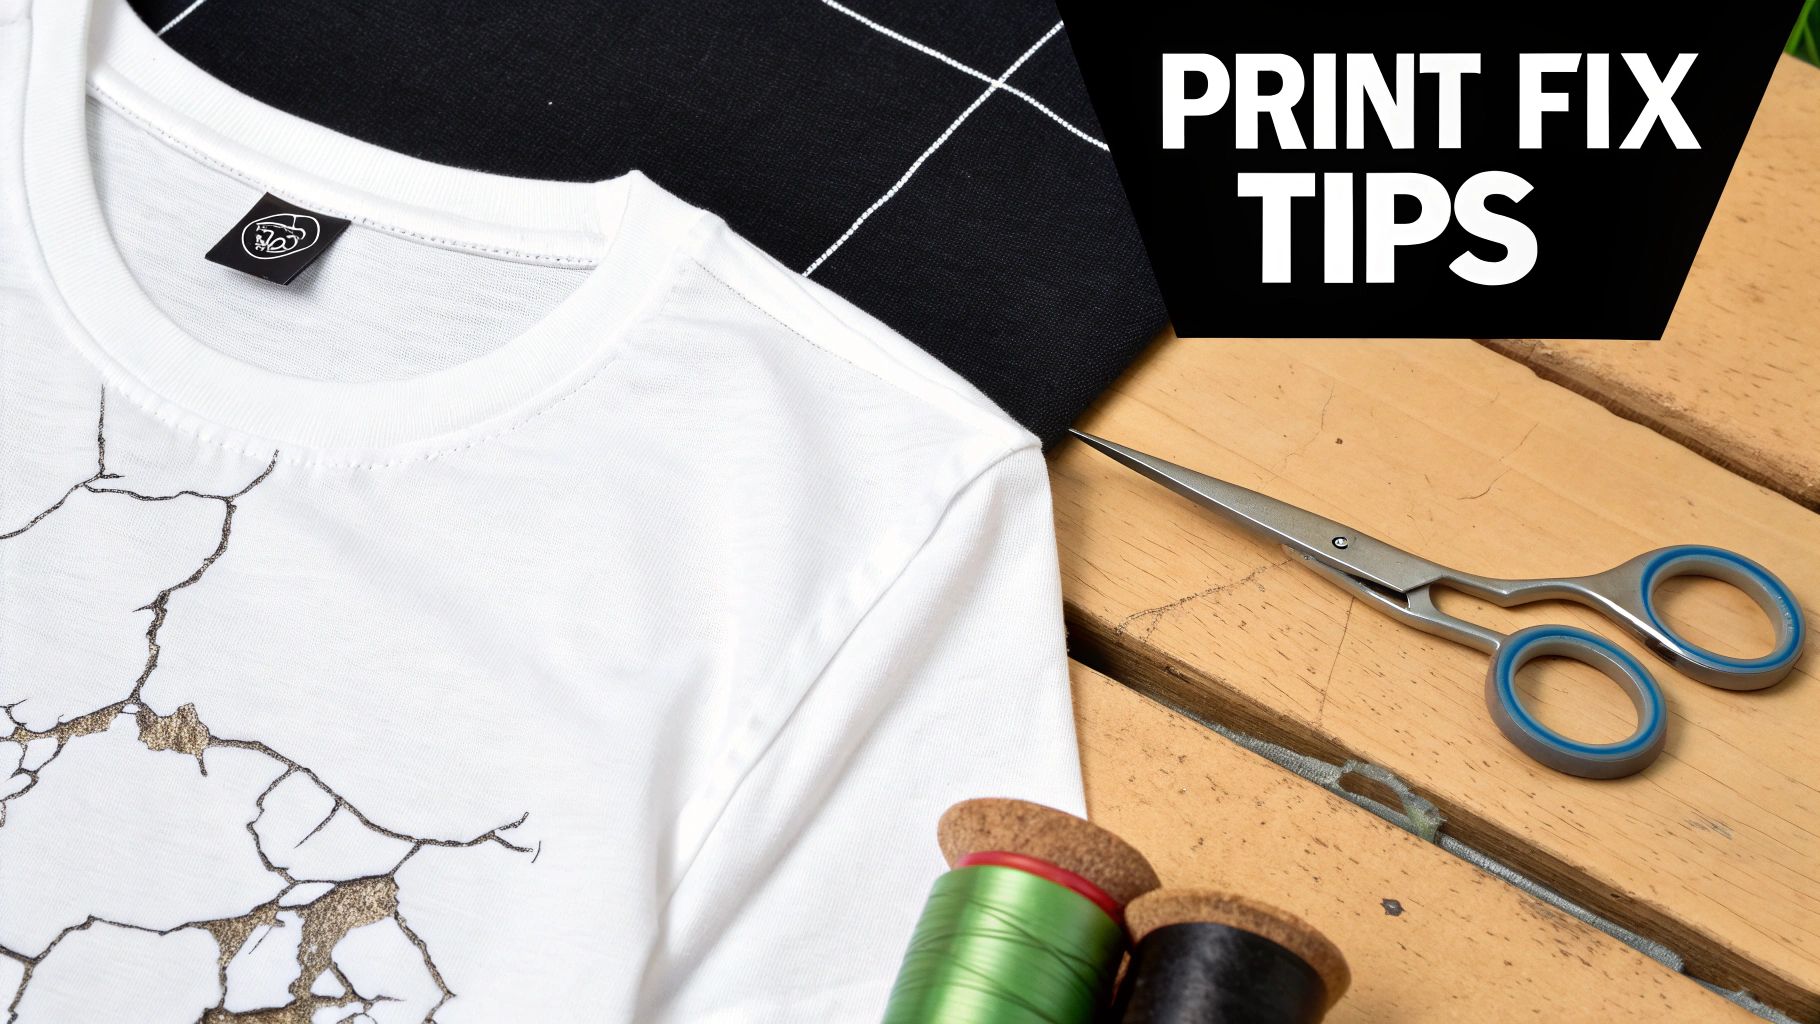
Fixing Designs That Peel After Washing
There's no feeling quite like a customer telling you the design on their brand-new shirt is cracking or peeling after its first trip through the laundry. When this happens, it almost always points back to a weak bond during the initial press. The transfer might have looked perfect when you peeled it, but the adhesive didn't fully cure and lock into the fabric.
Here’s how to stop that from ever happening again:
- Double-Check Your Settings: Revisit your temperature, time, and pressure. A heat press that's running just 10-15 degrees too cool can result in a weak bond that’s destined to fail down the road.
- Do a Stretch Test: After you peel the film and let the shirt cool down for a moment, give the design area a gentle stretch. If you see any little cracks or signs of the ink separating, that's your red flag. It means you need more heat or more pressure.
- Add a Finishing Press: This is a pro move. After you peel the film, cover the design with a Teflon sheet or a piece of parchment paper and press it again for just 3-5 seconds. This extra step helps melt the ink into the fabric, seriously boosting its durability in the wash.
Avoiding Fabric Scorching and Press Marks
You know the feeling. You pull a beautiful polyester shirt off the press, only to see a faint, shiny outline of your heat platen—the dreaded "press box." On dark or delicate fabrics, you might even see some slight discoloration or scorching. This is a classic sign of too much heat or pressure for that particular material.
Getting your settings dialed in is key to preventing this. Here’s a quick guide I use for common fabrics.
Heat Press Settings for Common Fabric Types
This table is a great starting point for applying DTF transfers to different apparel materials. Keep in mind that every heat press can have its own quirks, so you might need to make small adjustments. But this will get you in the right ballpark.
| Fabric Type | Temperature Range (°F/°C) | Press Time (Seconds) | Peel Type |
|---|---|---|---|
| 100% Cotton | 300-320°F / 149-160°C | 10-15 | Hot or Cold |
| 50/50 Blends | 280-300°F / 138-149°C | 8-12 | Hot or Cold |
| Polyester | 260-280°F / 127-138°C | 7-10 | Cold Peel Only |
| Tri-Blends | 260-275°F / 127-135°C | 7-10 | Cold Peel Only |
For polyester and blends, starting on the lower end of the temperature range is always a smart move to avoid scorching. You can always add a couple of seconds to the press time if needed.
To take it a step further, get yourself a heat press pillow. By sliding one inside the shirt, you raise the print area so the pressure is focused only where you need it. This keeps the edges of the heat platen from clamping down on the rest of the shirt, which is a lifesaver for garments with thick seams, collars, or zippers.
Don't Skip This: Post-Press Steps for a Killer Finish and Lasting Durability
So, you've just pulled a perfect print off the heat press. The timer buzzed, the colors look amazing, and you're ready to move on. But hold on a second—the job isn't quite done yet.
What you do in the next few minutes, and the advice you give your customers, is what separates a good print from a great one. These final steps are what lock in that quality and make sure the design feels like it's part of the shirt, not just sitting on top of it.
Honestly, rushing this part is the easiest way to undo all your hard work. A little patience right now makes all the difference for a print that will survive dozens of washes.
The 24-Hour Rule: Let It Cure
This is non-negotiable. After a shirt is pressed, it needs to sit and cure for at least 24 hours before it even thinks about seeing the inside of a washing machine.
Think of it like fresh paint on a wall. It might feel dry to the touch, but it's still chemically bonding and hardening underneath. The same thing is happening with the DTF adhesive and the shirt fibers. Washing it too early messes with that process, and you'll end up with peeling or cracking down the road.
Make this a hard and fast rule in your shop, and more importantly, make sure your customers know it. A simple care card tucked into their order goes a long way and shows you care about the quality of your work.
The Finishing Press: From Good to Great
Want to know a little trick the pros use to take their prints to the next level? It’s all about the finishing press. After you've peeled the film and the design is sitting on the shirt, one more quick press can totally change the look and feel.
Here's how it's done:
- Leave the shirt on the press platen.
- Cover the design with a Teflon sheet or a piece of parchment paper.
- Press it again for just 3-5 seconds. Use the same temperature but back off to light pressure.
This quick hit does two fantastic things. First, it kills any leftover plastic-y shine, giving the design a much cleaner, matte finish that looks more like a high-end screen print. Second, it gently pushes the ink into the fabric weave, dramatically softening the feel. Customers will absolutely notice the difference.
This simple 5-second step is my secret weapon for making DTF transfers feel less like a sticker and more like part of the garment itself. The difference in texture is remarkable and has a massive impact on the overall quality.
Smart Laundry Care: Protecting the Print for the Long Haul
You can do everything right in your shop, but if the customer throws their new shirt in a hot wash with a capful of bleach, it's game over. That’s why a little customer education is the final piece of the durability puzzle.
Here are the laundry instructions you should pass along with every single order:
- Wait 24 Hours: Remind them one last time to wait a full day before that first wash.
- Flip It Inside Out: This is the single most effective way to protect the graphic from rubbing against other clothes.
- Wash Cold, Gentle Cycle: Hot water is the enemy of transfer adhesive. Cold water is a must.
- Go Easy on Detergent: Mild detergents work best. Steer clear of bleach and fabric softeners, as they can break down the ink.
- Low Heat or Air Dry: High dryer heat can ruin a print. Tumble dry on the lowest setting, or better yet, hang it up to air dry.
The demand for high-quality custom apparel is exploding—the market hit USD 4.9 billion recently and is on track to hit USD 9 billion within the next ten years. That growth is fueled by products that look great and actually last. By mastering these post-press techniques, you’re not just making better shirts; you’re building a reputation for quality.
You can read more in the latest report on the custom t-shirt printing market. If you're curious about the transfers we use, check out our guide on the benefits of using DTF custom transfers.
Frequently Asked Questions About Shirt Printing
As you get started with heat transfer printing, you're going to have questions. Everyone does. Getting the right answers early on is the key to building good habits and getting your technique down. We get asked a lot of the same things, so I've put together answers to the most common ones we hear from creators just like you.
Think of this as your go-to cheat sheet for when you're in the middle of a project and need a quick, reliable answer. We'll cover everything from materials to troubleshooting common issues.
What Is the Difference Between DTF Transfers and HTV
This is probably the biggest question people have. How are DTF transfers different from the Heat Transfer Vinyl (HTV) you see in craft stores? While both use a heat press, they are completely different beasts. With HTV, you're cutting a design out of solid-colored vinyl sheets. For a multi-color graphic, you have to cut and press each color in layers, which can get thick and heavy fast.
DTF (Direct-to-Film) is a whole other ballgame. The designs are printed with special inks directly onto a clear film. This means you can press full-color, super-detailed designs—we're talking gradients, shadows, even photorealistic images—in one single press. The final result feels way softer and more flexible, almost like it's part of the fabric itself instead of a plastic sticker sitting on top. If you want to get really granular on printing methods, our guide on DTF vs DTG printing provides more detail.
Can I Use a Home Iron Instead of a Heat Press
I get why people ask this—it's tempting to use what you already own. But honestly, a home iron just won't cut it for professional DTF transfers. A heat press is designed to do two critical things an iron physically can't: deliver consistent temperature across the entire surface and apply even, heavy pressure.
An iron has hot and cold spots, and you can't possibly apply uniform pressure by hand. That's a surefire recipe for a failed transfer. Without that consistent heat and force, the adhesive won't bond properly to the fabric fibers, and you'll almost certainly see it peeling and cracking after the first wash. Trust me, investing in a quality heat press is non-negotiable if you want to make products that last.
How Do I Avoid a Press Box on My Shirts
Ah, the dreaded "press box"—that faint, shiny rectangle the heat platen leaves behind on the shirt. It’s a common headache, especially on polyester or darker blended fabrics. The trick is to dial back your settings. Use the lowest temperature that still works for the transfer and don't go overboard on the pressure.
My go-to trick is using a Teflon pillow or a foam pad inside the shirt. This raises the print area just enough so the pressure is concentrated on the transfer itself, keeping the edges of the platen off the surrounding fabric. For most synthetics, any faint mark that’s left will usually disappear after the first wash.
Why Is My DTF Transfer Not Sticking Properly
This is incredibly frustrating, but it almost always comes down to one of three things: temperature, pressure, or moisture. Before you even think about anything else, pre-press your garment for 5-10 seconds. You'd be amazed how much invisible humidity is hiding in the fabric, and that moisture is the number one enemy of a good bond. This one step solves the problem more than half the time.
If you've done that, double-check that your heat press is actually reaching the temperature you set it to and that you're applying firm, even pressure. If it’s still not sticking, the problem might be with the transfer itself. Using cheap, poorly made transfers will cause headaches no matter how perfect your technique is.
Ready to create stunning, durable shirts with transfers made right here in the USA? At Cobra DTF, we provide top-quality, eco-friendly DTF transfers that deliver vibrant colors and a soft feel every time. Experience fast, reliable shipping and the satisfaction of supporting an American family-owned business.