

How to Print Iron On Transfer Paper for Flawless Custom Designs
Ready to take your digital designs from the screen to a t-shirt? Learning how to print your own iron-on transfers is the perfect starting point. It's a surprisingly simple process: you print a design onto special paper with a regular inkjet printer, then use heat to press it onto fabric. The real secret to getting results that look and feel amazing, though, is picking the right materials before you even start.
Your choice between traditional inkjet paper and modern Direct-to-Film (DTF) transfers will make all the difference in how your final product turns out.
Your Guide to Professional Quality Iron On Transfers at Home
Jumping into custom apparel might seem a little intimidating, but the core idea is pretty simple. You're basically creating a high-quality sticker for fabric. It all begins with your digital art, which gets printed onto a specially coated sheet of transfer paper. This isn't your everyday copy paper; it's designed to release its ink layer under heat and pressure, fusing your design right into the fibers of the garment.
It's easy to see why this method has exploded in popularity. It's given hobbyists and small businesses a way to create unique, one-of-a-kind pieces without the steep setup costs that come with something like screen printing. The market growth really tells the story here. Valued at USD 3.3 billion in 2025, the global transfer paper market is expected to hit USD 5.8 billion by 2035. That's a huge jump, and it shows just how many people are getting into this craft. If you're interested, you can explore more data on the transfer paper market's growth to see how it's shaping the industry.
Choosing Your Transfer Method
Before you even think about printing, you’ve got a key decision to make. This choice will affect the look, the feel, and even how long your design lasts. You've got two main routes to go.
The first is the classic Traditional Inkjet Iron-On Paper. This is what you’ll find in most craft stores. It's budget-friendly and a great entry point for beginners, but it often leaves a noticeable film-like layer on the fabric.
The second, more modern option is Direct-to-Film (DTF) Transfers. With DTF, you print onto a special film, coat it with an adhesive powder, and then press it. This gives you a much softer, more flexible design that feels like it’s part of the shirt, not just sitting on top of it.
To make it easier to see the differences, here's a quick side-by-side comparison.
Traditional Iron-On vs Modern DTF Transfers At a Glance
This table breaks down the two main transfer types to help you choose the right one based on feel, durability, and how easy they are to work with.
| Feature | Traditional Inkjet Iron-On | Direct-to-Film (DTF) Transfers |
|---|---|---|
| Feel | Can feel stiff or plastic-like; sits on top of the fabric. | Very soft, flexible, and feels integrated into the fabric. |
| Durability | Prone to cracking and fading after a few washes. | Excellent wash fastness; resists cracking and peeling. |
| Fabric Compatibility | Best on light-colored cotton or poly-cotton blends. | Works on cotton, polyester, blends, and even dark colors. |
| Ease of Use | Simple print-and-press process. No weeding required. | Involves an extra step (applying adhesive powder). No weeding. |
| Detail & Color | Good for simple designs. Colors can be less vibrant. | Superior detail and vibrant, bright colors. |
| Initial Cost | Very low cost per sheet. | Higher initial cost, but better long-term value. |
Ultimately, the traditional paper is great for getting your feet wet, but if you're aiming for a truly professional result that will last, DTF is the way to go.
For small businesses or anyone who just wants that top-tier quality, DTF transfers from a supplier like Cobra DTF are a serious upgrade. They offer fantastic durability and that soft-hand feel everyone loves, so you can say goodbye to the stiff, plastic patch common with old-school paper. Your creations will look great wash after wash.
Knowing the difference between these two is the first real step in mastering how to print iron-on transfers. One path gives you simplicity, while the other delivers professional quality and longevity. This guide will walk you through everything you need to know to bring your creative projects to life, no matter which method you choose.
Assembling Your Essential Tools and Materials
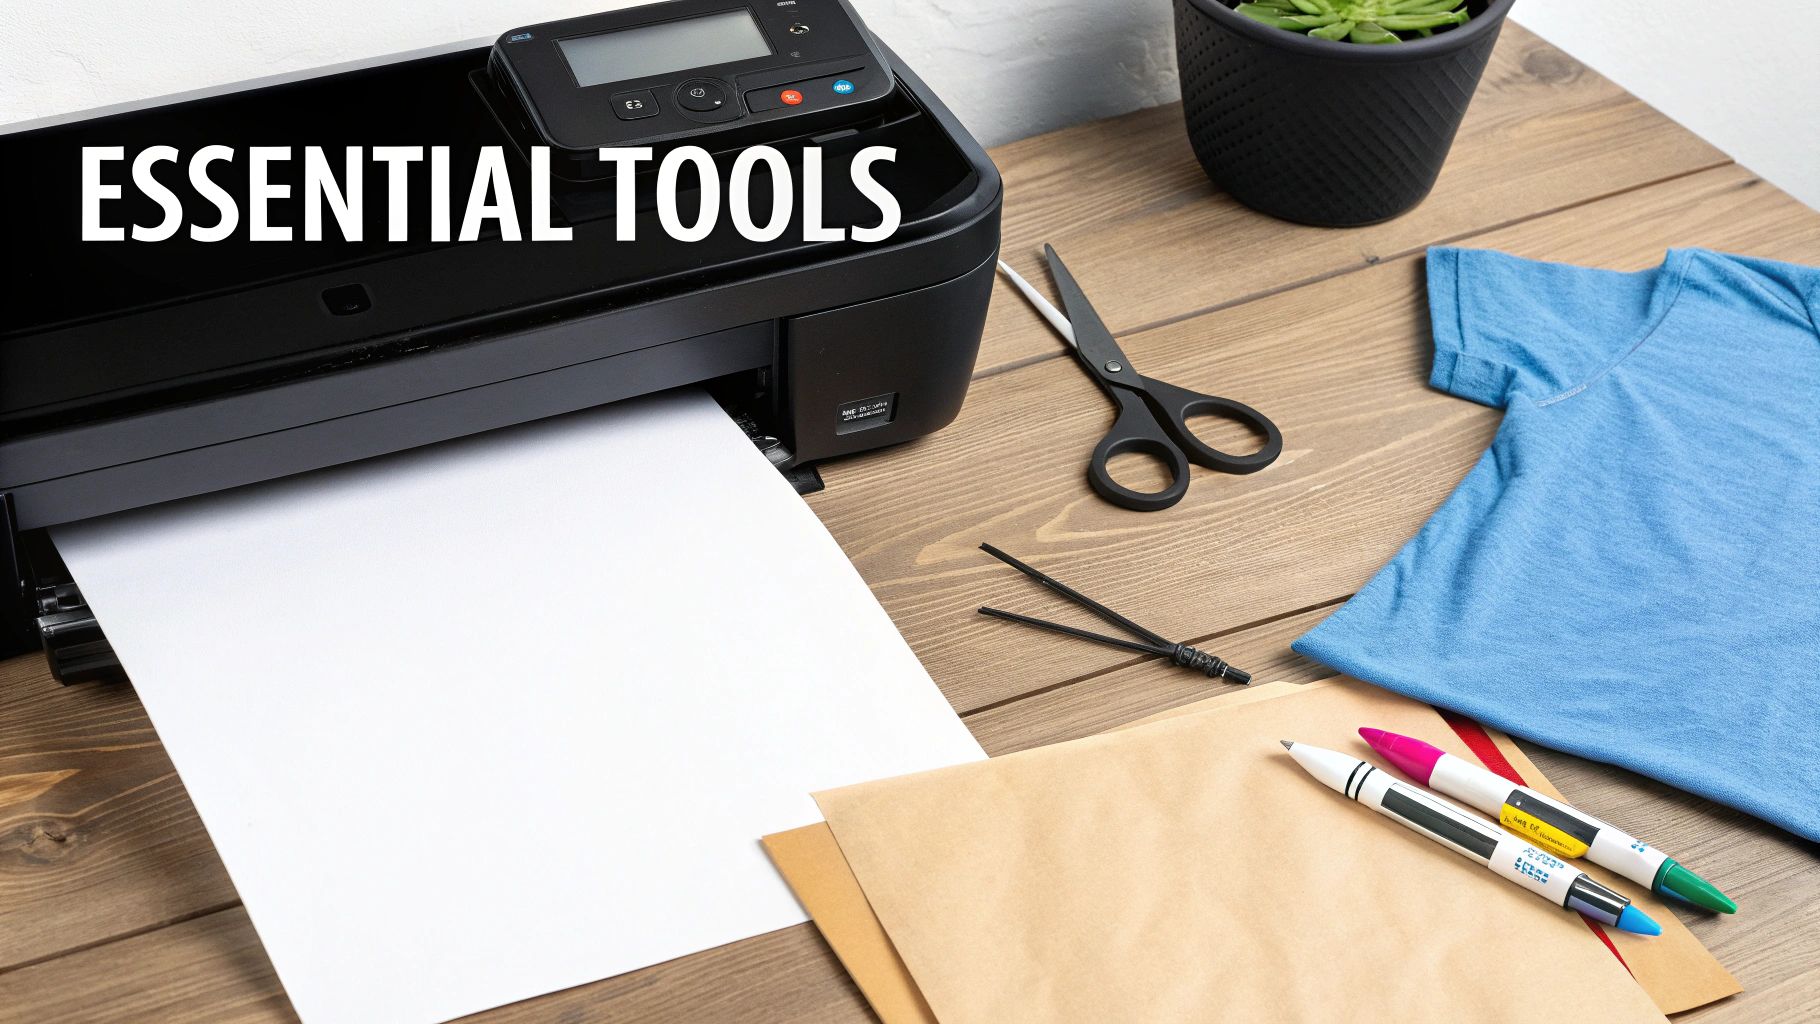
The secret to a flawless transfer often comes down to your setup, long before you even think about hitting "print." Having the right gear on hand not only makes the process go smoothly but also makes a huge difference in the quality and durability of your finished design. Think of it like cooking: the best ingredients yield the best results.
Your first major decision is the transfer paper itself. This isn't a one-size-fits-all situation; the paper has to be compatible with your printer (inkjet and laser papers are not interchangeable). You also need to choose the right type for your fabric—transfers for light-colored shirts are completely different from those for dark ones.
Choosing Your Transfer Paper
Getting the paper right is probably the single most important choice you'll make. The right paper gives your design a professional look and feel. The wrong one can leave you with a faded, stiff, or peeling mess after just one wash.
Here's what you need to keep in mind:
- Printer Type: Inkjet transfer paper is made to absorb wet ink, while laser paper is built to withstand the intense heat and toner from a laser printer. Mix them up, and you’re asking for a smudged, poorly bonded design.
- Fabric Color: Paper for light-colored garments is mostly transparent, letting the shirt’s color show through in any blank areas of your design. On the other hand, paper for dark fabrics has a solid, opaque white background to make sure your colors pop, even on a black shirt.
For anyone just starting out, taking a moment to understand how transfer paper works can be a real game-changer and save you from some common mistakes.
The Great Debate: Home Iron vs. Heat Press
Next up is your heat source, and this is where a lot of people get stuck. A standard household iron can get the job done for a one-off project, but if you want professional, consistent results that last, a dedicated heat press is the only way to go.
The biggest problem with a home iron is its inability to deliver even heat and pressure. The surface has hot spots, and it's nearly impossible to press down with the same force across the entire design. This often means some parts of the transfer stick perfectly while the corners start peeling up after the first wash.
A heat press delivers on two critical fronts where an iron falls short:
- Uniform Temperature: The entire heated plate, or platen, stays at the exact temperature you set. This ensures every square inch of your design gets the heat it needs.
- Consistent Pressure: You set the pressure once, and the machine applies it evenly every single time. This embeds the design deep into the fabric fibers for a truly permanent bond.
The initial cost of a heat press is definitely higher, but the return on investment in quality and consistency is undeniable. If you’re planning to make more than a few shirts or are thinking about starting a small business, a heat press will save you a world of frustration.
Essential Supporting Tools
Beyond the big-ticket items, a few smaller tools are non-negotiable for a clean workflow. These are the unsung heroes of the transfer process, each one helping you protect your work and achieve that professional finish.
- Protective Sheets: A Teflon sheet or even a simple piece of parchment paper is crucial. You place it between your heat source and the transfer to prevent scorching and protect your press or iron from any stray ink.
- Precision Cutting Tools: Unless your design is a perfect rectangle, you'll need to trim away the excess transfer paper. A sharp pair of scissors will do, but a craft knife or a cutting machine like a Cricut or Silhouette gives you those clean, sharp edges that scream "professional."
- The Right Garment: Not all fabrics are created equal when it comes to heat transfers. For the most vibrant and long-lasting results, stick with garments made from 100% cotton, polyester, or cotton/poly blends. These materials hold up well under heat and form a strong bond with transfer adhesives.
Getting Your Design Ready to Print
This is where the magic really starts. You've got a great idea, and now it's time to translate that digital file into a physical design that's ready for pressing. Honestly, the steps you take before you hit "print" are probably the most crucial part of the whole process. Getting this right is the difference between a shirt you love and a frustrating mistake.
It all begins with your digital file. Whether you’re working in Adobe Photoshop, Canva, or another design program, the quality of your source image is everything. A low-resolution graphic will look fuzzy and pixelated when printed, no matter how fancy your printer is. You should always, always start with a file that's at least 300 DPI (dots per inch) to get those sharp, professional-looking results.
If your design has a custom shape or you need to get rid of a background, you'll want to isolate your subject. This is especially important for opaque transfers going onto dark fabrics because any white background left in the file will be printed. Using a good background removal tool can be a lifesaver here, giving you clean edges without a ton of tedious work.
The Golden Rule: Mirror Your Image
If there's one mistake every beginner makes at least once, it's forgetting to mirror the design. For most traditional iron-on papers (especially the kind for light-colored fabrics), this is a non-negotiable step. Why? Because you'll be placing the transfer paper face-down onto the shirt to apply the heat.
If you don't flip the image horizontally first, any text will be backward, and the whole design will be the reverse of what you wanted. It works just like a temporary tattoo—the image has to be reversed on the paper so it shows up correctly on your skin. Same principle here.
Thankfully, most design software and even your printer's settings menu will have a simple checkbox for "mirror image," "flip horizontal," or "t-shirt transfer." Just make sure it's selected before you print.
My Go-To Tip: Always print a test copy on a regular piece of paper first. This takes a few seconds but can save you from wasting an expensive sheet of transfer paper on a design that's backward or the wrong size.
Dialing in Your Printer Settings for the Best Color
Okay, your design is prepped and mirrored. Now it's time to talk to your printer. Don't just click "Print" and hope for the best with the default settings. The options you choose in the print dialog box directly control the ink saturation and color vibrancy of your final transfer.
Deep inside your printer's settings are a few key adjustments that can make a world of difference. You need to tell the printer you're using special paper so it lays down the right amount of ink.
Here’s what I always look for:
- Paper Type: Find a setting like "T-Shirt Transfer," "Iron-On Transfer," "Photo Paper Glossy," or "Premium Matte Paper." This tells the printer to use more ink than it would for a standard document.
- Print Quality: Never leave this on "Standard" or "Normal." Always bump it up to "High," "Best," or "Photo." This slows the printer down a bit, but it makes sure the ink fully saturates the paper, giving you much richer colors on the final shirt.
- Color Management: If you have the option, letting your design program (like Photoshop) handle the colors instead of the printer usually gives you more accurate results that better match what you see on your screen.
The whole world of custom apparel is booming. The heat transfer vinyl (HTV) market, a close cousin to iron-ons, was valued at USD 371.4 million in 2024 and is expected to hit over USD 551.9 million by 2034. Modern inkjet-compatible papers are a huge reason for this, sometimes cutting project setup time by up to 70%. It’s a fast-growing space, and you can discover more insights about the heat transfer vinyl market to see where things are headed.
By really nailing these prep and printing steps, you're setting the stage for a perfect press. It’s the small details—mirroring the image and tweaking those printer settings—that separate a homemade-looking shirt from a truly professional-quality piece.
Mastering Heat Application for a Lasting Bond
You’ve printed your design and trimmed it perfectly—now for the moment of truth. This is where your digital artwork becomes a permanent part of the fabric, and it all comes down to a precise balance of three things: temperature, pressure, and time. Nailing this trifecta is the secret to creating a durable, professional-looking transfer that won't crack or peel after the first wash.
The core principle is the same whether you're using a high-end heat press or a trusty home iron. Your goal is to melt the transfer's adhesive just enough for the ink to fuse directly into the garment's fibers. A heat press makes this process incredibly consistent, but you can absolutely get fantastic results with an iron if you know what you're doing.
Setting Up Your Garment and Workspace
Before you even think about applying heat, a little prep work goes a long way. If you’re using a home iron, your first move is to ditch the ironing board. Its padded, mesh surface is designed to let heat escape, which is the exact opposite of what you need for a good transfer.
Instead, find a hard, flat, heat-resistant surface—a countertop or a sturdy wooden table works great. Lay a thin towel or a Teflon pillow down to create a smooth, firm pressing area.
Next up is the pre-press. This is a step people often skip, but it's crucial. Lay your garment flat and press it with your heat source for about 5-10 seconds. This does two important things: it irons out any last-minute wrinkles that could mess up your transfer, and more importantly, it zaps any lingering moisture from the fabric. Steam is the enemy here; it can prevent the adhesive from bonding properly and lead to peeling edges down the road.
The entire heat transfer market is built on this process. It's a huge industry, with the market for heat transfer paper and vinyl hitting USD 4,500 million this year and projected to soar past USD 7,000 million. Success comes down to mastering those application settings—usually around 300-320°F for 10-20 seconds. When you get the temperature control right, success rates can be as high as 95%.
This quick flowchart shows how the digital prep work you've already done lays the groundwork for this final, physical step.
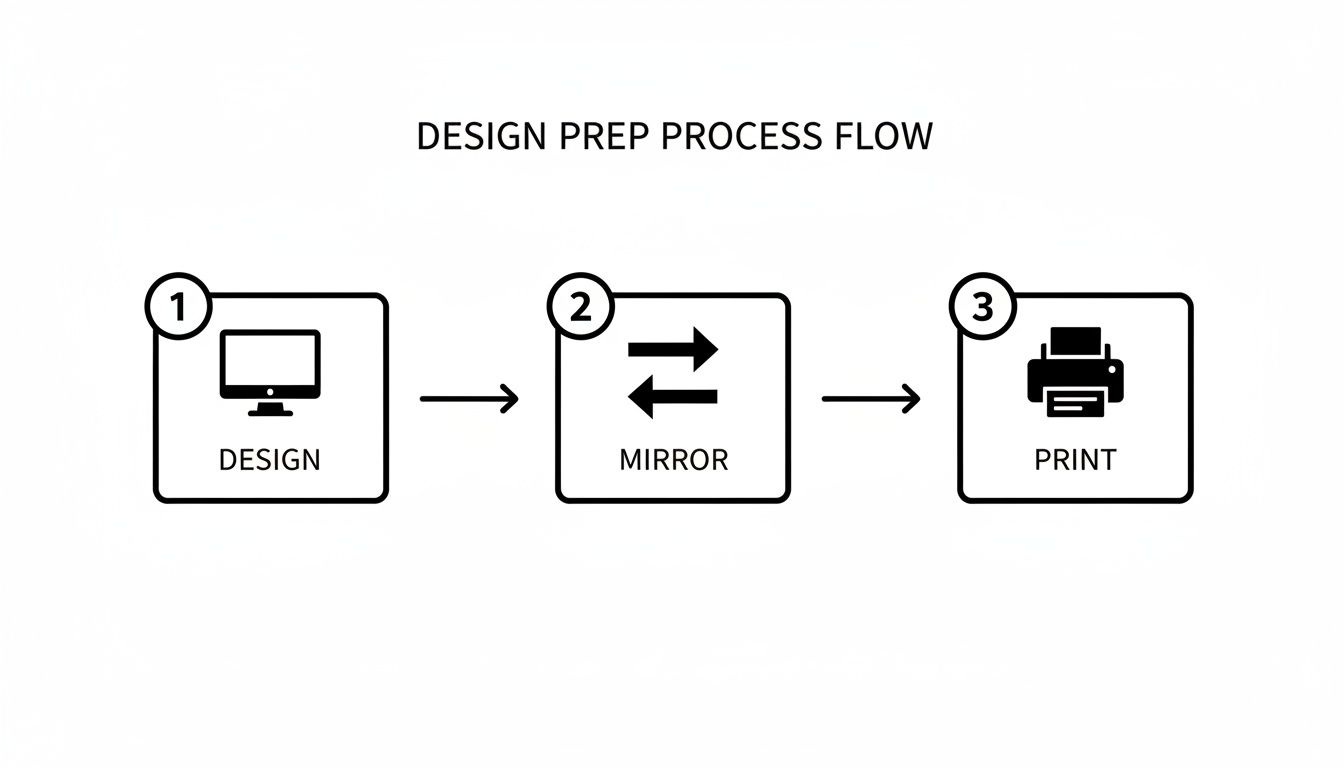
As you can see, getting the design, mirroring, and printing right is the foundation for a flawless heat application.
Applying Consistent Heat and Pressure
With your shirt pre-pressed and ready, it's time to position your design. Carefully place the transfer paper ink-side down onto the fabric. Use a ruler if you want perfect alignment, or just eyeball it if you're feeling confident. Once it's in place, cover the transfer with a sheet of parchment paper or a Teflon sheet. This protects both the transfer and your heat source from direct contact.
Now, let's get pressing.
- Using a Heat Press: This is the simple route. Just dial in the temperature and time recommended by your transfer paper manufacturer, lock the press down, and wait for the alarm. The machine does all the hard work of applying perfectly even pressure.
- Using a Home Iron: Set your iron to its highest setting (usually the Cotton/Linen option) and, most importantly, turn the steam function OFF. Press down firmly with both hands, using your body weight to apply serious, even pressure. Don't slide the iron around like you're getting wrinkles out of a dress shirt. Instead, hold it firmly in one spot for 15-20 seconds before lifting and moving to the next section, overlapping slightly as you go. Give extra attention to the corners and edges of your design, as these are the first places a transfer will start to lift.
Pro Tip: I can't stress this enough: uneven pressure is the number one killer of iron-on projects. If you're using a home iron, your main focus should be on keeping that pressure consistent across every square inch of the design. It's always better to press a few seconds longer than to under-press and end up with a peeling disaster.
The Make-or-Break Moment: The Peel
After pressing is complete, you have one final, critical step—removing the paper backing. It sounds easy, but the timing is everything and depends entirely on the type of transfer paper you're using. There are two main methods.
- Hot Peel: Just like it sounds, you peel the backing paper off immediately after lifting the heat press or iron, while everything is still piping hot.
- Cold Peel: With this type, you have to exercise some patience. Let the garment and transfer cool down completely to room temperature (give it a minute or two) before you even think about touching the backing paper.
Getting this wrong can ruin all your hard work. If you let a hot peel paper cool down, the backing might tear or leave parts of the design behind. If you peel a cold peel paper while it's still warm, you can pull the ink right off the shirt. Always read the instructions that came with your paper!
When you're ready, peel the backing paper away smoothly at a low, consistent angle. If you see any part of the design starting to lift with the paper, stop immediately. Lay the backing and your protective parchment sheet back down and press that specific area again for another 10 seconds.
For an even deeper look into professional techniques, check out our complete guide on heat transfer printing on t-shirts.
Aftercare and Troubleshooting Common Transfer Issues
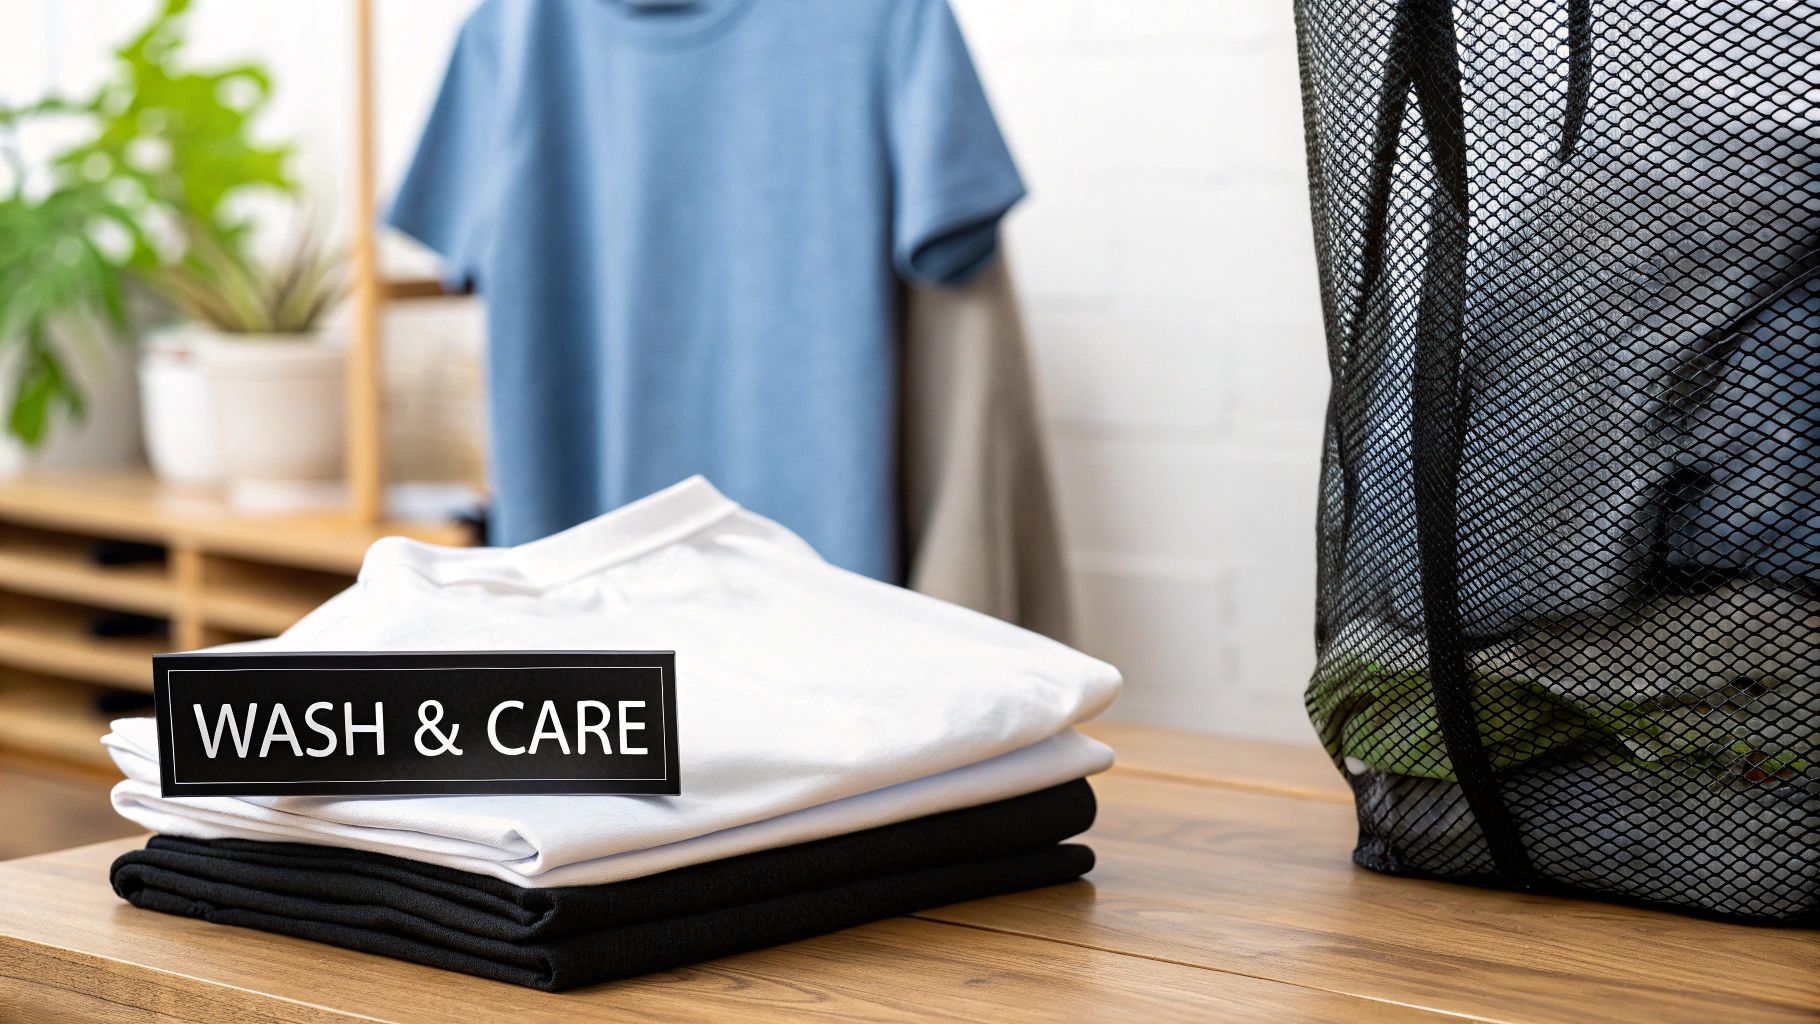
You did it. The transfer is on, the paper is peeled away, and your custom shirt looks amazing. But getting the design onto the fabric is only half the battle; the real test is making it last.
How you care for your garment, especially right after pressing, is every bit as important as the application itself. This is what keeps your work looking vibrant and sharp wash after wash, instead of turning into a cracked, peeling mess.
The first 24 hours are absolutely critical. I know it's tempting to show off your new creation, but you have to let the transfer's adhesive fully cure and bond with the fabric fibers. Hands off for just one day.
Essential Washing and Care Instructions
Once that curing period is over and it's time for the first wash, a few simple habits will make all the difference. These are my non-negotiable rules for keeping custom apparel in great shape.
-
Turn It Inside Out: This is the easiest and most effective trick in the book. It protects your design from getting chewed up by zippers, buttons, and general friction during the wash cycle.
-
Keep Things Cool: Heat is the enemy of transfer adhesive. Always wash your custom garments in cold water on a gentle cycle. Hot water will soften the adhesive over time and can make the colors bleed or fade.
-
Use a Mild Detergent: Harsh chemicals are a no-go. That means no bleach and absolutely no fabric softeners, which leave a residue that can break down the bond between the transfer and the shirt.
When it comes to drying, skip the high heat of the tumble dryer. Your best bet is to hang the garment to air dry. If you must use a dryer, choose the lowest heat setting possible.
Diagnosing and Fixing Common Problems
Even when you follow every step, things can sometimes go sideways. Don't worry—most common issues are fixable and teach you a lot about refining your technique.
Problem: My Design Is Peeling at the Edges
I see this all the time, especially from people using a home iron. It’s almost always a sign that the edges didn't get enough consistent heat or pressure.
- The Fix: This one is usually an easy save. Just lay a piece of parchment paper over the design and re-press the peeling area for another 10-15 seconds. Really focus on applying firm, even pressure right on that spot to reactivate the adhesive.
Problem: The Transfer Looks Cracked or Faded After Washing
Cracking usually means the shirt was stretched before the transfer fully cured or that the heat was applied unevenly. Fading often points back to washing in hot water or not using enough ink in the first place.
- The Fix: Unfortunately, you can't really reverse major cracking. To prevent it on future projects, make sure your printer is on its highest quality setting and respect that 24-hour curing window. For fading, always double-check your printer settings—you want "Best" or "Photo" quality to ensure deep ink saturation.
A quick re-press can often be a saving grace for minor issues like a lifting corner. However, this is also where the difference in transfer types becomes clear. High-quality DTF transfers are engineered with more elastic inks and stronger adhesives, making them far more resistant to cracking and peeling from the start.
Problem: The Colors Look Dull or Splotchy
This is a pre-press problem. It’s typically caused by low-quality print settings, low ink cartridges, or—the silent killer—moisture hiding in the garment fabric.
- The Fix: Always, always do a quick 5-10 second pre-press to zap any moisture out of the shirt. Before you print your transfer, run a nozzle check on your printer to make sure all colors are firing correctly and that you aren't about to run out of ink mid-print.
Every misstep is a chance to perfect your process. If you're still hitting roadblocks, our deeper guide on how to iron on a transfer has more detailed solutions. Once you learn to read the signs, you'll be able to get flawless, durable results every single time.
Common Questions (and Expert Answers) About Iron-On Transfers
Even after you've got the basics down, you're bound to run into a few questions when printing your own iron-on transfers. It happens to everyone. Here are some of the most common issues I see, along with some practical advice to help you get professional results from the start.
Can I Really Use My Regular Home Printer?
Yes, you definitely can. You don't need a fancy, specialized printer to get started with iron-on transfers. The standard inkjet printer sitting on your desk is more than capable of creating fantastic custom shirts.
The trick isn't the printer itself, but two other key things. First, make sure you buy transfer paper specifically designed for inkjet printers. Second, go into your printer settings before you hit "print." Choosing a high-quality print setting, like "Best" or "Photo Paper," tells the printer to lay down more ink, which gives you a much richer and more vibrant design on your shirt.
Why Did My Design Crack After Just One Wash?
This is easily the most common headache people face, and nearly every time, the problem traces back to the application process. When a transfer starts cracking or peeling, it's almost always due to a lack of heat, pressure, or time.
A regular household iron just can't provide the consistent, high heat and heavy pressure needed for a truly durable bond. This is why a heat press is always the better tool for the job.
Pro Tip: If you're stuck using a home iron, ditch the wobbly ironing board. Instead, press on a solid, heat-resistant surface like a countertop (with a protective layer, of course). Use your body weight to apply as much firm, even pressure as you can. It’s the best way to simulate the clamping force of a real press.
Do I Have to Mirror Every Single Design?
For most types of transfer paper, especially the kind made for light-colored fabrics, mirroring your image is an absolute must. You're placing the design face-down onto the fabric, so if you don't flip it first, your text and images will be backward.
But here's where it gets tricky—not all papers work this way. Opaque transfers designed for dark shirts, for example, often have you peel the design off its backing and place it face-up, meaning you shouldn't mirror it.
- Paper for Light Fabrics: Plan on mirroring it.
- Paper for Dark Fabrics (Opaque): Usually, you don't mirror.
The golden rule? Always, always read the instructions that came with your specific pack of transfer paper. It's a simple step that can save you a lot of wasted materials and frustration.
What's the Best Fabric for Iron-On Transfers?
While you can technically press a transfer onto almost anything, the best, longest-lasting results come from using the right kind of fabric. Your go-to options should be 100% cotton, 100% polyester, or a poly-cotton blend.
These materials are champions because they can handle the high heat required without getting scorched or melted. Plus, their weave allows the transfer's adhesive to form a really strong bond. Delicate fabrics like silk or rayon can't take the heat and are likely to be damaged, so it's best to avoid them.
Ready to bypass the common pitfalls and achieve professional-grade results every time? Cobra DTF offers premium, USA-made Direct-to-Film transfers that are more durable, vibrant, and easier to apply than traditional paper. Explore our high-quality DTF transfers and take your custom apparel to the next level.