
What Is Transfer Paper? Your Guide to Custom Designs
Ever wonder how people get those cool, custom designs on t-shirts and tote bags? A lot of the time, the secret ingredient is something called transfer paper.
Simply put, it's a special kind of paper that lets you take a design from your computer, print it out, and then press it onto fabric or another surface. Think of it as a high-tech sticker for your clothes—it holds onto your artwork until heat and pressure tell it to let go and become part of the fabric. This makes it an incredibly popular choice for everyone from small business owners to DIY crafters.
Transfer Paper At a Glance
To get a quick handle on what this material is all about, let's break it down into its most basic parts.
| Key Feature | Simple Explanation |
|---|---|
| Carrier Sheet | It's a temporary home for your design after you print it. |
| Special Coating | A heat-activated layer that holds the ink and later bonds it to the fabric. |
| Heat Activation | The "magic" step where heat and pressure make the transfer happen. |
| Versatility | Works on all sorts of items, from t-shirts and hoodies to hats and bags. |
This table sums it up, but the process itself is where the real fun begins.
How Does the Magic Actually Happen?
At its heart, transfer paper is a clever middleman for your creative vision. You start by printing your design onto its specially coated side using a regular inkjet or laser printer. This unique coating is the key; it's engineered to keep the ink sitting right on the surface instead of soaking into the paper fibers like it normally would.
Then comes the heat press (or a really good household iron). When you apply that combination of heat and pressure, you're kicking off a chemical reaction. The heat melts the special polymer coating on the paper, which releases the ink it was holding. The pressure then pushes that melted polymer and ink mixture right into the fibers of your t-shirt, creating a permanent bond as it cools.
If you want to get into the nitty-gritty, our guide on how transfer paper works really digs into the science behind the process.
The Building Blocks of a Great Transfer
So, what makes this paper so special? It’s not your average sheet from the office supply store. It's a multi-layered product where each part has a specific job.
- Base Paper: This is the foundation. It needs to be strong enough to handle the heat from both the printer and the press without curling or scorching.
- Polymer Coating: This is where the action is. It's a heat-sensitive film that grips the ink and then fuses it to the final item.
- Release Liner: A slick backing sheet (often peeled off before or after pressing) that keeps the sticky polymer layer protected until you're ready to go.
This smart but simple technology has fueled a massive industry. The global market for heat transfer materials is expected to balloon from USD 1.6 billion in 2025 to an impressive USD 2.27 billion by 2034. Its low cost and ease of use are what make it a go-to for so many people.
The real beauty of transfer paper is its accessibility. It transforms a basic home printer into a powerful tool for custom creation, bridging the gap between digital designs and tangible, personalized products.
Bringing Your Digital Design to Life
This is where the magic really happens—turning that idea on your screen into something you can actually hold and wear. The process of using transfer paper is pretty straightforward, but a few key steps make all the difference between a homemade-looking project and a professional-quality piece.
It all starts with getting your design ready. Whether it’s a killer logo or a simple line of text, you have to prep it for the real world. For most transfer papers, especially those meant for light-colored fabrics, this means you absolutely must mirror your image. Think about it: you'll be placing the paper face-down, so if you don't flip the design beforehand, it will come out backward. It's a classic rookie mistake, and an easy one to avoid.
Printing and The Polymer Coating
Once your design is ready to go, you’ll print it onto the transfer paper. This isn't your average copy paper, though. It’s coated with a special polymer film that sits on the surface, designed to cradle the ink instead of soaking it up.
This thin, heat-activated layer is the secret sauce. It acts as a temporary carrier, holding every last drop of ink in place so the colors stay sharp and vibrant. Without it, the ink would just bleed into the paper, and your final print would look muddy and faded. For a deeper dive into the printing specifics, check out our guide on how to print on transfer paper.
The Science of Heat and Pressure
The final step is the transfer itself, which is all about heat and pressure. Think of the polymer film on the paper as a kind of glue that's "sleeping." Your heat press (or iron, in a pinch) is the alarm clock that wakes it up.
When you apply heat, that polymer film melts, releasing the ink it was holding onto. At the exact same time, the pressure from your press pushes that melted ink-and-polymer mix right into the weave of the fabric.
This fusion is what makes the design permanent. As it cools, the polymer hardens again, but this time it’s locked inside the fabric’s fibers, creating a durable bond that makes the design a part of the garment itself.
This is what ensures your graphic isn't just sitting on top of the shirt, waiting to peel off. It's truly bonded with it. Getting a great, long-lasting transfer boils down to nailing a perfect balance of three things:
- Precise Temperature: If it's too cool, the polymer won't melt correctly. If it's too hot, you can scorch the fabric or ruin the transfer.
- Sufficient Pressure: You need firm, even pressure across the entire design to make sure it bonds completely with the material.
- Correct Timing: Each type of transfer paper has a sweet spot for how long it needs to be pressed. This gives the chemical reaction just the right amount of time to work its magic.
Master these three variables, and you’ll be turning out professional-grade custom gear every single time.
Choosing the Right Type of Transfer Paper
Finding the perfect transfer paper isn’t about some mythical "best" option. It's about finding the right one for your specific job. The printer you have, the shirt you're pressing onto, and the look you’re going for are the three biggest factors. Get it wrong, and you could end up with a faded design, a stiff plastic-y feel, or a graphic that cracks after one wash.
The first and most important fork in the road is your printer. The two most common types of transfer paper are built for the printers most people already have: inkjet and laser. You absolutely cannot mix and match them. Each is engineered with a completely different chemistry to work with either liquid ink or powdered toner.
Let's break down the main players so you can figure out what works for you.
Inkjet Transfer Paper
This is usually the first stop for anyone dipping their toes into custom apparel. Inkjet transfer paper is made specifically for the standard home printer that uses liquid ink cartridges. It's easy to find, doesn't cost a lot, and is perfect for getting started without shelling out for new equipment.
- Printer Compatibility: You'll need a standard inkjet printer.
- Best For: Cotton and cotton-poly blends. It’s the go-to for fun projects like family reunion t-shirts, gag gifts, or custom tote bags for a party.
- Feel and Finish: The final transfer often feels like a thin, flexible film sitting on top of the fabric. The technology has gotten much better, but it can sometimes have a heavier "hand" (the term for how a garment feels) compared to other methods.
This simple decision tree shows how your tools, from a basic home iron to a more serious heat press, can shape your project.

As you can see, whether you're starting small with an iron or stepping up to a heat press, it all begins with your digital design.
Laser Printer Transfer Paper
If you need something that lasts and looks sharp, laser transfer paper is a fantastic choice. It’s designed to work with laser printers, which use a fine powder called toner instead of ink. The results are known for being incredibly crisp and resilient. The sheets usually cost more, but you get a product that holds up wash after wash.
Laser transfers are generally more wash-resistant than their inkjet counterparts, making them a preferred choice for small businesses selling custom apparel or creating branded workwear.
Here's what sets them apart:
- Printer Compatibility: You must use a laser printer.
- Durability: Offers far better washability and is much less likely to fade over time.
- Application: Many laser papers are "self-weeding," which is a game-changer. It means only the printed toner transfers to the shirt—no background film. This gives the design a much softer feel that's closer to traditional screen printing.
Sublimation and DTF Transfers
Once you move past the basics of inkjet and laser, you enter a more professional world. Sublimation paper is one of those options. It's used with special sublimation inks that, under heat, turn directly into a gas and permanently dye the fabric's fibers. The catch? It only works on light-colored polyester fabrics. The result, however, is a design with zero feel and impossible-to-fade vibrancy.
Another incredibly popular modern alternative is Direct-to-Film (DTF). While the process is different, it achieves a similar goal of professional quality. If you want to dive deeper, you can explore our guide on what DTF transfers are to see how they deliver durable, full-color designs on almost any fabric imaginable.
Which Transfer Paper Should You Use?
Feeling a bit overwhelmed? Don't be. Choosing the right paper is just a matter of matching your tools and goals. This table breaks down the key differences to help you make a quick decision.
| Paper Type | Printer Needed | Best For Fabrics | Durability | Typical Cost |
|---|---|---|---|---|
| Inkjet Transfer | Standard Inkjet | Cotton, Poly-Blends | Good (5-10 washes) | Low ($) |
| Laser Transfer | Laser Printer | Cotton, Poly-Blends | Excellent (20-40 washes) | Medium ($$) |
| Sublimation Paper | Sublimation Printer | 100% Polyester (light colors) | Permanent (lifespan of fabric) | High ($$$) |
| DTF Film | DTF Printer | Any fabric (cotton, poly, etc.) | Excellent (50+ washes) | Medium ($$) |
Ultimately, the best transfer paper is the one that fits your budget, your equipment, and the final product you envision. Each type offers a unique path to creating something amazing.
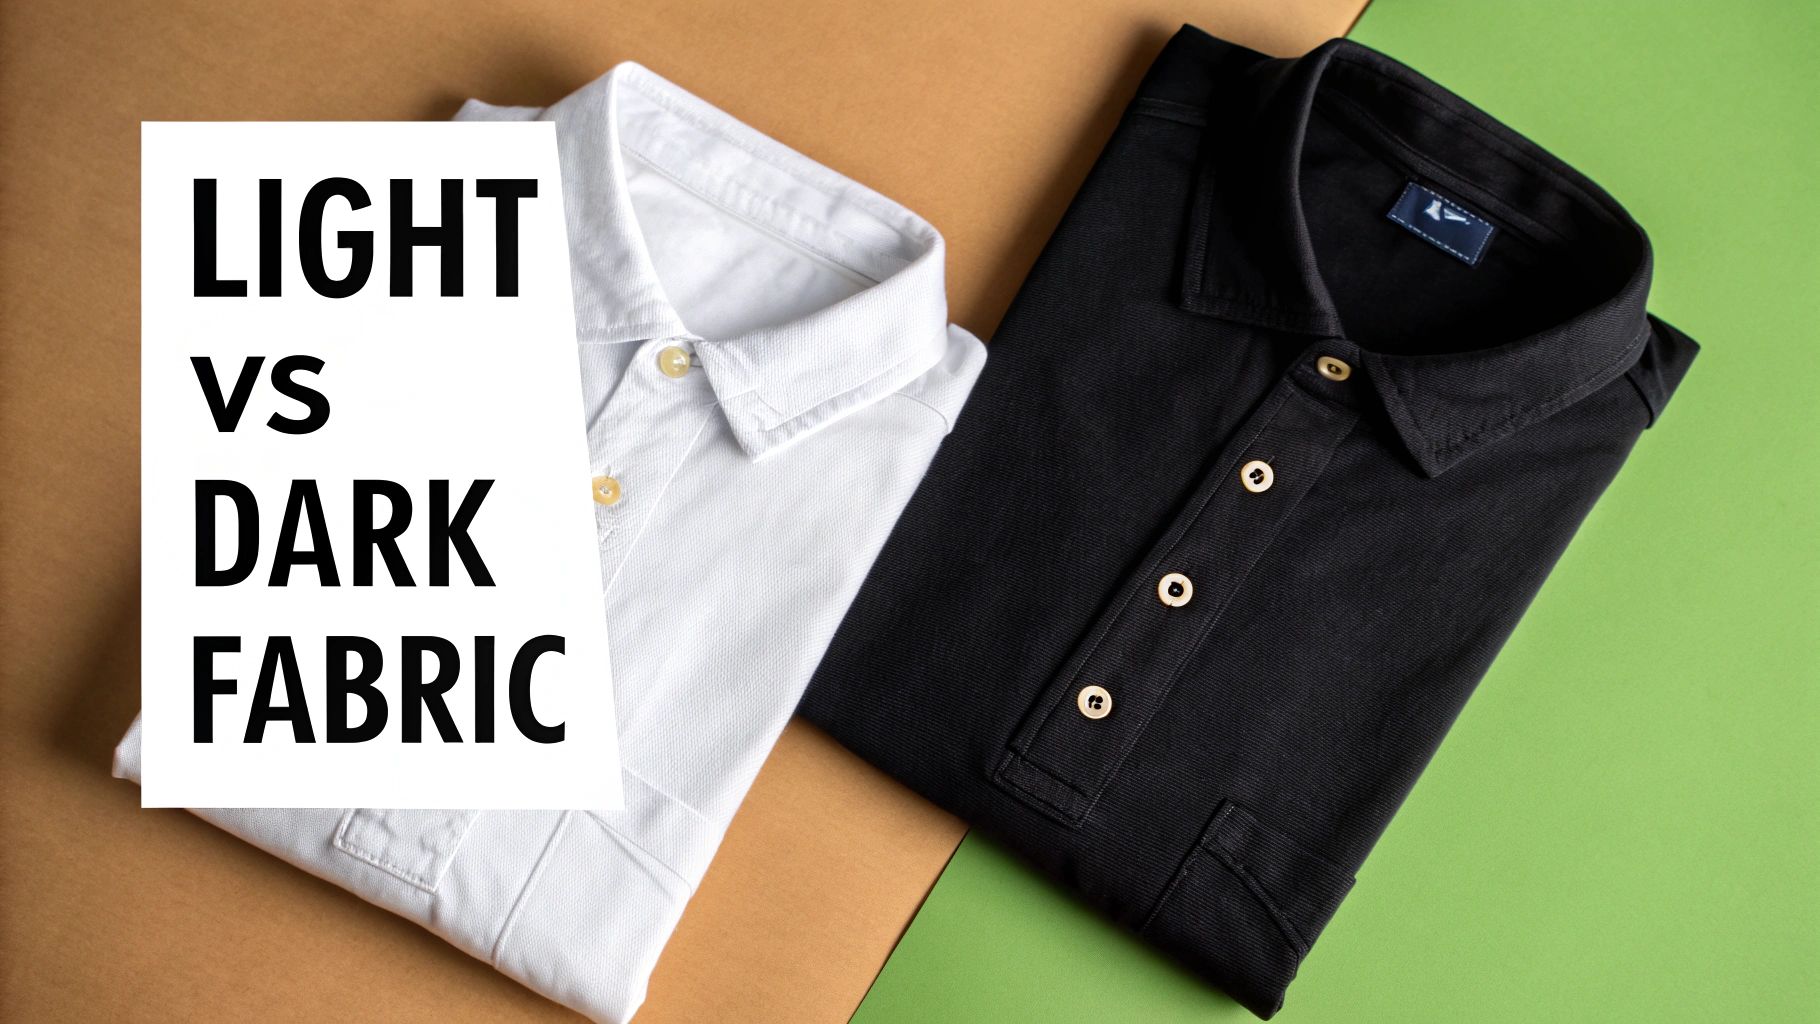
Navigating Light vs. Dark Fabric Transfers
When you're getting started with transfer paper, one of the first and most critical decisions you'll face is matching the paper to the color of your fabric. Get this right, and you're golden. Get it wrong, and your project is likely a bust. But don't worry, the concept is pretty straightforward once you understand what's going on "under the hood."
The magic really comes down to the background film on the paper itself. It's this simple difference that has helped the textile transfer paper market explode into a $1.2 billion industry as of 2024. With projections showing it could hit $2.5 billion by 2033, it's clear that more and more people are getting into custom apparel. Nailing this fundamental concept is your first step. For a deeper dive into market trends, you can check out recent analysis reports on the textile transfer paper industry.
Transfer Paper for Light Fabrics
Let's start with paper made for light-colored fabrics—think whites, pastels, or light grays. This type of paper has a transparent polymer film.
Think of it like a window decal. The printed parts of your design are vibrant, but any unprinted areas are completely clear. This allows the light color of the shirt to show through, becoming the natural background for your image. The paper essentially relies on the shirt to provide the "white" or light tones in your design.
Transfer Paper for Dark Fabrics
Now, what happens if you put that same clear decal on a dark surface? The colors would look dull, or worse, disappear entirely. That's why transfer paper for dark fabrics works differently. It's built with an opaque white background.
This kind of paper acts more like a solid, high-quality sticker. When you press it, that white layer transfers right along with your printed design, creating a solid base. This opaque foundation is what makes your colors pop on black, navy, or any other dark material. Without it, the fabric's dark color would just swallow your design, leaving it looking muddy and washed out.
Key Takeaway: Light fabric paper is transparent, using the shirt's own color as the background. Dark fabric paper comes with its own solid white background to make sure your design stays bright and true on any dark garment.
Getting this choice right is everything. If you mistakenly use light paper on a dark shirt, your design will be faint and barely visible. And if you use dark paper on a light shirt, you'll end up with a heavy white box around your entire graphic. Making the right pick from the start is the secret to a clean, professional finish.
Creative Ideas and Practical Applications
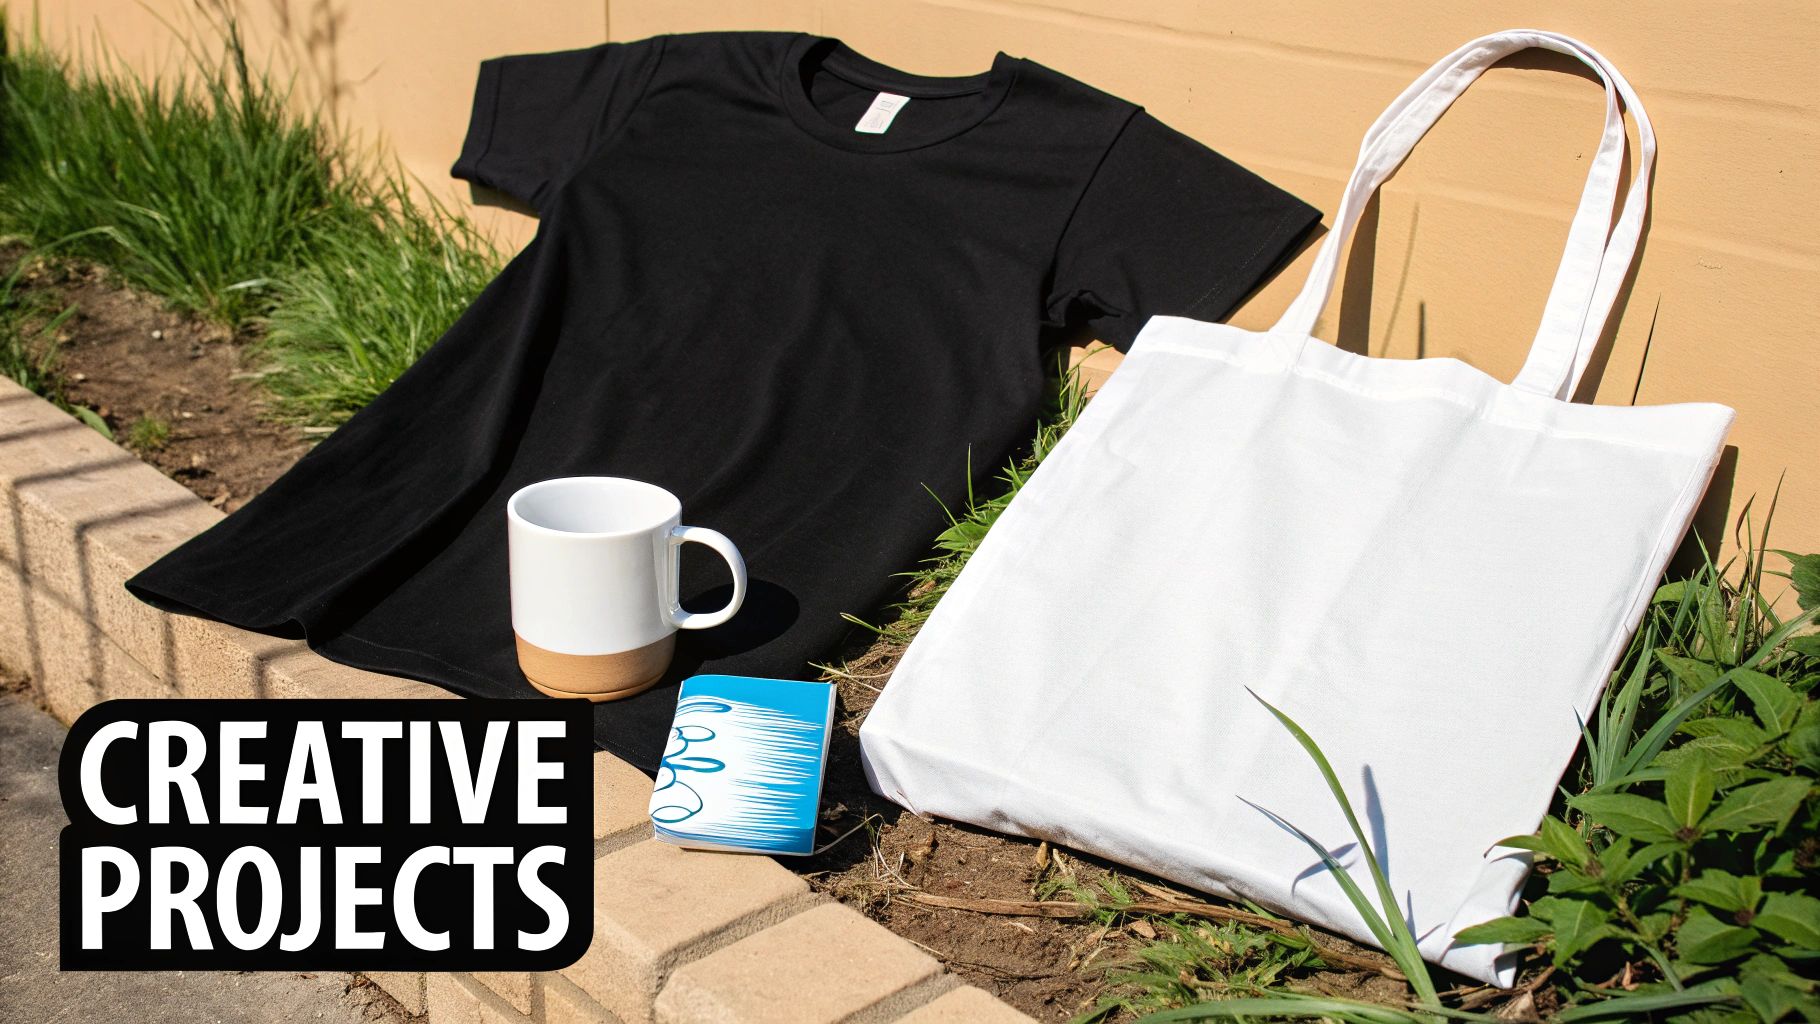
Okay, now that we've covered the nuts and bolts of what transfer paper is, let's get to the fun part: what you can actually do with it. This stuff is a game-changer, turning your digital designs into real, physical products you can wear, use, or sell. The possibilities are genuinely as wide as your imagination.
For personal projects, you can really let your creativity run wild. Think matching t-shirts for the annual family reunion, custom tote bags for a bachelorette weekend, or personalized pillowcases that make your kids feel extra special. It’s a simple and affordable way to add a personal touch that makes any event or gift unforgettable.
The real power of transfer paper is how it brings professional-level customization to everyone. Suddenly, anyone with a home printer can create high-quality, personalized gear that used to require a trip to a print shop.
This accessibility has blown the market wide open. Believe it or not, industry analysts valued the tacky transfer paper market alone at around USD 3.3 billion in 2025, and they expect it to skyrocket to USD 5.7 billion by 2035. That's a lot of custom t-shirts! This incredible growth just goes to show how much people love custom-made goods. You can dive deeper into this growing market on futuremarketinsights.com.
From Hobby to Small Business
Beyond making cool stuff for yourself, transfer paper is a secret weapon for countless small businesses and side hustles. It’s a fantastic, low-cost way to get into the custom merchandise game without needing to drop thousands on specialized equipment right out of the gate.
Here are just a few ideas to get you started:
- Branded Company Apparel: Print up some sharp-looking uniforms for your team or promotional tees for your next big event.
- Promotional Products: Design custom tote bags, mousepads, or hats to hand out at trade shows and get your name out there.
- E-commerce Shops: Launch an online store selling apparel with your own unique artwork, funny slogans, or designs for a specific niche.
If you're thinking about turning your creations into cash, getting a handle on platforms like Etsy is a great next step. Check out this guide on how to sell more on Etsy to learn the ropes.
Beyond the T-Shirt
While t-shirts get most of the attention, don't forget that transfer paper isn't just for fabric. With the right specialty paper, you can bring your designs to all sorts of hard surfaces.
Think about creating things like:
- Custom Mugs and Tumblers
- Personalized Wooden Signs
- Unique Ceramic Tiles
- Branded Phone Cases
This kind of versatility is what makes transfer paper such an invaluable tool for both crafters and entrepreneurs, opening up a whole universe of custom products you can create.
Common Questions About Transfer Paper
Once you get the hang of what transfer paper is, a few practical questions always seem to come up. Honestly, getting these answers right from the start is the secret to avoiding a lot of frustration and wasted materials.
Let's dig into the most common issues people run into. We'll give you some clear advice to help you get professional-looking results, even on your first try.
Can I Use a Regular Home Iron Instead of a Heat Press?
This is, without a doubt, the question I hear most often. The short answer is yes, you can, but—and this is a big but—it comes with some major trade-offs.
A real heat press is built to do two things perfectly: deliver consistent, even heat across the entire surface and apply uniform, heavy pressure. A household iron is just not designed for that. It’s terrible at both, frankly.
An iron’s heating surface is usually uneven, with steam holes creating cool spots that prevent parts of your design from sticking properly. You’ll end up with a patchy, incomplete transfer. On top of that, it’s almost impossible to apply the kind of firm, even pressure you need with just your arms.
But hey, sometimes an iron is all you’ve got. If that's the case, you can definitely improve your odds of success:
- Work on a Hard Surface: Find a solid, heat-resistant surface, like a wooden cutting board on a sturdy table. Never use an ironing board. Its soft, padded surface will just absorb all the pressure you’re trying to apply.
- Turn Off the Steam: Make sure your iron is completely empty of water and the steam function is off. Steam is the number one enemy of a good transfer.
- Use Maximum Pressure: Don't be shy—put your body weight into it and press down hard. Keep the iron moving in small, steady circles to spread the heat as evenly as you can.
- Preheat the Fabric: Iron the garment for 10-15 seconds before you lay down the transfer. This gets rid of any moisture and wrinkles, giving you a better surface for the design to stick to.
While a home iron can get you by for a one-off project, anyone who's serious about making custom apparel should see a heat press as a must-have investment. The difference in quality, consistency, and durability is just night and day.
How Do I Wash My Custom Shirt So It Lasts?
You’ve put in the work to create the perfect shirt; now you want it to last more than one wash. Proper care is everything when it comes to extending the life of your design.
Heat-transferred graphics are pretty tough, but they aren't invincible. Their biggest enemies? High heat from the dryer and harsh detergents.
Think of the design as a special layer that’s been bonded to the fabric. Aggressive washing and heat can slowly break down that bond. To protect your work, you just need to follow a few simple but crucial rules.
Pro Tip: For that very first wash, a lot of experienced crafters (myself included) recommend turning the garment inside out and washing it in cold water. This helps to really set the ink into the fabric and can make the design more durable in the long run.
Follow these steps every single time you wash your custom gear:
- Wait 24 Hours: This is critical. Always wait at least a full day after pressing before that first wash. This gives the polymer bond time to fully cure and harden.
- Turn It Inside Out: This is the single most important step. It protects the design from rubbing against other clothes in the wash, which causes friction and abrasion.
- Wash in Cold Water: Always use a gentle cycle with cold water. Hot water can soften the transfer's adhesive, making it much more likely to peel or crack.
- Use a Mild Detergent: Stay away from bleach and strong fabric softeners. The chemicals in them can degrade both the ink and the adhesive film over time.
- Hang to Dry: This is always the best option. If you absolutely have to use a dryer, tumble dry on the lowest heat setting possible. High heat is the fastest way to ruin a custom shirt.
Stick to these care instructions, and you'll be amazed at how long your custom creations will look great.
Why Is My Design Cracking or Peeling?
There’s nothing worse than pulling your new shirt out of the laundry only to see the design is cracked, peeling, or flaking off. It’s a gut punch. But here’s the thing: this problem almost always points back to an issue during the application process.
It’s rarely a bad batch of paper. It usually comes down to one of three things: heat, pressure, or time.
The most common culprit is insufficient or uneven pressure. If some parts of the design didn't get enough force from the press, the adhesive couldn't fully melt and fuse with the fabric fibers. This creates a weak bond that’s bound to fail. This is the main reason why home irons tend to produce results that don't last as long as those from a heat press.
Another huge factor is incorrect temperature. If the heat is too low, the polymer just won't activate properly. If it’s too high, you can actually scorch the adhesive, which makes it brittle and prone to cracking once it cools. Always, always follow the specific temperature and time instructions that come with your transfer paper. Every brand has a slightly different formula, so the settings that worked for one type might be totally wrong for another.
Ready to create vibrant, long-lasting custom apparel with transfers that won't crack or fade? At Cobra DTF, we provide premium, American-made Direct-to-Film transfers that deliver professional quality every time. Experience the difference with our fast shipping and satisfaction guarantee.
Explore our top-quality DTF transfers at https://cobradtf.com.