

Heat Transfer Printing on T Shirts A Practical Guide
Alright, let's get your gear in order. Before you even think about printing that first t-shirt, you need to have the right tools on hand. The quality of your setup is what separates a homemade-looking shirt from a professional product that people will actually want to wear.
This isn't just about a checklist; it's about understanding why each piece of equipment matters.
Gathering Your Heat Transfer Printing Essentials
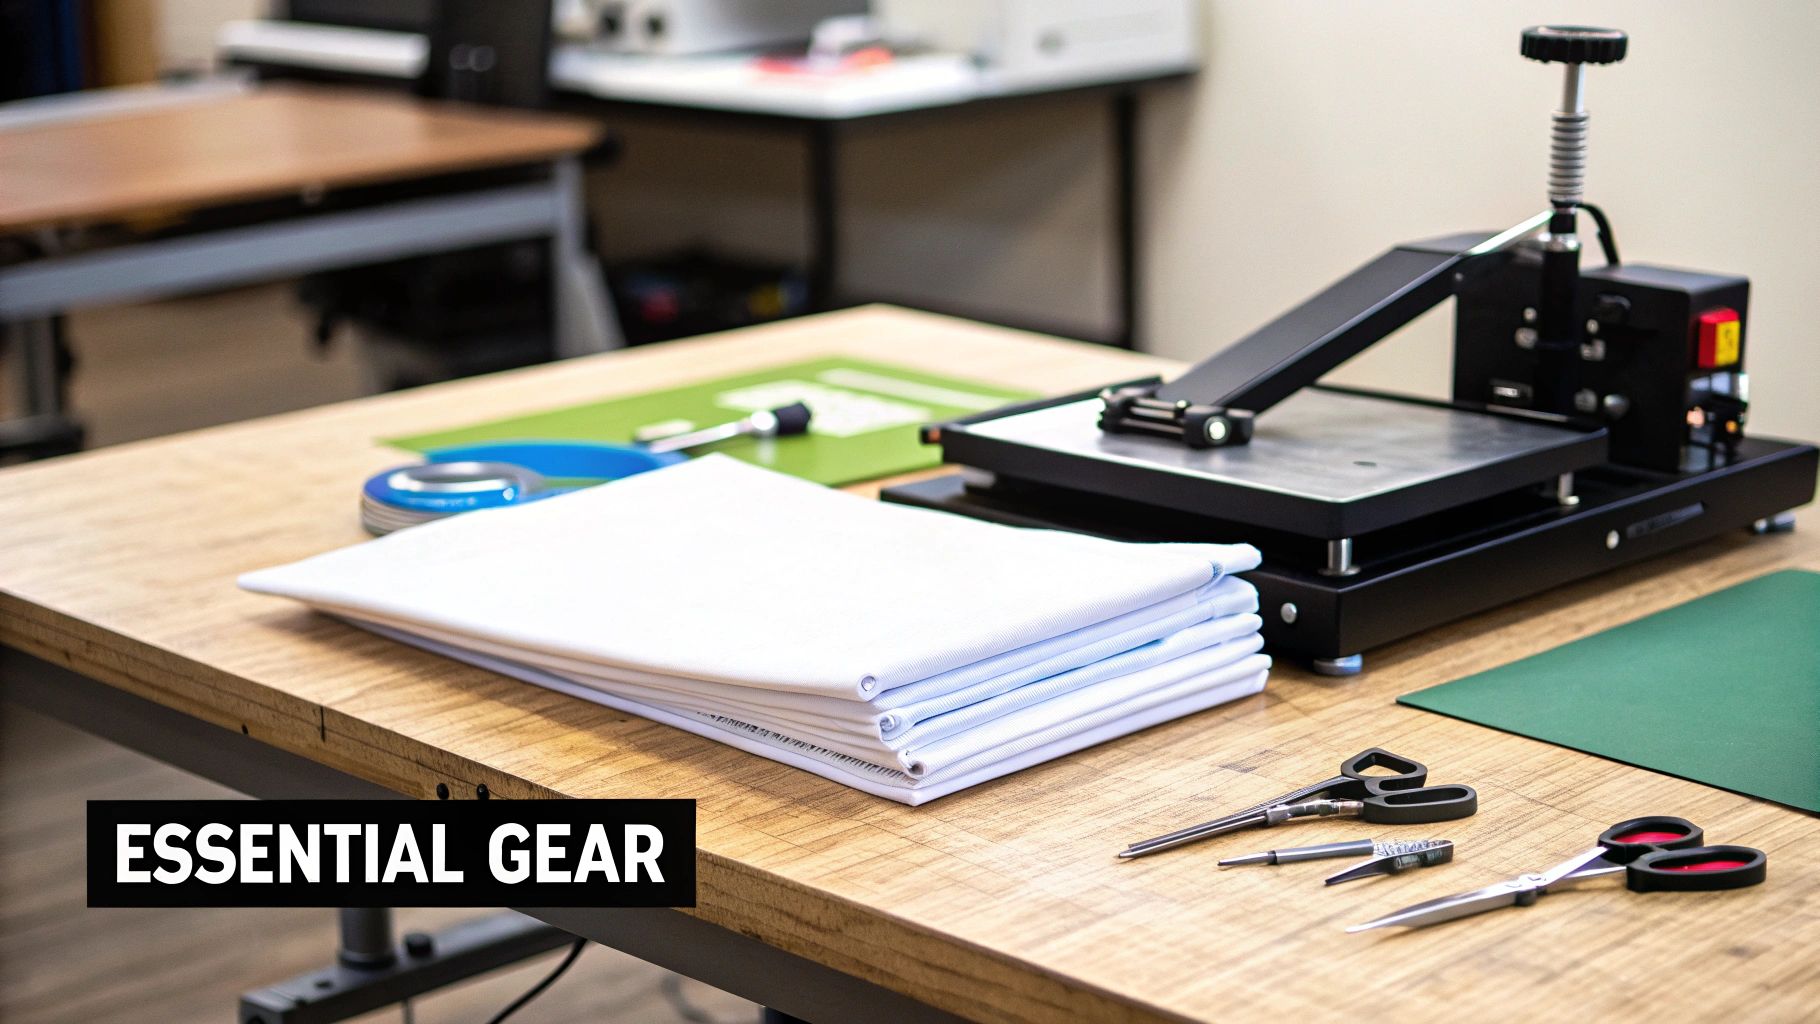
The heart and soul of any serious heat transfer setup is the heat press itself. I know it's tempting to start with a home iron, and for a single, personal project, maybe you can get away with it. But if you want consistency and a design that doesn't peel after the first wash, an iron just won't cut it.
The problem is that irons have hot spots and deliver totally uneven pressure. A real heat press, on the other hand, gives you consistent, edge-to-edge heat and perfectly uniform pressure. This is what actually forces the vinyl's adhesive to melt and lock into the fabric's fibers for good.
Choosing Your Heat Press
You'll quickly find there are three main styles of heat press out there. Each one is built for different kinds of workflows and spaces, so it's worth knowing the difference.
- Clamshell Press: This is the one you see most often. It’s compact, opens and closes like its name suggests, and is super fast to operate, which is great when you're knocking out a big batch of shirts. The only downside is that the tight workspace can make it a little clumsy to position bulky items like sweatshirts or hoodies.
- Swing-Away Press: With this design, the top heating element swings completely out of the way. This gives you a wide-open, unobstructed view of the bottom platen to line up your shirt and transfer perfectly. They take up more room, but for precision work and added safety, they're fantastic.
- Drawer-Style Press: This one is a smart hybrid. The bottom platen pulls out toward you like a drawer, giving you that easy access for positioning your design without needing the large side-to-side clearance of a swing-away model.
The right press isn't just a tool; it's an investment in quality control. Consistent temperature and pressure are the two most important factors in creating a t-shirt that looks professional and lasts.
Essential Cutting and Weeding Tools
With your press sorted, the next must-have is a vinyl cutter. This machine is what takes your digital design file and cuts it with incredible precision into a sheet of heat transfer vinyl (HTV). If you're just getting started with the material itself, our guide on what is heat transfer vinyl is a great place to learn about all the different types you can use.
Once the cutter has done its job, you have to "weed" the design. This just means you're removing all the bits of vinyl that aren't part of your graphic. A simple weeding hook or a dental pick is your best friend here. Trust me, trying to pick out tiny letters with your fingernails is a one-way ticket to frustration and a ruined transfer.
Finally, don't forget the little things that make a massive difference. A Teflon sheet is crucial. You place it between the hot platen and your design to protect the shirt from scorch marks and prevent any stray vinyl from melting onto your press. And grab a roll of heat-resistant tape; it’s perfect for locking down small or multi-layered designs so they don't shift a millimeter when you close the press.
Matching Fabrics and Vinyl for Lasting Results
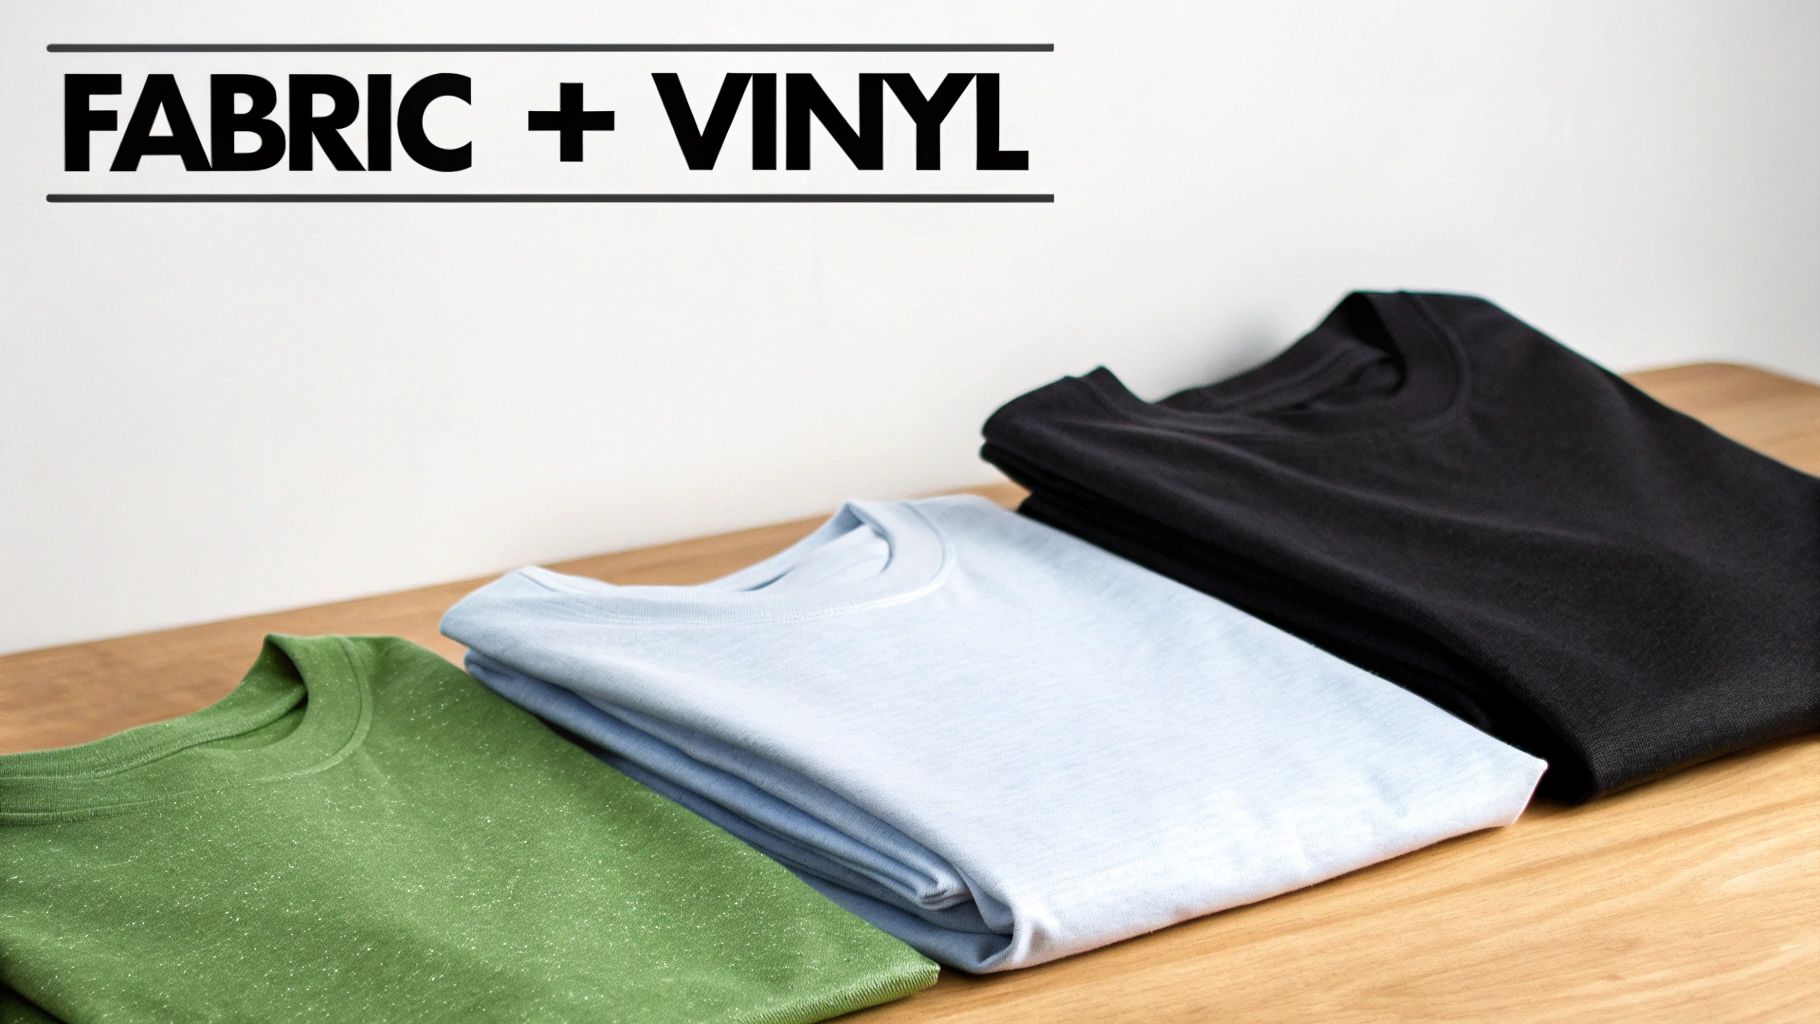
When it comes to heat transfer printing on t shirts, the real secret to a design that lasts is the partnership between your fabric and your vinyl. Getting this wrong is a classic rookie mistake. It’s like trying to run a marathon in flip-flops—you might get a few steps in, but you’re setting yourself up for failure.
Think about it: applying a beautiful, high-quality heat transfer vinyl (HTV) to the wrong kind of shirt will almost always end in disaster. Soon enough, you'll see peeling, cracking, or a design that just feels stiff and out of place. The goal is to make the design feel like part of the shirt, not something just stuck on top.
Aligning HTV with Fabric Types
A perfect example I see all the time is someone putting standard, rigid HTV on a super-stretchy, moisture-wicking athletic shirt. The first time that shirt gets worn for a real workout, the design is going to crack because the vinyl simply can't move with the fabric. The key is to always match the properties of the vinyl to the function of the garment.
The world of HTV is huge, with specialized vinyls designed for just about every material you can imagine. Knowing when to use each one is what separates the pros from the amateurs.
- For Performance Wear: If you're working with athletic apparel made from polyester or spandex blends, you absolutely need a vinyl with high elasticity. Ask for stretch HTV. It’s thinner and more flexible, which lets it move with the garment.
- For Fashion T-Shirts: For those soft, lightweight triblend or 50/50 cotton-poly tees, a thin vinyl with a soft hand is your best friend. A heavy, thick vinyl will make the shirt feel bulky and ruin the comfortable drape.
- For Textured Effects: Want to use something cool like glitter or flock HTV? These create incredible visual appeal, but they need a stable fabric to grab onto, like 100% cotton or a thick 50/50 blend. Their thicker adhesive requires a solid surface for a truly durable bond.
These details are more important than ever. The decorated apparel market was valued at an incredible USD 28.98 billion in 2023 and is only expected to grow. This boom is fueled by people wanting unique, high-quality designs that last. You can dig into more stats and trends in this report on the custom t-shirt printing market.
To help you get it right every time, here's a quick reference guide for pairing the most common t-shirt fabrics with the right type of HTV.
T-Shirt Fabric and HTV Compatibility Guide
| T-Shirt Fabric | Recommended HTV Types | Best For | Pro Tip |
|---|---|---|---|
| 100% Cotton | Standard, Glitter, Flock, Metallic, 3D Puff | Everyday wear, promotional items, band merch | Cotton is very forgiving with heat, but pre-wash to account for shrinkage before applying the vinyl. |
| 100% Polyester | Stretch HTV, Subli-Block HTV | Athletic jerseys, performance wear, team uniforms | Use lower temperatures to avoid scorching. A subli-block vinyl is essential for dyed polyester to prevent dye migration. |
| 50/50 Cotton/Poly Blend | Standard, Stretch, Thin/Soft-Hand | All-purpose t-shirts, corporate apparel, casual wear | A great middle-ground fabric. Still, be mindful of your heat settings to protect the polyester fibers. |
| Triblend (Cotton/Poly/Rayon) | Stretch, Ultra-thin HTV | Fashion-forward, vintage-style, and retail-quality tees | These fabrics are super soft and heat-sensitive. Use the lowest recommended temperature and a quick press. |
Making the right choice from the start saves you from the frustration of a failed project—not to mention the cost of wasted materials.
The Cotton vs Polyester Consideration
The most fundamental choice you'll make is often between cotton and polyester. Cotton, being a natural fiber, can handle high heat like a champ. This makes it incredibly forgiving for most standard HTV applications.
Polyester is a different beast entirely. As a synthetic, plastic-based fiber, it’s very sensitive to heat and can easily scorch or even melt if your heat press is cranked up too high.
Pro Tip: When you're pressing on polyester or any poly-blend, always start with a lower temperature and a shorter press time. Just a few extra seconds of heat can leave a permanent, shiny outline of your heat press platen on the shirt—a mistake you can't undo.
If you want to get deeper into the science behind how these fabrics react to heat and wear, our guide on cotton vs polyester has everything you need to know. A 50/50 blend often gives you the best of both worlds—the softness of cotton and the durability of polyester—but it still demands careful temperature control.
Getting Your Design Ready for a Flawless Press
A great t-shirt starts on your computer, long before you even plug in the heat press. The quality of your digital design file is probably the single biggest factor in getting that crisp, professional look we're all after when heat transfer printing on t shirts. Think of it like a blueprint for a house—if the blueprint is messy, the final build will be a disaster, no matter how fancy your tools are.
Your main goal here is to give your vinyl cutter a clean, easy-to-read map. This is where vector files become your best friend. Formats like SVG or AI are the gold standard for a reason. They're built on mathematical lines and curves, not tiny pixels.
What does that mean for you? It means you can blow up a design from a tiny chest logo to a massive back graphic, and it will stay perfectly sharp. Try doing that with a JPG or PNG, and you'll get a blurry, pixelated mess that results in jagged, amateur-looking cuts.
Nailing the Perfect Size
Once your vector design is locked in, you need to size it right. Please, don't just eyeball it on your computer screen. A design can look huge on your monitor but end up looking comically small on an actual shirt.
A simple, old-school trick is to print the design on a piece of paper. Just cut it out and hold it up against the shirt. It’s a quick gut check that can save you a lot of grief.
You also need to think about who's wearing it. A 9-inch wide graphic might look fantastic on an adult large but will completely swallow a youth small.
- Pocket Logos: Stick to about 3.5 to 4.5 inches wide.
- Full Front Designs: For most adults, 9 to 12 inches wide is the sweet spot.
- Youth Shirts: A good range is anywhere from 5 to 8 inches wide.
This kind of detail matters more than you'd think. The whole t-shirt game is driven by personalization, and getting the little things like sizing right is what separates the pros from the hobbyists. If you're curious about the business side, it's worth checking out how customization trends are shaping the t-shirt market on Mordor Intelligence.
The One Step You Can't Afford to Forget: Mirror Your Design
Alright, lean in for this one. This is the step that gets everybody at least once when they're starting out. You absolutely, positively must mirror (or flip horizontally) your design before you cut it. This is non-negotiable.
Think about it: you’re cutting the design into the back of the heat transfer material. When you lay it down on the shirt to press it, you're flipping it over so the sticky carrier sheet is on top. If you don't mirror the design first, any text or logos will be backward on the finished shirt.
It's the classic mistake. You spend all this time weeding a beautiful "Welcome Home" design, only to press it and see "emoH emocleW" staring back at you. It's a painful lesson. So, before you hit that "send to cutter" button, take two seconds to find that "mirror" or "flip horizontal" checkbox in your software. It’ll save you from sacrificing good vinyl and a perfectly good t-shirt.
Mastering the Heat Press Application Process
This is where your digital design finally becomes a wearable reality. Applying the heat transfer is easily the most critical hands-on step, and getting it right is what separates professional-grade apparel from something that looks homemade. The entire process boils down to a simple but non-negotiable formula: Time, Temperature, and Pressure. Nail these three, and you're golden.
Every type of heat transfer vinyl (HTV) has its own unique recipe for a perfect press. One vinyl might call for 305°F for 15 seconds with firm pressure, while another might need just 280°F for 10 seconds with a lighter touch. Always, and I mean always, check the manufacturer's specific recommendations for the vinyl you're using. Treating those guidelines as gospel is your first step toward flawless, durable results.
This process is a huge reason the custom apparel industry is absolutely booming. The global custom t-shirt printing market was valued at an impressive USD 4.9 billion in 2024 and is projected to skyrocket to USD 9.0 billion by 2033. This incredible growth, which you can read more about in the custom t-shirt market data from imarcgroup.com, shows just how massive the demand is for personalized gear that actually lasts.
But before you even think about pressing your design, there’s a quick but essential step you can't skip: the pre-press.
Why You Must Always Pre-Press Your Garment
A t-shirt that looks flat and feels dry can be deceiving. Fabric is a natural sponge for airborne moisture, and it’s full of microscopic wrinkles you can’t even see. If you press a design onto a shirt that's even slightly damp or wrinkled, you're asking for a weak bond and peeling down the road.
The fix is ridiculously simple: a pre-press.
- Lay your t-shirt flat on the lower platen of your heat press.
- Close the press and heat it for just 3-5 seconds.
- When you open it, you’ll probably see a little puff of steam.
That's it. In just five seconds, you've zapped all the hidden moisture and smoothed the fabric fibers, creating a perfect, bone-dry surface for the vinyl adhesive to grip. This tiny step makes a massive difference in the durability of your transfer.
This infographic gives a great visual of the prep work leading up to the main event.
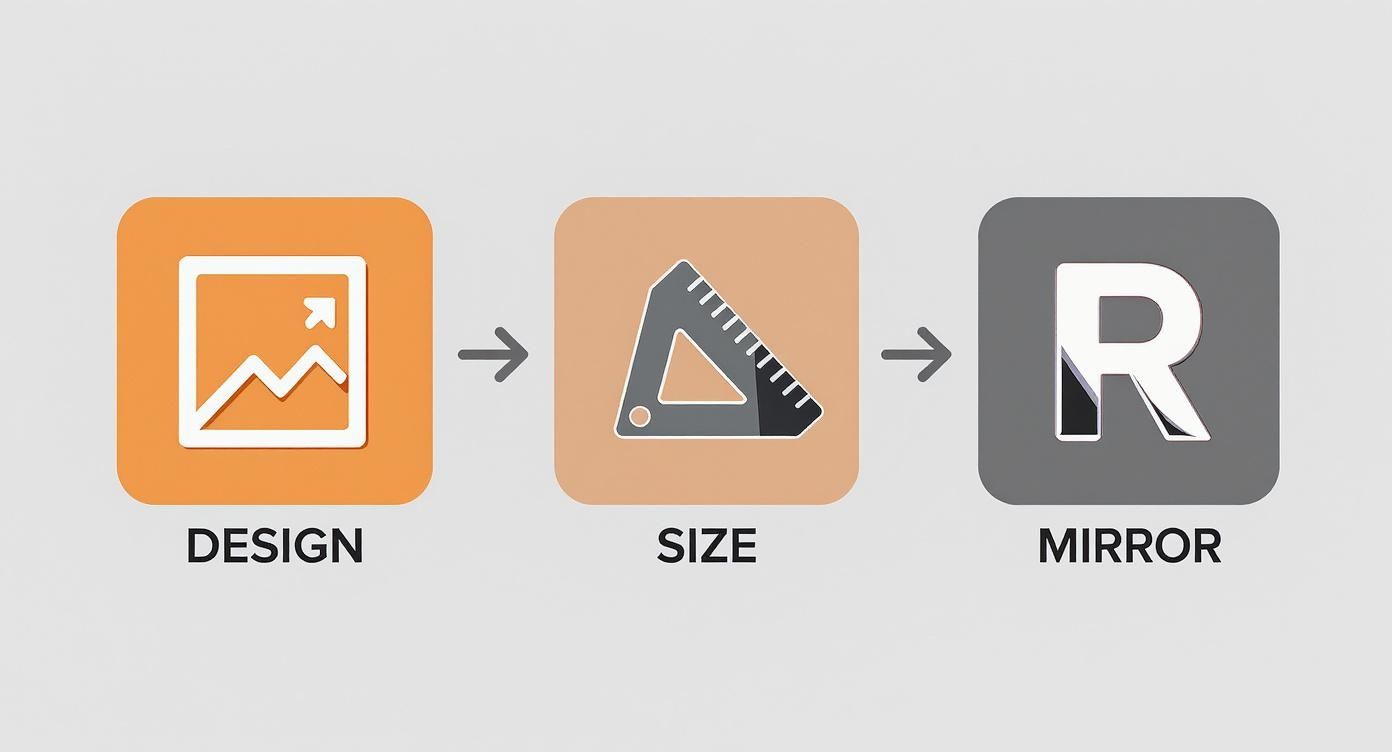
As the graphic shows, mirroring your design is that final sanity check before you press, saving you from a very common and costly mistake.
Recommended Heat Press Settings for Common Materials
To give you a head start, here's a quick reference chart for some of the most common fabric and vinyl combinations. Remember, this is a starting point—always defer to the specific HTV manufacturer’s guide if it differs.
| Fabric Type | Temperature (°F/°C) | Press Time (Seconds) | Pressure Level | Peel Type |
|---|---|---|---|---|
| 100% Cotton | 305-320°F / 150-160°C | 10-15 | Medium to Firm | Hot or Cold |
| 100% Polyester | 270-290°F / 130-145°C | 8-12 | Light to Medium | Warm |
| 50/50 Cotton/Poly Blend | 280-305°F / 138-150°C | 10-12 | Medium | Hot or Warm |
| Triblends | 260-280°F / 127-138°C | 8-10 | Light | Cold |
| Spandex/Lycra Blends | 260-280°F / 127-138°C | 6-10 | Light | Cold |
Getting familiar with how different materials react to heat is a skill you'll build over time. Polyester, for example, is sensitive to high heat and can scorch, which is why the temperature and time are lower.
Achieving Perfect Design Placement
Now for the fun part: placement. Nothing tanks a great-looking shirt faster than an off-center graphic.
To nail it every time, fold your t-shirt in half vertically and give it a quick press. This creates a faint but perfect centerline. Then, do the same with your weeded transfer—fold it in half with the sticky sides out and gently pinch the carrier sheet at the top and bottom.
All you have to do is line up the pinch marks on your transfer with the pressed centerline on your shirt. For vertical placement, a solid rule of thumb is to position the top of your design about three inches below the collar on most adult shirts. It’s a simple trick that ensures your design is perfectly centered.
Understanding Hot, Warm, and Cold Peels
Okay, your design is pressed. The timer went off. Now what? You have to remove that clear plastic carrier sheet, but how you do it is just as important as the press itself. This all depends on the type of vinyl you're using.
Peeling the carrier sheet at the wrong temperature is the number one cause of lifting edges and ruined designs. There is no "one size fits all" method—you must follow the vinyl's specific instructions.
-
Hot Peel: This is exactly what it sounds like. You peel the carrier sheet off immediately after the press opens, while the shirt and design are still piping hot. It’s common for standard, everyday vinyls and is a huge time-saver in a busy shop.
-
Warm Peel: Here, you give it a moment. Wait about 5-10 seconds for the design to cool down just a bit before peeling. This brief pause gives the adhesive a second to set more firmly.
-
Cold Peel: This requires patience. You have to wait until both the shirt and the design are completely cool to the touch before you even think about removing the carrier sheet. Rushing this is a surefire way to pull the vinyl right off the fabric. This method is standard for specialty vinyls like metallics, flock, and glitter because it ensures every delicate detail transfers perfectly.
If you find yourself working with more complex materials or layering different types of vinyl, understanding these nuances is key. For more on this, our guide on how to use heat transfer paper dives into some additional details that you might find helpful.
Keeping Your Custom T-Shirts Looking Great: Aftercare Tips
So you’ve pressed the perfect design. But your job isn't quite done when the heat press timer dings. The real measure of a quality heat transfer print on a t-shirt is how it holds up after a trip through the laundry. Proper care is what separates a design that stays vibrant for years from one that cracks and peels after just a few washes.
The single most important rule? Wait at least 24 hours before that first wash. I can't stress this enough—it's non-negotiable. The adhesive on the vinyl needs that full day to properly cure and create a permanent bond with the fabric. If you wash it too soon, you're disrupting that process before it even has a chance to set.
How to Wash Your Custom Shirts
When it's finally time for a cleaning, a little care goes a long way. Always, always turn the shirt inside out before putting it in the machine. This simple habit protects the design from getting roughed up by other clothes, zippers, or buttons, which is a common cause of early wear and tear.
From there, just remember that heat is the enemy of your finished design.
- Water Temperature: Stick with cold water, every time. Warm or hot water can soften the adhesive, making the vinyl pliable and much more likely to peel off.
- The Right Soap: A mild detergent is all you need. Steer clear of harsh chemicals like bleach and even fabric softeners, as they can break down the vinyl over time.
Following these two simple rules will make a massive difference in how long the print lasts.
It's a known fact in the industry: heat transfers are more prone to cracking from friction and heat than other print methods. A study that ran various printed shirts through 25 wash cycles confirmed this. Your aftercare routine is the best defense against this wear.
Drying and Storing for Longevity
Just like in the wash, high heat is the biggest threat when it comes to drying. The heat from a standard tumble dryer can literally shrink, crack, or lift the vinyl right off the shirt. It’s the fastest way to ruin your work.
The absolute best way to dry your custom t-shirt is to simply hang it up to dry. If you’re in a pinch and must use a machine, make sure you use the tumble dry low or, even better, the no-heat air fluff setting.
And never, ever iron directly on the design. If the shirt is wrinkled, turn it inside out, use a low temperature, and press carefully around the design area. Storing it folded neatly instead of balled up will also prevent permanent creases from forming in the vinyl.
Common Questions About T-Shirt Heat Transfers
Even once you get the hang of it, you're bound to run into little snags. That's just part of the process. When you're heat transfer printing on t shirts, a few common headaches seem to pop up for everyone. Knowing how to fix them will save you a ton of time, materials, and frustration down the road.
Let's start with the most common complaint: vinyl that just won't stick. If you find your design lifting at the edges or peeling off completely after a press, the problem almost always comes down to the big three: time, temperature, or pressure.
Why Is My Vinyl Not Sticking?
Before you start questioning your roll of vinyl, take a hard look at your technique. The number one reason for adhesion failure is simply not using enough pressure. Your heat press needs to apply firm, consistent force to really embed the adhesive into the fabric's fibers. If your press has a pressure knob, give it another quarter-turn to tighten it up.
Inaccurate heat is another frequent offender. The temperature displayed on your press isn't always the reality. I highly recommend getting an infrared temperature gun to check what's actually happening on the platen. It’s not uncommon for a press to be off by 10-15 degrees—and that's more than enough to ruin an application.
Pro tip: Never, ever skip the pre-press. A quick press before applying the design removes hidden moisture and wrinkles. If you skip this, that moisture creates a steam barrier that prevents the vinyl's adhesive from ever making a solid bond with the shirt.
Layering Multiple Colors of HTV
Multi-color designs are where the real fun begins, but they require a bit of finesse. The secret to a great-looking layered design is to manage your press time carefully for each color.
Here’s the only rule you need to remember:
- Tack, don't press. Press the first, bottom layer for just a couple of seconds. You only need to apply enough heat to get the carrier sheet to release. A quick 2-3 second press is perfect.
- Line up the next layer. Make sure no part of the new vinyl layer is sitting on top of the clear carrier sheet from another piece.
- Tack the next layer. Again, just for a few seconds.
- Repeat for all colors. Once your final layer is tacked down and you've removed all the carrier sheets, do one final press. Cover the entire design with a Teflon sheet or parchment paper and press it for the full recommended time, usually 10-15 seconds. This final step cures all the layers together into one solid design.
Following this "tacking" method prevents the bottom layers from getting overcooked and shrinking, which is what causes gaps, misalignment, and that thick, bulletproof feel on the final shirt.
As you get better, you might start thinking about turning your hobby into a business. For those interested in selling print-on-demand custom t-shirts on Shopify, mastering these printing fundamentals is the first step. Nailing the process ensures you're creating a quality product people will want to buy.
Ready to take your t-shirt creations to the next level with vibrant, durable, and easy-to-use transfers? Explore the premium selection at Cobra DTF, where you get top-quality, American-made products with fast, reliable shipping. Get started today at https://cobradtf.com and see the difference for yourself.