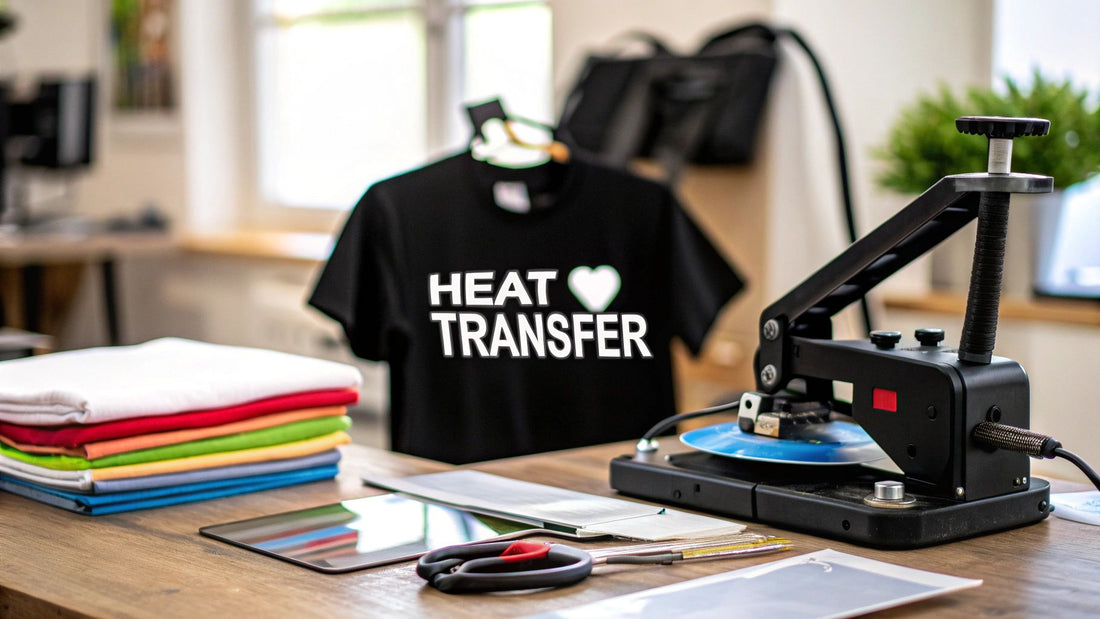
How to Use Heat Transfer Paper for Custom Shirts
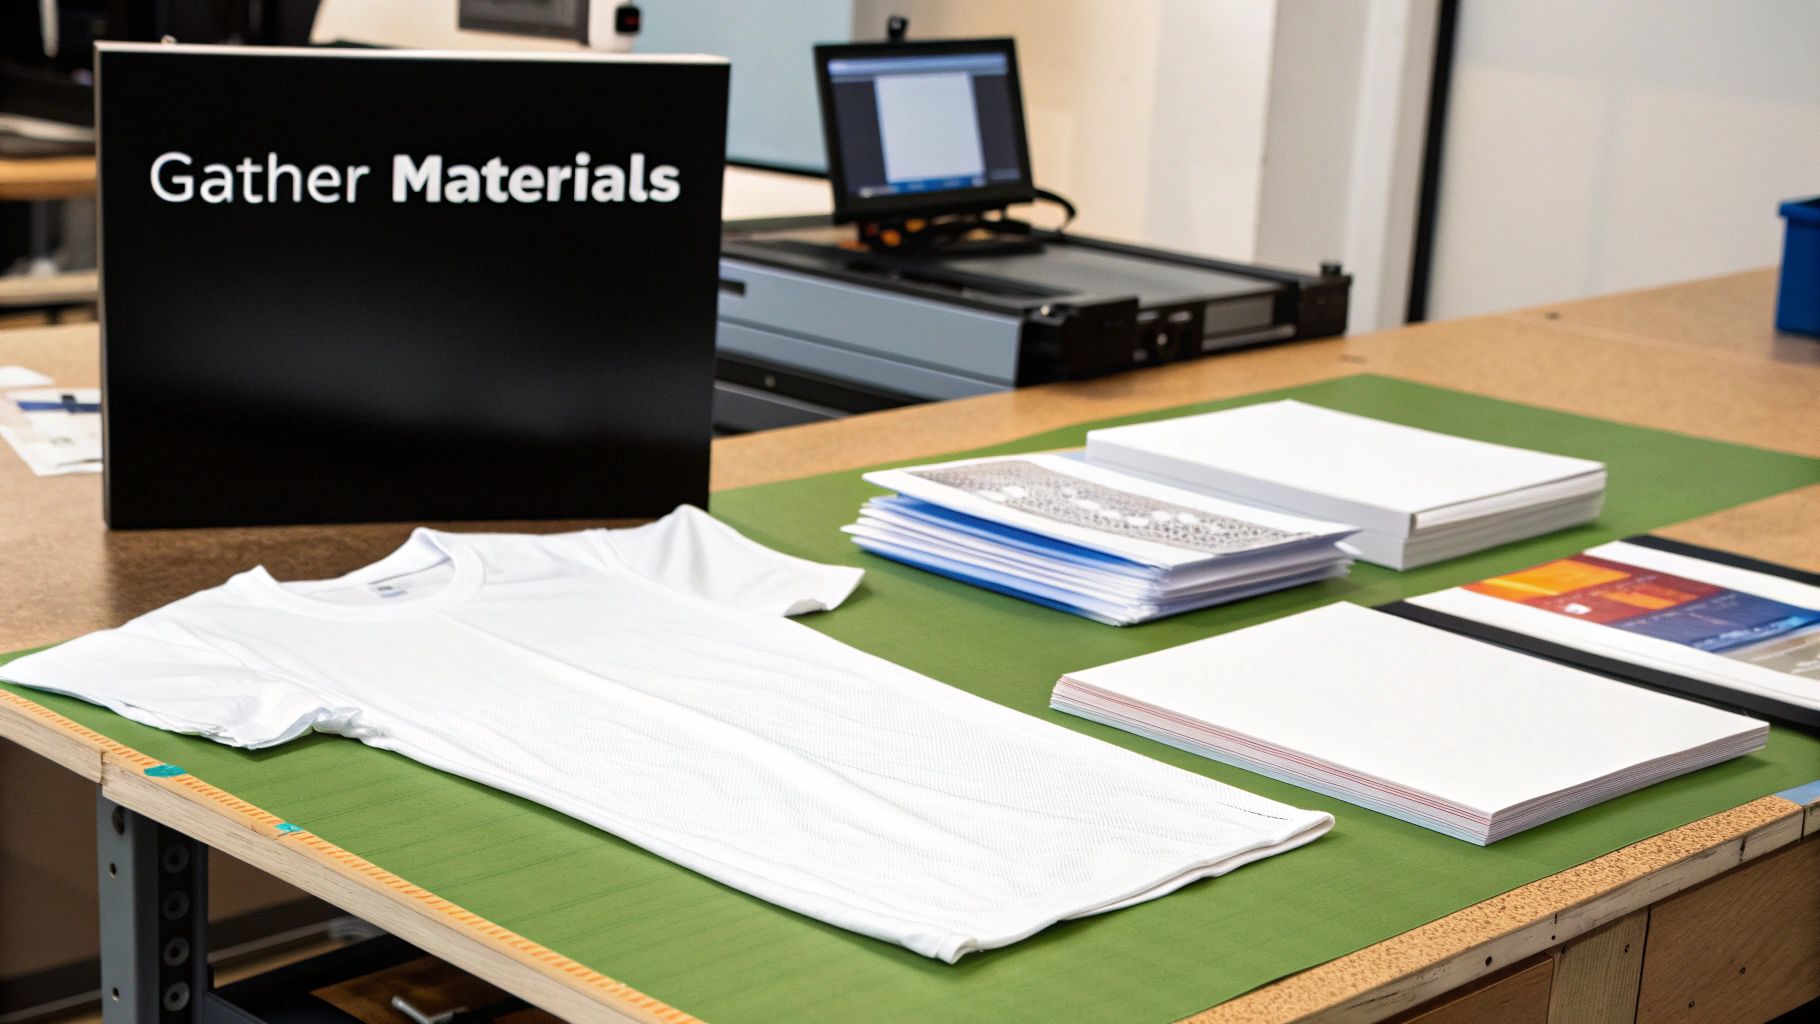
Alright, let's get into the nitty-gritty of what you'll need to pull off a flawless heat transfer project. Getting your supplies in order before you start is half the battle, and it's what separates a professional-looking shirt from a frustrating mess.
Gathering Your Essential Heat Transfer Supplies
First things first, let's talk about the star of the show: the paper itself. This isn't a one-size-fits-all situation. The color of your fabric is the single most important factor in choosing the right paper.
If you’re working with a white or light-colored shirt, you’ll want paper designed for light fabrics. This type is transparent where there's no ink, so the fabric's color shows through. For darker or brightly colored fabrics, you need paper specifically for darks. This kind has an opaque white background that makes your design pop instead of getting lost in the fabric's color.
To make it even clearer, here’s a quick breakdown to help you decide.
Choosing Your Heat Transfer Paper
| Paper Type | Best For | Application Tip |
|---|---|---|
| Light Transfer Paper | White, pastels, and other light-colored fabrics | The image is mirrored and applied face-down. The paper itself becomes transparent, so no trimming is needed around the design. |
| Dark Transfer Paper | Black, navy, red, or any colored fabric | The image is printed normally (not mirrored) and applied face-up. You must trim away the excess white background for a clean look. |
Ultimately, picking the right paper is the first step to making sure the colors in your design look exactly how you imagined them.
Irons vs. Heat Presses: What’s the Right Tool for the Job?
Now, how are you going to apply that heat? You've got two main options: a standard household iron or a dedicated heat press.
A household iron can definitely work, especially for smaller projects or if you're just starting out. The downside is that it's tough to get consistent pressure and temperature across the entire design, which can lead to peeling or uneven transfers. You have to press down hard and keep the iron moving.
A heat press, on the other hand, is a game-changer for consistency. It provides perfectly even pressure and precise temperatures, usually in the 350°F to 375°F range, which is the sweet spot for most transfer papers.
My two cents: If you plan on making more than a few shirts, investing in even a small heat press will save you a ton of headaches and give you far more professional results.
Don't Forget the Essential Extras
A few other tools will make your life a whole lot easier and your results much cleaner.
- Cutting Tools: For paper for dark fabrics, you need to trim your design. A sharp craft knife or a pair of small scissors will work, but a digital cutter like a Cricut or Silhouette is fantastic for intricate designs.
- Protective Sheets: Always have parchment paper or a Teflon sheet on hand. Place it over your transfer before pressing to protect the design from direct heat and keep any ink from bleeding onto your press or iron.
- Heat-Resistant Mat: This gives you a firm, flat surface to press on and protects your table or countertop from getting scorched.
If you're exploring other ways to customize fabrics, you might find that some projects are better suited for iron-on vinyl for glossy finishes, which offers a different texture and look.
A Few More Must-Haves
Before you dive in, make sure you have these last few items within arm's reach. There’s nothing worse than having to stop mid-project.
- Heat-Resistant Gloves: A simple but crucial safety item to protect your hands.
- A Timer: Don't guess the press time! Use your phone or a small kitchen timer to be precise.
- Heat-Resistant Tape: This is incredibly helpful for positioning your design on the shirt and making sure it doesn't shift when you close the press.
Having all your tools organized and ready to go will make the entire process smoother. I like to keep everything in a dedicated bin so I can just grab it and get started. And a final tip from experience: always store your transfer paper flat to prevent wrinkles that can ruin a print.
Prepping Your Design and Fabric for a Flawless Transfer
The secret to a durable, professional-looking design starts long before you ever plug in the heat press. I’ve seen it time and again—the difference between a shirt that looks amazing and one that cracks after the first wash comes down to prep work. Getting your digital file and the fabric itself ready is non-negotiable.
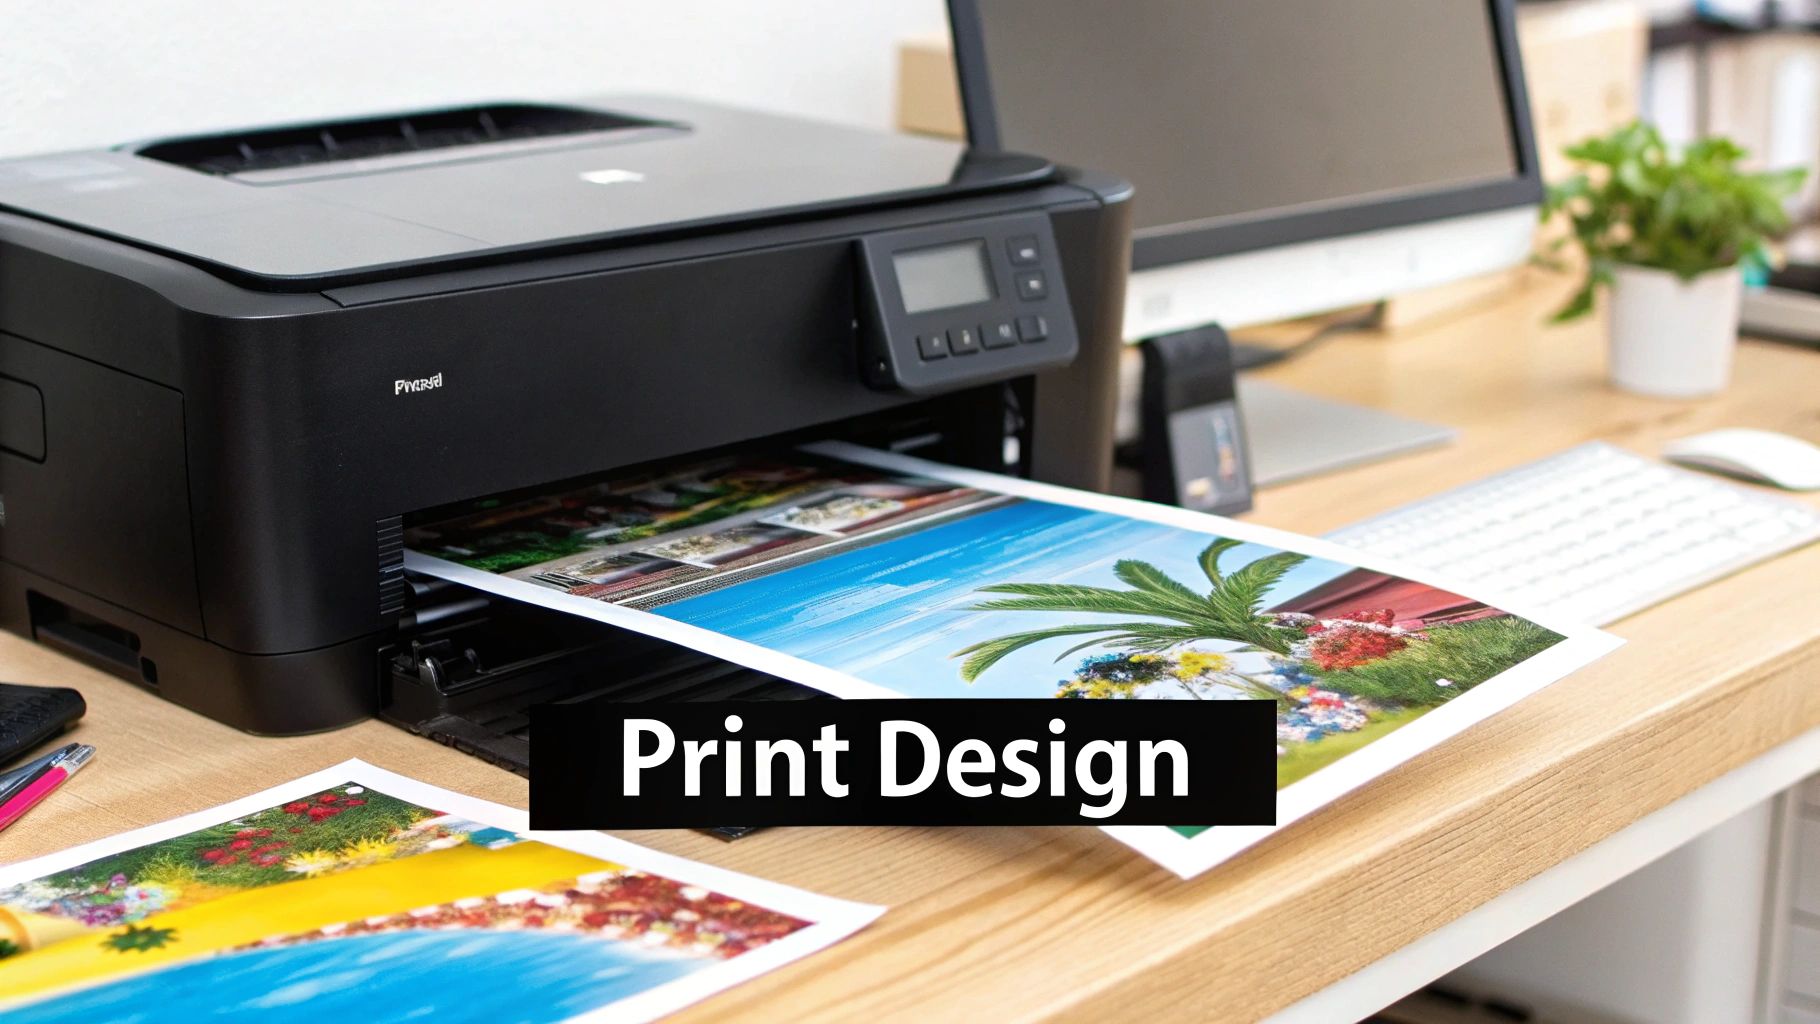
It all begins with what’s on your computer screen. Honestly, messing up the digital file is probably the most common mistake I see beginners make. But it's an easy one to avoid.
Setting Up Your Digital Design
First things first: if you're working with transfer paper for light-colored fabrics, you have to mirror your image before printing. No exceptions. Since the paper goes face-down on the shirt, flipping the design ensures your text and logos read the right way. If you’re using paper for dark fabrics, you can skip this—just print it as you see it.
Before you hit "Print," dig into your printer settings. You'll want to select a "high quality" or "photo" mode. This little change makes the printer lay down more ink, giving you much richer, more vibrant colors that won't fade away so quickly.
Pro Tip: Always trim the excess unprinted paper from around your design. This is especially crucial for dark fabric paper, as it prevents that obvious, boxy outline of the transfer sheet from showing up on the final shirt.
Preparing the Perfect Fabric Canvas
The state of your garment is just as important as the design. For the strongest bond, always start with a pre-washed and completely dry shirt. And here’s a critical detail: skip fabric softener and dryer sheets. They leave behind a chemical residue that can stop the transfer adhesive from properly grabbing onto the fabric fibers.
Even a shirt that feels dry can trap tiny amounts of moisture, which turns into steam under the heat and can totally ruin your transfer. The fix is simple: do a quick "pre-press."
- Just press the empty garment with your iron or heat press for about 5-10 seconds.
- This zap of heat gets rid of any hidden moisture and flattens out every last wrinkle.
- You’re left with a perfectly smooth, dry surface that's ready for a clean application.
Of course, the material itself matters a lot. You can learn more about how different fabrics react to heat by checking out this guide on cotton vs. polyester.
Mastering the Heat Application Process
This is the moment of truth. All your design and prep work comes down to this single step: permanently bonding your art to the fabric. Whether you're working with a standard home iron or a professional heat press, the magic trio of heat, time, and pressure will determine your success. Nailing this part is what creates a vibrant, long-lasting print.
First things first, let's get that placement perfect. Lay your pre-pressed shirt out on a flat, hard surface and place your trimmed design exactly where you want it to live.
Here's a pro tip for perfect centering: Fold the shirt in half lengthwise and give it a quick press to make a faint center line. Do the same with your transfer paper (folding top to bottom), and then just line up the two creases. Boom. A perfectly centered graphic, every time.
Applying Heat with an Iron vs. a Heat Press
Your method for applying heat will look a little different depending on your tools. If you're using a home iron, crank it up to the highest setting (usually for cotton) and, most importantly, make sure the steam is off. Steam will absolutely ruin your transfer.
You'll need to apply firm, consistent pressure—I mean, really lean into it with your body weight. Keep the iron moving over the entire design for the recommended time, which is usually around 60-90 seconds. Give extra love to the edges, as that's where peeling is most likely to happen down the road.
If you have a heat press, you've got a serious advantage in the consistency department. The process is much more straightforward, as this visual guide shows.

A heat press delivers perfectly even heat and pressure across the entire design, which is the key to a professional-grade transfer. Most transfer papers call for a temperature somewhere between 325°F and 375°F, pressed for about 15-30 seconds. Always place a protective layer, like a Teflon sheet or simple parchment paper, over your design to prevent any scorching.
My Two Cents: The most common rookie mistake is not applying even pressure. A heat press handles this for you, but with an iron, you have to be deliberate. Press hard and keep that iron gliding to avoid any cool spots that will cause the design to lift later.
No matter which tool you're using, the instructions that came with your specific brand of transfer paper are your bible. Follow them closely. For a more detailed breakdown of different printing techniques, check out our complete guide to heat transfer shirt printing. It's packed with more tips to help you get the best results possible.
That Final Peel and Making Your Design Last
What you do in the moments right after pressing is just as important as the press itself. This is where the magic happens, and getting the final peel right is what gives your design that sharp, professional finish.
Every type of heat transfer paper is different, and the instructions will tell you if it's a "hot peel" or a "cold peel". Trust me, you can't wing this part. Following this one instruction is absolutely key to getting a clean transfer.
Hot Peel vs. Cold Peel
A hot peel is exactly what it sounds like—you pull the backing paper off immediately, while the shirt and design are still hot.
A cold peel, on the other hand, demands some patience. You need to let the garment cool down completely before you even think about touching the backing. If you get impatient and peel a cold-peel paper while it's still warm, you're almost guaranteed to pull up parts of your design with it.
Aftercare: The Secret to a Long-Lasting Print
Once the backing paper is off, don't celebrate just yet. How you care for the shirt from this point forward determines whether the design looks great for years or starts cracking after a few washes. The first wash is always the most telling.
Pro Tip: Always, and I mean always, wait at least 24 hours before that first wash. This waiting period lets the adhesive fully cure and lock into the fabric fibers. It's the single best thing you can do to make your design last.
When laundry day comes around, stick to these simple rules to protect your work:
- Turn it inside out. This is your first line of defense, protecting the print from rubbing against other clothes in the wash.
- Wash in cold water on a gentle cycle. Hot water is the enemy; it can soften the adhesive and cause the design to peel or fade over time.
- Tumble dry on low heat, or better yet, hang it to dry. Just like with the press, high heat is bad news for transfers.
Following these steps ensures all your hard work pays off with a custom shirt that stays vibrant. The demand for these kinds of personalized products is absolutely huge. In fact, the market for heat transfer paper and vinyl was valued at a whopping USD 1.1 billion in 2024 and is only expected to get bigger, as shown in this heat transfer market analysis.
For more inspiration, check out our guide on creating amazing custom iron-on shirt decals.
So, Your Heat Transfer Went Wrong. Now What?
Even seasoned pros run into a snag every now and then. The good news is that most heat transfer paper problems are totally fixable once you know what to look for. Let's walk through the most common issues I see and how to get your project back on track.
If your design is lifting at the edges or just refusing to stick, it almost always comes down to the big three: heat, pressure, or time. I find that uneven pressure, especially when using a household iron, is the number one cause of this headache.
When Your Design Lifts, Peels, or Cracks
A lifting design is frustrating, but the fix is usually simple. Try adding more time to your press, maybe in five-second increments. You can also increase the pressure. If you're using an iron, I mean really lean into it. You need to put some serious, even body weight behind it to make sure every square inch of the design, especially the corners, gets enough force.
Cracking after that first wash is another classic. This tells you the design never fully fused with the fabric's fibers. Often, this is just a case of washing the garment too soon.
My Golden Rule: Always wait a full 24 hours after pressing before you even think about washing that shirt. The adhesive needs that time to fully cure and create a bond that will actually last.
Dealing with Faded Colors and Pesky Outlines
Did your vibrant design come out looking dull and faded? This almost always points back to your heat settings. Too little heat and the ink just won't transfer properly, leaving you with a washed-out look. But too much heat can be just as bad, scorching the ink and even the shirt itself. Always, always go back and double-check the instructions for your specific brand of paper.
And then there's that dreaded faint box or outline around your design. This is a tell-tale sign of transfer film, and it’s most noticeable on papers designed for dark fabrics.
- The Cause: This happens when the unprinted film around your design gets pressed onto the shirt.
- The Solution: The only way to beat this is with careful trimming. You have to get right up to the edge of your design. For simple shapes, sharp scissors or a craft knife will do the trick. But if you’re working with anything intricate, a digital cutting machine like a Cricut or Silhouette is an absolute lifesaver.
Your Heat Transfer Paper Questions, Answered
Even when you follow the steps perfectly, you're bound to run into a few questions. It happens to everyone. Let's walk through some of the most common issues people face with heat transfer paper so you can get ahead of any problems.
What's the Real Difference Between Light and Dark Fabric Paper?
This is probably the number one question I get, and it's a great one. The core difference is all about the background of the paper itself.
Paper designed for light fabrics has a transparent polymer coating. Think of it like a clear film. Any part of your design you don't print on will simply be see-through, allowing the color of the shirt to show right through.
On the other hand, paper for dark fabrics has a solid white, opaque background. This is crucial. Without that white base, the dark color of the shirt would completely swallow up your design, making your vibrant colors look dull and muddy. This is also exactly why you have to trim so carefully around your design on dark paper—any leftover white border will transfer right onto your shirt.
Can I Use This on Polyester or Other Fabrics?
The short answer is yes, but you need to be careful. Most heat transfer papers you'll find are really made for cotton or cotton/poly blends.
Polyester is a bit tricky because it's essentially a type of plastic and has a much lower melting point than cotton. If your heat press is too hot—which it needs to be for the transfer paper to work—you can easily scorch or even melt the polyester fibers.
My Pro Tip: Never, ever skip a test press. Always try it out on a small, hidden spot of the garment first, like an inside hem. A quick 10-second test can save you from ruining an entire shirt.
How Do I Make My Transfers Feel Softer?
Ah, the dreaded "plastic patch" feel. It's a common complaint, but thankfully, it's often something you can control. The stiffest results usually come from using dark fabric paper when you don't need to, or from laying down way too much ink.
For a much better result that feels more like it's part of the fabric, start with high-quality paper. If you can find brands that offer a "stretch" or "soft hand" version, they are absolutely worth it. The difference is night and day.
The push for better-feeling custom apparel is huge. In fact, the global market for this material hit a value of USD 523.2 million in 2023 and is only getting bigger. You can dive deeper into the growth of the heat transfer paper market if you're curious about the trends.
Ready to get prints that are soft, durable, and professional-grade without the fuss of trimming and weeding? Cobra DTF creates premium Direct-to-Film transfers that are incredibly vibrant, super easy to apply, and proudly made in the USA.
Check out our high-quality DTF transfers and see the difference for yourself.