Making Custom Iron On Shirt Decals That Sell
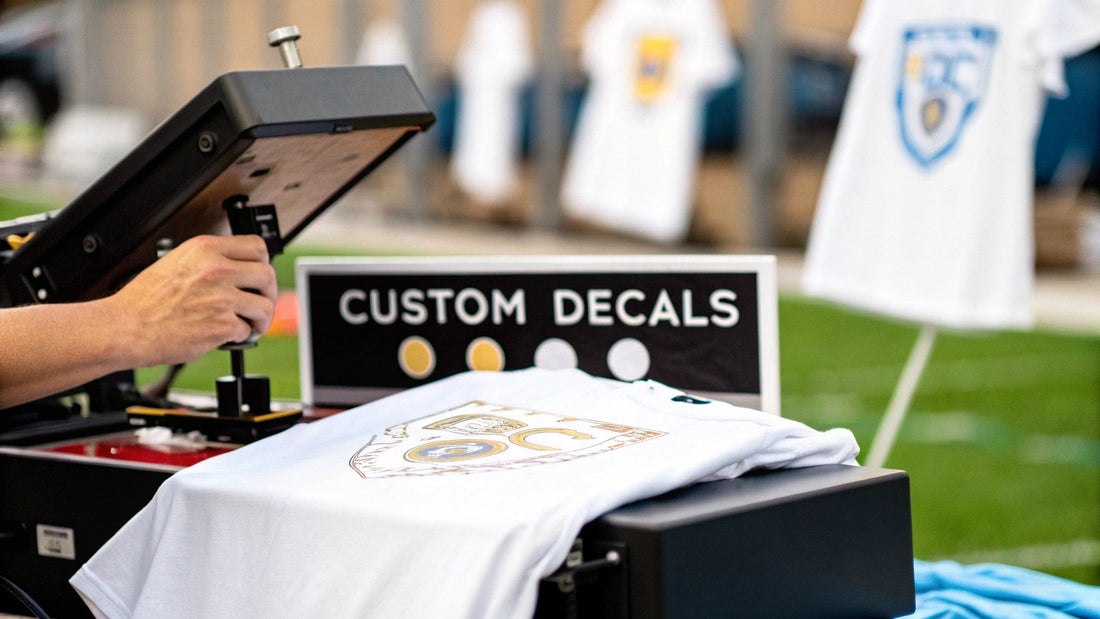
Custom iron-on shirt decals are a game-changer for small businesses. They let you create seriously professional-looking apparel without sinking a ton of cash into bulky equipment. With Direct-to-Film (DTF) transfers, you can press vibrant, full-color designs onto just about any shirt using a simple heat press. It's truly made custom products accessible for everyone.
Your Blueprint for Professional Custom Decals
So, you're ready to turn those blank shirts into cash? This guide is the only roadmap you'll need. We're going to walk through how DTF transfers let small brands create durable, amazing-looking custom decals without the massive learning curve or mess of traditional screen printing.
Think of this as your hands-on plan for launching a new apparel line or just adding some fresh options to what you already sell. Getting professional-grade results isn't just possible—it's a smart move for your brand.
The whole process really boils down to four key pieces:
- A Standout Design: This is where the magic starts. It's the soul of your product.
- A Quality DTF Transfer: This is what turns your digital file into something you can actually hold and press.
- A Reliable Heat Press: This is the workhorse. It’s what makes your design permanent and professional.
- The Right Blank Apparel: Your canvas matters. The shirt you choose affects the final look, feel, and durability.
And this isn't some niche hobby. The global market for custom t-shirt printing was valued at around USD 4.9 billion in 2024 and is expected to rocket to USD 9.0 billion by 2033. This boom is all thanks to people wanting unique, personalized clothing and printing methods like DTF that make it easy to deliver. You can dig into more data on the custom apparel market growth on IMARC Group.
The Custom Decal Process At a Glance
To give you a bird's-eye view, let's break down the entire workflow from initial idea to a finished shirt you can sell. Seeing the whole picture helps you iron out your process and sidestep those rookie mistakes right from the start.
| Stage | Primary Goal | Key Tools & Materials |
|---|---|---|
| 1. Design & Prep | Create a print-ready digital file | Graphic design software like Canva or Adobe Illustrator, high-resolution assets |
| 2. Order & Receive | Get your physical DTF transfers | A trusted DTF supplier, gang sheet layout |
| 3. Pressing | Apply the decal to the garment | Heat press, blank shirts, Teflon sheet |
| 4. Finishing & Care | Ensure durability and a quality finish | Final press, care instructions for customers |
Once you're familiar with these four stages, you’ll find a rhythm that works for you, making production faster and more efficient every time.
Creating Decal Designs People Actually Want to Wear
A great custom iron-on decal begins long before you fire up the heat press. It starts with a design that truly connects with people. It’s one thing to grab a generic graphic, but the real goal is to create something someone would be genuinely excited and proud to wear. That means digging a little deeper than the obvious to figure out what makes a design feel special.
The backbone of any quality print is a high-quality file. While design pros often work with vector files (.AI, .EPS, .SVG) because they can be scaled up or down without losing an ounce of quality, the most common and accessible format for DTF transfers is a high-resolution PNG file. Getting this right is absolutely essential for those crisp, sharp lines you want on the final shirt.
Getting Your File Print-Ready
Prepping your design file for a professional printer isn't rocket science, but it does demand a bit of attention to detail. I’ve seen it time and time again: skipping these small steps is the fastest way to end up with a blurry, pixelated decal that just screams amateur.
First off, your design needs to be 300 DPI (dots per inch) at the exact size you intend to print it. An image you snagged from a website might look perfectly fine on your monitor, but it will completely fall apart when it’s printed on fabric.
Next, and this is a big one, your file must have a completely transparent background. If you leave a white or colored background in the file, it will be printed, leaving an ugly, unwanted box around your beautiful design. This is probably the most frequent mistake I see from people just starting out.
My Pro Tip: If you remember one thing, make it this: 300 DPI resolution, saved as a PNG, with a 100% transparent background. Nail this simple checklist, and you’ll avoid the vast majority of printing headaches and ensure your design looks clean and professional.
Good Design Isn't Just Technical—It's About Composition and Fonts
Once the technical stuff is sorted, the artistic elements are what will make your decal pop. A few simple composition rules can take your design from looking homemade to something that feels thoughtfully designed. Balance is key—try not to cram too many elements into one small area. Every good design needs a clear focal point that immediately draws the eye.
Your font choice is just as critical. A super trendy, intricate script might look amazing up close on your screen, but it can easily turn into an unreadable smudge from a few feet away.
- Readability is King: Always pick fonts that are clear and easy to read, especially if your design has a lot of text. A good test is to shrink it way down and see if you can still make out the words.
- Match the Vibe: The font should fit the personality of the design. A fun, bubbly font is perfect for a kid's birthday shirt, whereas a clean, modern sans-serif feels right for a professional brand logo.
- Less is More: Stick to two, maybe three, complementary fonts at most. Throwing too many different styles into the mix just creates visual noise and cheapens the overall look.
You don’t need to be a graphic design guru to pull this off. User-friendly tools are perfect for bringing your ideas to life. For example, this is the interface in Canva, where you can easily mix graphics and text to build your decal from scratch.
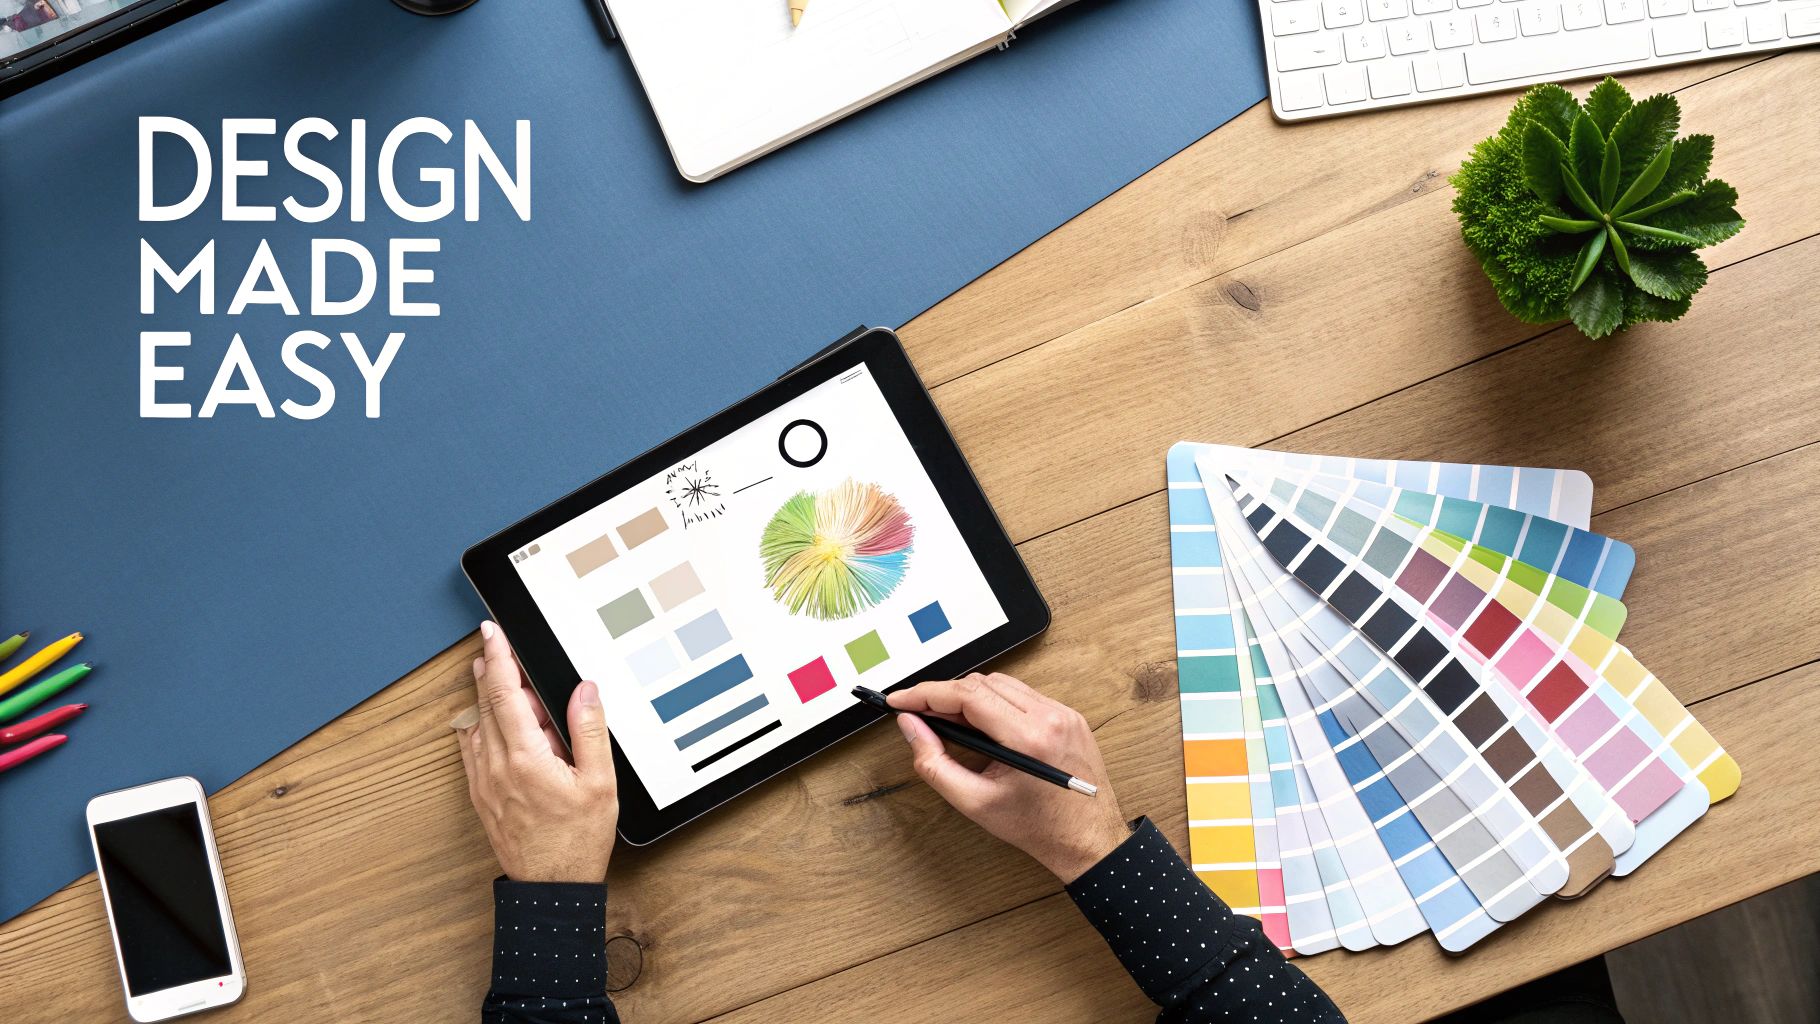
Platforms like Canva let you set your canvas to the correct print dimensions and export a high-resolution PNG with that all-important transparent background, making the whole process much simpler. At the end of the day, a thoughtfully designed decal is the first step toward creating a product that practically sells itself.
Choosing Your Printing Method and Materials
Alright, your design file is looking sharp and ready to go. Now comes the exciting part: turning that digital artwork into a physical, sellable product. When it comes to custom apparel, you’ve got a few options, but for small businesses that need top-notch quality and versatility, Direct-to-Film (DTF) transfers are really leading the pack these days.
DTF gives you those vibrant, full-color prints that feel incredibly soft and flexible on the fabric. You know how some prints feel like a stiff, plastic sticker? A properly pressed DTF transfer actually becomes part of the shirt, giving it a durability that often outlasts the garment itself. That professional finish is exactly why so many creators and small brands are moving over to DTF.
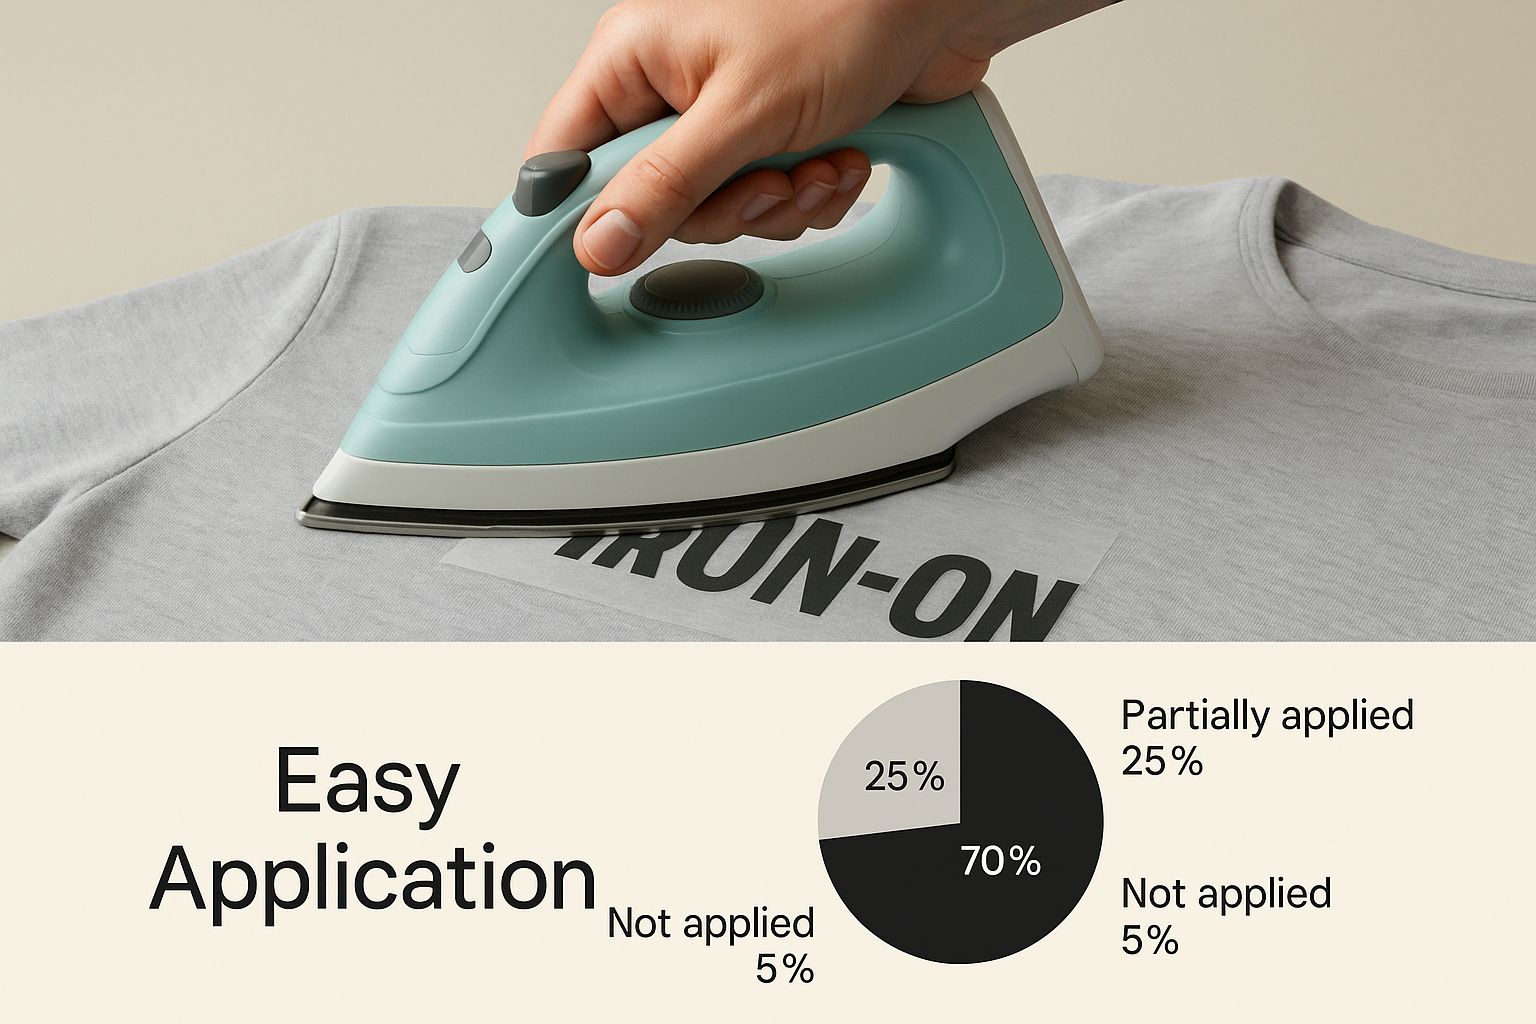
As you can see, the application process is surprisingly straightforward once you have the right setup. It’s what makes getting those pro-level results totally achievable, even if you’re just starting out.
How DTF Stacks Up Against the Alternatives
DTF is a fantastic all-around choice, but it’s always smart to know how it compares to the other big players for making custom iron on shirt decals, namely Heat Transfer Vinyl (HTV) and screen print transfers. They each have their own strengths and weaknesses, and understanding the difference is key to making the right call for your business.
To make it easier, let's break down the three most common methods side-by-side.
Comparing DTF, HTV Vinyl, and Screen Print Transfers
| Feature | Direct-to-Film (DTF) | Heat Transfer Vinyl (HTV) | Screen Print Transfers |
|---|---|---|---|
| Best For | Full-color, detailed graphics; photos; gradients; small or large runs. | Simple, single-color text and bold shapes. Blocky designs. | High-volume orders of the same one-to-two color design. |
| Feel on Fabric | Very soft, flexible, and lightweight. Integrates into the fabric. | Can be thick and stiff, especially with multiple layers. Feels like a sticker. | Soft and durable, similar to traditional screen printing. |
| Color & Detail | Unlimited colors and photorealistic detail. No limitations. | Limited to available vinyl colors. Layering is tedious and adds bulk. | Limited colors. Each additional color significantly increases cost and complexity. |
| Durability | Excellent. Rated for 50+ washes, often outlasting the garment. | Good, but can crack or peel over time, especially layered designs. | Excellent. Very durable and long-lasting when applied correctly. |
| Minimum Order | None. You can print just one transfer if you need to. | None. You can cut a single design from a sheet of vinyl. | High minimums are common (often 25-50+ pieces per design). |
As you can see, DTF really hits the sweet spot. It gives you the full-color, no-minimum-order freedom you'd expect from digital printing, but with a durability and soft feel that can go head-to-head with screen printing.
DTF effectively bridges the gap, offering the full-color, no-minimum-order freedom of digital printing with the durability and soft feel that rivals traditional screen printing. For a deeper dive into another popular digital method, check out our guide comparing DTF vs DTG printing.
The custom apparel world is booming for a reason. By 2025, the custom t-shirt printing market is projected to hit USD 6.84 billion, and it's expected to climb all the way to USD 11.93 billion by 2030. This incredible growth is being driven by technologies like DTF that make high-quality, custom gear more affordable and accessible than ever.
Finding a Reliable DTF Supplier
Think of your supplier as a partner in your business—choosing a good one is absolutely non-negotiable. I always recommend looking for a US-based company to sidestep long shipping delays and the headaches that can come with customs.
A solid supplier will be upfront about the inks and films they use, stick to high-quality materials, and offer a quick turnaround. Don't be shy about asking questions about their process or even ordering a sample pack to feel the quality for yourself before committing to a big order.
Now, for my single most important tip for saving money: order your designs on a "gang sheet."
A gang sheet is just a large sheet of transfer film (say, 22x60 inches) where you can cram in as many different designs as you can fit. Instead of paying for each decal individually, you pay for the whole sheet. This trick drastically lowers your cost per print and is the absolute secret to maximizing your profit margins on every shirt you sell.
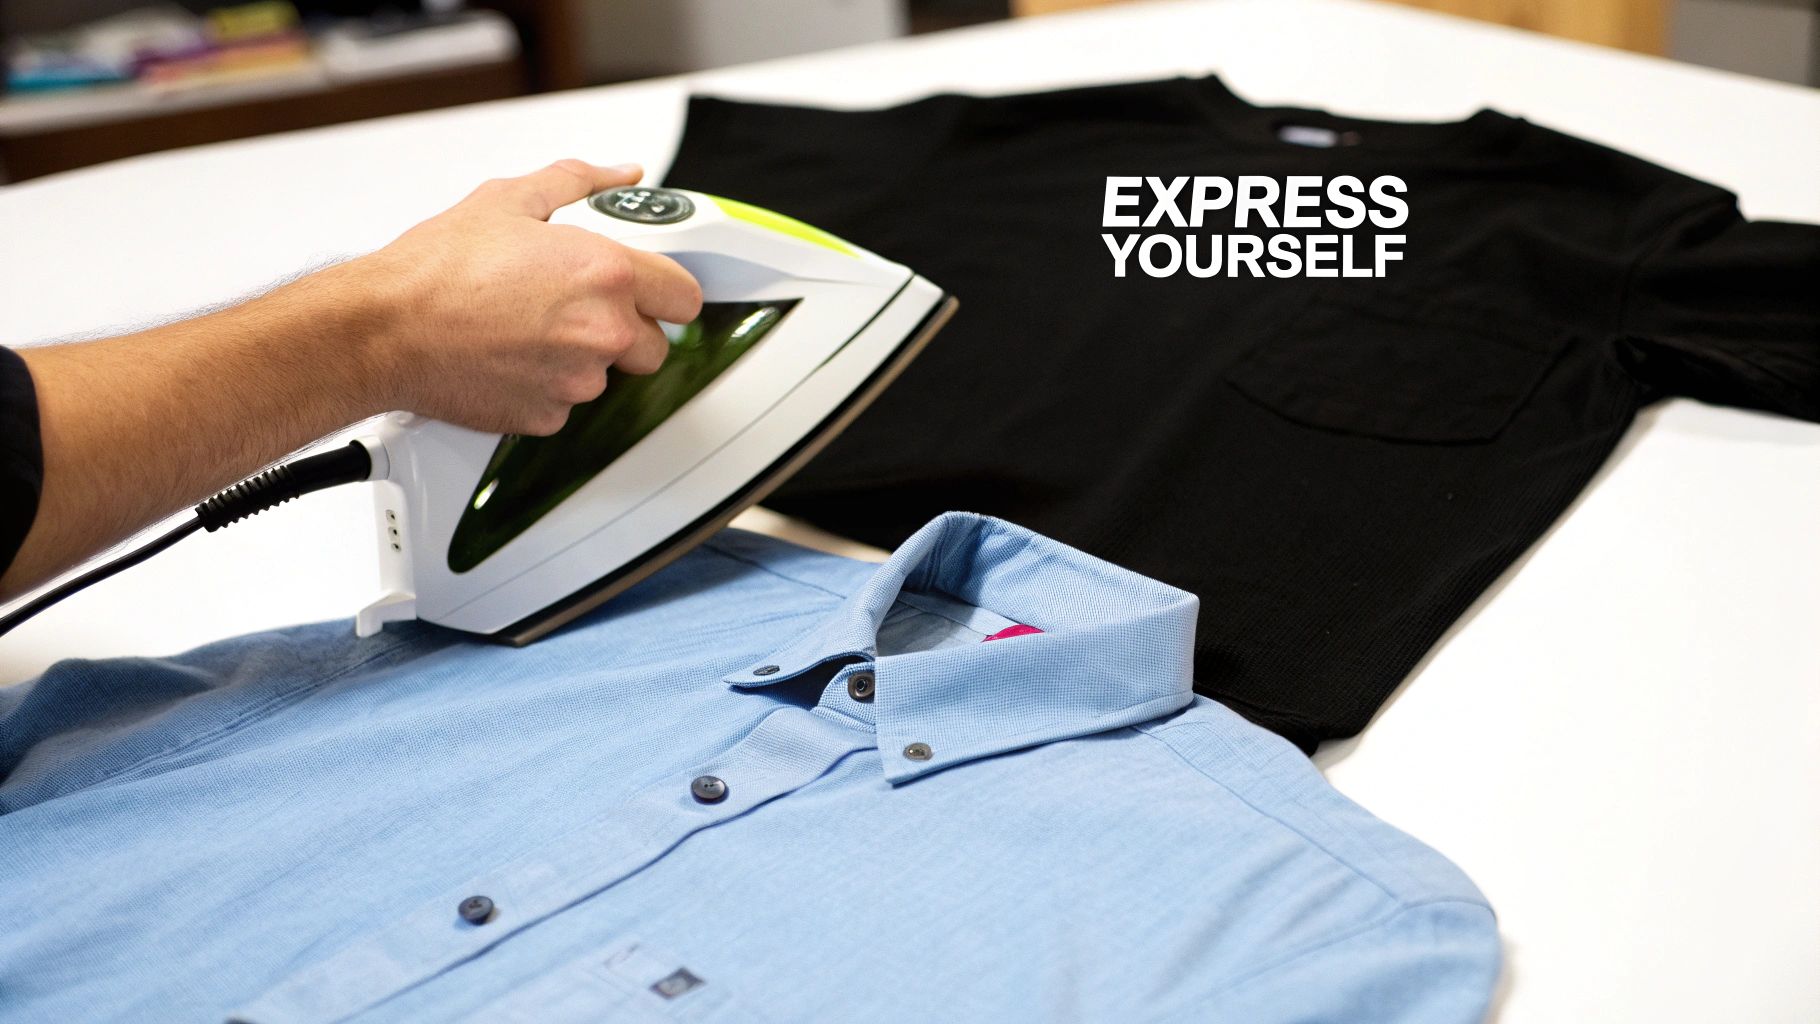
Nailing Your Heat Press Technique
Your heat press is the heart of your operation when it comes to making professional custom iron on shirt decals. Getting comfortable with it isn't just a suggestion—it's the only way to get those clean, durable results that keep customers coming back. The real secret is a delicate dance between three things: time, temperature, and pressure.
Think of it like a recipe. If you get one of those ingredients wrong, the whole dish is ruined. Too much heat can literally melt a polyester shirt, but not enough heat means the decal's adhesive won't grab onto the fabric fibers. This balance is what separates a homemade-looking shirt from something that looks and feels truly professional.
The Three Pillars of a Perfect Press
You absolutely have to get these settings right. Your DTF transfer supplier will give you a starting point, but with a little experience, you'll get a gut feeling for how to tweak them for different types of garments.
- Temperature: For most of the cotton and poly-blend shirts you'll be working with, the sweet spot is somewhere between 290-320°F (143-160°C).
- Time: This is how long the heat and pressure are applied. The first press for a DTF transfer is surprisingly quick—usually just 10-15 seconds.
- Pressure: This is the one people forget about most often. You're looking for medium-to-firm pressure. It should feel tight, like you need to put a little muscle into closing and locking it.
These are just your baseline settings. If you're ever working with a new shirt style or a new batch of transfers, always press a test shirt first. Sacrificing one shirt is a lot cheaper than ruining an entire order.
My Go-To Ritual for Pressing Flawless Decals
The key to great results, every single time, is consistency. By creating a repeatable process, you remove the guesswork and get the same quality finish on every single shirt. Here's the workflow I've honed over the years for pressing DTF transfers.
The Pre-Press: Don't You Dare Skip It
First things first, before that decal even touches the fabric, press the blank shirt by itself for about 5-7 seconds. This little step is a game-changer. It smooths out all the wrinkles and, more importantly, zaps any invisible moisture hiding in the cotton. A dry, flat surface is exactly what you need for a perfect bond. So many peeling issues can be traced back to skipping this.
Align It Like You Mean It
Now, carefully lay your DTF transfer onto the shirt. Don't eyeball it! Use a T-shirt alignment tool or even just a simple ruler to make sure it's dead center and perfectly straight. A crooked design screams "amateur," so take an extra moment to get this right.
The Main Event: The First Press
Place a Teflon sheet or a piece of parchment paper over the transfer to protect it. Now, press the shirt using the time, temperature, and pressure you've dialed in. When that timer beeps, pop it open.
Master the Cold Peel
This is where the magic—and the patience—comes in. Take the shirt off the press and set it on a cool, flat table. You need to wait until the transfer film is 100% cool to the touch. If you get impatient and peel it while it's still warm, the design will lift right off with the film, and you'll have a mess.
Once it's completely cool, peel the film back in one smooth, low-angle motion.
You'll know you've nailed your settings when the decal releases cleanly from the film. It's a satisfying feeling! For a deeper dive into different application styles, check out our guide on heat transfer shirt printing.
The Finishing Press: From Shiny to Pro
You're not done yet! After you've peeled the film off, cover the bare decal with your Teflon sheet or parchment paper one more time. Give it a final press for another 5-7 seconds.
This last step is what separates the good from the great. It pushes the ink deep into the fabric's weave, gets rid of that plastic-y shine, and leaves you with a soft, matte finish that feels like part of the shirt. It also makes a huge difference in how well the decal holds up in the wash.
How to Fix Common Decal Application Issues
Even when you think you’ve done everything right, sometimes a press just doesn't turn out perfectly. Don’t sweat it. Most issues with custom iron on shirt decals are surprisingly easy to fix once you know the cause. Let’s walk through the most common frustrations and get your project back on track.
When a decal gives you trouble, it almost always comes back to the big three: time, temperature, or pressure. Getting those three elements dialed in is the secret sauce. Before you scrap another shirt, let's figure out what’s going wrong.
The Decal Isn’t Sticking to the Shirt
This is probably the most common headache, especially when you're starting out. You press the design, let it cool, and start to peel the film... only to see the transfer lift right off with it.
Nine times out of ten, the problem is not enough pressure. Your heat press needs to be clamped down tight, really forcing that adhesive into the fabric's weave. If it’s closing with barely any effort, crank up the pressure. You should feel some real resistance and have to use a little muscle to lock it down.
If you’re certain the pressure is good, the next thing to check is your heat. A platen that isn't hot enough—or has cold spots—won't activate the adhesive properly. It's a good idea to double-check your press's temperature with an infrared heat gun to make sure what you see on the display is what you’re actually getting on the platen.
Decal Edges Are Peeling Up After Washing
There's nothing more disappointing than pulling a great-looking shirt out of the first wash only to find the edges of the design curling up. This is a classic symptom of skipping a critical step: the final press.
That quick second press after you’ve peeled off the carrier film isn't just a suggestion; it's what makes the design last.
Key Takeaway: That final 5-7 second press with a protective sheet is what locks the design into the fabric. It melts the ink just enough to fuse it with the fibers, which is the secret to making it super durable and preventing those pesky peeling edges.
The Decal Looks Too Shiny or Feels Plastic-Like
A high-quality decal should feel soft and have a clean, matte finish that almost looks like it's part of the shirt itself. If yours comes out looking glossy or feeling stiff like a cheap sticker, don't worry—that's an easy fix.
Once again, the solution is that all-important final press. Hitting the design with heat one last time after the film is gone completely knocks down that shine. It transforms the texture from plastic-y to a soft, professional, screen-printed feel.
- The Problem: The finished transfer has a shiny, stiff feel.
- The Fix: Do a final press for 5-7 seconds using a Teflon or parchment paper sheet.
- The Result: You get a beautiful, soft-hand feel and a matte finish that looks and feels premium.
The appetite for custom gear isn't slowing down. With the custom t-shirt printing market valued at around USD 6.3 billion in 2024 and expected to climb to USD 18.32 billion by 2034, getting your technique perfected is more important than ever. Customers want quality that lasts. You can read more about the booming custom t-shirt market on Precedence Research.
Knowing how to spot and solve these common hiccups will save you a ton of time and materials. For a complete walkthrough on nailing the process every time, check out our guide on using custom DTF transfers that are ready to press.
Answering Your Top Custom Decal Questions
When you're first diving into custom iron-on decals, a few questions always seem to pop up. Getting straight answers can save you a ton of time, money, and headaches down the road. Let's tackle the questions I hear the most from other small business owners who are getting started.
Can I Just Use a Household Iron Instead of a Heat Press?
I get this one all the time, and for anyone serious about selling their shirts, the answer is always a hard no. Your standard home iron just can't deliver the two things that make or break a professional DTF transfer: consistent temperature across the whole design and heavy, even pressure.
If you try to use an iron, you're almost guaranteed to see the decal start peeling or cracking after just a few washes. A quality heat press is probably the most important investment you'll make. It’s what separates a one-off hobby craft from a durable product people will pay for.
What Are the Best Washing Instructions for a Long-Lasting Design?
Making sure your decals last is all about proper care. You should give these instructions to every single customer—it protects their purchase and keeps your work looking fantastic.
- Turn the shirt inside-out before washing. This is the easiest way to protect the decal from rubbing against other clothes.
- Wash in cold water on a gentle cycle.
- Tumble dry on low or, even better, hang it to dry. High heat is the number one enemy of custom apparel.
- Stay away from bleach and fabric softeners. These chemicals are way too harsh and can degrade the transfer's ink and adhesive over time.
A well-pressed DTF transfer that's cared for properly can easily survive 50+ washes. That kind of durability is a massive selling point you can share with your customers.
What Exactly Is a Gang Sheet and How Does It Save Money?
Think of a "gang sheet" as buying in bulk. It's a large sheet of DTF film where you arrange—or "gang up"—a bunch of different designs to be printed all at once. Instead of paying for each little decal individually, you fill up a big sheet (say, 22x60 inches) with as many logos or graphics as you can possibly fit.
Printers charge by the sheet, not by the design. This simple trick dramatically lowers your cost for each individual transfer. For any small business trying to keep costs down and profits up, ordering your designs on a gang sheet is, without a doubt, the smartest way to go.
Help! Why Is My Decal Sticking to the Film When I Try to Peel It?
This is almost always a classic "cold peel" problem. Before you even think about peeling, make sure the transfer is 100% cool to the touch. Seriously, walk away for a minute. Even a tiny bit of leftover warmth can make the adhesive want to stick to the film instead of grabbing onto the shirt.
If you've let it cool completely and it's still sticking, the issue probably goes back to your initial press. This usually means either your pressure was too light or your temperature was a little too low. Without enough heat and pressure, the adhesive can't create a strong bond with the fabric's fibers. Check your settings and maybe run a quick test on a scrap piece of fabric.
Ready to create stunning, durable custom apparel with transfers that never disappoint? At Cobra DTF, we provide premium, American-made DTF transfers with vibrant colors and a super-fast turnaround. Order your custom gang sheet today!