

How to Make UV DTF Cup Wraps Your Complete Business Guide
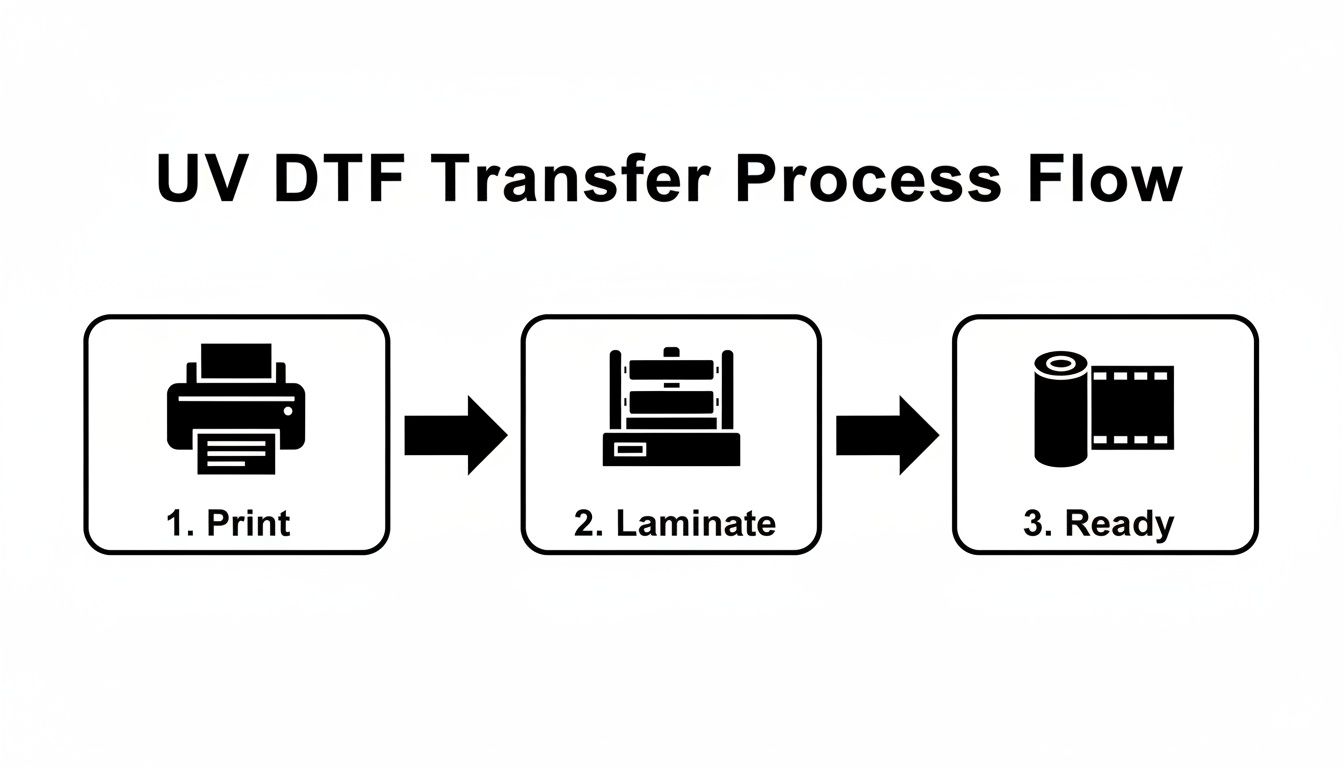
At its core, making a UV DTF cup wrap is a fascinating process. You print a design onto a special "A" film using a UV printer, then you laminate it with a "B" film that carries the adhesive. This creates a high-quality decal that you apply directly to your cup, transforming a simple digital file into a durable, textured, three-dimensional sticker with a premium feel.
Gathering Your Essential UV DTF Cup Wrap Toolkit
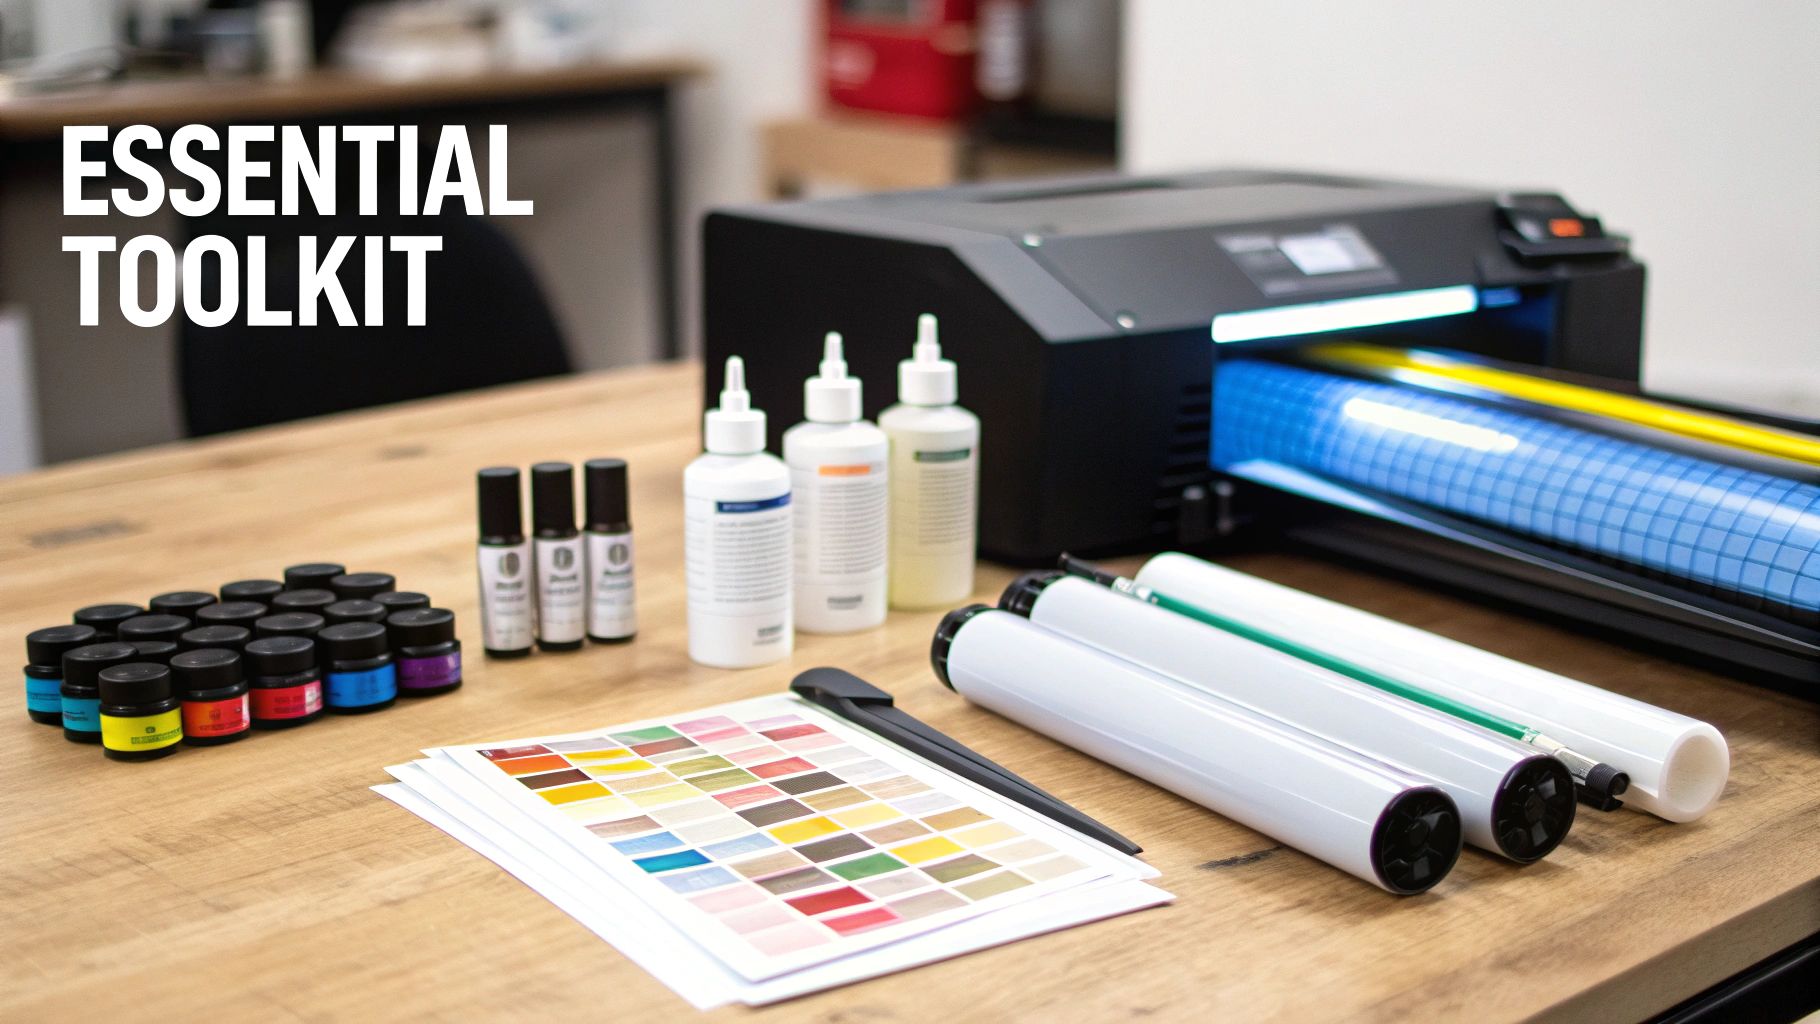
Before you can start cranking out those eye-catching, professional-grade cup wraps, you need to get your workshop in order. Assembling the right tools and materials isn't just a suggestion—it's absolutely essential. Think of it this way: every single component, from the printer down to the squeegee, directly impacts the quality of your final product and how smoothly your production runs.
Making the right investments upfront will save you a world of frustration and help you build a reputation for top-notch work right out of the gate.
Core Printing and Film Supplies
At the center of any UV DTF setup is, of course, the UV DTF printer. This is a highly specialized piece of equipment, not your everyday office machine. It's built to handle UV-curable inks and print with incredible precision onto specialized films.
I know that picking the right printer can feel overwhelming, especially when you're just starting. To cut through the noise, our guide on the best DTF printer for a small business is a great resource for making a smart investment.
Check it out at: https://cobradtf.com/blogs/guides/best-dtf-printer-for-small-business
But remember, the printer is only half the equation. The consumables—your inks and films—are just as critical for achieving those vibrant, durable results you're after. The entire system has to work together seamlessly.
To get started, you'll need the following:
- UV-Curable Inks: These are special inks designed to cure (or harden) the instant they're hit with UV light. This process creates a durable, slightly raised print. A complete set is non-negotiable: Cyan, Magenta, Yellow, Black, and—most importantly—White and Varnish. White ink creates the opaque base for your colors, and varnish adds that professional, protective finish.
- The A/B Film System: This two-part film duo is where the real magic happens. Your design is printed onto the 'A' film. Then, the 'B' film, which is essentially an adhesive carrier sheet, is laminated on top. This sandwich is what turns your print into a ready-to-apply decal. While we're focused on UV DTF, it's worth exploring different types of packaging films to get a better sense of material science in the industry.
A word of advice from experience: don't skimp on your films and inks to save a few bucks. It's a classic rookie mistake. Cheaper supplies almost always lead to poor adhesion, faded colors, and a ton of application headaches. You'll end up wasting more time and money on failed prints than you saved initially.
Substrates and Application Tools
Once your transfer is printed and ready, you need the right cups and tools to bring it to life. This is where your craftsmanship really shines. The quality of your application is what separates a homemade craft from a premium, sellable product.
The table below breaks down the must-have equipment and materials you'll need for this stage of the process.
Essential Equipment and Materials for UV DTF Cup Wraps
| Item Category | Specifics | Why It's Important |
|---|---|---|
| Substrates | UV-Printable Cups (e.g., glass cans, tumblers, mugs) | You need a smooth, clean canvas. Cups marked as "sublimation ready" often have the ideal coating for strong adhesion. |
| Preparation | 70% Isopropyl Alcohol & Lint-Free Wipes | This is the most crucial step for a lasting bond. It removes any oils, dust, or fingerprints that could prevent the decal from sticking properly. |
| Application | Felt-Edged Squeegee | A small, firm squeegee is your best friend for applying even pressure and pushing out any air bubbles for a flawless, smooth finish. |
| Finishing | External UV Curing Lamp | While the printer does the initial cure, a final pass with a UV lamp post-application makes the wrap rock-solid, boosting scratch resistance and durability. |
Having these items on hand ensures you’re prepared not just to print a design, but to apply it professionally and create a final product that can withstand daily use.
Getting Your Artwork Ready to Print
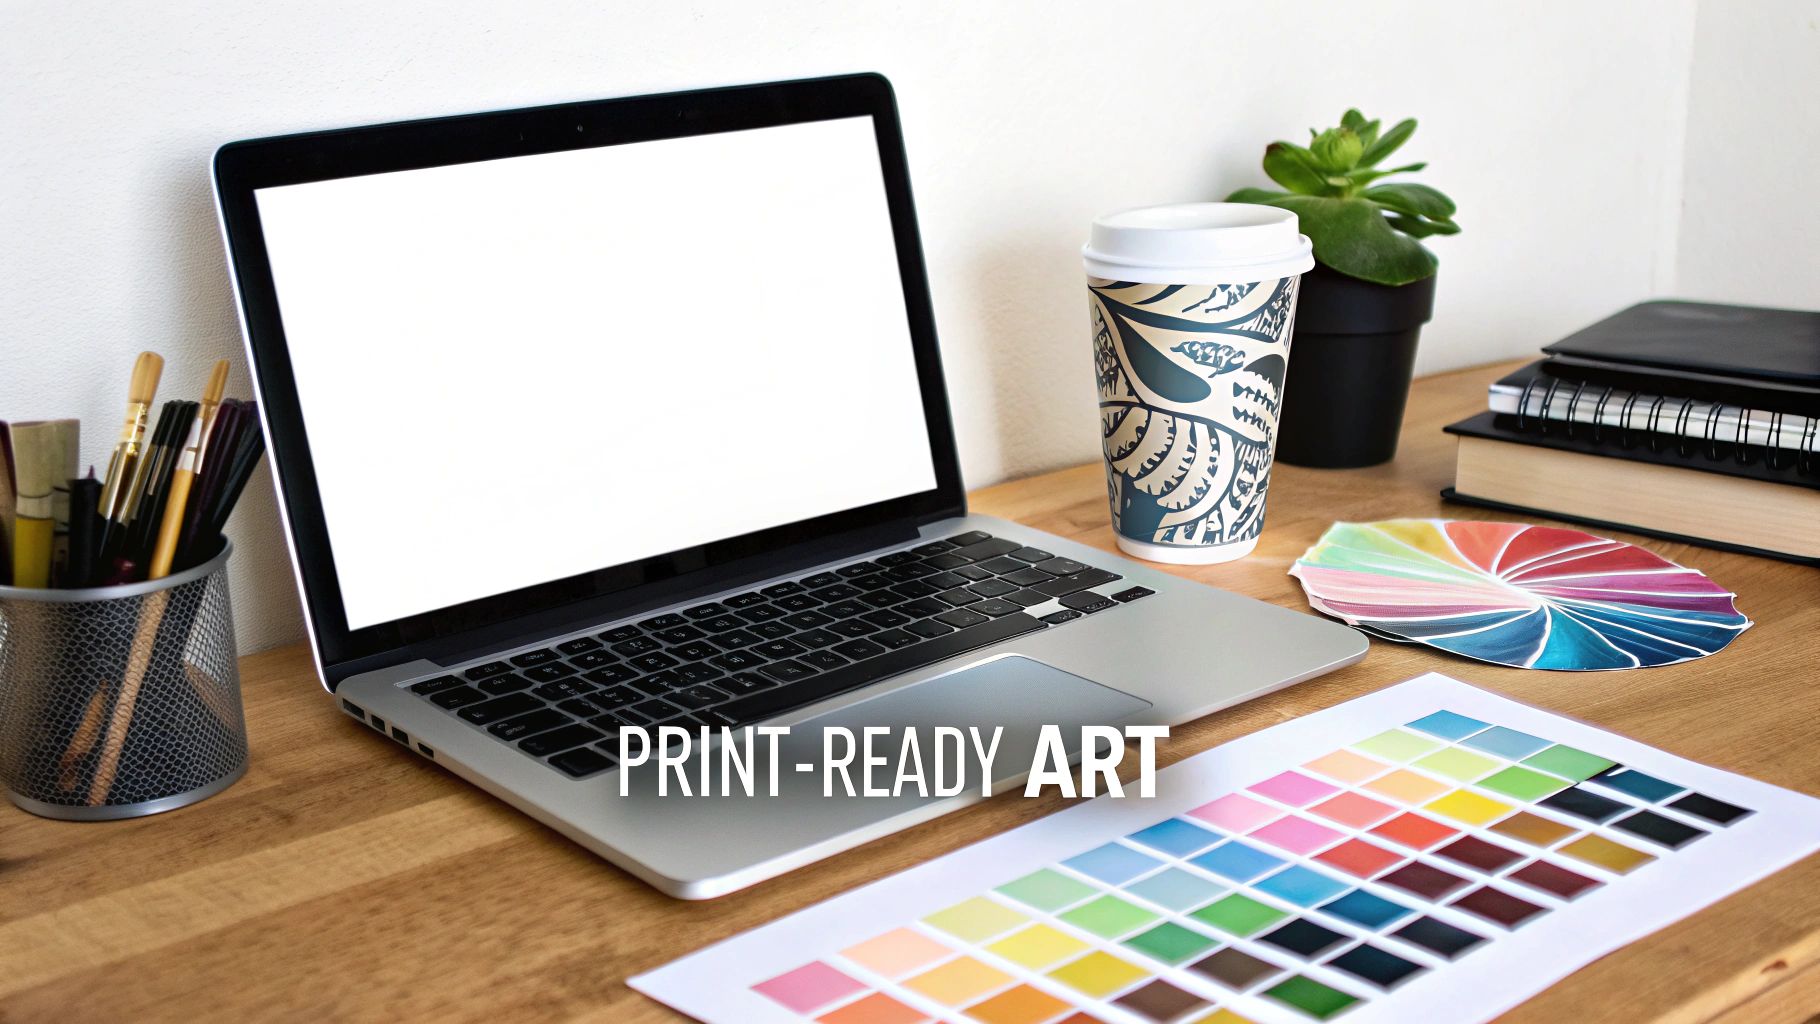
Every amazing UV DTF cup wrap starts with a solid digital file. Think of it this way: your design is the blueprint. If you get the details right at this stage, you'll save yourself from a world of frustration, wasted materials, and costly reprints later on.
This is your pre-flight check before you even think about hitting the print button. Let’s make sure every pixel makes the jump from your screen to the cup perfectly.
Dialing in Your Design File
Mastering how to make uv dtf cup wraps really begins in your design software. It doesn't matter if you're a pro in Adobe Illustrator or just getting started with a more accessible tool like Canva; what truly matters are the technical settings you use.
For a professional-quality print, these parameters aren't just suggestions—they're essential.
- Color Mode: Always, always work in CMYK (Cyan, Magenta, Yellow, Key/Black). Your monitor displays in RGB, but printers think in CMYK. Setting your file to CMYK from the start ensures the colors you see on screen will closely match what comes out of the printer.
- Resolution: Stick to 300 DPI (dots per inch). This is the gold standard for high-quality printing. Anything less will give you blurry, pixelated results that just don't look good.
- File Format: When you're ready to export, save your final design as a transparent PNG. This is crucial because it preserves the transparency, meaning only your design gets printed—not a clunky white box around it.
Nailing the Cup Template Dimensions
Guessing your wrap size is a fast track to misaligned, awkward-looking cups. For that seamless, professional finish, you need precise measurements tailored to the specific cup you’re working with.
For instance, a very popular item like a 16oz Libbey glass can typically uses a template around 9.3 inches wide by 4.3 inches tall. But don't take that as gospel. Manufacturing can have slight variations, so I always recommend grabbing a flexible measuring tape and measuring your exact cup. Measure the circumference to get the width and then decide on the height you want the design to cover.
Pro Tip: I always leave a small "safe margin" of 2-3 millimeters inside the edges of my design. This little buffer ensures that no critical elements get cut off or look weird where the seams of the wrap meet.
It's no surprise that custom drinkware is taking off. The entire DTF printing market, which is what powers this UV DTF trend, is projected to shoot past $3 billion by 2025. This boom is driven by people wanting unique, detailed designs, which is exactly where UV DTF shines. You can learn more about these trends by exploring the global buyers' market.
Work Smarter with Gang Sheets
If you want to cut down on waste and boost your profits, you need to be using gang sheets. This is simply the practice of arranging multiple designs onto one large sheet before printing. Instead of printing wraps one by one, you can fit several different orders onto a single A film.
This is a game-changer for small business owners. You can print a bunch of orders all at once, which dramatically lowers your material cost for each wrap and saves you a ton of time. Just arrange your transparent PNG files onto a digital canvas matching your film size, leaving a little space between each one so you can easily cut them apart later.
Bringing Your UV DTF Wraps to Life: Printing and Lamination
This is where the magic happens—where your digital file starts its journey into the real world as a vibrant, ready-to-apply transfer. Getting this part right is absolutely critical. We're moving from the screen to the printer, so precision and a good feel for your equipment are key.
Think of this as the core of your production. A solid printing and lamination process is what separates a professional-grade product from a dud. When done right, you get a wrap that not only looks stunning but applies like a dream and actually lasts.
Printing on the 'A' Film
First up, you’ll print your artwork directly onto the UV DTF 'A' film. This is the printable side of the two-part system. Before you even think about hitting "print," make sure the film is loaded correctly in your printer. It's a simple check, but messing it up means wasting a whole sheet.
Your printer settings are everything here. You need to have your software configured to lay down the ink in the correct sequence.
- Color Layer (CMYK): This is your design in all its full-color glory.
- White Ink Layer: Printed right on top of the color, this is the secret sauce. It creates an opaque base that makes your colors pop, especially on clear or dark surfaces. Without it, your design will look weak and transparent.
- Varnish Layer: This final pass adds that glossy, protective finish and gives the wrap its signature raised feel.
Don't even think about cutting corners by lowering your white ink percentage to save a few bucks. It’s a classic rookie mistake. You need a rich, 100% white ink layer for that premium feel and vibrant color payoff. It's non-negotiable.
The Lamination Squeeze
Once the design is printed and the ink is fully cured under the printer's UV lamp, it's time to laminate. This is where you’ll carefully bond the printed 'A' film to the adhesive 'B' film, basically turning your print into a high-powered sticker. Honestly, this is the most delicate part of the whole process and where things are most likely to go wrong.
The name of the game is achieving a perfect, bubble-free bond. Any trapped air or tiny wrinkle will show up on your final product and ruin the look. While you can do this by hand with a squeegee, a cold laminator is your best friend for getting consistent, professional results every single time.
To get the full picture of the entire workflow, from design to final product, check out our in-depth guide on UV DTF printing.
Nailing the Perfect Bond
A great lamination all comes down to technique. You want to feed the married A and B films into the laminator slowly and steadily. Make sure the rollers are clean and the pressure is dialed in just right—not so tight it stretches the film, but firm enough to push every bit of air out.
Here are a few tricks I've picked up over the years:
- Start with a Solid Anchor: Before you feed the sheet in, carefully align the top edge of the B film with the A film. Use your finger to press down a small strip along the top. This creates an anchor and prevents it from shifting as it enters the laminator.
- Let the Machine Do the Work: As the film goes through, just guide it. Don't pull or push it. Fighting the machine is a surefire way to get wrinkles or stretch the material.
- Inspect Immediately: The second it comes out of the laminator, hold it up to a light. Hunt for any tiny air pockets or imperfections. It’s a lot easier to spot a problem now than after you’ve already stuck the wrap on a cup.
Trimming Your Finished Transfers
Your gang sheet is now printed, laminated, and ready to go. The last prep step is to cut the individual wraps out. A clean cut is crucial for a clean application.
I recommend using a sharp craft knife with a ruler or a good paper trimmer to get those perfectly straight edges. When you're cutting, try to leave a small border around the design. This creates a little tab that makes peeling the backing off later much easier and keeps your fingerprints off the adhesive.
With that, your transfers are officially ready for the final stage: applying them to your cups.
Perfecting Your Cup Wrap Application Technique
You’ve printed, laminated, and trimmed a beautiful transfer. Now comes the moment of truth: the application. This is where your skill and attention to detail transform a decal into a professional, seamless part of the cup. It’s the difference between a homemade craft and a premium, retail-ready product that people can't wait to buy.
Every little action matters here. From how you clean the cup to the angle you peel the film, these techniques are what make all your earlier work pay off. Get this part right, and you’ll have a flawless, durable finish that wows your customers every time.
Don't underestimate the market for this. The promotional products industry, which is exactly where custom cups fit in, exploded into a $26 billion global market in 2023. There's a huge demand for vibrant, long-lasting customization, and some businesses are seeing incredible 95.9% margins on seasonal prints. Your application technique is what gives you the edge. You can learn more about how UV DTF is changing the promo industry and see why getting this right is so important.
The Non-Negotiable First Step: Surface Prep
Before you even think about peeling that backing paper, stop. You have to prep the surface of the cup. Honestly, this is the most critical part of the whole process, and skipping it is a guaranteed way to get frustrating results. Your goal is to create a perfectly clean slate so the adhesive can do its job.
Even invisible oils from your fingers, tiny dust particles, or leftover manufacturing residue will prevent a solid bond. This interference is the number one reason transfers peel, bubble up, or just refuse to stick properly.
Here’s how to nail the prep every single time:
- First, wash the cup with some mild soap and water, then dry it completely. A microfiber towel works best.
- Next, take a lint-free cloth and wipe down the entire application area with 70% isopropyl alcohol.
- Let the cup air dry for a minute or two. The most important rule from here on out? Do not touch the cleaned area with your bare hands.
Applying the Wrap with Precision
With a perfectly clean cup, you're ready to apply the wrap. This requires a steady hand and a bit of patience. Rushing now is the fastest way to get wrinkles, bubbles, and a crooked design that’s pretty much impossible to fix.
Start by carefully peeling back just a small section—maybe an inch—of the paper backing from your transfer. This exposes only a little bit of the sticky side, giving you a ton of control instead of wrangling a large, floppy, super-sticky decal.
Holding the wrap by the edges, gently position the exposed adhesive onto the cup. Take your time to get it perfectly straight and aligned. This initial "tack" is your one chance to get the placement perfect before you're fully committed. Once you’re happy with it, press that first edge down firmly.
Now, slowly pull away the rest of the backing with one hand while using your other hand (or a squeegee) to smooth the wrap onto the cup. Work from that first edge outward, applying steady, even pressure as you go.
The transfer you're holding is the result of a multi-step workflow. This simple graphic shows how the print and lamination layers come together to create the decal you're now applying.
Securing the Bond and Chasing Out Bubbles
Once the entire wrap is on the cup, it's time to lock it in for good. Grab a squeegee (one with a soft, felt edge is ideal) and start burnishing. Begin in the center of the design and press firmly as you push outwards toward the edges. This forces out any trapped air.
Pay extra attention to the small details in your design—thin lines, tiny text, and the outer edges of the wrap are crucial. I recommend spending a solid 30-60 seconds rubbing over the whole thing. This pressure is what activates the adhesive, forcing it to grab onto the surface for a permanent bond.
The Final Reveal: The Peel
After you've burnished the design thoroughly, it’s time for the big reveal. Start at one corner of the clear carrier film and slowly begin to peel it back. The trick here is to pull at a low, sharp angle—almost parallel to the cup itself. Whatever you do, don't pull straight up, as this can lift parts of your design.
Go slow and keep an eye on the decal. If you see any part of the design starting to lift with the film, don't panic! Just lay the film back down, press firmly over that specific spot with your squeegee or thumb, and then slowly start peeling again.
Once the carrier film is off, you’re left with a crisp, stunning design. For an extra layer of durability, especially for items that will see a lot of handling, you can do a final cure under a UV lamp for about 60 seconds. Finally, and this is important, let the cup sit for at least 24 hours before washing or using it. This gives the adhesive time to fully cure and reach maximum strength.
Working Through Common Cup Wrap Problems
Even when you have your process dialed in, you're going to hit a snag now and then. A transfer will lift, a bubble will appear out of nowhere, or a color won't look quite right. It happens to everyone, and it's just part of the learning curve with UV DTF cup wraps. The real skill is knowing how to spot the issue and fix it without a pile of wasted materials.
Think of this as your go-to guide for those frustrating moments. We’ll walk through the most common headaches and give you practical fixes to get you back to making great-looking cups.
The Transfer Won't Stick or Lifts During Peeling
This is, without a doubt, the number one issue people run into. You've placed the wrap perfectly, but when you peel back the carrier film, the design decides it wants to come along for the ride. More often than not, the problem isn't the wrap itself—it's the cup.
Any trace of dust, manufacturing residue, or even just oil from your fingertips can create a barrier that stops the adhesive from getting a solid grip.
- The Fix: This is non-negotiable. Before you even think about applying the wrap, give the cup a thorough wipe-down with 70% isopropyl alcohol and a lint-free cloth. Let it completely air dry. This one simple step solves the vast majority of adhesion problems.
- Not Enough Pressure: If you're certain the cup was clean, the next suspect is pressure. The adhesive needs a good, firm rubdown to properly activate. You really have to get in there with a squeegee and burnish the entire design for at least 30-60 seconds. Give extra love to any thin lines or sharp corners.
Dealing with Annoying Bubbles and Wrinkles
It’s a real bummer to see a tiny bubble or a fine wrinkle trapped under an otherwise flawless design. These little imperfections almost always sneak in during the application stage, usually because you're moving a little too quickly.
The trick to a perfectly smooth, bubble-free application is to anchor it first. Don't just slap the whole thing on. Peel back just an inch or two of the backing paper, line it up carefully, and press that starting edge down firmly. From there, you can slowly roll the rest of the wrap onto the cup, smoothing it down from that anchored point outwards.
Working from one side to the other like this gives you total control and pushes air out as you go, instead of trapping it. If a small bubble does get trapped, you can sometimes work it out to the nearest edge with your squeegee, but it's much easier to prevent them in the first place.
When Your Colors Look Faded or "Off"
You look at your final cup, and the colors just seem weak, washed out, or not at all like they did on your computer screen. When this happens, the problem is almost always buried in your print settings. Getting that rich, vibrant color is all about building a solid ink foundation.
Here are the usual culprits for lackluster color:
- Not Enough White Ink: That white ink layer is everything. It's the opaque base that makes your colors pop. If you have your white ink percentage set too low (anything under 100% can be risky), your colors will look dull and almost transparent, especially on dark or clear cups.
- Mismatched Color Profiles: Double-check that your design software (like Illustrator or Photoshop) and your printer’s RIP software are on the same page with color profiles. A mismatch here is a classic cause of colors shifting between what you see on screen and what comes out of the printer.
- A Clogged Nozzle: Before a big print run, always do a quick nozzle check. If even one nozzle is partially clogged, it can throw your whole color balance out of whack, leading to weird banding or colors that just feel wrong.
How to Stop the Film from Tearing as You Peel
You’ve done everything by the book, but as you peel the carrier film away, it rips or, worse, takes a little piece of your design with it. This problem comes down to your peeling technique.
The key is to pull the film back on itself at a super sharp, low angle—almost flat against the cup. Don't pull straight up, as that puts way too much stress on the transfer and invites lifting, especially on delicate parts. Go slow, be patient, and keep an eye on the design. If you see any part of it starting to lift, just lay the film back down, give that spot another good burnish, and then continue peeling. A little patience at this final step makes all the difference.
Scaling Up: Turning Your Cup Wrap Hobby into a Business
So, you've mastered the art of printing and applying flawless UV DTF cup wraps. Your designs are sharp, the application is smooth, and now you're wondering, "What's next?" The logical leap is to scale up, turning your passion project into a real, profitable business. This isn't just about making more cups; it's about building a brand people trust.
The journey from hobbyist to business owner really boils down to two things: knowing your numbers inside and out, and locking down a supply chain that won't let you down. Get these right, and you can price your products competitively, keep your profit margins healthy, and build a reputation for quality that brings customers back again and again.
Know Your Costs, Nail Your Pricing
You can't grow a business if you're just guessing at your costs. Profit is what's left after every single expense is paid, and your choice of supplier will be one of the biggest factors affecting your bottom line.
Just look at the market for 16oz containers—it's already a $287 million industry and is projected to grow by a staggering 14.3% each year. The top sellers in this space are moving hundreds of wraps a month with profit margins hitting over 94%. How? They've dialed in their supply costs. Managing these expenses is everything, and you can learn more about it in our guide on how to reduce production costs.
To figure out a smart price for your wraps, you have to track everything:
- Cost of Goods Sold (COGS): This is the direct cost of your materials. Think about the price per sheet for your A/B films, the ink and varnish used for each print, and of course, the blank cup itself.
- Operational Costs: These are the hidden expenses. Don't forget the electricity powering your printer and laminator, any software subscriptions you have, and all your shipping and packaging supplies.
- Time and Labor: Your time is your most valuable asset. Assign yourself a fair hourly wage for the time you spend designing, printing, applying wraps, and packing orders.
The USA-Based Supplier Advantage
When orders start rolling in, the last thing you need are surprises. This is where partnering with a USA-based supplier shifts from a nice-to-have to an absolute necessity. Sourcing from overseas might look cheaper on paper, but it opens you up to a world of headaches that can bring a growing business to a screeching halt.
We’ve all heard the horror stories:
- Unexpected international shipping delays that make your promised delivery times impossible.
- Hidden customs fees and tariffs that suddenly appear and carve a chunk out of your profits.
- Wildly inconsistent quality from one batch of film to the next.
Choosing a domestic supplier isn't just about waving a flag; it's a strategic business move that makes your operation more resilient. You get predictable inventory, consistent quality, and the ability to offer the fast shipping that modern customers demand.
To build a business that lasts, you need to think beyond just the next order. You need to implement strategic goal setting for growth by sourcing high-quality, eco-friendly materials from a partner you can rely on. A solid domestic supply chain lets you sidestep logistical nightmares and focus on what you actually enjoy—creating amazing cup wraps that people will be excited to show off.
Ready to build your business on a supply chain you can trust? Cobra DTF prints custom, USA-made UV DTF transfers that are ready to apply, with same-day shipping on orders placed by 1 PM CT. Stop guessing and start building your brand with quality and speed. https://cobradtf.com