

Unlock the dtf gang sheet builder: Master efficient print layout
A DTF gang sheet builder is a specialized piece of software designed to solve one of the biggest headaches in printing: arranging multiple designs onto a single sheet of film. It’s essentially a smart, automated puzzle-solver that packs your artwork together to maximize every inch of material and cut down on waste. For anyone serious about making their Direct-to-Film (DTF) operation more efficient and profitable, this kind of tool is non-negotiable.
Why a DTF Gang Sheet Builder Is a Game Changer
Before we get into the nitty-gritty of building a sheet, let's talk about why this matters so much. If you've ever tried to manually cram a dozen different designs onto a layout in Photoshop or Illustrator, you know the pain. It's slow, frustrating, and almost always leaves expensive gaps.
A dedicated gang sheet builder takes that manual, error-prone task and automates it. It's not just a nice-to-have; it's a fundamental shift in workflow that saves time, materials, and sanity.
The software intelligently nests your designs—rotating, flipping, and fitting them together like a perfect game of Tetris. This precision means you're using every bit of your expensive film, ink, and powder. In my experience, and for many shops, this can easily slash material waste by 20-30%. That's a direct boost to your profit margin on every single print run.
Maximizing Profitability and Efficiency
The benefits don't stop at material savings. A faster ganging process means you can get jobs to the printer quicker, which lets you offer faster turnaround times to your customers. In a crowded market, being the shop that can deliver quality work a day sooner is a massive competitive edge. It builds loyalty and brings in more business, plain and simple.
This efficiency is becoming more critical as the DTF world explodes. The global DTF printer market was valued at $2.53 billion in 2024 and is expected to climb to $4.25 billion by 2032. That growth is fueled by businesses just like yours, who need to produce custom items quickly and affordably. For smaller jobs, DTF can drop production costs by as much as 40% compared to screen printing. If you want to dive deeper, you can explore more data on the expanding DTF market and see where things are headed.
From Manual Mess to Automated Success
Let's be honest, the difference between a manually ganged sheet and one from a builder is night and day. We've all been there, staring at a layout with awkward gaps we just couldn't fill.
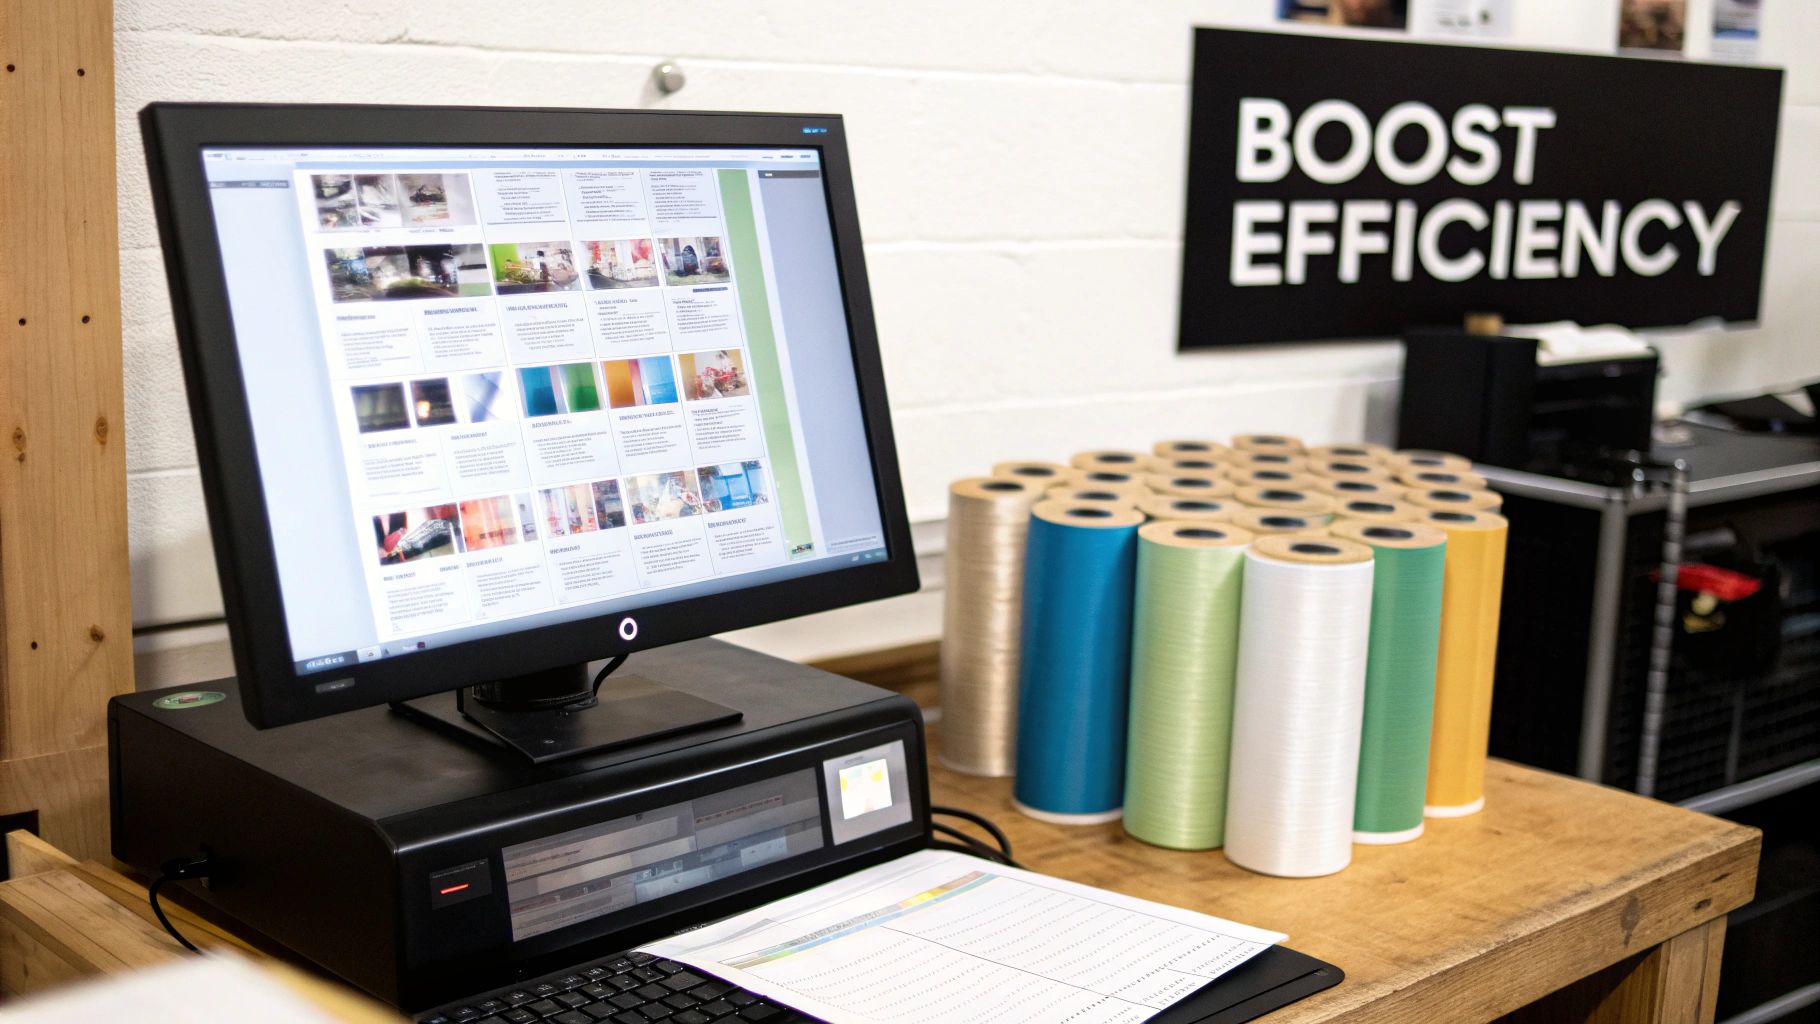
An automated layout is clean, tight, and optimized. It takes the guesswork out of the equation and ensures every print run is set up for maximum profitability. You're no longer just eyeballing it; you're calculating your success.
The jump from manually wrestling with layouts to using an automated builder is significant. Here’s a quick breakdown of what that upgrade really looks like in the day-to-day grind of a print shop.
Manual Layout vs DTF Gang Sheet Builder
| Metric | Manual Layout (Photoshop/Illustrator) | Dedicated DTF Gang Sheet Builder |
|---|---|---|
| Time per Sheet | 15-45 minutes (highly variable) | 2-5 minutes |
| Material Waste | 10-25% on average | Under 5% |
| Accuracy | Prone to human error (sizing, overlap) | Automated precision, error-free |
| Learning Curve | Requires graphic design software skills | Intuitive, drag-and-drop interface |
| Scalability | Becomes a major bottleneck for large orders | Easily handles hundreds of designs at once |
As you can see, a dedicated builder isn't just a minor improvement—it fundamentally changes your shop's capacity and profitability. It turns a time-consuming, skilled task into a fast, simple step that anyone can manage, freeing you up to focus on growing the business.
Laying the Foundation: Prepping Your Artwork for a Flawless Gang Sheet
The secret to a great DTF transfer? It’s often decided long before you even open a dtf gang sheet builder. Think of this prep work as the most important step in your entire process. Getting it right here saves you the headache and cost of reprinting bad jobs later. It all starts with a high-quality source file.
Your absolute must-have is a 300 DPI PNG file with a transparent background. DPI, or dots per inch, dictates your print resolution. At 300 DPI, you have plenty of data for a sharp, clean print. If you try to use a low-resolution image snagged from a website (usually 72 DPI), you're going to get a blurry, pixelated mess on the final shirt.
And that transparent background? It's not optional. If you use a format like a JPEG that doesn't support transparency, your printer will lay down a big white box around your art. Always, always double-check that your background is truly transparent before you move forward.
Time for a Deep Clean
Even a high-res PNG can hide problems. One of the most common culprits behind a failed print is what I call "digital dust"—tiny, stray pixels you can't even see on your screen. These are little specks of color left over from the design process. Your printer will see them, and it will print them, leaving you with random ink spots all over your transfer.
My Go-To Trick: To hunt down these stray pixels, I crank the zoom up to 400% or more in my design software and scan every inch around my artwork. A better way? Stick a layer of a loud, obnoxious color like neon green or hot pink behind your design. This makes all that digital dust and any semi-transparent halos pop, so you can erase them easily.
The edges of your design are just as critical. I see this all the time—fuzzy or semi-transparent edges, or "halos." On-screen, they look fine, maybe a little soft. But to a DTF printer, that transparency is a signal to print a faint white underbase, which creates a gross, milky outline on the finished garment.
You need clean, sharp, solid edges. Period.
- Hard Eraser is Your Friend: Grab an eraser tool and set the hardness to 100%. Use it to trace the borders of your artwork and get rid of any fuzz.
- Play with Threshold: If you're using more advanced software like Photoshop, tools like the threshold adjustment can be a lifesaver for hardening up soft pixels and killing off that fuzzy anti-aliasing.
- Vector is Always Better: Honestly, the best-case scenario is starting with vector artwork (files like AI, EPS, or SVG). When you export from a vector file to a 300 DPI PNG at the exact size you need, you get the sharpest possible edges right from the start.
Finally, make sure you size your artwork before you add it to the gang sheet. Yes, you can resize inside the builder, but doing it in your native design software gives you way more control and helps prevent any loss in quality. If you're not sure what sizes to use for different placements, this guide on DTF transfer sizes is a fantastic resource for planning your layouts.
Mastering Layouts to Maximize Every Inch of Film
Alright, your artwork is prepped and ready to go. Now comes the part where you really start to make your money: building the gang sheet. This is where you shift from artist to strategist. Think of every square inch of that film as cash, because that's essentially what it is. The goal here is simple: fit as much as you can onto a single sheet to slash waste and boost your profit margins.
It's a bit like a game of Tetris. You can just let the pieces fall where they may, or you can meticulously rotate, flip, and nest them together to create a perfectly tight layout. A smart nesting strategy is all about seeing the shapes within your designs. Got a graphic with a bunch of empty space on one side? That’s a golden opportunity to tuck a smaller design right into that gap.
Before you can even think about layout, though, your artwork has to be flawless. This is the foundation everything else is built on.
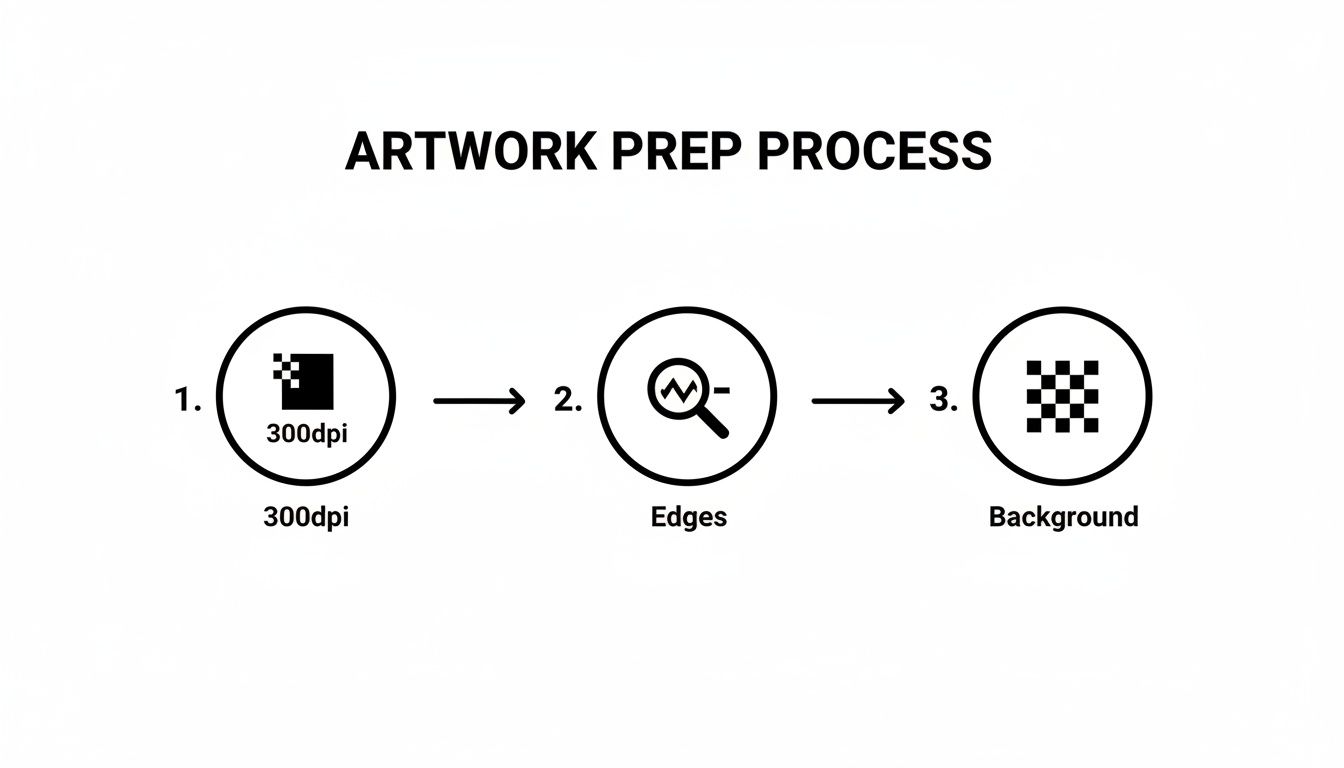
Getting these three things right—high resolution, crisp edges, and a truly transparent background—is the non-negotiable first step. Skimp here and nothing else matters.
A Real-World Nesting Scenario
Let's imagine a typical job comes in. A local soccer team needs an order fulfilled:
- 15 large logos for the back of the jerseys (11 inches wide)
- 30 left-chest logos (3.5 inches wide)
- 20 small sleeve graphics (2 inches wide)
The beginner's move is to line up all the big logos in a row, then the chest logos, and so on. Sure, it's organized, but it leaves huge, wasteful gaps of empty film. A pro move is to place your largest "anchor" designs first. Then, use those smaller graphics to fill in all the awkward nooks and crannies between and even inside the bigger designs. You can rotate those little sleeve graphics to fit perfectly into the negative space created by a larger, circular logo.
My rule of thumb is to always fill the gaps. Those small, empty spaces are perfect for dropping in your own company's neck tag logos or other tiny branding elements you can use for promotional items. It turns potential waste into a marketing opportunity.
The Art of Spacing and Filling
While you want to pack everything in tightly, you have to leave yourself enough room to actually cut the transfers apart later. I’ve found a 0.25-inch gap between each design is a good, safe buffer. It gives you plenty of space for scissors or a rotary cutter without the risk of nicking an adjacent print. Trying to squeeze them closer is a false economy—one ruined transfer from a bad cut completely erases any savings you thought you made.
Getting this right can realistically cut your film consumption by 20-30%. This kind of efficiency is a huge part of why DTF printing is exploding. The market is projected to hit $2.93 billion in 2025, driven by its power to help on-demand businesses reduce their inventory by up to 50%. Getting the most out of every sheet is more critical than ever. Exploring different print on demand design ideas can also spark new ways to think about creative and efficient layouts.
Getting Your RIP Software Settings Right
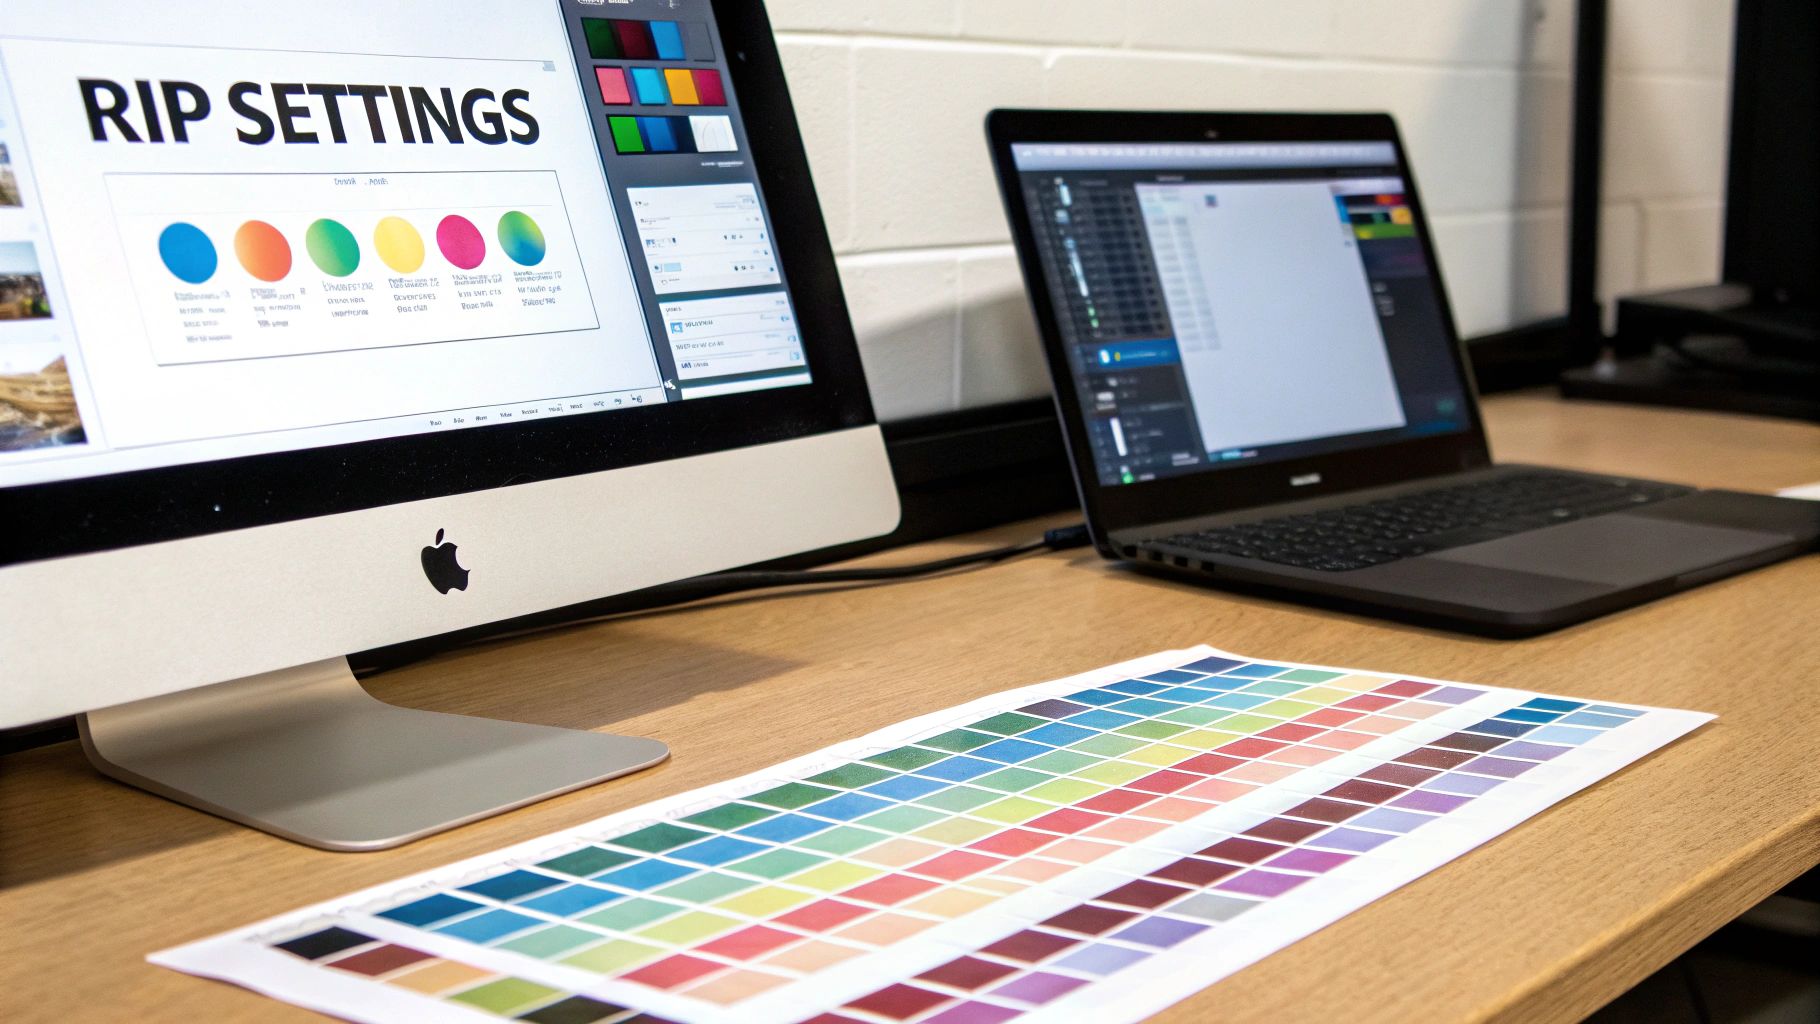
Once you've nested all your designs perfectly, the next critical handoff is to your RIP (Raster Image Processor) software. You can have the most flawless layout in the world, but the wrong RIP settings can ruin it in an instant. This is where your digital artwork gets translated into the precise instructions your printer needs to control color, ink, and final quality.
Don't just think of the RIP as a "send to print" button. It's the command center for your entire operation. Taking the time to dial in these settings is what ensures your colors pop, your whites are bright, and your transfers look professional every single time.
Dialing in Your Color and Ink
First things first, let's talk about your ICC profile. This little data file is everything when it comes to color accuracy. It tells your printer exactly how to mix inks to match the colors you see on screen. A huge mistake I see people make is just sticking with the generic profile that came with their software, which often leads to muddy, off-brand prints. Always, always use the specific ICC profile provided by your ink or film supplier. It makes a world of difference.
Next up is the white ink underbase. This is definitely not a one-size-fits-all setting. For a design going on a black t-shirt, you need a heavy, opaque white layer—think around 80-100%—to make sure the colors on top are vibrant and don't get lost. But if you're printing for a light gray or pastel shirt, you can back that white ink density down to around 50-60%. This not only saves a surprising amount of ink but also gives the final transfer a much softer feel.
Pro Tip: When I’m printing designs with fine text or soft gradients, I always reduce my white ink choke setting just a bit. A choke essentially pulls the white underbase in from the edges of the color layer, which is crucial for preventing that fuzzy white halo from peeking out around your design. A setting of 1-2 pixels is a great starting point.
This level of control is a major reason why the DTF industry has grown so fast. In 2024 alone, the global DTF industry produced over 7.2 billion prints, a massive 30% jump from the previous year. This boom is fueled by advancements that give us this kind of precision, leading to better, more durable prints. If you're curious, you can read more about the innovations driving the DTF market to really understand the tech behind your tools.
Final Checks Before You Print
Before you hit that final button, a few last settings are essential. These are simple but incredibly easy to overlook, and they can save you from wasting an entire sheet of film and ink.
- Mirror Image: This is the most critical final check, hands down. Your entire gang sheet must be printed as a mirror image. If it’s not, it will be backward when you press it onto the garment. Every RIP software has a "mirror" or "flip horizontal" checkbox—make it a habit to confirm it’s ticked every single time.
- Ink Channels: Take a second to confirm your ink channels are mapped correctly. The software needs to know which print head is laying down Cyan, Magenta, Yellow, Black, and of course, White. A misconfiguration here is a fast track to some very bizarre color outputs.
- Resolution and Print Quality: For the best results, match your print resolution (DPI) to your artwork. For most detailed garment work, a setting like 1440x720 DPI strikes a fantastic balance between sharp quality and reasonable print speed.
Spending just a few extra moments to verify these settings in your RIP can be the difference between a profitable run and a costly, frustrating mistake. For a deeper dive into the software side of things, check out our guide on choosing the right DTF printing software.
From Print to Press: Building a Flawless Workflow
A perfectly ganged sheet is a huge win, but your job isn't done when the printer stops. What happens after the print is just as important for keeping your shop running smoothly and avoiding those costly, headache-inducing mistakes. This is all about creating a seamless system to get your film from the machine to the heat press without any chaos.
A smooth workflow is the backbone of efficient production in any field. In fact, many of the same ideas behind strategies for scaling content workflows with automation can be applied right here in your print shop. The core principles of eliminating bottlenecks and organizing your assets are just as relevant for physical transfers as they are for digital files.
The Right Tools for the Cut
Once your gang sheet is cured and ready to go, the first real task is separating all those individual transfers. You have a few options, and the best one really comes down to the designs you're cutting and what you're comfortable with.
- Scissors: You can't go wrong with a good pair of scissors. They're perfect for simple, straight cuts and designs that have plenty of space between them. Fast, easy, no setup required.
- Rotary Cutter & Mat: For those long, dead-straight cuts, a rotary cutter is an absolute game-changer. When you pair it with a self-healing mat, you can slice through an entire row of designs cleanly and quickly. It's incredibly satisfying.
- Vinyl Plotter: If you're working with intricate shapes or need to cut precisely around a design's contour, a vinyl plotter with an optical eye is the top-tier tool. This gives you unmatched precision and saves you from the tedious, hand-cramping work of cutting complex transfers manually.
Whichever tool you choose, the goal is always the same: a clean cut with a small, manageable border around the ink, making sure you don't accidentally nick the design next to it.
The Art of Sorting and Storing
When you’ve got multiple jobs packed onto a single gang sheet, organization is everything. A messy cutting station is a guaranteed recipe for mix-ups. Before you know it, a customer gets the wrong design or the wrong quantity, and that’s a mistake that costs you time, materials, and a little bit of your reputation.
My system is simple but it works every single time. I use clear poly bags and a few small, labeled bins for each order. As I cut a transfer, it goes immediately into its designated bag or bin. That one little step completely eliminates the risk of mixing up orders, even when the shop is humming and things feel chaotic.
This kind of process doesn't just stop errors in their tracks; it also makes it much easier to manage any leftover transfers.
Turning "Waste" Into a Resource
You're almost always going to have some extra designs left over from your gang sheets. Stop thinking of these as waste. Start seeing them as assets.
Cataloging and storing these extras can be a total lifesaver for future small orders or last-minute reprints.
I keep a simple binder where I've pressed a sample of each leftover design. I'll jot down the quantity I have in stock right next to it. When a client calls needing a single shirt for a new employee or a small add-on to their last order, I can often grab it from my stock and have it ready instantly, without firing up the printer. This not only cuts down on waste but also lets you offer incredible speed and value to your customers.
For more deep-dive ideas on maximizing your shop's output, our guide on improving production efficiency has even more strategies that fit perfectly with a well-organized workflow.
Common Questions About Building DTF Gang Sheets
Even when you feel like you've got the process down, questions always pop up. Getting the right answers can be the difference between a great print day and a frustrating one. Let's dig into some of the most common things people ask when they're building out their gang sheets.
What’s the Best File Format for My Artwork?
Hands down, you should always use a PNG file with a transparent background. This is a hard-and-fast rule in DTF. A PNG file makes sure that only your design gets printed, not a clunky white box around it.
Just as important is the resolution. Your PNG needs to be saved at 300 DPI at the exact size you want it to print. If you upload a low-resolution file, it's going to look blurry and pixelated on the final transfer, and there's no software trick that can fix that. Stay away from JPEGs—they don't support transparency, which means you'll always get that unwanted solid background printed behind your art.
How Much Space Should I Leave Between Designs?
A good rule of thumb is to leave at least 0.25 inches (around 6-7 mm) between each design on your sheet. I know it’s tempting to squeeze things together to save every last bit of film, but it's usually a false economy.
Think of it this way: that little bit of buffer space makes it so much easier to cut the transfers apart with scissors or a rotary cutter. You won't have to stress about accidentally nicking the design next to it. One ruined transfer from a bad cut will cost you way more than the tiny strip of film you thought you were saving.
Most good gang sheet builders have an automatic spacing feature. My advice? Trust it. It's set that way for a reason.
Can I Mix Different Client Orders on the Same Sheet?
Absolutely—in fact, you should be doing this! Ganging smaller jobs from multiple clients onto one big sheet is one of the smartest ways to get the most out of your film and seriously improve your profit margins.
The trick is to have a rock-solid system for keeping things organized after printing. Once that sheet is printed and cured, you need a clear plan for cutting and sorting the designs for each customer. I’ve found that using labeled bins or even just simple clear poly bags for each order works wonders. As you cut each transfer, drop it straight into the correct client's bin. It prevents mix-ups, especially when you're in the middle of a busy run.
Why Do My Print Colors Look Different Than What’s On My Screen?
This is probably the most common headache in the DTF world. The problem almost always boils down to color management. The colors you see on your backlit computer monitor are never going to perfectly match the physical ink on film without a little help.
Your first stop should be your ICC profile. This is a small data file in your RIP software that acts like a translator, telling your printer how to accurately mix colors for your specific ink, film, and powder combo. Your supplier should provide you with the correct one. Using the wrong profile is the number one reason for wonky colors, but luckily, it's a simple fix that solves a massive problem.
Ready to build perfectly optimized gang sheets with vibrant, USA-made transfers? Trust Cobra DTF for all your printing needs. Create your custom gang sheet today!