

Profitable Band Merch Ideas That Fans Actually Want to Buy
When it comes to band merch, we've all seen the standard black t-shirt. And while it's a classic for a reason, truly successful merch ideas go way deeper. We're talking about creative, high-quality items that fans feel a genuine pull towards—things like embroidered hoodies, custom hats, and unique accessories like tote bags and stickers.
These aren't just souvenirs; they're must-have collectibles. Your merch table should be a highlight of the fan experience, a powerful branding tool, and a serious source of revenue.
Thinking Beyond the Basic Band Tee
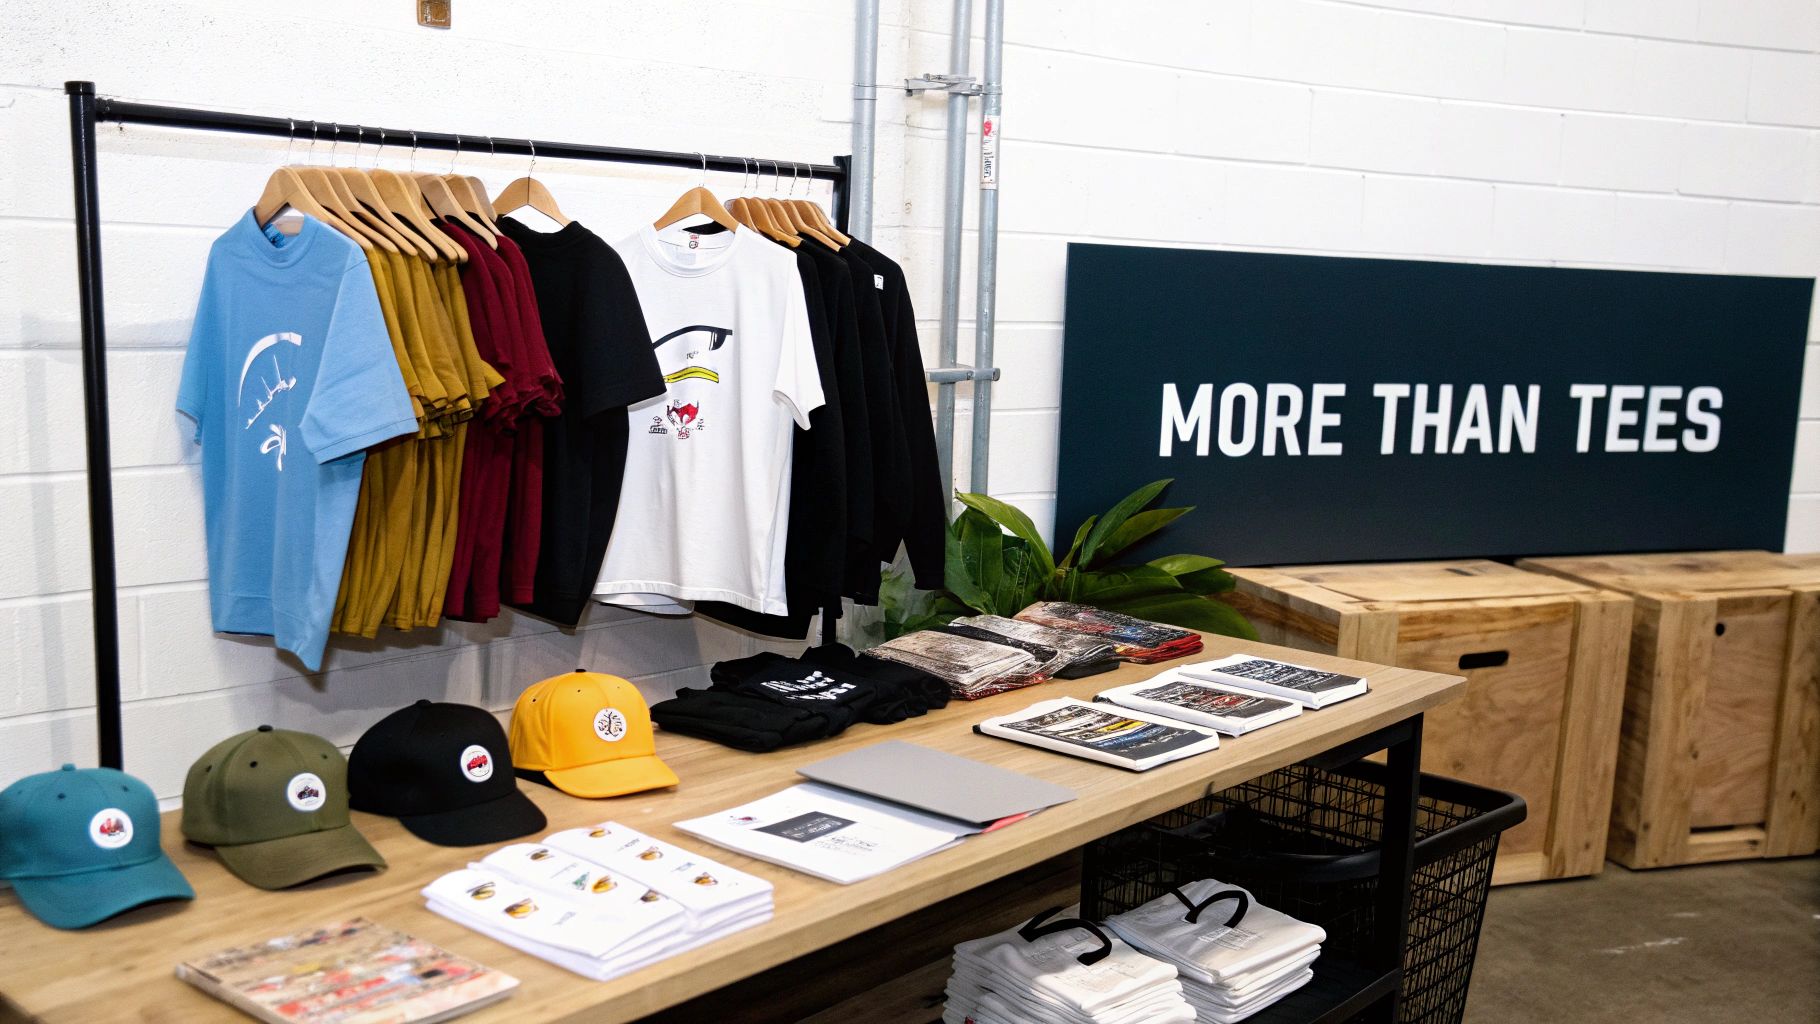
The days of just slapping a logo on a tee and calling it a day are long gone. Fans today expect more. They want items that feel special, tell a story, and capture the band's unique vibe. This shift is a huge opportunity for artists to build out a product line that's both diverse and highly profitable.
When you offer a variety of items, you open the door to all kinds of fans. You're catering to different budgets and tastes, which is exactly how you turn a casual listener into a die-hard supporter.
This isn't just about pocket change, either. It’s a critical revenue stream. The global music merchandise and apparel market hit $3.5 billion in 2023 and is still climbing. The main driver? A huge demand for unique and personalized products. You can dive deeper into the music merchandise market growth on askcyborg.com. The numbers don't lie—investing in creative band merch is one of the smartest business moves you can make.
Expanding Your Merch Catalog
To really nail your sales and connect with fans, you need to diversify. A solid merch table has something for everyone, with items at a few different price points.
Here’s a look at some of the most popular and profitable items we see bands having huge success with.
Top-Selling Band Merch Categories and Fan Appeal
| Merch Item | Primary Fan Demographic | Pro Design Tip |
|---|---|---|
| Graphic T-Shirts | All Fans (Core Staple) | Go beyond the logo. Use album art, iconic lyrics, or a tour-exclusive design. |
| Hoodies | Dedicated Fans (Higher Price Point) | Focus on premium feel. Embroidery or a subtle sleeve print adds value. |
| Hats (Caps/Beanies) | Younger Fans & Skaters | A simple, embroidered logo or symbol often works better than a complex design. |
| Tote Bags | Eco-conscious & Female Fans | A stylish, oversized graphic makes it a fashion statement, not just a merch item. |
| Stickers & Patches | All Fans (Low-Cost Impulse Buy) | Create a multi-pack with 3-4 different designs to increase the perceived value. |
| Enamel Pins | Collectors & Scene-savvy Fans | Limited edition designs create urgency and collectibility. |
Ultimately, a well-rounded merch selection hits all the right notes. You give fans an accessible entry point with stickers and pins while offering high-value items like hoodies for those who want to show their support in a bigger way.
A great piece of merch does more than just show off a logo—it becomes a part of a fan's identity. When someone wears your hoodie or slaps your sticker on their laptop, they're not just a customer; they're an advocate for your music.
Think of your merch line as an extension of your art. By offering a range of creative, high-quality products, you're not just boosting your income. You’re strengthening the bond with your audience and giving them a tangible piece of the music they love.
Designing Merch That Tells a Story
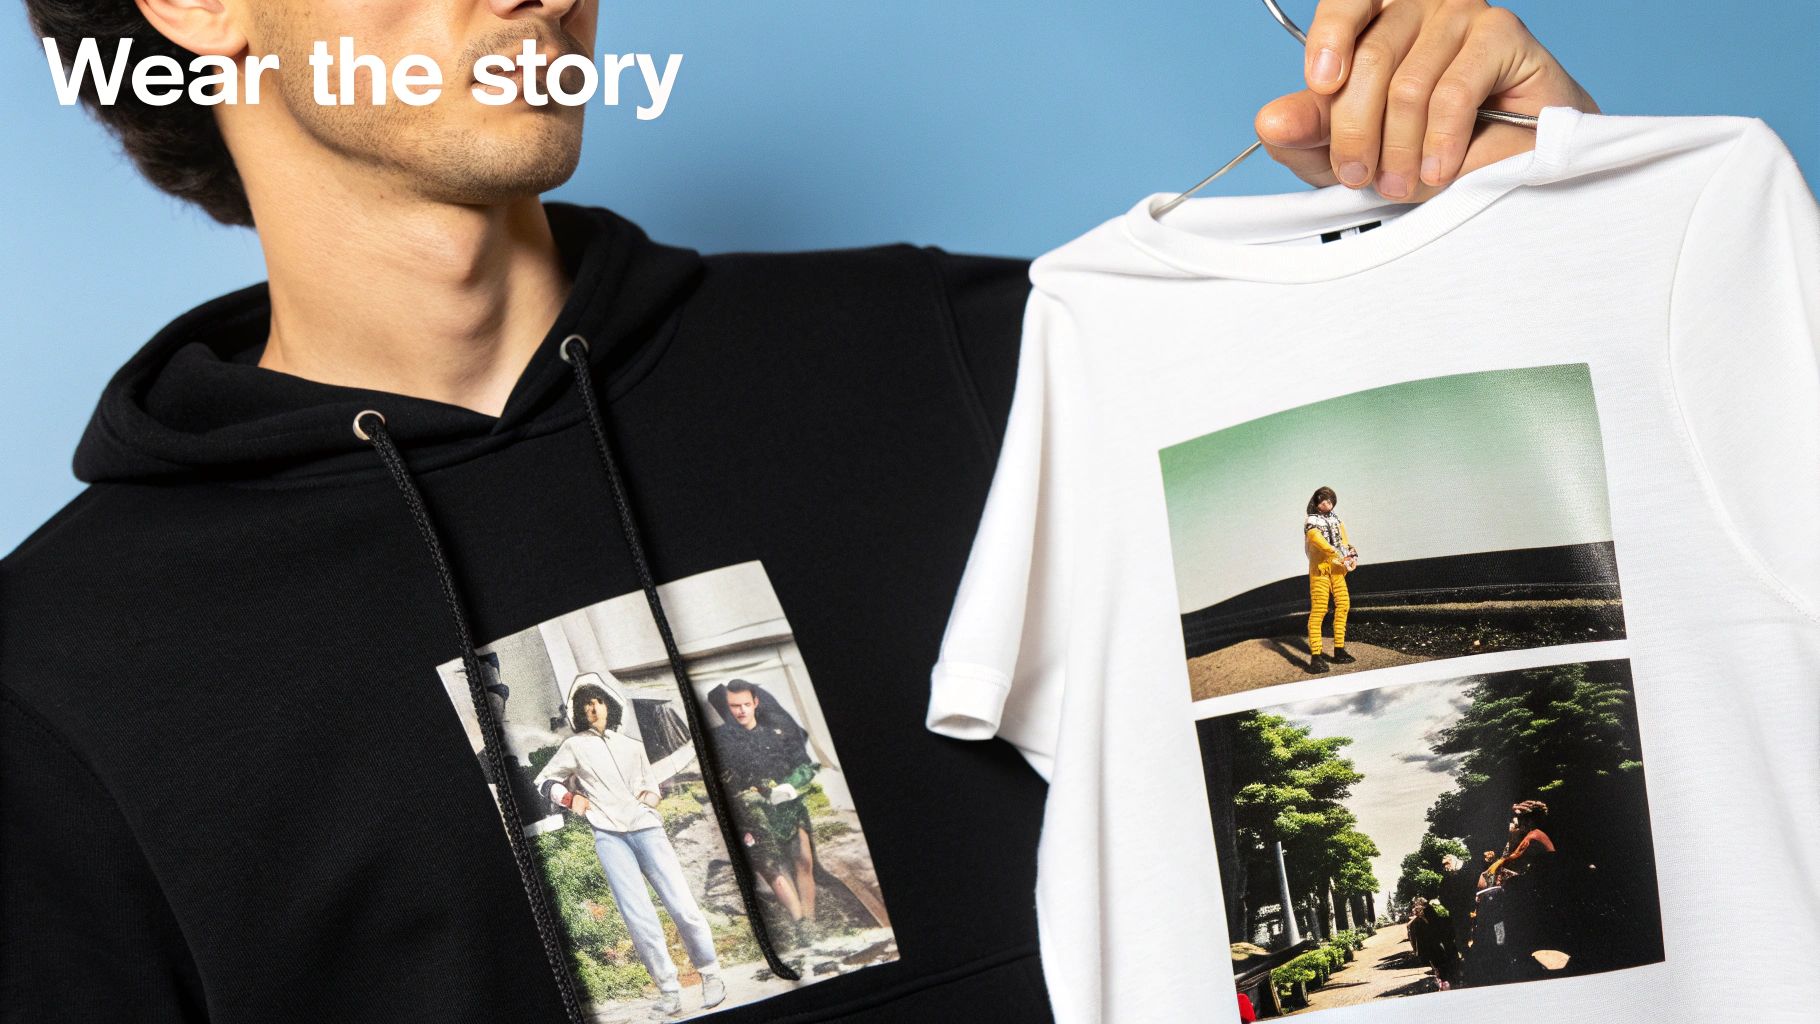
The best band merch isn’t just a t-shirt with a logo slapped on it. It’s a wearable piece of the band's world. Fans are looking for something that feels like an extension of the music, a tangible souvenir of a feeling or a moment. Your job is to translate the band's brand, album art, or lyrical themes into a design that creates a genuine connection.
Think of it this way: your design is a visual for a song. A folk band might lean into earthy textures and hand-drawn illustrations. A synth-pop group, on the other hand, could go for bold, almost-neon graphics with sharp, clean lines. The end goal is to make something a fan feels proud to wear because it signals their taste and their place in a community.
Prepping Your Artwork for Perfect Prints
Once you’ve nailed the concept, getting the artwork ready for print is where the magic really happens—or where it can all fall apart. A killer idea can turn into a muddy, disappointing mess if the file isn't set up correctly. This is particularly crucial for Direct-to-Film (DTF) transfers, which can reproduce stunning detail and color if you give them a quality file to work with.
To make sure what you see on screen is what you get on the shirt, you have to get these technical specs right:
- Resolution: Design and export your artwork at 300 DPI (dots per inch). This is the gold standard for apparel printing. Anything less, and you risk a blurry, pixelated design that looks unprofessional.
- File Format: Always save your final design as a PNG file with a transparent background. This is a non-negotiable. If you don't have transparency, the printer will just print a solid box of color around your art.
- Color Profile: Work in a CMYK (Cyan, Magenta, Yellow, Black) color space. Your screen uses RGB, but printers use CMYK. Designing in CMYK from the start prevents nasty surprises and helps you achieve the vibrant, accurate colors you're aiming for.
Remember, your print quality is directly tied to your file quality. Taking a few extra minutes to double-check these settings will save you a ton of headaches, wasted materials, and money down the line.
Smart Design Choices for Apparel
Beyond the technical setup, great apparel design considers the garment itself. The t-shirt or hoodie is your canvas, and what looks good on a flat digital mockup might not translate well to a real, textured piece of clothing.
For instance, super-thin lines can get lost or look faint when printed on fabric. I’ve found that a minimum line thickness of around 2-3 points is a safe bet for most DTF work. Also, think about your use of negative space—the empty areas in and around the design. Using it strategically helps the main graphic pop, especially on a black or dark-colored shirt. It’s these little details that separate amateur-looking merch from the professional, retail-quality stuff that sells out night after night.
Choosing Your Printing Method and Materials
A killer design is only half the battle. What really turns a cool shirt into a fan's absolute favorite is the feel and quality of the finished product. This is where your printing method and materials make all the difference, translating your band merch ideas from a file on your computer into something people will actually want to wear for years.
The choice you make here affects everything—from how vibrant the colors look to the actual texture of the print on the garment. While old-school methods like screen printing have their place, newer techniques give you way more flexibility, especially for the kind of complex, multi-color art that defines so much music merch today.
Why DTF Is a Game Changer for Bands
Lately, Direct-to-Film (DTF) transfers have become the go-to for artists and merch companies, and it’s easy to see why. Forget the old way of screen printing, where every single color needs its own screen and setup fee. DTF prints your entire full-color design onto a special film, which is then heat-pressed right onto the garment.
This approach brings some serious advantages to the table, especially for bands:
- Fabric Versatility: Seriously, you can print on almost anything. DTF works brilliantly on 100% cotton tees, those soft polyester hoodies, and even tricky cotton/poly blends that other methods struggle with.
- Stunning Detail: It’s perfect for reproducing photographic images, super-fine line work, and designs with tons of colors and gradients. You don't have to simplify your album art to make it work.
- Soft, Durable Finish: Nobody wants a thick, plastic-feeling print. High-quality DTF transfers, like the ones we make at Cobra DTF, have a soft-hand feel that's lightweight and flexible. They’re also built to survive countless washes without cracking or fading—a must for tour merch.
The real magic of DTF is its efficiency for small-to-medium batches. You can affordably print a run of 50 tour-exclusive shirts with a complex, multi-color design without the insane setup costs of screen printing. This makes it perfect for limited drops and trying out new band merch ideas.
Comparing Your Options
Let's be real, picking a printing technology can feel like a chore. It really just boils down to what you need for your specific project: how complex is the design, how many pieces are you ordering, and what are you printing on?
To make it a bit clearer, here’s a quick rundown of how the main players stack up for band merch.
DTF vs Other Printing Methods for Band Merch
| Feature | DTF Transfers | Screen Printing | Direct-to-Garment (DTG) |
|---|---|---|---|
| Design Complexity | Excellent for full-color, photographic, and intricate designs. No color limits. | Best for simple, spot-color designs. Each color adds cost and complexity. | Very good for detailed, full-color images. Similar to an inkjet printer. |
| Fabric Compatibility | Extremely versatile. Works on cotton, polyester, blends, leather, and more. | Best on cotton. Can work on blends but requires special inks and curing. | Primarily limited to 100% cotton or high-cotton blends. |
| Feel of Print | Soft, flexible, and lightweight. Moves with the fabric. | Can be thicker, especially with multiple colors. You can feel the ink layer. | Very soft, as the ink soaks into the fabric. Best on light garments. |
| Durability | Excellent. Highly resistant to cracking, peeling, and fading. | Very durable when cured properly, but can crack over time. | Good, but can fade with repeated washing, especially without proper care. |
| Best For | Small-to-medium runs, merch-on-demand, varied fabrics, and complex art. | Large bulk orders (100+) with simple, limited-color designs. | One-off prints, small orders, and designs on light-colored cotton shirts. |
| Setup Cost | Very low. No per-color setup fees, making small runs affordable. | High. Requires creating screens for each color, expensive for small batches. | Low. Minimal setup, just load the garment and print. |
Ultimately, while screen printing is still king for massive runs of simple logos, it just can't compete with DTF's flexibility for most bands. And while DTG is great for one-offs, it lacks the versatility and durability needed for a full merch line.
For a deeper dive into the technical side of things, check out our guide on the best t-shirt printing method, which really breaks down each technique.
For most bands trying to create vibrant, detailed, and tough merch across a bunch of different items without getting buried in inventory, DTF hits that perfect sweet spot of quality, versatility, and cost. It lets you bring even your most ambitious band merch ideas to life with results that look and feel completely professional.
Your Production Workflow: From Transfer to Final Product
Alright, this is where the magic happens. You've got your killer band merch ideas, a stack of vibrant DTF transfers, and a pile of blank garments. Now it's time to turn those digital files into something tangible that your fans will be thrilled to wear. The whole process hinges on getting your heat press dialed in and nailing a few simple techniques.
Think of your heat press as the final, crucial checkpoint for quality. It’s the combination of time, temperature, and pressure that makes the difference between a pro-grade print and a cheap-looking decal. Get this right, and you're not just making a t-shirt; you're creating premium merch.
This simple flow shows you the core stages of taking a design from a concept on your screen to a finished, pressed product.
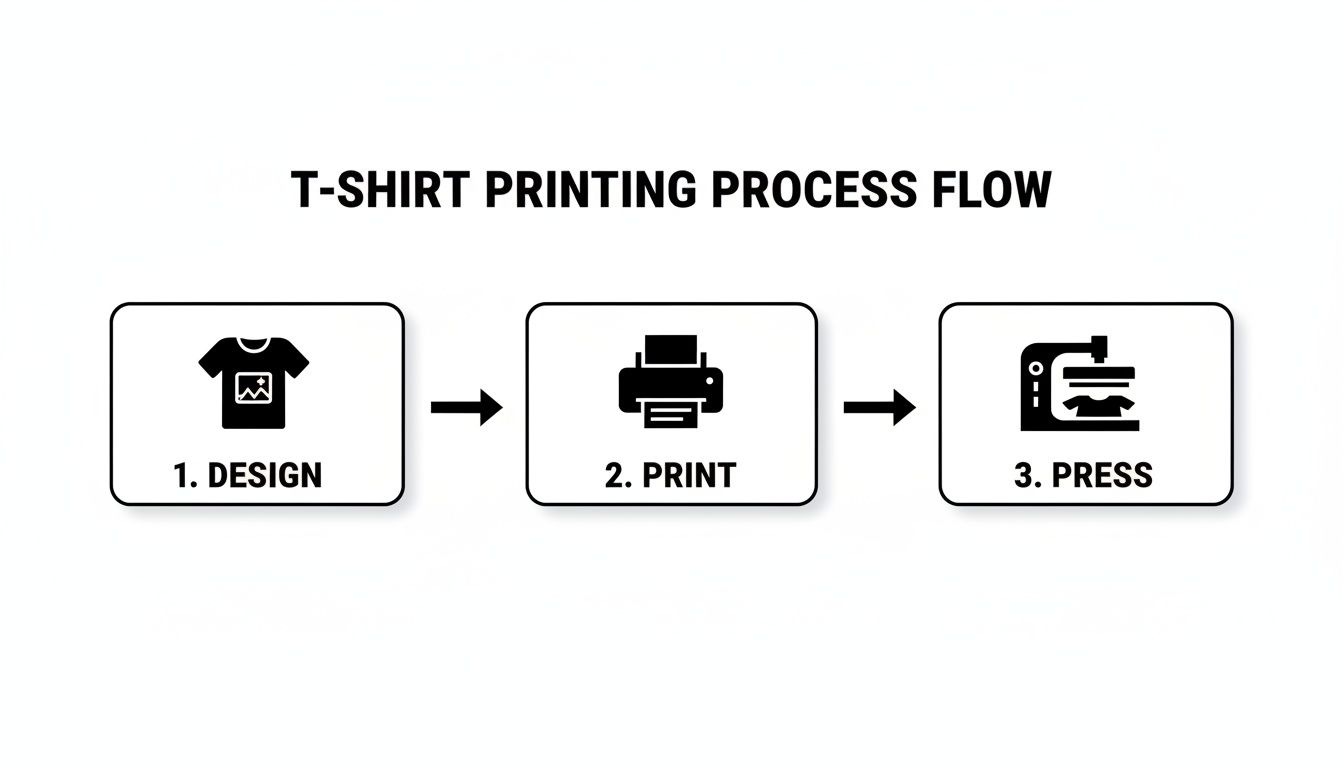
As you can see, a straightforward process is the key to producing fantastic merch without the headaches.
Mastering Your Heat Press Settings
While every material can be a little different, you need a solid starting point. For most cotton and poly/cotton blends, I’ve found the sweet spot is a temperature between 280-320°F (138-160°C). You'll want to apply firm, even pressure for about 10-15 seconds.
Seriously, before you press a whole run, do a test. Always. Grab a scrap piece of the same fabric or an extra tee and press one transfer. This quick check can save you a mountain of frustration and wasted inventory. A good press should feel soft and almost become part of the fabric, not like a stiff sticker just sitting on top.
If you want to go deeper, our complete guide on how to press custom DTF transfers is a fantastic resource with more detailed tips.
Pro Tip: Always pre-press your garment for 3-5 seconds. This tiny step removes moisture and flattens out wrinkles, giving the transfer a perfect surface to bond to. It’s a small detail that makes a huge difference in the final quality.
The Peel and Post-Press Finish
After that first press, you have to peel away the carrier film. Most professional DTF transfers are a cold peel, which means you absolutely must let the garment and transfer cool down completely. Rushing this is one of the most common rookie mistakes, and it can cause the design to lift, stretch, or even tear.
Patience is key here. Once it's cool to the touch, peel the film back slowly at a low, smooth angle. If you see any part of the design starting to lift, stop. Don't panic. Just lay it back down, cover it with a protective sheet, and give it another press for 5-7 seconds.
Once the film is off, you’re not quite done. The final step is the post-press.
- Cover the exposed design with a Teflon sheet or parchment paper.
- Press it one last time for 5-10 seconds using the same settings.
This final press is what locks the ink into the fabric fibers. It dramatically improves wash durability and gives the design that clean, matte finish you see on high-end retail apparel. This is the professional touch that ensures your merch survives the mosh pit and the washing machine, keeping your fans happy and your brand looking sharp.
Pricing Your Merch to Actually Make a Profit
Look, creating awesome merch is the fun part. But if you don't price it right, you're just creating a very expensive hobby. A solid pricing strategy isn't just about covering costs; it's about making enough money to fuel your next creative project, pay for gas on tour, or maybe just buy a decent meal. It's a balancing act, really—finding that sweet spot between what your fans will happily pay and what your band needs to keep the lights on.
The simplest way to get started is with a cost-plus pricing model. It sounds fancy, but it's not. Just add up what it costs you to make one single item. That means the blank shirt or hoodie, the cost of your Cobra DTF transfer, and any shipping you paid to get those materials. Once you have that number, you add your markup.
For instance, say a finished t-shirt costs you $12 to produce. If you add a 100% markup (which gives you a $12 profit), you’d sell it for $24. That’s a good, solid starting point. If you want to dive deeper into the nuts and bolts of it, we've put together a full guide on how to price custom shirts that breaks it all down.
Where Should You Sell Your Merch?
Once you've got your prices sorted, you need to get your gear in front of your fans. These days, you can't just rely on one channel. The best approach is to hit them from two angles: a killer online store and the classic merch table at your shows.
- Your Online Hub: Setting up a shop on a platform like Shopify is ridiculously easy now. Think of it as your merch table that never closes, open 24/7 to fans anywhere in the world.
- The Merch Table: Don't ever sleep on the power of a live show. The energy is high, fans are buzzing, and they’re looking for a physical reminder of the awesome night they just had. This is where impulse buys happen.
The data backs this up. Live events are still a beast for merch sales. Roughly 20% of concert fans buy something, a figure that's held strong for years. What’s really interesting is that for smaller gigs—shows with under 3,000 people—merch sales have actually jumped by 7 percentage points. This proves that for artists at every stage, the merch table is absolutely essential. You can dig into more of these artist merchandise trends on atvenu.com.
Here's the bottom line: make it easy for people to give you their money. For your website, that means crisp, high-quality photos. For your gigs, it means a well-lit, organized table where prices are easy to see. No one wants to squint in a dark club to figure out how much a shirt costs.
Ready to Sell More? Try These Tactics
Once you have the basics down, it’s time to get a little more strategic. Selling one shirt at a time is great, but there are ways to boost your revenue and get fans even more excited about what you’re offering. If you really want to get into the weeds of maximizing your return, it’s worth exploring some effective e-commerce pricing strategies.
Here are a few proven ideas you can use right away:
- Bundle It Up: Why sell one item when you can sell three? Package a t-shirt, a sticker, and a hat together and knock a few bucks off the total price. It’s a classic move that increases your average sale and helps you clear out different types of inventory.
- Run Limited-Edition Drops: Nothing creates a buying frenzy like scarcity. Announce a special, limited run of a design—maybe a tour-exclusive hoodie or a unique colorway. This creates hype and makes people feel like they have to buy it now before it’s gone forever.
- Showcase with Great Photos: Your phone camera is good, but your product photos need to be great. Get good lighting and show the merch on actual people, not just laid flat on the floor. Let fans see how that shirt or hoodie looks in the real world. Your photos are your number one sales tool online.
Got Questions About Making Band Merch? Let's Clear Things Up.
Even the most killer band merch ideas run into snags during production. It's totally normal. Getting straight answers to the usual questions will save you a ton of headaches and money down the road. Let’s walk through some of the common hurdles I see artists and printers face when trying to turn a great design into a real, wearable product.
Honestly, getting the small stuff right—like file formats and fabric choices—is what separates merch that looks amateur from gear that looks truly professional. When you nail the fundamentals, your fans get high-quality stuff they'll actually wear, and you get a production run that doesn't make you want to pull your hair out.
What’s the Right File Format for DTF Printing?
This is probably the most important question you can ask, and the answer is simple but non-negotiable: you need a high-resolution PNG file (300 DPI) with a transparent background.
Why is this so critical? First off, that 300 DPI resolution is what keeps your design looking crisp and sharp. Anything less, and you risk it coming out blurry or pixelated. Secondly, the transparent background is an absolute must. If you send a file with a white or colored background, the printer will print a giant, ugly box around your art. A clean PNG ensures only your actual design gets printed on the shirt.
Can I Really Put DTF Transfers on Hoodies and Hats?
You bet. This is where DTF really shines. Its versatility is one of its biggest selling points, and it works beautifully on the cotton, polyester, and blended fabrics that make up most band merch.
This means you aren't just stuck making t-shirts. You can easily build out a whole merch line. DTF looks great on:
- Hoodies and Sweatshirts: Works perfectly on both cozy cotton and durable poly-blends.
- Hats: It's a great way to get detailed logos on the front panels of trucker hats and snapbacks.
- Tote Bags: Canvas and cotton totes are a fantastic canvas for showing off vibrant, complex designs.
- Denim Jackets: DTF is a modern, clean way to add custom patches or big back pieces.
Having this kind of flexibility lets you offer a wider variety of gear that hits different price points and appeals to more of your fanbase, all while using the same printing process.
The band merch scene is set to explode, projected to hit over $16.3 billion by 2030. That number covers everything from shirts to digital goods. For small businesses, this is a massive green light to think beyond the basic tee and get a piece of that growing pie. You can dive deeper into the future of music merch on midiaresearch.com.
How Do I Keep My Colors From Looking Weird When Printed?
Ah, the classic color-matching headache. It's a common worry because what you see on your bright computer screen (which uses an RGB color model) rarely looks identical to a physical print (which uses a CMYK ink model).
The best pro-tip I can give you is to design your art in a CMYK color profile right from the start. This simple step does a lot to close the gap between screen and fabric, minimizing those surprising color shifts. It won't be a perfect 1:1 match—that’s just the nature of the beast—but it gets you much closer to the look you were going for and helps avoid any major disappointments.
Is DTF Tough Enough for Tour Merch?
Absolutely. When you use high-quality transfers and apply them correctly, durability is a major strength of DTF. These prints are built to go through dozens and dozens of washes without cracking, peeling, or fading away.
The ink actually bonds right into the fabric fibers, creating a finish that’s both flexible and incredibly tough. This makes DTF a fantastic and reliable choice for tour merch that needs to survive festivals, mosh pits, and years of love from dedicated fans. Your merch should be a lasting memento, not a one-wash wonder.
Ready to turn your band merch concepts into vibrant, durable gear that's easy to create? At Cobra DTF, we specialize in 100% USA-made DTF transfers with a ridiculously fast turnaround and colors that pop. Start your order today and see what a difference quality makes!