

Two Pocket Aprons: The Complete Buyer's Guide
You're holding a product listing that says “two large pockets,” but it doesn't tell you how wide or deep they are, what the fabric weighs, or whether the seams can survive a busy shift. Then a café client asks for a branded run, and you're expected to choose a blank that fits staff, prints cleanly, ships quickly, and still looks sharp after repeated washing.
That's where two pocket aprons separate themselves from generic kitchen wear. The layout affects reach, load balance, decoration space, and perceived quality. Buy the pocket design first, then choose the fabric and decoration method around the job.
Why the Two Pocket Apron Still Wins for Work and Brand
A small merch shop in Ohio lands a 200-unit coffee roaster rebrand. The client wants aprons for staff, product photography, and a retail shelf. The obvious questions are color and fabric. The practical question comes first: where do the two pockets sit, and what will the wearer carry?
A two-pocket apron handles three jobs without overcomplicating the garment.
- Functional workwear: Café staff can separate pens, order tickets, thermometers, cutlery, or small tools. Salon workers, makers, bartenders, and studio teams get storage without the bulk of a multi-pocket utility rig.
- Branded uniform: A balanced front gives the logo room to breathe, especially on a bib apron where the chest and waist areas need to look intentional.
- Retail product: Craft, kitchen, gardening, and gift buyers understand the format immediately. It feels useful, not like promotional clothing that was never meant to be worn.
Pocketed aprons have a long utility history. Apron reference material traces sewn-on pouches to working-class women in the Middle Ages, while larger utility pockets became more common as industrial work expanded. The same reference distinguishes straight two-pocket layouts from deeper slanted versions, confirming that pocket configuration is a functional category, not a decorative detail.
Why symmetry helps decoration
A single wide kangaroo pocket can work for casual cooking, but it creates a large interruption across the lower front. A single patch pocket limits storage and often pushes the logo into an awkward position. Two separate pockets create visual balance and leave a cleaner decoration zone above them.
That matters in café photography. A chest logo reads clearly when the lower front doesn't look lopsided. It also matters in production, because a repeatable pocket panel gives your decorator a more predictable placement area than a pocket that wanders across the body.
Practical rule: Choose the pocket layout based on the wearer's hand movement first. Pick the color and decoration method after that decision.
What Counts as a Two Pocket Apron
A true two-pocket apron has two separate front storage sections, usually positioned across the lower front of a waist or bib apron. The pockets should be usable independently. A divided kangaroo pocket may look similar, but many buyers asking for two pocket aprons want two distinct panels with separate openings.
Start with the geometry.
Straight-across pockets sit parallel to the hem. They create a clean rectangular front and usually present the most orderly surface for product photography and centered branding. Flat items such as order pads, tickets, pens, and markers stay aligned with the body, provided the pocket is deep enough and the opening is secure.
Slanted pockets angle toward the hips. The opening follows the wearer's hand, so access can feel faster while standing or walking. Apron pocket guidance also describes slanted pockets as deeper because the cut extends toward the top edge of the apron, making the pocket tighter and more secure for small tools.
Read the listing like a production buyer
Photos conceal useful information. A pocket can look generous while losing capacity because the opening is narrow, the bottom corners are rounded, or the side seam is stitched too close to the body.
Ask the supplier for:
- Finished width, measured from seam to seam.
- Finished depth, measured from the opening to the lowest point.
- Opening angle, straight or slanted.
- Corner reinforcement, especially bar tacks.
- Stitch construction, including whether the pocket is divided before or after attachment.
The two-pocket category also includes hybrids, such as one patch pocket paired with a divided slot. That can be useful for a marker or narrow tool, but it isn't the same as two equal storage panels.
Comparing Fabrics for Two Pocket Aprons
A server needs an apron that stays presentable through repeated washing. A print shop needs the same blank to hold its shape, carry pocket weight, and accept decoration without surprises. Choose by blend ratio, finished weight, weave, dye method, and shrinkage information, not by fiber name alone.
The practical choices are cotton-rich twill, poly-cotton twill, heavyweight canvas, and denim. A 65% polyester and 35% cotton twill waist apron is commonly specified at about 7.5 oz, with a compact 23 in W x 11 in L body and long ties, according to this foodservice apron specification. That blend is my starting point for front-of-house uniforms because it limits shrinkage and handles frequent washing better than all-cotton fabric.
| Fabric | Weight (oz / GSM) | Shrinkage | Best Decoration | Pocket Load |
|---|---|---|---|---|
| Cotton-rich twill | Ask for finished oz or GSM | More vulnerable unless stabilized | DTF and screen print | Moderate to heavy, depending on construction |
| Poly-cotton twill | About 7.5 oz for a common foodservice format, source linked above | Lower shrinkage and better wash stability than all-cotton | DTF with a tested heat profile | Moderate |
| Canvas | Heavy-duty construction, specification varies | Usually controlled through the finishing process | Embroidery, bold transfers | Heavy |
| Denim | Weight and dye vary by product | Test the actual blank before production | Embroidery and tested transfers | Moderate to heavy |
Cotton twill has a familiar hand and a smooth print surface, so it suits a soft, traditional apron with a large logo. Untreated cotton also wrinkles, shrinks, and shows wash wear more readily. Request the finished GSM and a pre-production sample before approving a large decorated order.
Poly-cotton twill is my default for busy hospitality teams. It carries less bulk, stays presentable between washes, and provides a stable base for a tested transfer. For exact press settings, consult this cotton versus polyester decoration guide, then test the actual apron rather than relying on the fiber label.
Canvas for load, denim for retail character
Canvas suits aprons whose pockets carry tools instead of only pens and tickets. A canvas apron specification describes two large tool pockets with double stitching. That construction supports heavier loads and reduces stress where the pockets attach.
Denim gives a retail apron a recognizable fashion-workwear character and photographs well. Dark indigo can complicate light transfers, so test opacity and dye migration before selling a decorated batch. Canvas can also soften very fine artwork because its weave is more pronounced. For a branded two pocket apron, select the fabric only after checking both pocket load and decoration method.
Pocket Geometry, Stitching, and Hardware That Actually Last
A two pocket apron earns its keep at the pockets. Staff pull against the upper corners every time they insert a phone, ticket pad, thermometer, or hand tool. If a product listing says “large pockets” but omits reinforcement and attachment details, do not approve it for workwear or branded resale.
For general work use, specify openings around 7 inches or wider and depths around 8 inches. That gives users room to retrieve tools without forcing their hands into a narrow cavity. Shallower pockets can suit servers carrying pens and tickets, but they limit the apron once phones or compact tools enter the workflow. Treat these dimensions as a starting specification, then confirm them on a physical sample.
The construction details worth paying for
A straight pocket opening looks orderly and gives a clean branding area above it. A slanted opening improves hand access, especially when the wearer is moving quickly. The angle alone does not determine strength. Reinforcement and attachment determine durability. Support the upper corners, keep the opening from spreading, and inspect the stitching where the pocket meets the apron body.
Check these points before ordering:
- Bar tacks: Require dense reinforcement at the upper corners and other high-stress points.
- Pocket attachment: Choose continuous stitching around the sides and bottom instead of isolated attachment points.
- Stitch security: Lockstitch construction handles repeated pulling more reliably than a loose chain-style seam.
- Tie exits: Grommets or reinforced openings help prevent tearing where ties leave the apron body.
- Tie construction: Broad cotton or poly-cotton ties spread pressure better than thin cord.
Tie length must fit the apron format. A compact waist apron can use a shorter system, while a full apron or cross-back style needs enough length for comfortable adjustment without a tiny, unstable knot. Ask the supplier for the finished tie length and verify it on the sample. Do not assume two waist aprons with similar dimensions will fit the same way.
| Feature | Minimum Spec | Why It Matters |
|---|---|---|
| Pocket opening | About 7 inches or wider | Makes tools easier to insert and retrieve |
| Pocket depth | Around 8 inches for tool use | Keeps phones, pads, and tools from sitting too high |
| Corner reinforcement | Bar tacks at upper stress points | Controls seam stress during repeated loading |
| Pocket attachment | Continuous, secure perimeter stitching | Reduces corner lift and edge separation |
| Tie system | Long enough for the intended fit | Prevents tight knots and unstable wear |
| Tie exit | Reinforced opening or grommet | Limits tearing during laundering and daily adjustment |
Load test: Put the actual tools in the sample, walk, bend, and remove each item repeatedly. A pocket that looks strong on a table can pull away once the wearer moves. Inspect the decorated sample too, because a logo should sit clear of seams, bar tacks, and pocket openings.
Printing and Embroidery Compatibility for Two Pocket Aprons
Decoration problems usually come from skipping the fabric test. A transfer can look excellent on a cotton sample and behave differently on a polyester blend, dark denim, or coarse canvas. Treat every new apron blank as a new production surface.
DTF is a practical route for detailed logos, gradients, and small runs because the design arrives ready to press. It suits cotton-rich twill and many poly-cotton blanks, but the operator must test the temperature, pressure, dwell time, and peel behavior on the actual apron.
Match the decoration to the fabric
For cotton twill, DTF and screen print are natural choices when the surface is smooth and the body has enough substance to prevent show-through. Poly-cotton blends can also press well, but synthetic content raises the risk of dye migration or scorching if the profile is too aggressive.
Screen printing works well for bold, limited-color marks. On blends with substantial synthetic content, use inks designed for polyester rather than assuming a cotton ink will hold up. That extra setup can make screen printing less attractive for short, highly detailed runs.
Embroidery is usually the safer visual choice for heavyweight canvas and denim. Dense fabric supports stitch definition and gives a premium workwear finish. Lightweight poly blends need stabilizer and careful density control, or the decoration can loop, pucker, or show backing through the face.
Sublimation belongs on compatible synthetic substrates, not cotton twill. Cotton doesn't provide the bonding behavior sublimation requires, so choose DTF or screen print for that base.
| Decoration Method | Best Fabric Match | Press or Stitch Settings |
|---|---|---|
| DTF transfer | Cotton-rich twill and tested poly-cotton twill | Use the transfer maker's profile and verify on one sample |
| Screen print | Smooth cotton twill and suitable blends | Choose ink for the fiber content and artwork |
| Embroidery | Canvas and heavier denim | Adjust density, needle, backing, and design size |
| Sublimation | Compatible synthetic fabric only | Don't use as the default for cotton twill |
Pocket placement also changes the print file. A chest logo should clear the bib seam and neck hardware. A lower-front design must avoid the pocket openings, or the artwork will look interrupted and become harder to weed, align, and press.
Cobra DTF offers size-specific, ready-to-press DTF transfers for garments such as aprons, with USA-made materials and same-day shipping available for qualifying orders placed by its stated cutoff. Use a single-unit test before promising a full client run, and document the successful profile in the job ticket. For broader process comparisons, review these DTF and garment printing techniques.
Sourcing From USA Printers and Why Speed Matters
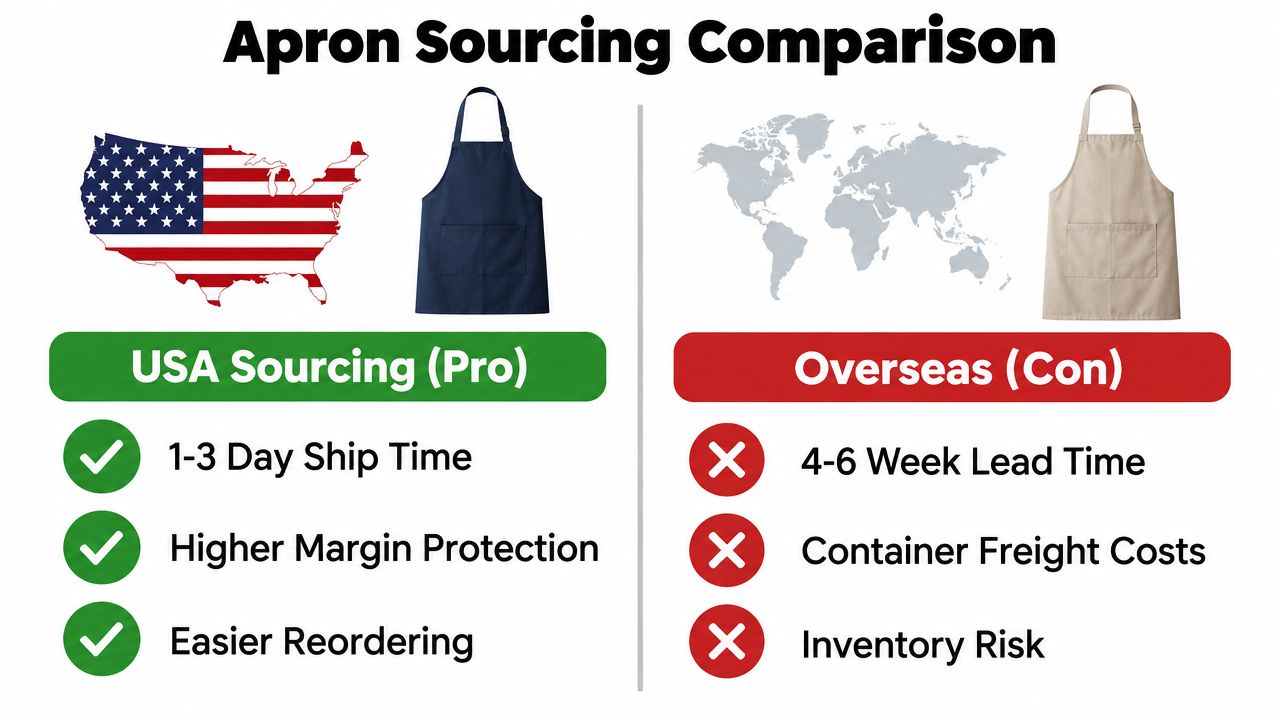
Domestic sourcing is a margin decision. If a client changes the logo, adds a staff size, or needs a replenishment before an event, the supplier's response time affects whether you keep the order profitable or pay for emergency freight.
The verified sourcing comparison supplied for this guide identifies 1 to 3 day shipping for USA sourcing and 4 to 6 week lead times for overseas container freight. Those timelines change the buying model. A shop can test a small decorated batch, show the client a physical sample, and reorder while the campaign is still active instead of tying up cash in a large speculative purchase.
Imported supply also creates uncertainty around freight, customs, and batch consistency. If the supplier doesn't publish reliable fabric specifications, a later lot may feel different, accept ink differently, or place the pocket slightly off from the first run. A domestic vendor with clear finished measurements makes reordering easier to control.
Speed protects the sale
A fast blank supplier gives you options:
- Prototype before commitment: Test pocket placement, transfer size, and color without building a large inventory position.
- Absorb rush work: Keep in-stock blanks available for event, restaurant, and opening-day orders.
- Reorder with less waste: Replace the colors or sizes that sell instead of guessing.
- Protect production time: Spend labor on printing and finishing, not freight problems.
The DTF printing supplier guide is useful when you're comparing transfer vendors, turnaround promises, and material sourcing. Ask every apron supplier for the same core information, including finished weight, fiber ratio, pocket measurements, tie dimensions, available colors, and replenishment timing.
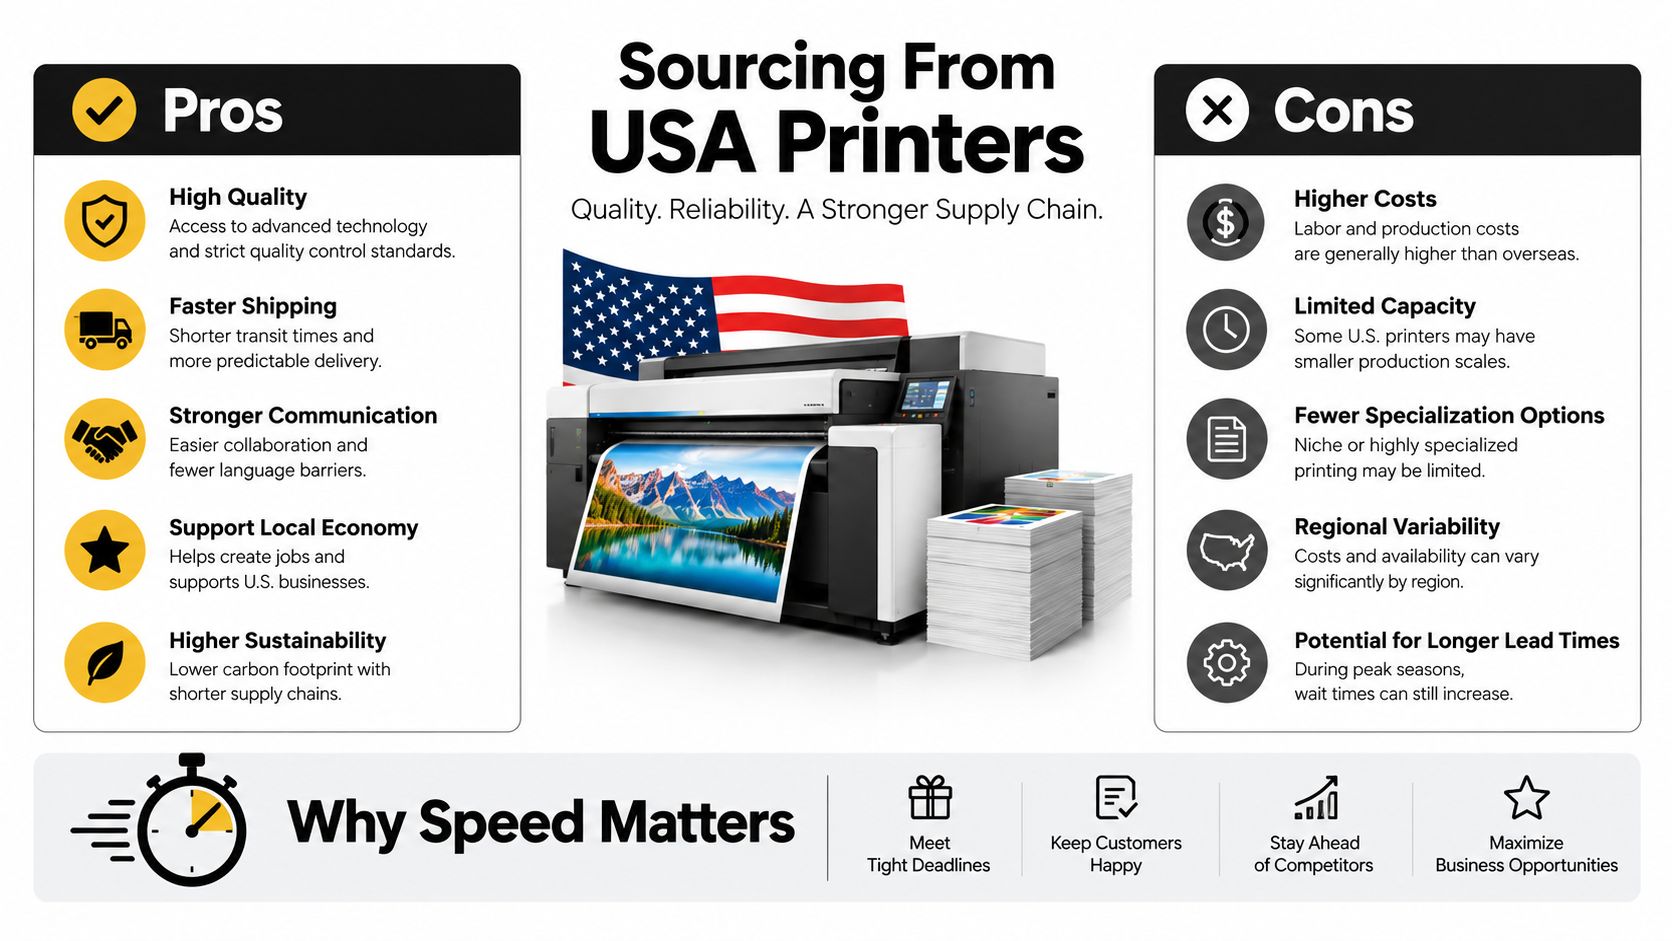
I'd pay slightly more for a dependable blank and predictable delivery before I'd chase a lower unit price attached to uncertain freight. An apron that arrives late cannot generate margin, and an inconsistent second batch can cost more than the original savings.
A Practical Decision Checklist Before You Order
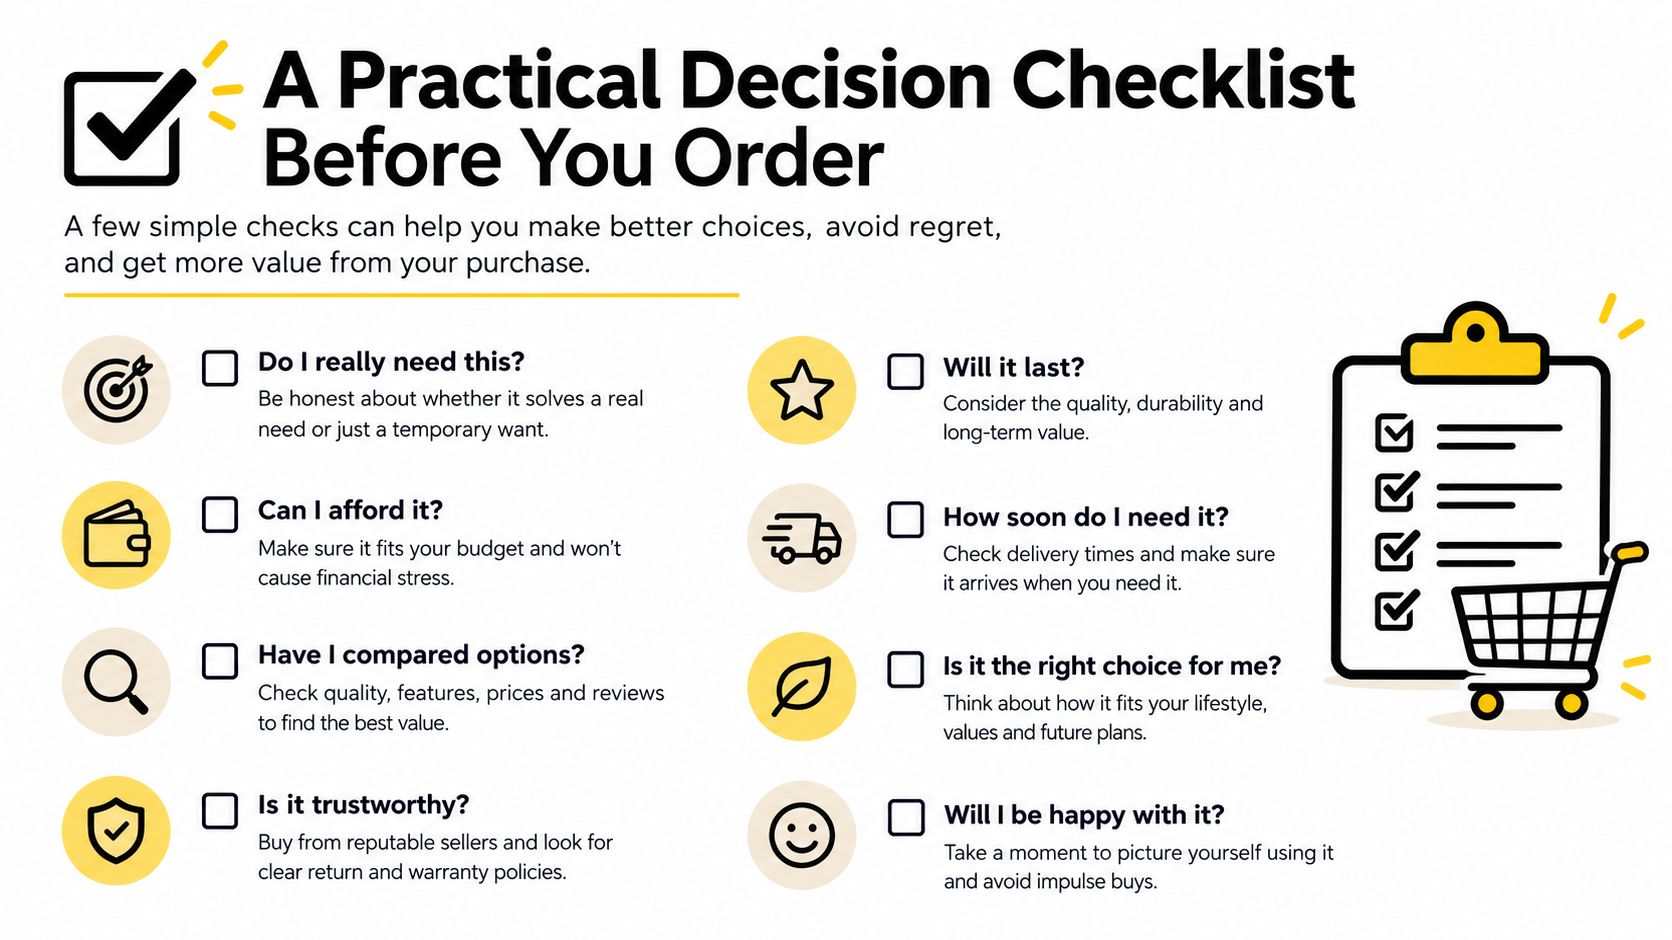
A good listing should let you make a pass or fail decision without guessing from a lifestyle photograph. If the seller won't provide finished dimensions, fiber content, fabric weight, and construction details, treat the product as unverified.
Use this checklist for every sample:
- Confirm the material: Require the fiber ratio, not just “cotton blend.” For a cotton-rich twill, look for a clearly stated finished weight. For canvas, ask for the weight and weave description.
- Verify the pockets: Request finished width and depth, plus the measurement from the waistband seam or upper body reference point. Check whether the openings are straight or slanted.
- Inspect stress points: Look for bar tacks, reinforced corners, secure pocket attachment, and a tie exit that won't tear.
- Check printability: Identify whether the fabric is cotton, polyester, or a blend, then perform a press test with your actual transfer.
- Review care information: Ask how the blank should be washed, dried, and pressed. A decoration profile is only useful if the garment can survive normal care.
- Record the supplier response: Save the spec sheet, photos of the sample, and the approved artwork placement.
Build a simple scorecard
Give each blank a rating for fit, pocket utility, construction, decoration compatibility, and replenishment reliability. Don't let a low price compensate for missing specifications. A blank that cannot be measured is difficult to quote, reproduce, or defend when a client asks for an identical reorder.
Reject listings that use only phrases such as “premium cotton,” “large pockets,” or “professional quality.” Those descriptions may be true, but they don't tell you whether the pocket is deep enough, whether the seam is reinforced, or whether the fabric will accept your transfer.
Use under 5% shrinkage after three wash cycles as a specification target only when the supplier can support it with a test or written guarantee. Confirm placement from a finished seam, not from a model photograph. That single habit prevents a great deal of inconsistent branding.
Sampling, Testing, and Reordering With Confidence
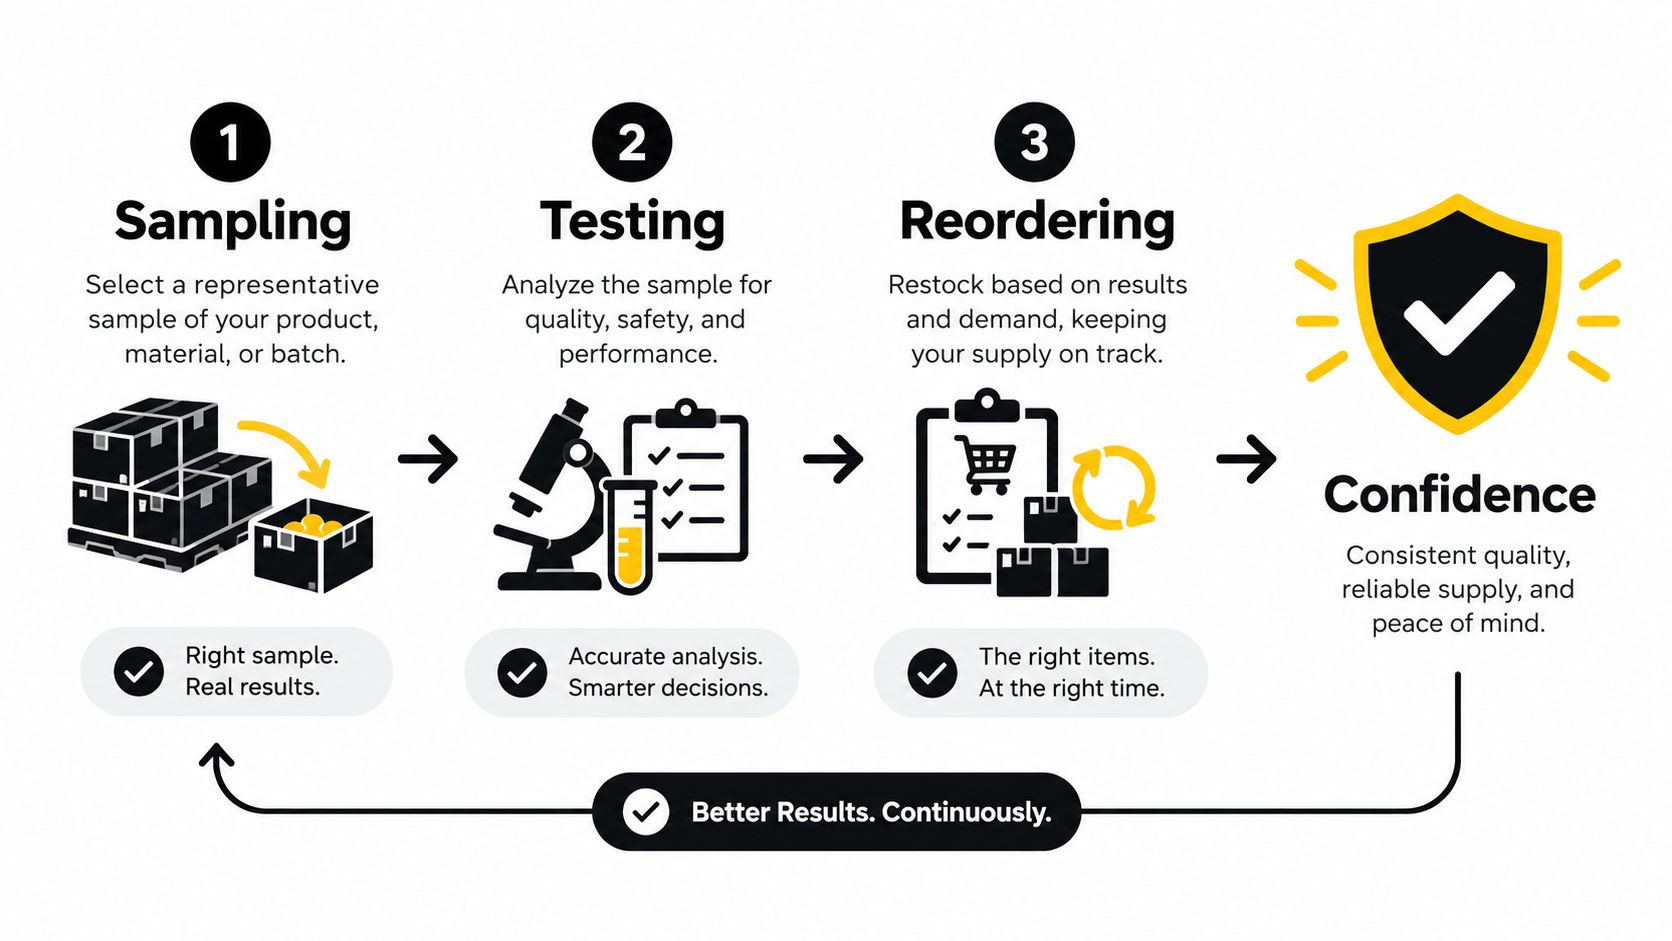
Order samples before quoting a large decorated run. For a uniform or repeat retail product, request at least three units. Give each sample a separate job, and keep the fit sample out of the wash trial once it has been altered or decorated.
Give each sample a purpose
- Fit sample: Test it on the tallest and shortest intended wearers. Check bib coverage, tie reach, pocket position, and whether loaded pockets pull the apron down.
- Wash sample: Mark body length and pocket position, then wash and dry it according to the planned care instructions. Compare it with an unwashed control.
- Print sample: Use the exact transfer, artwork size, press, pressure, and temperature planned for production. Follow the transfer's peel instructions, then inspect the edges and surface after laundering.
Test the working garment, not just the logo. Load the pockets with actual tools, tickets, pens, or POS devices. Bend, walk, and remove those items repeatedly. Afterward, inspect bar tacks, pocket corners, tie exits, and the lower seam. Reinforced stress points matter because repeated loading exposes weak construction before ordinary wear does.
Document the reorder
Keep a one-page vendor card containing:
- Approved fabric and color.
- Pocket width, depth, and geometry.
- Tie dimensions and body measurements.
- Decoration method and press profile.
- Wash instructions and observed changes.
- Supplier item number and reorder contact.
- Photos of the approved placement.
For domestic replenishment, confirm current stock before promising a customer date. Imported product needs more planning because freight and batch timing can respond less quickly. Set an internal reorder point before stock becomes urgent, then use older undecorated blanks first so inventory does not sit indefinitely.
Choose the two pocket apron you can specify, decorate, wash, and reorder consistently. Request a complete spec sheet and three samples, then run fit, wash, load, and print tests before accepting production.
If you are sourcing branded aprons, Cobra DTF supplies size-specific, ready-to-press transfers for apron decoration, with USA-made materials and fast shipping options. Order a test transfer for the chosen fabric, record the successful press settings, and reuse that profile for repeat client runs.