
Sublimation Heat Transfer A Guide to Flawless Prints
Sublimation heat transfer is a pretty clever printing method. At its core, it uses special solid inks that, when heated, turn directly into a gas, completely skipping the liquid phase. This gas then permanently dyes polyester or polymer-coated surfaces, resulting in a design you can't even feel. The ink literally becomes part of the material, which means you get incredibly vibrant, fade-proof prints with absolutely no texture.
The Magic of Sublimation Printing Explained
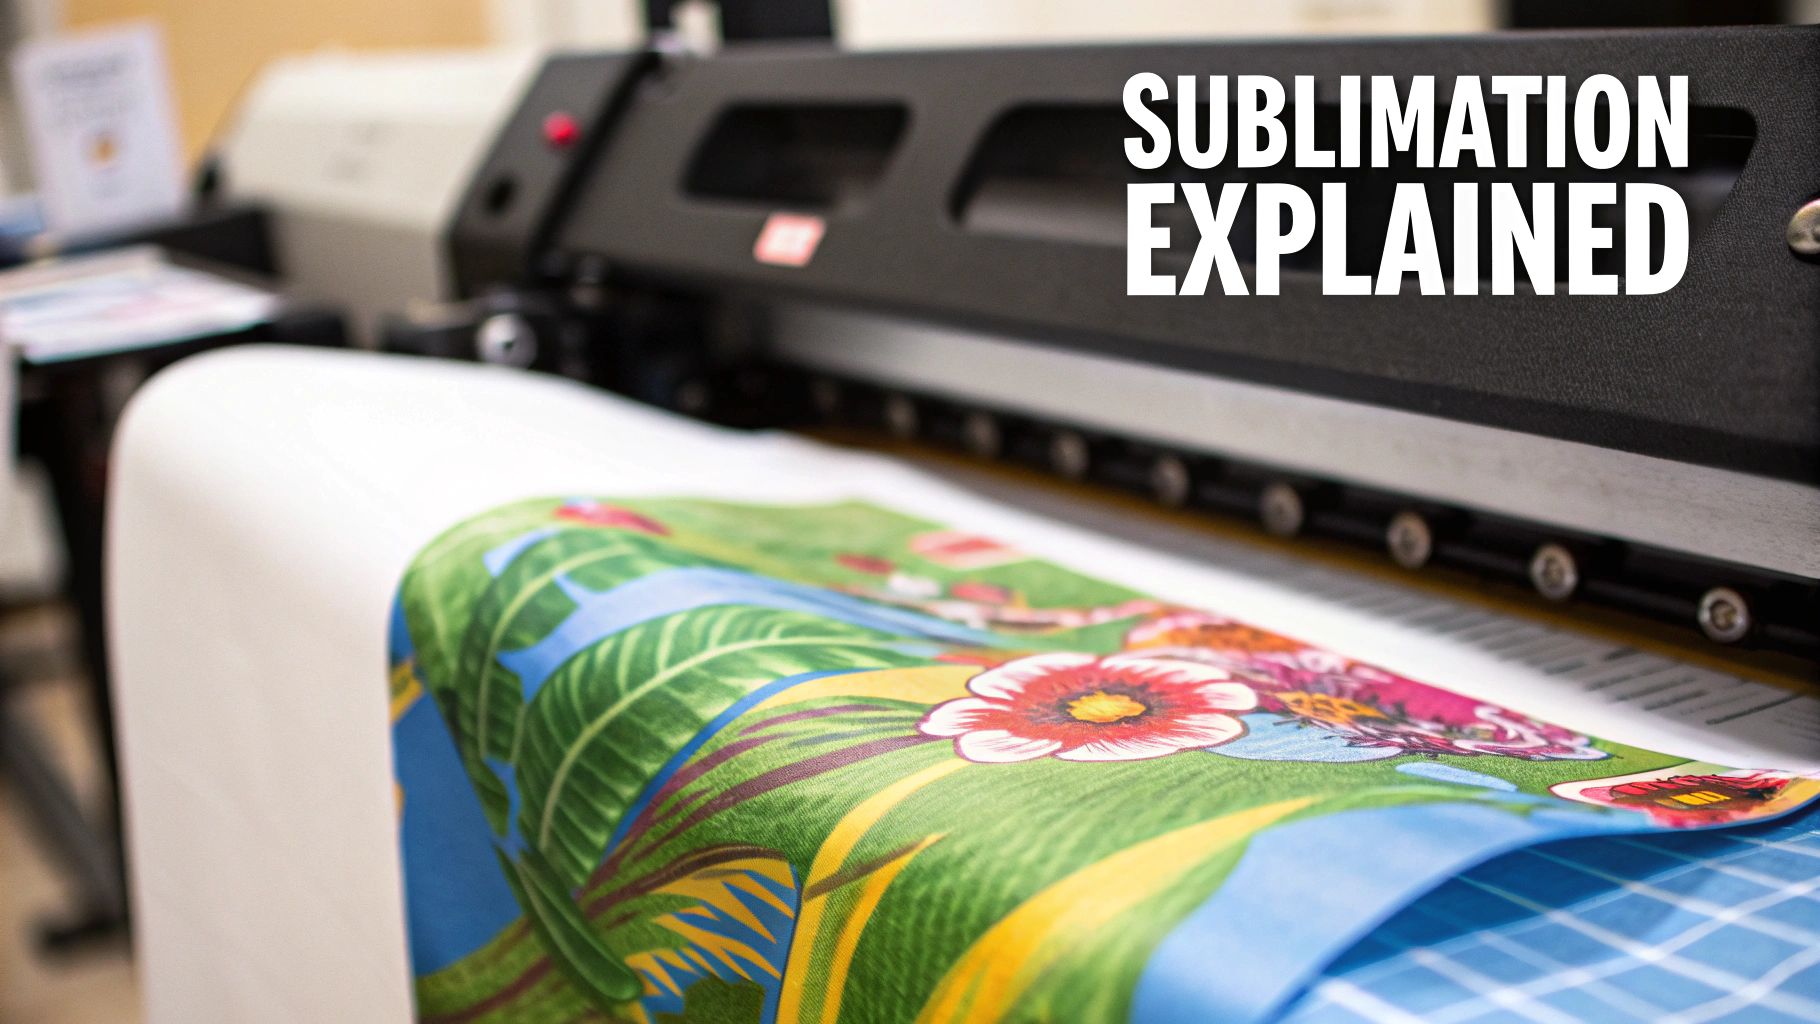
Have you ever looked at a personalized coffee mug with a photo-quality image wrapped perfectly around it and wondered how they did it? That’s the work of sublimation heat transfer, a process that feels more like science fiction than printing. Unlike methods that lay ink on top of a surface, sublimation embeds the ink into the material itself, creating a permanent bond on a molecular level.
Here’s a simple way to think about it: imagine a solid block of dry ice. It doesn't melt into a puddle; it turns straight into a cloud of gas. Sublimation printing follows the same scientific principle. We print a design using specialized solid inks onto transfer paper, then use a heat press to crank up the temperature to around 400°F (204°C). At this point, the solid ink instantly vaporizes into a gas.
This gas is where the magic happens. It’s naturally drawn to polymers. So, when that gaseous ink hits a polyester shirt or a polymer-coated ceramic mug under pressure, it penetrates the surface. Once the heat is removed and the item cools, the ink turns back into a solid, now trapped for good inside the polymer fibers.
The Core Components of Sublimation
To get that perfect sublimation print, you need three key ingredients working together under just the right amount of heat and pressure. Each one is essential.
- Sublimation Ink: This is not the ink from your desktop printer. It’s a unique dye-based ink formulated specifically to convert from a solid to a gas under heat—the very foundation of the process.
- Sublimation Paper: This isn't just any paper. It's a special high-release transfer paper that holds your printed design and is engineered to let go of the maximum amount of ink once it turns to gas in the heat press.
- Polyester or Polymer-Coated Substrates: The chemical reaction that makes sublimation possible only works with polymers. That's why this method is perfect for 100% polyester fabrics and hard items like mugs, phone cases, and keychains that have a special polymer coating.
Sublimation is pure science in action. It’s the process of turning solid sublimation ink printed on paper into a gas with high heat and pressure. This gas transfers to the sublimation blank and binds to the polyester coating, creating a flawless, permanent image.
This process gives sublimation its biggest selling point: incredible durability. Since the ink is fused into the material instead of sitting on top of it, the design will never crack, peel, or wash out. This makes it an amazing choice for products that need to look great for a long, long time. To see where it fits in the bigger picture, it helps to compare it with other custom printing options available today.
Ready to dive deeper? You can learn more about the entire workflow in our comprehensive guide on what is sublimation printing. It’s a fantastic technique for achieving truly professional-grade results.
What You'll Need to Get Started with Sublimation
Alright, let's talk about the gear. Stepping into sublimation is a bit like setting up a new kitchen—you need the right tools to get the job done well. Each piece of equipment plays a crucial role, and honestly, the quality of your setup will show up directly in your final prints. Investing in solid gear from the get-go will save you a world of headaches and wasted materials down the line.
And this isn't some niche hobby anymore. The demand for sublimation equipment is booming, with projections showing the market growing from $2.7 billion in 2025 to a massive $4.1 billion by 2032. This isn't just a trend; it's a major shift, especially in the U.S. and Europe, where businesses are looking for faster, more reliable ways to produce goods locally. Choosing American-made gear can also help you sidestep those hefty 15-30% customs fees you often see on equipment from overseas.
The Printer and Ink: Your Starting Point
Everything starts with the printer, but you can't just grab any old desktop model. You've basically got two options here, each with its own pros and cons.
- Dedicated Sublimation Printers: Think of these as the "pro-grade" option. Machines from brands like Sawgrass or the Epson F-series are built from the ground up for one thing: sublimation. They come with specialized software for color management and great support, which makes them a fantastic choice if you're just starting out or if you can't afford any downtime in your business.
- Converted Inkjet Printers: This is the popular DIY route. You can take a brand-new piezoelectric inkjet printer (an Epson EcoTank is a common choice) and convert it for sublimation. The key is to fill it with sublimation ink right out of the box, before any other ink ever touches it. It's definitely cheaper upfront, but be prepared to do a bit more tinkering with your color settings to get things just right.
No matter which printer you choose, don't skimp on the sublimation ink. This is non-negotiable. Cheap inks are a recipe for disaster—they clog print heads, and worse, they produce dull, washed-out colors. Your ink is what brings your designs to life, so treat it like a top-tier ingredient.
The Heat Press: The Heart of the Operation
If the printer is where the magic begins, the heat press is where it happens. This machine is arguably the most important piece of your entire setup. It delivers the precise heat and pressure needed to turn your printed design into a permanent, vibrant reality. A cheap, unreliable press will ruin even the most perfectly printed transfer.
You'll mainly see two types of heat presses:
- Clamshell Press: Just like the name suggests, it opens and closes like a clam. This design is compact and great for quickly pressing t-shirts and other flat goods. The only potential downside is that the pressure can sometimes be slightly less at the very back near the hinge.
- Swing-Away Press: With this style, the top heated platen swings completely out of the way. This gives you a wide-open space to work and makes it easier to position your items. It also guarantees perfectly even pressure across the entire surface, making it ideal for thicker things like ceramic tiles or plaques.
The Bottom Line: The single most important job of a heat press is to provide perfectly even heat from edge to edge. "Cold spots" on the platen are the number one cause of faded, blotchy prints. A quality press is an investment in professional, consistent results.
It can feel overwhelming to pick the right one, but knowing the difference between these styles is a huge first step. For a much deeper look, check out our complete guide on choosing the best heat press for beginners.
The Little Things That Make a Big Difference
Finally, there are a few small accessories that are the true unsung heroes of a sublimation shop. They don't cost much, but they'll save you from some of the most common (and frustrating) mistakes.
- Heat-Resistant Tape: This stuff is your best friend. You use it to tape your printed transfer paper securely onto your mug, shirt, or whatever you're pressing. It stops the paper from sliding around, which prevents that blurry, shadowy mess known as "ghosting."
- Blowout Paper: This is just a protective sheet (parchment paper or butcher paper works great) that you place above and below your item in the press. It acts as a barrier, catching any stray ink that might "blow out" from the edges of the paper. This keeps your heat press platen clean and prevents old ink from accidentally transferring onto your next project.
The Step-By-Step Sublimation Workflow
Alright, you've got the gear and you understand the science. Now for the fun part: bringing your designs to life. Moving from theory to practice is where the real magic happens in sublimation, and getting the workflow right is the key to consistent, professional results. Think of it as a recipe—follow the steps, and you'll get a great result every time.
A repeatable process takes the guesswork out of the equation. No more wasted materials, faded colors, or blurry prints. Each step just naturally flows into the next, setting you up for that perfect final press.
This simple visual breaks down the core tools you'll be working with.
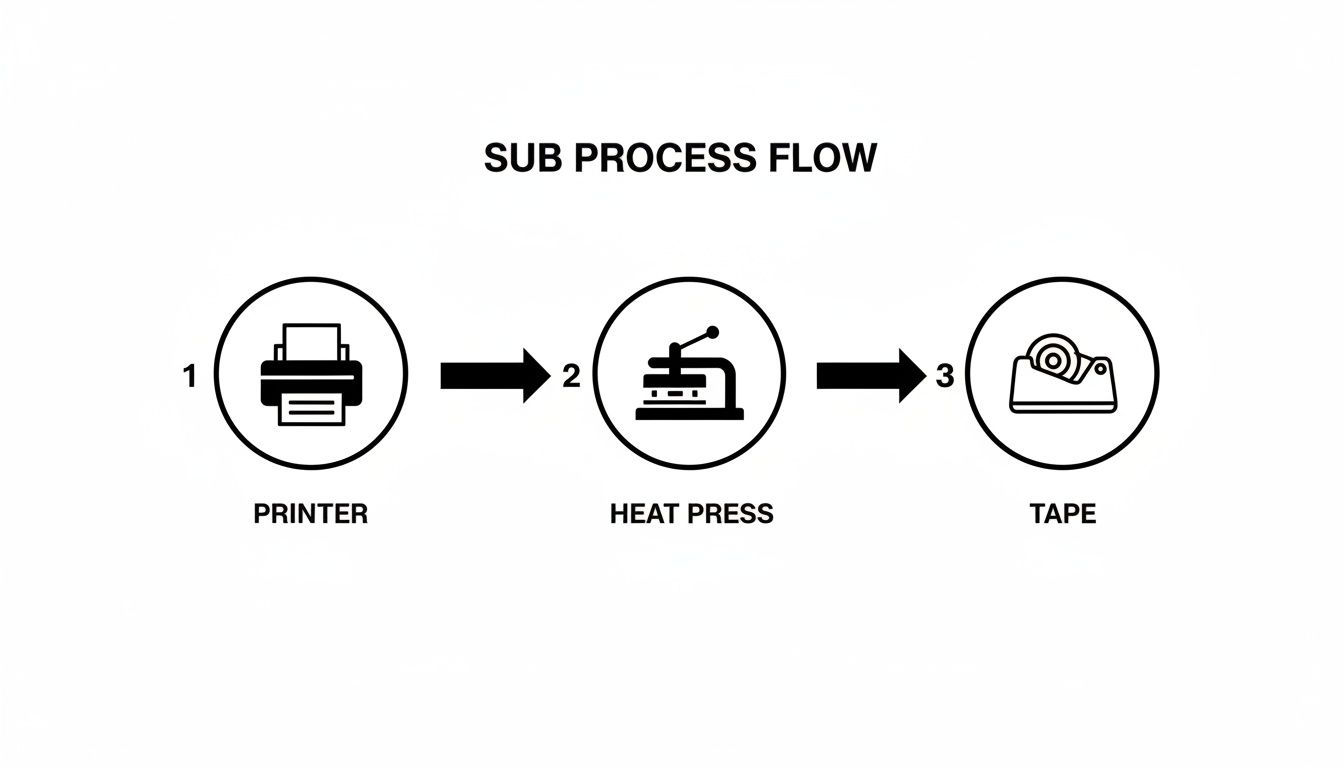
It all boils down to these three physical stages: printing your design, preparing your item, and pressing it with heat. Let's walk through it.
Preparing Your Digital Design
Before you even touch your printer, your success starts on the screen. A low-quality image will always look like a low-quality image, no matter how fancy your equipment is. Garbage in, garbage out.
- Start with High Resolution: Your design file should be created at 300 DPI (dots per inch) at the final print size. This is non-negotiable for getting those crisp, sharp lines everyone wants.
- Use an ICC Profile: Think of an ICC profile as a translator for your colors. It makes sure the bright red on your monitor is the same bright red that prints out, preventing nasty surprises and color-matching headaches.
- Mirror Your Image: This is the classic rookie mistake. You absolutely must flip your design horizontally in your software before you print. If you don't, any text or logos will be backward on the final product.
Printing The Sublimation Transfer
With your artwork prepped, it's time to send it to your printer. This isn't just about hitting "Print." The settings you choose here determine how much ink goes onto the paper, which is crucial for a vibrant transfer.
You'll want to use a high-quality print setting and make sure your printer is configured for sublimation paper. This tells the printer to lay down just the right amount of ink—enough for a rich transfer, but not so much that it bleeds. Once it's printed, give the paper a minute to dry so it doesn't smudge.
Pro Tip: Sublimation paper has a right side and a wrong side. The printing side is typically brighter white and smoother. Printing on the back will give you a faded, useless transfer. If you're not sure, check the instructions that came with your paper!
Prepping And Pressing The Substrate
Now we bring it all together. With your mirrored transfer in hand, you're ready to press. This is where the big three—time, temperature, and pressure—do their work.
First, always pre-press your blank for about 5-10 seconds. On a t-shirt, this gets rid of any moisture and wrinkles that can ruin a transfer. On a hard item like a mug, it just warms up the surface so it accepts the ink better.
Next, place your transfer paper face-down on the substrate. Use a few small pieces of heat-resistant tape to lock it in place. Don't skip this! Any shifting during the press will cause a dreaded blurry shadow called "ghosting."
Finally, slide your item into the heat press, cover it with a protective sheet (blowout paper), and press using the right settings for your blank. The heat and pressure kick off the sublimation reaction, turning the solid ink into a gas that becomes one with the material.
To help you get started, here's a quick cheat sheet for some common items. Think of these as a baseline—you might need to tweak them a bit depending on your specific heat press and the brand of blanks you're using.
Recommended Sublimation Settings For Common Items
| Substrate Type | Temperature (°F/°C) | Time (Seconds) | Pressure Level |
|---|---|---|---|
| Polyester T-Shirts | 385-400°F / 196-204°C | 45-60 seconds | Medium |
| Ceramic Mugs | 400°F / 204°C | 180-240 seconds | Medium-Firm |
| Coated Aluminum Panels | 380-400°F / 193-204°C | 60-75 seconds | Medium |
| Polyester Mousepads | 385°F / 196°C | 50-60 seconds | Medium |
When the timer goes off, open the press and, while being careful (it's hot!), peel off the transfer paper in one quick, smooth motion. Let the item cool down completely, and you’re done. You’ve just made a permanent, vibrant, and professional-quality product.
Mastering Substrates And Color Accuracy
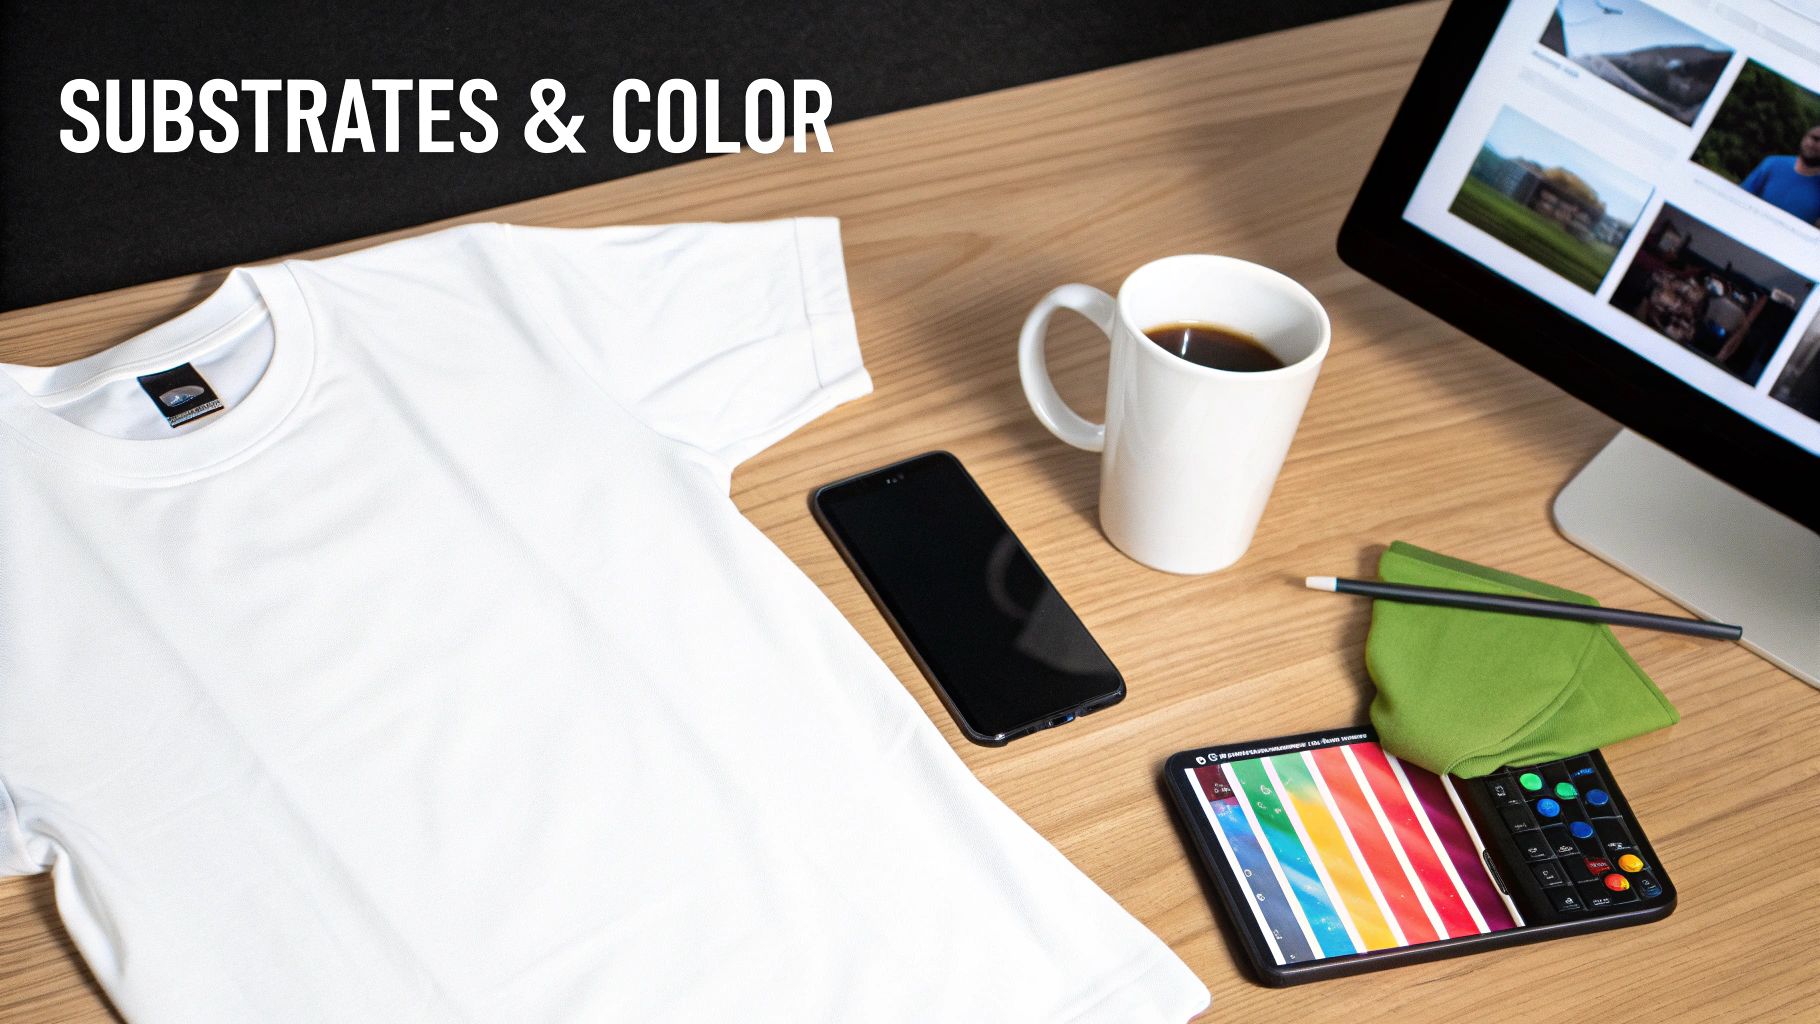
There are two things that really separate a professional-looking sublimation print from an amateur one: your choice of material and your control over color. If you can nail these two aspects, you're well on your way to creating consistently brilliant products that people will actually want to buy.
Let's get right into it. The science behind sublimation is a bit particular—it works by creating a chemical bond with polymers. This is why the process is so demanding about the materials, or substrates, you use. For clothing, that means you need fabrics with a high polyester count. For things like mugs or phone cases, it means they need a special polymer coating from the factory.
Choosing The Right Substrate
Think of sublimation ink as a gas that needs something very specific to grab onto. In this world, that "something" is polyester. The more polyester you have, the more places the ink has to bond, and the more vibrant and permanent your design will be.
- 100% Polyester: This is the gold standard for apparel. You'll get the most vivid, photo-quality results because the ink has the maximum number of fibers to fuse with.
- Polyester Blends (50/50): If you use a 50/50 poly-cotton blend, you’re going to get a faded, vintage-style print. That's because only the polyester fibers will accept the ink, so you lose half of the design's potential vibrancy right off the bat.
- 100% Cotton: Don't even try it. Sublimation and pure cotton just don't mix. The ink has absolutely nothing to bond with, so the design will look incredibly dull and wash out almost completely after the first wash.
This same rule applies to hard goods. A ceramic mug or a metal panel isn't naturally suited for sublimation. They work because they come pre-treated with a special polymer coating that acts like a polyester surface for the ink to grab. Without that coating, the transfer would be a complete failure.
If you want to go deeper on how these fabrics differ, we have a detailed guide on cotton vs polyester that breaks it all down.
Demystifying Color Management
Ever designed something beautiful on your screen, only to press it and find the colors are completely off? It’s a classic, frustrating problem, but the solution is more straightforward than you might think. The key is something called an ICC profile.
An ICC (International Color Consortium) profile is basically a translator for color. It’s a small data file that makes sure the colors you see on your monitor are the same ones your printer produces. It gives your printer a specific recipe for mixing its inks to perfectly match the reds, blues, and greens on your screen.
Using an ICC profile isn't just a "pro tip"—it's a non-negotiable step for getting predictable results. It takes the expensive guesswork out of the equation, saving you from wasting ink, paper, and pricey blank items on miscolored prints.
To get accurate colors, you need to install the specific ICC profile that matches your exact setup: your printer model, the brand of ink you're using, and the paper you're printing on. Once it's installed, you just have to select it in your design software's print settings. This one small step ensures your printer interprets the color data correctly, giving you vibrant, accurate, and repeatable results every single time. It's the bridge between what you see on screen and what you get in your hands.
Paying attention to these details is what’s fueling a huge part of the industry's growth. The market for sublimation paper alone is expected to hit $1.4 billion in 2025 and is projected to nearly double to $2.7 billion by 2035. This boom is driven by the demand for top-tier digital printing, where papers promising up to 99% color accuracy are quickly becoming the new standard. You can find more insights on this expanding market on futuremarketinsights.com.
Sublimation vs. DTF: Choosing the Right Technology
In the custom printing world, the conversation has changed. We've moved past the idea of a single "best" method and into a much smarter approach: choosing the right tool for the job. This is especially true when you put two modern powerhouses side-by-side: sublimation heat transfer and Direct-to-Film (DTF).
While both produce absolutely beautiful custom products, they get there in completely different ways. One is a master of a specific domain, while the other is a jack-of-all-trades. Understanding where each one shines is the key to unlocking your shop's full potential and profitability.
The Key Differences That Matter to Your Bottom Line
When you get right down to it, the choice between sublimation and DTF really boils down to three things: what you're printing on, how you want it to feel, and what color it is.
-
Fabric Compatibility: This is the biggest fork in the road. Sublimation heat transfer is a specialist. Its chemistry only works with polyester or polymer-coated surfaces, making it the undisputed champ for performance wear, team jerseys, and polyester-based apparel. DTF, on the other hand, is the ultimate generalist. It’s happy on just about anything—cotton, poly, blends, canvas, denim, you name it.
-
The Feel of the Print: Because sublimation ink literally becomes part of the fabric fibers, the result is what we call a "zero-hand" feel. You can't feel the design at all; it's as soft as the original garment. DTF is different. It applies a super thin, soft, and flexible layer on top of the fabric. It’s incredibly smooth, but you can feel a slight texture if you run your hand over it.
-
Garment Color Limitations: Think of sublimation ink as transparent. This means it only shows up properly on white or very light-colored garments, because the fabric's color will show right through the ink. DTF, however, uses an opaque white ink base. This lets you print stunning, full-color graphics on fabric of any color, including jet black.
Making the right call often means looking at these factors side-by-side. To make it even clearer, let's break it down in a table.
Sublimation Heat Transfer vs Direct-To-Film (DTF)
| Feature | Sublimation Heat Transfer | Direct-To-Film (DTF) |
|---|---|---|
| Compatible Fabrics | 100% Polyester or Polymer-Coated Blanks | Cotton, Polyester, Blends, Canvas, Denim, and More |
| Best For | Performance Apparel, Mugs, Photo Panels | T-Shirts, Hoodies, Hats, Bags, Any Fabric Type |
| Print Feel | Zero-Hand (Cannot be felt) | Soft, Flexible Layer on Top of Fabric |
| Fabric Color | White or Light-Colored Only | Works on Any Color, Including Black |
| Vibrancy | Embedded, Vibrant, and Permanent Dye | Opaque, Rich Colors That Sit on the Surface |
| Durability | Will never crack, peel, or fade | Extremely durable, lasting for 50+ washes |
As you can see, each technology has its clear strengths, which brings us to the most important point.
A Partnership, Not a Competition
So, which one wins? It’s the wrong question. The smartest shops see these as complementary tools, not competitors.
Think about it. If your business is already set up for sublimation, you have a heat press and a customer base that loves high-quality custom gear. But what happens when that loyal customer asks for their logo on a black 100% cotton hoodie for their whole team? You don't want to say no.
This is where a strategic partnership makes all the sense in the world. Instead of dropping thousands on a whole new DTF printing setup, you can expand your services overnight.
By ordering ready-to-press transfers, a sublimation-focused business can instantly say 'yes' to jobs on cotton, dark fabrics, and a huge range of other materials. This transforms a limitation into a new revenue stream without the overhead.
For shops ready to fill that gap, ordering high-quality, American-made transfers from Cobra DTF is a seamless way to expand. You can start serving a much wider range of customers and take on more diverse projects, all while using the heat press you already have in your shop. It’s a brilliant way to grow your capabilities while supporting U.S. manufacturing and getting fast, reliable shipping without any of the headaches from overseas supply chains.
Tackling Common Sublimation Problems
Even when you do everything right, sometimes a print just goes wrong. Don't sweat it—it's part of the process for newcomers and seasoned pros alike. The trick is knowing how to spot the issue and fix it without wasting time or materials. Let's walk through the most common headaches you'll run into and how to solve them.
Think of this as your field guide for troubleshooting sublimation. Most problems have a surprisingly simple fix, and once you understand what's causing them, you'll be able to prevent them from happening in the first place.
Ghosting And Blurry Images
Probably the most frequent frustration is ghosting. You'll know it when you see it: a faint, shadowy double of your design, making the whole thing look blurry. This happens when the transfer paper moves—even a tiny bit—while the substrate is hot. That movement causes the gaseous ink to smear where it shouldn't.
Luckily, the fix is all about stability.
- Use Heat-Resistant Tape: Don't be shy with it. Secure your transfer paper firmly to the blank in a few spots. You want it locked down, flat, and tight.
- Be Deliberate with the Press: Open and close your heat press with a clean, straight-up-and-down motion. Any sliding can cause the paper to shift. This is one area where a swing-away press can have a slight edge.
- Peel with Confidence: Once the time is up, peel the transfer paper off in one smooth, quick motion. If you hesitate or peel slowly, you give the still-hot transfer a chance to move and smudge the ink.
Nailing this down ensures the ink sublimates exactly where you want it and nowhere else.
Dull Or Faded Colors
Did your vibrant design come out looking washed-out and lifeless? This is almost always a problem with one of three things: your settings, your substrate, or moisture. The incredible pop of a sublimation heat transfer is a direct result of getting these fundamentals right.
Start by checking your heat press settings. Too little time, temperature, or pressure means the ink doesn't fully turn into a gas and bond with the blank. It just stays on the paper. Always start with the recommended settings from your blank supplier and adjust from there.
Key Insight: Moisture is the secret enemy of vibrant sublimation. Humidity in the air or in the fabric itself can ruin a transfer. Always pre-press your garments for 5-10 seconds to zap any moisture and create a perfect surface for the ink.
Also, take a hard look at what you're printing on. Sublimation needs polyester to work its magic. A 50/50 blend will always look faded and "vintage" because the ink has nothing to grab onto in the cotton fibers. Trying to print on 100% cotton? You'll be lucky if anything shows up at all.
Random Spots And Banding
Few things are more aggravating than pulling a perfect print off the press only to find tiny, random dark spots. These little specks are usually just dust, lint, or other debris that was on your blank. When heated, they soak up the ink like a sponge and become a permanent part of your design. The fix is simple: use a lint roller on every fabric item and an alcohol wipe on hard surfaces right before you press.
Banding, on the other hand—those noticeable horizontal lines in your print—is a printer problem. This is a classic sign of clogged nozzles in the print head. Your printer's maintenance software is your best friend here. Just run a nozzle check followed by a head cleaning cycle, and you should be back to printing smooth, flawless images.
Got Questions About Sublimation? We've Got Answers.
Here are a few of the most common questions we hear from people just getting started with sublimation. Let's clear up some of the key points.
Can I Sublimate on 100% Cotton Shirts?
This is probably the #1 question we get, and the short answer is no. True sublimation printing relies on a unique chemical reaction where the ink bonds directly with polyester fibers. Without that polyester, the ink has nothing to grab onto.
If you press a sublimation transfer onto a cotton shirt, it might look okay at first, but it will wash out almost completely, leaving you with a ghost of an image. If you want to print vibrant, durable designs on cotton or dark garments, that's where Direct-to-Film (DTF) really shines.
Why Does My Sublimation Print Look Faded or Washed Out?
A faded print is a classic sign that something in your process is off. More often than not, the culprit is one of three things: incorrect settings, a low poly count, or subpar materials.
First, always double-check your heat press settings. Are your temperature, time, and pressure dialed in for the specific blank you're using? Second, remember that the vibrancy of your print is directly tied to the polyester count. A 50/50 cotton/poly blend will naturally give you a softer, more vintage look, which might be what you're going for! But for that super-vibrant "pop," you need a high polyester count.
Do I Really Need a Special Printer for This?
Absolutely, yes. You can't just use any old office printer. You'll need either a machine built specifically for sublimation or a compatible inkjet printer, like an Epson EcoTank, that has only ever had sublimation ink in it.
You can't switch a printer from regular ink to sublimation ink. Once standard ink has run through the system, it's contaminated, and the chemical process of sublimation just won't work correctly. You have to start with a brand new, dedicated machine.
Ready to break free from the limits of polyester? Cobra DTF delivers top-tier, American-made Direct-to-Film transfers that press perfectly onto any fabric—including all that cotton you've been wanting to print.
Check out our premium DTF transfers and see the difference for yourself.