

Master iron on transfers how to: flawless application guide
When it comes to getting a great iron-on transfer, the tool you choose is everything. For professional, long-lasting results, a heat press offers the consistent temperature and even pressure that a standard household iron just can't match. This one choice will make or break the quality and durability of your finished product.
Choosing Your Tools: Heat Press vs. Household Iron
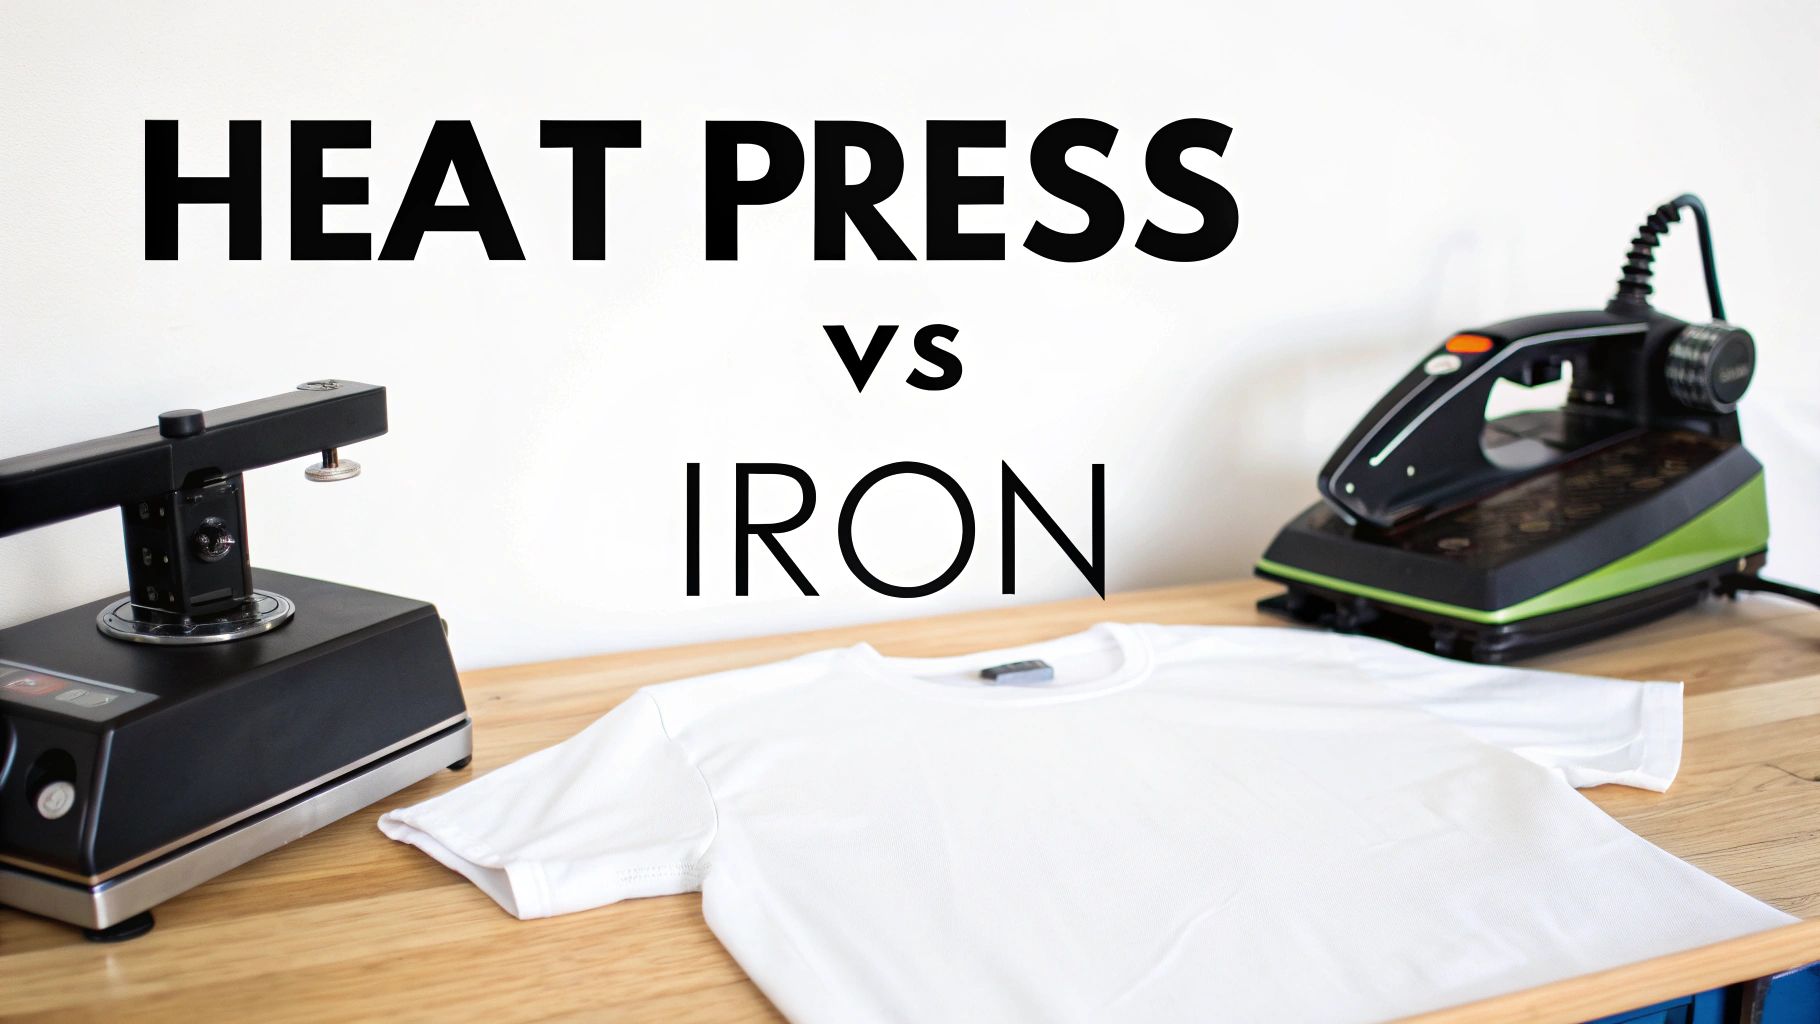
Before you even line up that first design, you have to decide: heat press or iron? This decision will dictate how vibrant your colors look and, more importantly, how well your design holds up after a few trips through the laundry. While grabbing the iron from the closet seems easy, I’ve seen it lead to disappointment time and time again.
A household iron is built to get wrinkles out of clothes, not to permanently fuse a design onto fabric. Its heating surface is notoriously uneven, full of "cold spots" that prevent the DTF adhesive from activating correctly. This almost always results in a patchy application—some parts of the transfer stick, while the edges start to lift almost immediately.
Then there's the pressure problem. A successful DTF transfer needs a surprising amount of firm, even pressure to push the adhesive deep into the fabric's weave. Trying to do this by hand with an iron is exhausting and almost impossible to do consistently. The result is often a stiff design that just sits on top of the shirt instead of becoming a part of it.
The Professional Advantage of a Heat Press
This is where a heat press changes the game. It’s designed for one job and does it perfectly. It delivers consistent, edge-to-edge heat at the precise temperature you set. But the real magic is the clamp-down mechanism, which applies uniform pressure across the entire design, guaranteeing a perfect bond every single time.
This professional approach pays off in a big way:
- Serious Durability: The transfer will survive dozens of washes without cracking, fading, or peeling.
- Vibrant Colors: With the right heat and pressure, the inks cure perfectly, making the colors pop.
- A Professional Finish: Your design will have a soft, flexible feel that moves with the fabric, just like a high-end screen-printed shirt.
Here's a quick comparison to help you choose the right tool based on your project goals and quality standards.
Application Method At a Glance
| Feature | Heat Press | Household Iron |
|---|---|---|
| Heat Consistency | Excellent (uniform across the platen) | Poor (many hot and cold spots) |
| Pressure | Even, heavy, and adjustable | Uneven and relies on manual force |
| Durability | High (lasts for 50+ washes) | Low (prone to peeling and cracking) |
| Results | Professional, retail-quality finish | Inconsistent, often looks homemade |
| Best For | Businesses, serious crafters, any project | One-off crafts, non-critical projects |
Ultimately, using a heat press is the clear winner for anyone who wants to produce reliable, high-quality results.
If you're serious about creating custom apparel, whether for a hobby or a growing business, investing in a heat press is non-negotiable. It's the difference between a DIY craft and a product you can proudly sell.
I get it—the thought of buying another piece of equipment can feel like a lot when you're starting out. The good news is that there are plenty of affordable, user-friendly models on the market. To help you sort through the options, check out our detailed review of the best heat press for beginners to find one that fits your space and budget.
Trust me, starting with the right tool saves a ton of time, wasted materials, and the frustration of failed projects. It puts you on the right track to creating garments you can be truly proud of from day one.
Getting Your Space and Garment Ready
A great-looking final product starts way before you even turn on your heat press. Setting up a clean, organized workspace isn't just about being tidy—it's about preventing simple, costly mistakes that can wreck a perfectly good shirt. Think of it as your command center for creating killer custom gear.
Your setup doesn't have to be fancy, but it absolutely needs to be functional. Find a sturdy table or workbench that can handle your heat press and still give you plenty of room to lay out your garments completely flat. A cluttered station is a recipe for crooked transfers and a whole lot of frustration.
Gathering Your Go-To Tools
Before you start, get everything you need within arm's reach. Scrambling for something mid-press is a surefire way to mess things up. Having these items ready makes the whole process feel smoother and more professional.
Here's what your basic toolkit should look like:
- Your Heat Press: Make sure it’s on a stable, heat-resistant surface with good airflow around it.
- Blank Garments: Have them counted, sorted, and ready to go.
- Your DTF Transfers: Keep them flat and covered until the moment you need them.
- Protective Sheets: A Teflon sheet or a piece of parchment paper is a must-have. It protects your shirt and your heat press platen from any stray ink.
A clean, organized station is the first step in quality control. When you aren't searching for tools or fighting for space, you can focus entirely on achieving a perfect press every single time.
This prep work lays the groundwork for the most crucial step before application: getting the garment itself ready. It’s a step a lot of people skip, and honestly, it’s the reason behind most application failures.
Why You Can't Skip the Pre-Press
Every single garment, even one fresh out of the plastic, has two things you can't see: moisture and tiny wrinkles. These are the biggest enemies of a solid, long-lasting transfer. Under heat, that moisture turns to steam and stops the adhesive from grabbing on properly. Wrinkles create a bumpy surface, which is a guarantee that your design will eventually lift and peel.
The fix is a quick but absolutely essential step: pre-pressing.
Just lay your garment on the heat press and press it for 5-7 seconds at the same temperature you'll use for the transfer. This quick hit of heat does two critical things: it evaporates any moisture locked in the fibers and flattens out every last wrinkle. What you're left with is a perfect canvas for your design.
For instance, if you're pressing a stack of cotton hoodies—which are notorious for holding moisture—a solid pre-press makes sure the DTF adhesive has a dry, stable surface to bond to. This one move can dramatically boost the lifespan of your design. The material you choose also plays a huge role in how it handles heat, so knowing your fabrics is key. You can dive deeper in our guide on choosing the best t-shirt material for your projects.
While we're focused on DTF, it's worth noting that crafters use all sorts of techniques. If you're curious about the bigger picture, learning about various methods for transferring designs onto fabric can offer some interesting context.
Once your garment is pre-pressed, it's ready for the main event. You’ve just eliminated the main causes of peeling and bad adhesion, setting yourself up for a successful press that looks and feels like it was done by a pro. Never, ever underestimate the power of a good foundation.
The Perfect Press: A Guide to Application
This is where all your prep work pays off. Applying a transfer is a delicate dance between three key players: time, temperature, and pressure. Getting this trio right is what turns a blank shirt into professional-quality apparel. It's less about guesswork and all about precision.
First thing's first: placement. Lay your pre-pressed garment flat on your heat press and carefully position the DTF transfer. Take a minute to measure from the collar or seams to make sure it's perfectly straight and centered. Trust me, a slightly crooked design can ruin an otherwise perfect shirt, so this is time well spent.
Nailing the Core Settings: Temperature and Pressure
Once your transfer is in place, it’s time to dial in your settings. These aren’t just loose suggestions—they’re specific instructions based on how different fabrics react to heat. Using the right settings is absolutely non-negotiable if you want a permanent bond.
Here’s a quick guide I use for the most common fabrics you'll run into:
- 100% Cotton: This is your most forgiving material. I usually go with 300-320°F (149-160°C) and apply medium-to-firm pressure for about 10-12 seconds.
- Polyester Blends (50/50): Super popular, but they need a little less heat. Set your press to 280-300°F (138-149°C) and press for 8-10 seconds with medium pressure.
- 100% Polyester: Be careful here. Too much heat will scorch this fabric in a heartbeat. I stick to a lower temp of 260-275°F (127-135°C) for just 7-8 seconds.
Quick tip: Always place a protective sheet, like parchment paper or a Teflon sheet, over the transfer before pressing. This simple move stops ink from melting onto your platen and shields the garment from scorching heat. It’s a cheap insurance policy for your project.
After that first press comes what I consider the most critical moment of the whole process: the peel.
The following visual breaks down the simple but essential steps for getting any garment ready for a perfect transfer.
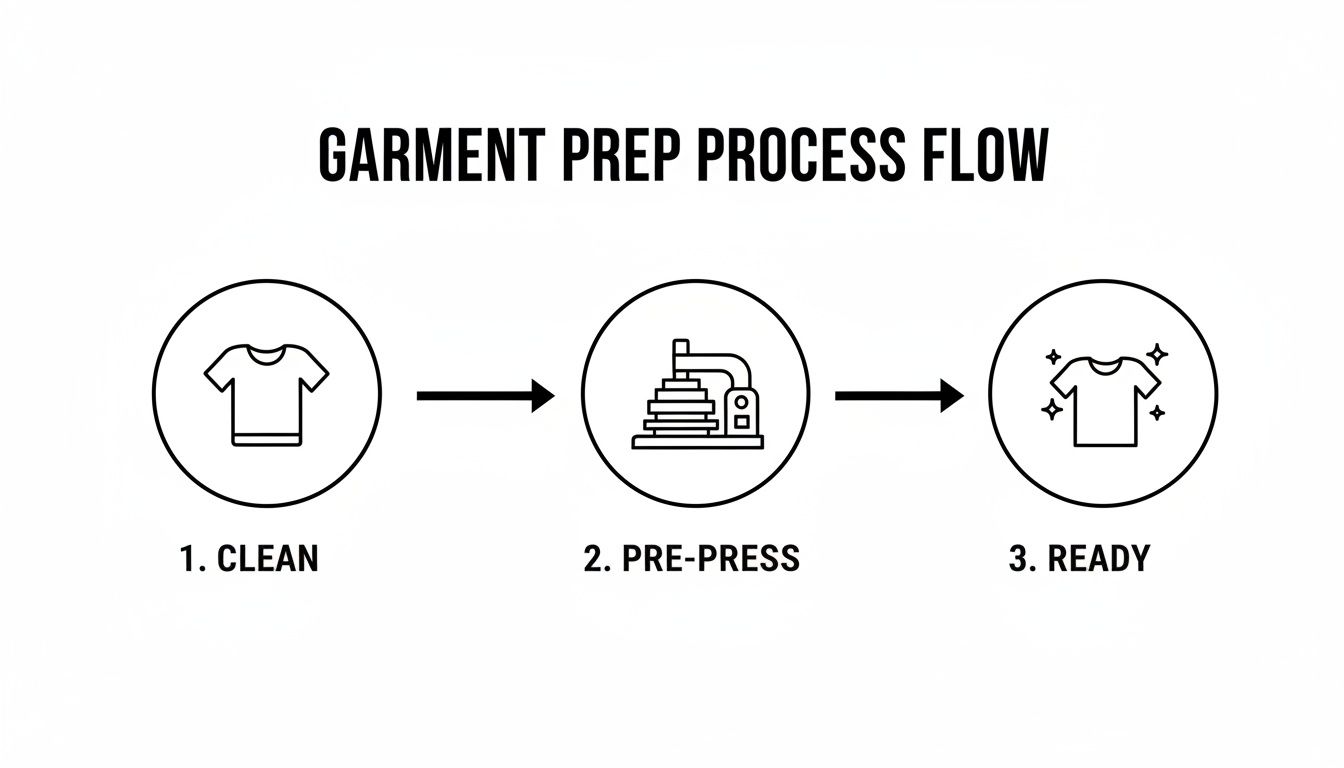
As you can see, a clean, smooth, and moisture-free surface is the foundation for everything that follows.
The Critical Cold Peel Technique
Most high-quality DTF transfers, including ours at Cobra DTF, are a cold peel. That term means exactly what it says: you have to let the garment and the transfer film cool down completely to room temperature before you even think about peeling. Don't rush this step.
Why is this so important? When the transfer is hot, the adhesive is still soft and not fully cured. If you peel the film away too soon, you'll either pull the design right off with it or cause the edges to lift, ruining the application.
Once the garment is cool to the touch, grab a corner of the clear film and start peeling it back slowly at a low, sharp angle. I find that rolling the film back over itself works great. Keep a close eye on the design as you go. If you see any part of it start to lift, stop immediately. Just lay the film back down, cover it with your protective sheet, and give it another press for 3-5 seconds.
Patience here ensures the ink and adhesive have fully bonded with the fabric fibers, leaving you with that crisp, sharp design you're after. While cold peel is the standard for DTF, it's good to know about other methods. To learn more about another popular technique, check out our guide on heat transfer paper printing.
Locking It In with the Final Press
You’ve peeled the film and the design looks amazing. You might think you're done, but there's one last, quick step that separates a good result from a professional one: the final press.
This second press is what gives the transfer that soft-hand feel you find in retail stores and locks it in for maximum durability. With the plastic film gone, the heat can now directly cure the ink and push the adhesive deeper into the fabric's weave.
Here’s how to nail it:
- Cover the exposed design with your parchment paper or Teflon sheet.
- Press the garment again for just 5-7 seconds, using the exact same temperature and pressure as before.
- This quick press melts away any leftover shine from the adhesive, leaving the transfer with a clean, matte finish that looks and feels like it’s part of the shirt.
This finishing touch does more than just improve the look and feel; it dramatically boosts the transfer's ability to hold up to washing and stretching. It’s the final seal of quality on your work.
Troubleshooting Common Application Issues
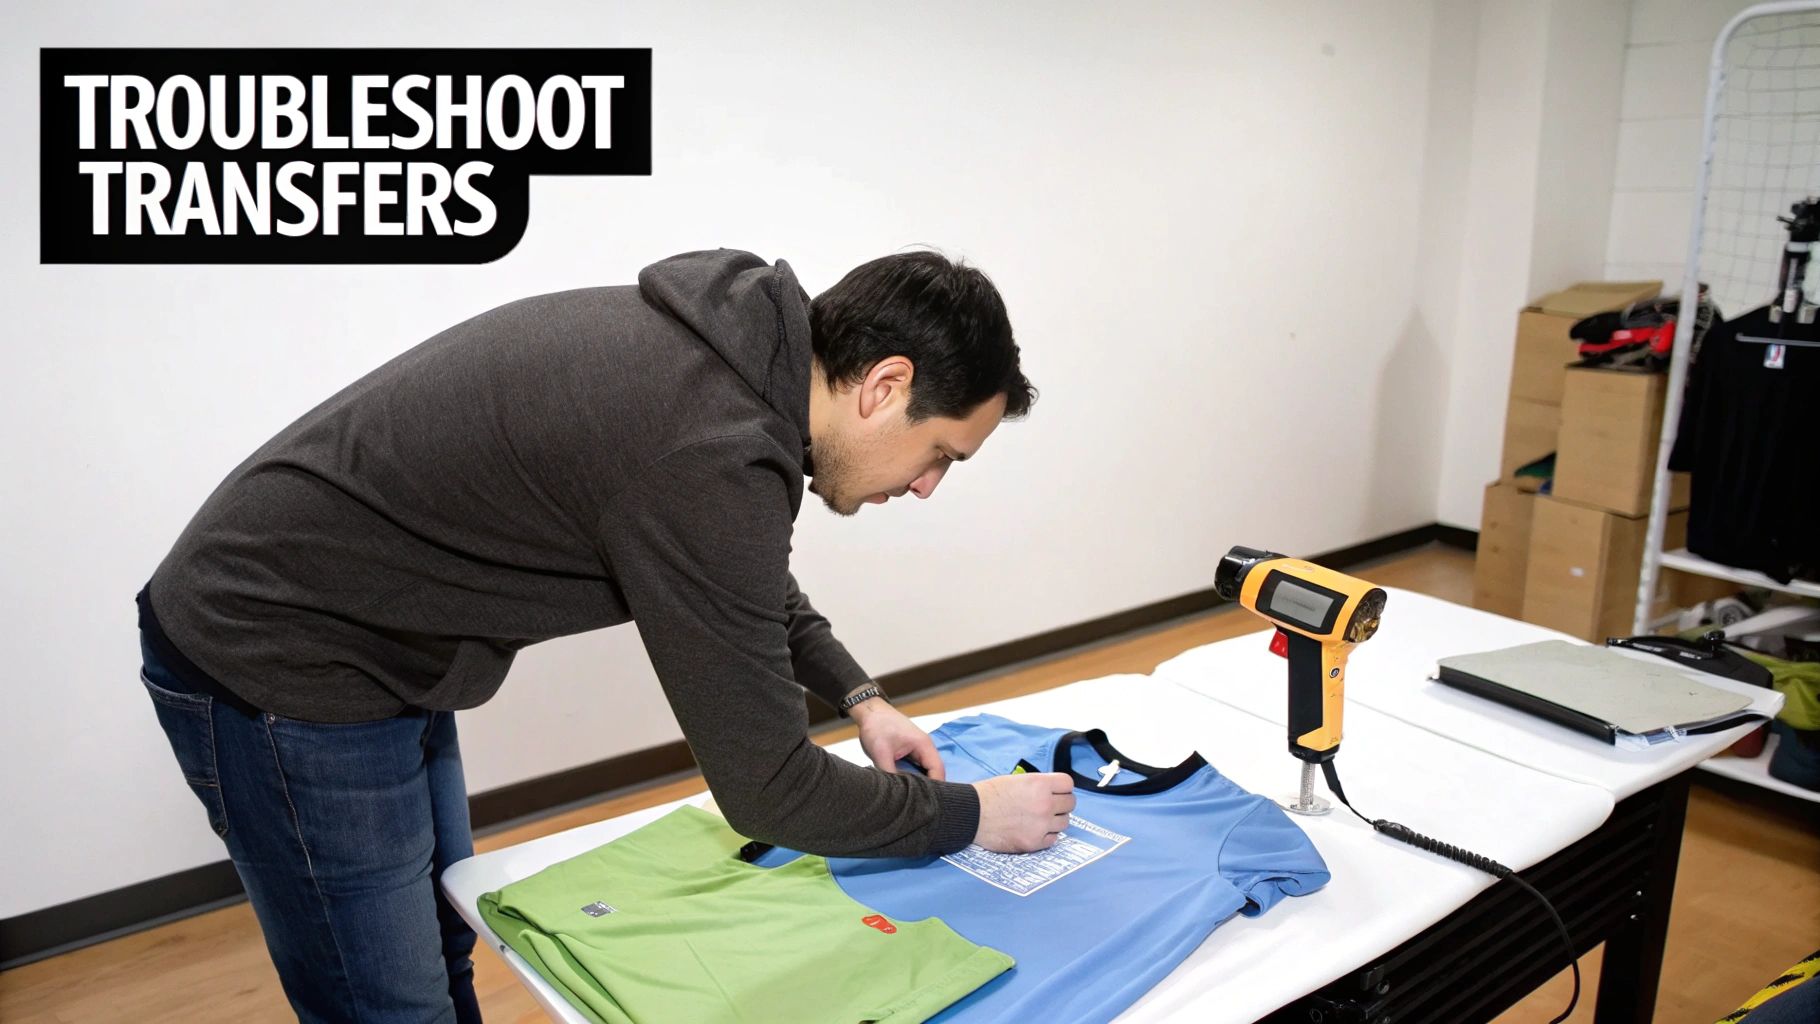
Even when you follow all the steps, things can still go wrong. It happens to everyone. The real skill is knowing how to spot the problem and fix it fast, saving you from wasting garments and expensive transfers.
Most of the time, the issue boils down to one of the big three: time, temperature, or pressure. A slight miscalculation in one of these can throw off the entire application. But don't worry—nearly every common problem has a simple solution once you know what to look for.
Let's walk through the most frequent hiccups I've seen over the years and get you back to pressing perfectly.
The Transfer Is Not Sticking at All
This is probably the most common headache, especially when you're starting out. You press the design, peel the film, and... nothing. The transfer is still stuck to the film. When a transfer fails to stick at all, it's a clear sign the adhesive on the back was never properly activated.
First, look at your temperature. If your press is running too cool, that adhesive powder simply won't melt and grab onto the fabric fibers.
Next up is pressure. If it's too light, the transfer can't make solid contact with the garment. This is a classic problem with household irons, but it can also happen on a heat press that needs a pressure adjustment.
- Solution #1: Grab a heat gun and check your press. Is the temperature on the screen matching the actual platen? Sometimes they can be off, or you might have cold spots.
- Solution #2: Crank up the pressure. For DTF, you need firm pressure. When you lock down that press, it should take a good bit of effort.
- Solution #3: Read the garment's label. Some fabrics are treated with waterproof or stain-resistant coatings that are literally designed to repel things from bonding to them—and that includes your transfer.
In my experience, application failures are rarely a problem with the transfer itself. It’s almost always an issue with the pressing environment. Systematically checking your temperature, pressure, and the fabric will solve 99% of adhesion problems.
Design Edges Are Peeling or Lifting
This one is sneaky. The center of the design looks great, but the edges are lifting up right after you peel the film. A peeling edge can make a high-quality print look cheap and won't last in the wash.
Uneven pressure is the usual suspect here. If you're pressing over a thick collar, a seam, or a zipper, the platen can't lay perfectly flat. The center gets all the pressure while the edges get none.
Another possibility? Impatience. If you're using a cold-peel transfer, it needs to be truly cold before you peel. The adhesive needs that cooling time to fully harden and lock onto the fabric. Peeling too soon just rips it away before the bond has set.
- Quick Fix: Use a heat press pillow. This raises the print area so that seams, collars, and zippers can fall off the side, creating a perfectly flat surface for the platen to press against.
- A Little Tip: To know if a cold-peel is ready, place the back of your hand on it. If you feel any warmth at all, give it more time.
Colors Look Dull or Faded After Pressing
Nothing is more disappointing than seeing a design with beautiful, vibrant colors come off the press looking dull and lifeless. This problem almost always points back to heat—either too much or not enough.
If the temperature is too low, the inks don't fully cure and will look muted. On the flip side, if the temperature is way too high, you can actually scorch both the ink and the fabric itself, making the colors look burnt or faded. This happens a lot with heat-sensitive fabrics like polyester.
- Check Your Settings: First things first, double-check that your press is set to the right temperature for your specific fabric and transfer type.
- Try Less Time: If you suspect scorching, dial back your press time by a few seconds. Sometimes that's all it takes.
- Always Use Protection: A Teflon sheet or a piece of parchment paper is non-negotiable. It acts as a buffer, helping to distribute the heat evenly while protecting the design and the garment from direct, harsh heat.
What Happens After the Press? Keeping Your Designs Alive
Your work isn't done when the timer on your heat press goes off. Honestly, the real test of a great transfer begins once the garment is in your customer's hands. How they care for it directly impacts how long your design will last, so giving them clear, simple washing instructions is one of the most important things you can do for your business.
Think of it this way: the 24 hours after you press a shirt is the final curing stage. This is when the adhesive and ink are locking into the fabric fibers for good. If a customer throws it in the wash right away, you’re practically guaranteeing a cracked or peeling design.
You've put in the work to create a flawless product. A small care card or a quick conversation is all it takes to empower your customers to protect that quality. It's a simple step that drastically cuts down on future complaints and shows you're a true professional.
The First Wash: Making or Breaking the Transfer
The first time a custom shirt goes through the laundry is its most vulnerable moment. I've seen it time and time again—a few non-negotiable rules can mean the difference between a design that lasts for years and one that's ruined after a single wash.
These are the instructions I give every single one of my customers:
- Wait at least 24 hours before washing. I actually tell people to wait a full 48 hours if they can. It gives the transfer that extra time to fully set.
- Turn the garment inside out. This is the golden rule. It protects the design from getting scuffed up by other clothes, zippers, and the washing machine drum itself.
- Wash in cold water only. Hot water is the enemy of a fresh transfer. It can reactivate the adhesive, leading to peeling and cracking down the road. Cold water is much gentler.
Drilling these three points home sets your customers up for success and helps them enjoy their gear for a long, long time.
Long-Term Care for Maximum Durability
Once you're past that critical first wash, a few consistent habits will keep the design looking brand new. Our transfers are built to be incredibly tough, but high heat and harsh chemicals can still break them down over time.
Here are the long-term tips I always share:
- Stick with a mild detergent. Bleach and fabric softeners are a definite no-go. They contain chemicals that can eat away at the ink and adhesive, causing the design to fade or peel.
- Tumble dry on low, or better yet, hang it to dry. Just like hot water, high heat from a dryer can do a number on the transfer. Hanging it up to air dry is always the safest bet. If you have to use a dryer, make sure it's on the lowest heat setting possible.
- Never, ever iron directly on the design. If the shirt is wrinkled, just turn it inside out before ironing. A hot iron will instantly melt the transfer, ruining both the shirt and your iron.
Tucking a small care instruction card into every order is a fantastic touch. It shows you’re committed to quality even after the sale is complete, and that’s how you build a loyal customer base that trusts you know what you're doing.
Why a Reliable US-Based Supplier Matters
Think of your transfer supplier as more than just a place you buy things—they're a partner in your business's success. Who you choose to source from directly affects how smoothly you can run your shop, manage your money, and grow. While overseas suppliers can look tempting with their low upfront prices, the hidden fees and long waits can quickly turn a good deal sour.
Going with a domestic, USA-based supplier like Cobra DTF gives you a serious leg up on the competition. The biggest win? Speed. Getting your transfers in just 1-3 days versus waiting weeks for a package to get through customs changes the entire game. Your business can suddenly move a whole lot faster.
The Power of Speed and Agility
Let's say a local high school calls you on a Monday needing 100 t-shirts for Friday's football game. If you're relying on an overseas supplier, you have to say no. But with a domestic partner, you can confidently take that order and lock in revenue that your competitors simply can't handle.
This speed also lets you be much smarter with your inventory. Instead of sinking your cash into a huge order of designs you think will be popular, you can order smaller, on-demand batches. This keeps your cash flow healthy and dramatically lowers the risk of getting stuck with a pile of transfers that aren't selling.
In a market this competitive, being able to move fast is everything. The businesses that thrive are the ones that can say "yes" to last-minute jobs and restock a best-seller in a few days, not a few weeks.
Dodging Hidden Costs and Delays
Sourcing from a USA-made supplier also means you can say goodbye to the financial headaches of international shipping. You won't be blindsided by surprise tariffs, customs hold-ups, or shipping delays that bring your production to a screeching halt and leave you with angry customers.
The savings are real, too. Industry data shows that by cutting out import duties and international freight charges, you could reduce your final order cost by 10% to 30%. For a small business where every dollar counts, that's huge. This dependable supply chain also helps you keep your online store stocked. And if you're thinking of selling online, remember to factor in all your expenses, including things like how much it costs to run an Etsy shop.
Ultimately, a domestic partner gives you the stability you need to build a business that lasts. When you know your costs are predictable and your supplies will show up on time, you can stop worrying and start focusing on what you do best: making awesome products for your customers. To see how a solid supply chain can really give you an edge, you can explore the market trends on Growth Market Reports.
We Get These Questions All The Time
Even the most seasoned pros run into issues now and then. If you're hitting a snag with your transfers, you're not alone. Here are the answers to the most common questions we hear from people just like you.
Why Is My Transfer Not Sticking to the Shirt?
This is the big one, and it almost always comes down to one of three things: heat, pressure, or a pesky fabric coating.
First, always double-check your heat press settings. Make sure the temperature matches the specific fabric you're working with. A few degrees can make all the difference.
Next, think about pressure. Are you applying enough firm, even force across the entire design? This is where a quality heat press really earns its keep, as an iron just can't compete. Finally, some garments come with a waterproof or stain-resistant coating that actively repels the transfer's adhesive, making a solid bond impossible.
Can I Really Get Away With Using a Household Iron?
Look, for a one-off hobby project you don't care much about, you could try it. But for anything you want to sell or have last, we strongly recommend against it.
A household iron is a recipe for failure because it can't provide the two most important ingredients for a permanent transfer: consistent temperature and uniform pressure. You'll get hot spots and cold spots, leading to weak adhesion, peeling corners, and a design that will likely fall apart in the wash. A heat press isn't just a tool; it's a necessary investment for professional-grade results.
Quick tip: Remember, most high-quality DTF transfers are a cold peel. You have to let the garment and the film cool down completely to room temperature before you even think about peeling. Being impatient here is one of the fastest ways to ruin a perfectly good shirt.
How Long Should I Wait to Wash a Shirt After Pressing?
Patience is key here. You absolutely must wait at least 24-48 hours before that first wash.
This isn't just a suggestion; it's a critical curing period. During this time, the adhesive is finishing its job, creating a permanent bond with the fabric fibers. Tossing it in the wash too soon will wreck that process, leading to cracking, peeling, and a short life for your design. Always tell your customers to wait the full 48 hours—it’s the easiest way to ensure they love their shirt for years to come.
Ready to create durable, professional-quality apparel with transfers that never disappoint? Trust Cobra DTF for vibrant, USA-made products that ship in 1-3 days. Start your order at CobraDTF.com