
Your Complete Guide to Heat Transfer Paper Printing
If you've ever used an iron-on patch, you already get the basic idea behind heat transfer paper printing. It’s essentially the professional-grade version of that same concept. You print your design onto a special sheet of paper, then use a heat press to lock that design onto a t-shirt or another garment. It's a hugely popular method, mainly because it's so easy to get started with and doesn't require a massive upfront investment.
Unpacking The Basics Of Heat Transfer Printing
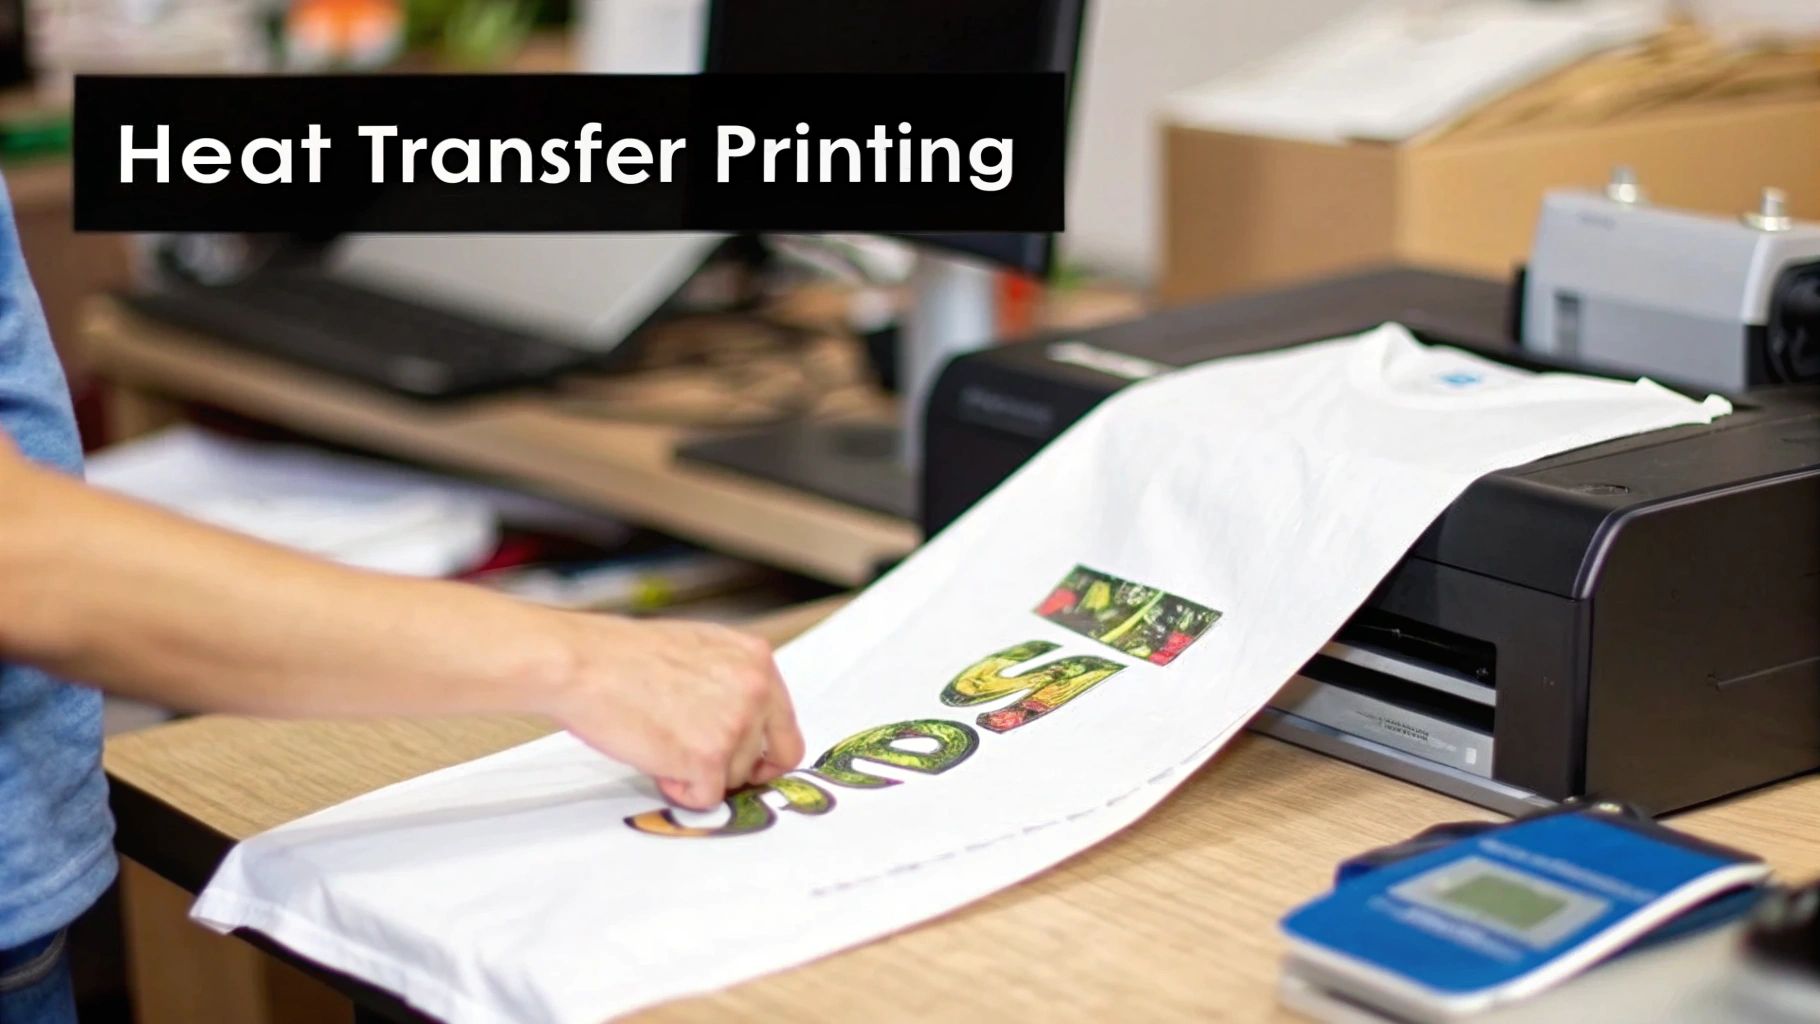
Think of the heat transfer process as the bridge that connects your digital art to a real-world, wearable product. The real magic happens with the heat press, which applies a precise combination of heat, pressure, and time. This trio activates a special adhesive on the transfer paper, causing the ink to release from the paper and physically bond with the fibers of the fabric.
This simplicity is what makes it a favorite for so many people. It's the go-to for hobbyists making a few custom gifts, entrepreneurs testing out a new t-shirt brand, or small businesses that need merchandise without ordering a huge batch.
The demand for personalized gear is what's really driving this market forward. The global Heat Transfer Paper and Vinyl Market was valued at USD 1.6 billion in 2025 and is expected to hit USD 2.27 billion by 2034. That growth is all thanks to the ever-increasing desire for custom apparel.
To give you a quick snapshot, here are the core details of heat transfer printing.
Heat Transfer Printing At A Glance
| Characteristic | Description |
|---|---|
| Process | A design is printed onto special transfer paper and then applied to fabric using heat and pressure. |
| Best For | Small batches, full-color photos, detailed graphics, and starting on a budget. |
| Feel | A thin film layer sits on top of the fabric; the feel can vary by paper quality. |
| Durability | Good for 25-30 washes, but can crack or fade over time with improper care. |
| Setup Cost | Low. Requires a printer, heat transfer paper, and a heat press. |
This table shows why it's such an attractive option for getting into custom apparel without a huge initial outlay.
The Core Components Explained
At its core, the process really only has four key ingredients. Get these right, and you're well on your way to making great-looking custom apparel.
-
The Printer: You don't need anything too fancy here. A standard inkjet or laser printer will do the job. The one you choose just needs to match the type of transfer paper you're using.
-
The Heat Transfer Paper: This is the star of the show. It's not your average copy paper; it's coated with a special film that holds onto the ink until it's heated. To dig deeper, check out our guide that explains what is transfer paper.
-
The Heat Press: While you could use a home iron for a one-off project, a heat press is a must-have for anything professional. It delivers the consistent temperature and even pressure you need for a transfer that actually lasts.
-
The Garment: This is the canvas for your art. Cotton and poly-cotton blends are the most common choices, but there are also specialized papers out there designed specifically for polyester and other synthetic fabrics.
In essence, heat transfer paper printing really levels the playing field for custom garment creation. It turns a simple desktop setup into a capable production tool, letting just about anyone bring their digital ideas to life as wearable art with a quick learning curve.
Getting Your Gear: The Essential Tools and Materials
Think of setting up for heat transfer printing like stocking a kitchen before you cook a big meal. You need the right tools and the best ingredients. Skipping a key component or using a cheap substitute is a recipe for disaster. This isn't just a shopping list; it's a breakdown of why each piece of equipment is critical for turning out custom apparel that looks vibrant, feels great, and actually lasts.
Putting together the right toolkit is what separates the pros from the frustrated beginners. When you have the right gear, you get predictable, high-quality results every single time. Let's walk through what you'll need to get started.
Your Printer and Inks
First up, the printer. People often get caught up in the inkjet vs. laser debate, but for anyone getting into apparel, an inkjet printer is usually the best place to start. They're affordable, versatile, and fantastic at producing the kind of rich, photo-quality images you want on a t-shirt.
But here’s a pro tip: the printer itself isn't nearly as important as the ink you put inside it. For this kind of work, you absolutely need pigment-based inks. They are miles better than the standard dye-based inks that come with most home printers.
- Pigment Inks: These are made of tiny solid particles of color suspended in a liquid. They sit right on top of the transfer paper and, once pressed, are incredibly resistant to UV light and water. This means your designs won't fade in the sun or bleed in the wash.
- Dye Inks: Think of these like a food coloring that soaks into the paper. They're great for printing documents, but on a shirt, they're water-soluble and will fade and run almost immediately after the first wash.
Seriously, don't skip the pigment inks. It’s a non-negotiable if you want to create products that last. A little extra investment here pays off big time in customer satisfaction and the longevity of your work.
Choosing The Right Transfer Paper
The heat transfer paper is the magic ingredient—it's what carries your design from the printer to the fabric. And it's definitely not a one-size-fits-all situation. The paper you choose depends entirely on the color of the garment you're printing on.
If there's one mistake every beginner makes, it's using the wrong paper for the fabric color. It's a simple error that can completely ruin a great design and a perfectly good shirt, leading to a lot of waste and frustration.
Here’s the core difference you need to know:
- Paper for Light Garments: This type of paper has a clear polymer coating. When you press it, only the printed ink transfers over. The unprinted areas remain transparent, letting the light color of the shirt show through.
- Paper for Dark Garments: This paper has a solid, opaque white background. You print your design onto this white layer, and the entire thing—white background and all—gets transferred to the fabric. This is essential for making your colors pop on a black or navy shirt instead of getting lost.
Always, always double-check that the paper you're buying is compatible with your printer (inkjet or laser) and the fabric color you plan to use.
The All-Important Heat Press
Look, I get the temptation to use a home iron for a one-off project. But it's the fastest way to get a disappointing result that peels, cracks, or looks blotchy. An iron just can't provide the two things that matter most: consistent temperature and even pressure.
A dedicated heat press is the true workhorse of any serious custom apparel setup. It guarantees that the heat is distributed evenly across the entire design and applies the firm, consistent pressure needed to bond the design's adhesive deep into the fabric's fibers. That bond is what makes a print durable. If you're new to this, figuring out how to choose the best heat press for beginners is a critical step that will save you a ton of headaches and money down the road.
Essential Supporting Accessories
Finally, there are a few small, inexpensive tools that make a massive difference in your workflow and the quality of your final product. Don't overlook them.
- Weeding Tools: If your designs have any intricate cuts or empty space inside them, a simple set of weeding tools (like a hook or a pick) is a must-have for cleanly removing the extra material before you press.
- Teflon Sheet or Parchment Paper: This is your insurance policy. You place it between the hot platen and your transfer paper. It prevents any stray ink from smearing onto your press and protects your garment from getting scorched by the direct heat.
- Heat Resistant Tape: This special tape is your best friend for getting perfect alignment. Use a couple of small pieces to hold your transfer paper exactly where you want it on the garment, ensuring it doesn’t shift and create a blurry "ghost" image when you press it.
Your Step-By-Step Printing Workflow
Alright, with all your gear and supplies in hand, it’s time to get down to business. This is where the magic happens—where your digital idea becomes a real, wearable piece of art. Sticking to a solid, repeatable process is the secret to getting professional results every single time, saving you from wasted materials and a lot of headaches.
Think of it as a production line. Each step builds on the last, and if one thing goes wrong, it can throw off the entire final product. Attention to detail is everything if you want that perfect finish.
At its core, the whole process boils down to three key players working together.
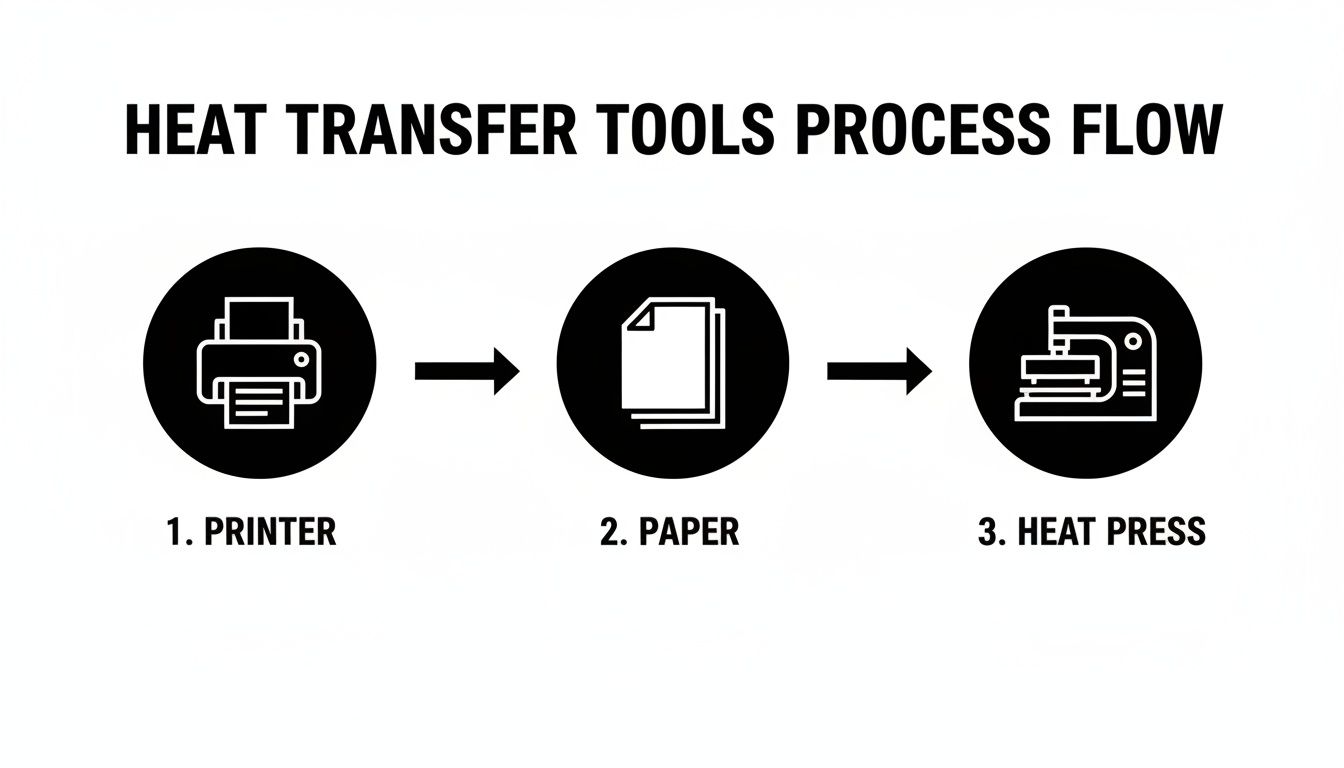
This little graphic nails it: the printer, the paper, and the heat press are your trio for creating custom gear. Now, let’s unpack each stage into clear, actionable steps.
Step 1: Get Your Artwork Ready
Before a single drop of ink hits the paper, your design file needs to be spot-on. I'd argue this is the most important part of the whole process because what you do here directly impacts how good your final print looks.
First things first, check your resolution. Your design absolutely must be saved at at least 300 DPI (dots per inch). This is the industry gold standard for a reason—it guarantees your prints come out sharp and clear. Anything less, and you're setting yourself up for a blurry, pixelated mess on the final shirt.
Now for the step that trips up almost every beginner: you have to mirror your image. In your design software, flip the entire graphic horizontally. Why? Because you'll be placing the transfer paper face-down on the shirt. When you press it, the image reverses back to its correct orientation. If you forget this, any words or logos will be completely backward.
Step 2: Print the Design
With your artwork prepped and mirrored, you're ready to print. Load your heat transfer paper into your inkjet printer, but double-check that you know which side is the printable side. Most papers have a blank, coated side for printing and a backing with a logo or grid lines. Printing on the wrong side is a surefire way to waste a sheet.
Head into your printer settings and crank the quality up to the highest setting available. This tells the printer to lay down more ink, giving you a richer, more saturated image. I've found that choosing a media type like "premium matte paper" works wonders, as it adjusts the ink flow perfectly for the paper's coating.
Once it's printed, give the ink a few minutes to dry completely. Handling it too soon can lead to ugly smudges. If your design doesn't cover the whole page, take a minute to carefully trim away the excess blank paper around the edges. This is crucial for papers designed for light garments, as the clear film can sometimes leave a faint, visible box around your design if you don't cut it off.
Step 3: Dial in Your Heat Press
While the ink is drying, it's time to get your heat press ready. Getting this right is non-negotiable if you want a transfer that lasts. Every brand of transfer paper will have its own specific "recipe" for three critical settings.
- Temperature: Set the press to the exact temperature recommended by the paper manufacturer. It's usually somewhere in the 350-375°F (175-190°C) range, but always, always check the instructions for your specific paper.
- Time: Adjust the timer for the recommended duration. Too much time and you can scorch the shirt; too little, and the transfer won't bond properly and will start peeling after the first wash.
- Pressure: You're looking for a solid medium-to-firm pressure. The goal is to apply enough force for the entire design to make firm, even contact with the fabric's fibers, allowing the adhesive to work its magic.
A heat press isn’t a "set it and forget it" machine. The perfect combination of time, temperature, and pressure is your formula for success. Going rogue and ignoring the manufacturer's guidelines is the #1 reason transfers fail.
Step 4: Press and Peel
We're in the home stretch! Before you place your design, do a quick "pre-press" on your garment for about 5-10 seconds. This is a pro move that removes lingering moisture and any wrinkles, giving you a perfectly flat canvas to work on.
Next, position your trimmed design face-down on the shirt. I like to use a couple of small pieces of heat-resistant tape to lock it in place. This prevents it from shifting when you close the press, which can cause a blurry "ghosting" effect. Lay a Teflon sheet or a piece of parchment paper over everything to protect your shirt and the heat platen.
Now, close the press and hit the timer. When the buzzer goes off, open it up. The very last move is the peel, and you need to know which type of paper you're using.
- Hot Peel: Just like it sounds, you peel the backing paper off immediately while the shirt is still piping hot. This usually leaves the design with a softer, more flexible feel.
- Cold Peel: You have to let the shirt and transfer cool down completely before you even think about touching the backing paper. This method often results in a glossier, super-vibrant finish.
No matter what, stick to the instructions for your specific paper. It’s the only way to guarantee a clean peel and a print you can be proud of.
Achieving Professional Quality And Durability
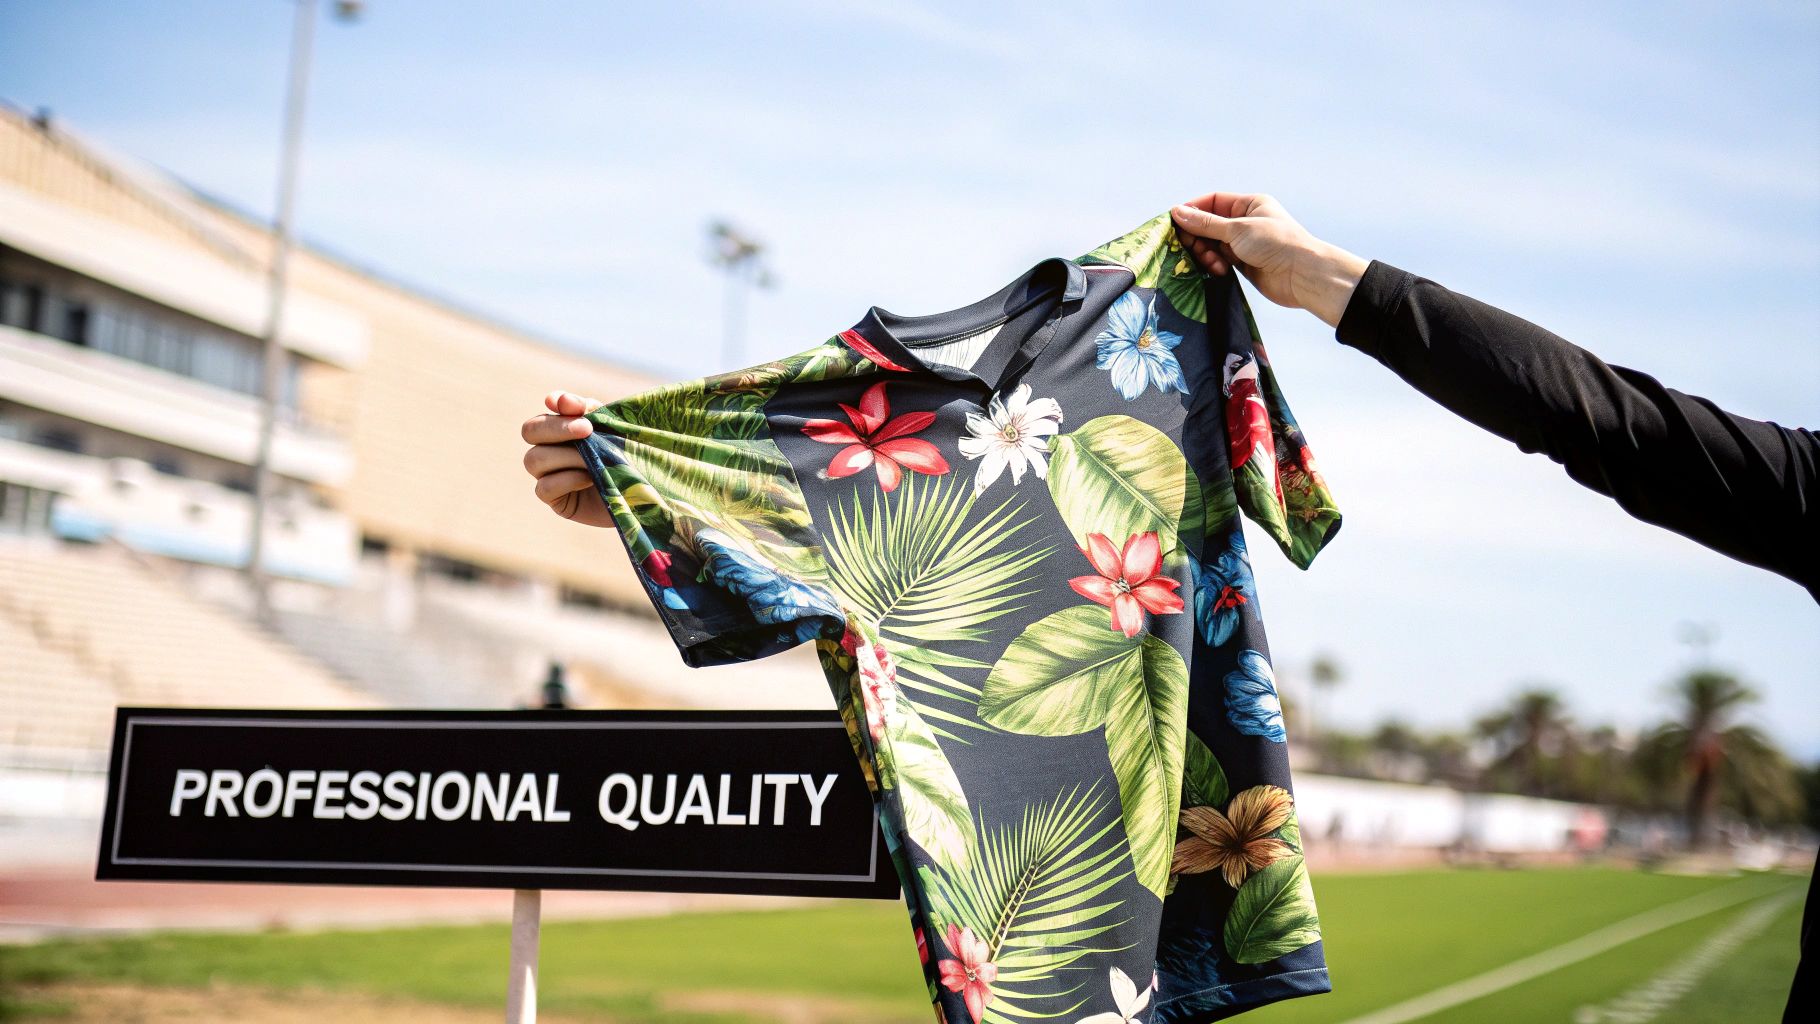
Getting a design onto a shirt is one thing. Making it look, feel, and last like it belongs on a retail rack? That's the real craft. It's the difference between a homemade novelty and a professional product people will love to wear.
These are the details that decide if a t-shirt cracks after a couple of washes or becomes a go-to favorite for years. Let's get into the techniques that make your work stand out, ensuring the final product has the texture, washability, and lifespan to make you proud.
Mastering The Look And Feel Of Your Prints
One of the biggest giveaways of a cheap heat transfer paper print is the "hand"—that's industry talk for how the design feels on the shirt. A heavy, plastic-like hand just feels stiff and low-quality. The goal is always a soft hand, where the design feels like it's part of the fabric, not just sitting on top of it.
Your choice of transfer paper is hands-down the most important factor here. Modern, premium papers are engineered with thinner, more flexible polymer layers that create a much softer feel. They might cost a little more, but the jump in quality is something you can literally feel.
You can also get clever with your design file. Instead of using big, solid blocks of color, work in some negative space. Breaking up the image lets the fabric breathe and show through, which massively reduces that plasticky feel. Think of it like a stencil—the more of the original fabric you leave untouched, the lighter and softer the final print will be.
Boosting Washability And Longevity
A great-looking shirt is worthless if it self-destructs in the laundry. Durability is everything, and it begins the second your heat press opens. Two key steps—pre-treatment and post-press curing—are your secret weapons for locking in the design and stopping it from cracking and peeling later on.
- Garment Pre-Treatment: Before you do anything else, always pre-press the blank shirt for 5-10 seconds. This simple step steams out any lingering moisture or manufacturing chemicals, giving the transfer a clean, dry surface to bond to perfectly.
- Post-Press Curing: After you've peeled off the transfer paper, cover the design with a Teflon sheet or parchment paper and press it again for another 10-15 seconds. This second press melts the ink a little deeper into the fabric's weave, which makes a huge difference in its elasticity and ability to survive the wash.
Proper curing isn't an optional step—it's the critical final stage that ensures your print can withstand stretching and repeated washing. Skipping it is the number one reason heat transfer prints fail over time.
This constant push for better, more durable prints is driving huge growth in the market. The heat transfer printing industry was valued at USD 4,214.8 million in 2024 and is projected to hit USD 6,625.4 million by 2030. New developments in paper and ink are always pushing what's possible. You can explore more stats about the growing global textile customization market to see where things are headed.
Advanced Tips For A Flawless Finish
Once you have the fundamentals down, a few pro-level tricks can really refine your process and ensure every single print comes out perfect.
- Stretch The Garment Slightly: When you lay the shirt on your heat press, give it a gentle stretch before closing it. After pressing, the fabric will relax back to its normal size, and the design will contract with it. This takes the stress off the print and dramatically reduces the risk of cracking.
- Calibrate Your Equipment Regularly: Don't blindly trust the temperature readout on your press. Get yourself an infrared temperature gun and check the platen's surface yourself. An inaccurate temperature is one of the most common culprits behind failed transfers.
- Perfect The Peel: Whether it's a hot or cold peel paper, the technique matters. You want a smooth, confident motion at a low angle. Ripping the paper straight up can lift the edges of your design, but a fluid, diagonal peel ensures it releases cleanly every single time.
Comparing Heat Transfer Paper And DTF Printing
As you get more comfortable making custom apparel, you’ll naturally start running into other printing methods. One of the biggest players you’ll hear about is Direct to Film, or DTF. Thinking about the differences isn't about finding one single "best" way to print; it's about knowing which tool is the right one for the job at hand.
Let's break down how these two techniques really stack up against each other. We'll look at the things that actually matter to your business: the startup costs, the final quality, how the print feels, and how long it lasts. This way, you can make a smart call on when to stick with heat transfer paper and when it might be time to look at something new.
Initial Investment And Cost Per Print
For anyone just starting out, heat transfer paper is the undisputed champ for getting in the game on a tight budget. You can pull together a solid setup—an inkjet printer, a reliable heat press, and a good supply of paper—for well under $1,000. It’s the perfect, low-risk way to dip your toes into the world of garment decoration.
DTF printing, on the other hand, asks for a bigger commitment right out of the gate. The specialized printers, inks, adhesive powder, and curing gear can easily run into several thousand dollars. But the story flips once you start looking at the cost per print, especially when you're making more than just a few shirts.
- Heat Transfer Paper (HTP): The cost per sheet is higher, which is fine for one-off jobs and small orders. But for larger runs, it gets expensive fast.
- Direct to Film (DTF): Your cost for consumables (the ink, film, and powder) is much lower for each design. This makes it far more profitable once you start producing in volume.
Think of it like this: HTP is like having your own car—perfect for quick trips and small errands. DTF is like owning a delivery van. It costs more upfront, but when you're delivering hundreds of packages, the cost per delivery plummets. To get a better feel for the process, you can learn more about what DTF printing is and how it all comes together.
Print Quality And Fabric Compatibility
This is where you’ll see the biggest differences. Heat transfer paper can produce some stunning, photo-quality images, especially on light-colored cotton or poly-blend fabrics. The catch is that the design is carried on a sheet, which can sometimes leave a faint box (a "polymer window") around the image or feel a bit heavy on the shirt.
DTF, however, is a game-changer when it comes to versatility and pure color punch. The magic is in the white ink underbase that gets printed first. This foundation allows DTF transfers to pop with incredible vibrancy on fabrics of any color, including tricky ones like black polyester.
DTF really starts to shine right where heat transfer paper hits its limits. It gives you the freedom to print complex, full-color designs on a massive range of materials—cotton, polyester, blends, nylon, even treated leather—with absolutely no weeding.
The broader market is catching on. In the Transfer Paper Market, laser printing is expected to hold 42.60% of the revenue share in 2025 because of its precision on different materials—a role that DTF is quickly taking over and expanding. You can get more insights on the growing transfer paper industry trends to see how these technologies are evolving.
Durability And The Feel On The Shirt
How a print feels on the shirt—what we call its "hand"—and how it survives the laundry are huge for keeping customers happy. Heat transfer paper prints sit right on top of the fabric, creating a thin layer. While the newer papers feel quite soft, they can sometimes crack over time if they weren't applied perfectly or aren't cared for correctly. A quality HTP print should hold up for 25-30 washes.
DTF transfers are in another league for both durability and flexibility. The ink and adhesive powder create a bond that becomes part of the fabric itself, making it incredibly elastic.
This means the design can stretch with the shirt without cracking, giving it a feel that's much closer to a classic screen print. In fact, DTF prints often outlast the garment, easily handling 50+ washes without a hint of fading or peeling.
Heat Transfer Paper vs DTF Printing Comparison
To lay it all out clearly, here’s a side-by-side look at how these two methods compare across the factors that will most influence your decision.
| Feature | Heat Transfer Paper | Direct to Film (DTF) |
|---|---|---|
| Initial Cost | Very Low (Under $1,000) | Moderate to High ($3,000+) |
| Best For | Beginners, hobbyists, small orders, and photo prints on light fabrics. | Growing businesses, high-volume orders, and printing on diverse fabrics/colors. |
| Fabric Range | Best on cotton and poly-blends. Separate papers needed for light vs. dark. | Excellent on cotton, polyester, blends, nylon, and more, regardless of color. |
| Feel (Hand) | A thin film on the fabric surface. Quality varies by paper. | Soft, flexible, and screen-print-like. Stretches without cracking. |
| Durability | Good (25-30 washes). Can be prone to cracking over time. | Excellent (50+ washes). Highly resistant to fading and peeling. |
| Weeding Required | Yes, for intricate designs on certain papers. | No weeding required, ever. |
At the end of the day, the right choice really boils down to where your business is now and where you want it to go. Heat transfer paper is the perfect launchpad to get started, while DTF provides a powerful path to scale up your production and dramatically expand what you can offer your customers.
Got Questions About Heat Transfer? We’ve Got Answers.
Even with the best guide, you're bound to run into some specific questions once you start printing. This is where the real-world experience comes in handy. Let's tackle some of the most common questions we hear from new and seasoned printers alike, so you can solve problems before they start.
Think of this as your go-to troubleshooting list. Getting these details right will save you a ton of time, materials, and headaches down the road.
How Long Do Heat Transfer Prints Actually Last?
This is the big one, isn't it? The honest answer is that a quality print, done right, should hold up for 25 to 30 washes. But that number can swing wildly depending on a few key things.
First and foremost is the quality of your transfer paper. It makes all the difference. Premium papers have more advanced polymer coatings that are designed to be flexible and bond deeply into the fabric. They can handle the stress of a washing machine. Cheaper papers, on the other hand, have a weaker bond and are almost always the first to start cracking, fading, or peeling off.
Your application technique is just as important. If your heat press is too cool or you don't apply enough pressure, the adhesive simply won't cure properly. That creates a weak bond from the start, and it's practically guaranteed to fail in the wash.
A little customer education goes a long way. To get the absolute most life out of a print, tell your customers to wash the shirt inside out in cold water and tumble dry on low. High heat and harsh detergents are the ultimate enemies of any custom print. Good care can easily add another 10-15 washes to a shirt's life.
Can I Just Use A Home Iron Instead Of A Heat Press?
Look, if you're doing a one-off craft project for fun, an iron can work. But if you plan on selling your creations or want any kind of professional result, it's just not an option. The reason boils down to two things a home iron fails at: consistent temperature and even pressure.
An iron's surface is full of hot and cold spots. You'll end up scorching one part of your design while another part barely gets heated at all. The result is a blotchy, uneven transfer that will start peeling at the edges almost immediately.
More importantly, you can't possibly generate the kind of firm, consistent pressure with your arms that a heat press is designed for. That pressure is what physically pushes the ink and adhesive into the fabric's weave, creating a bond that can actually survive a laundry cycle. Using an iron is a surefire way to make a print that looks good for a day and falls apart after one wash.
Why Is My Heat Transfer Print Cracking Or Peeling?
It's one of the most frustrating things to see—your perfect print starts cracking after a wash. The good news is that this is almost always preventable, and it usually comes down to a small mistake in the application process.
Let’s run through the usual suspects:
- Not Enough Pressure: This is the #1 culprit. If your press isn't clamped down tight, the adhesive can't form a strong, permanent bond with the shirt. It needs that force.
- Wrong Temperature: Too hot, and you can scorch the adhesive, making it brittle. Too cool, and it never fully activates. You have to follow the specific temperature guidelines for the exact paper you're using.
- Not Enough Time: Cutting the press time short by even a few seconds means the transfer doesn't have time to fully cure and set. Don't rush it.
- Skipping the Pre-Press: That quick 5-second pre-press is critical. It removes moisture and wrinkles from the garment, both of which can interfere with adhesion and cause peeling later on.
- Wrong Peeling Method: Some papers are "cold peel," and others are "hot peel." If you peel a cold-peel paper while it's still hot (or vice-versa), you'll disrupt the bond and pull parts of the design right off the fabric. Always read the instructions.
Run through that checklist next time you have an issue. Nine times out of ten, you'll find the fix is right there.
Ready to move beyond the limitations of transfer paper and scale your production with superior quality and durability? Cobra DTF provides premium, USA-made Direct to Film transfers that offer vibrant colors, a soft feel, and unmatched washability on any fabric. Explore our high-quality DTF transfers and elevate your apparel business today!