
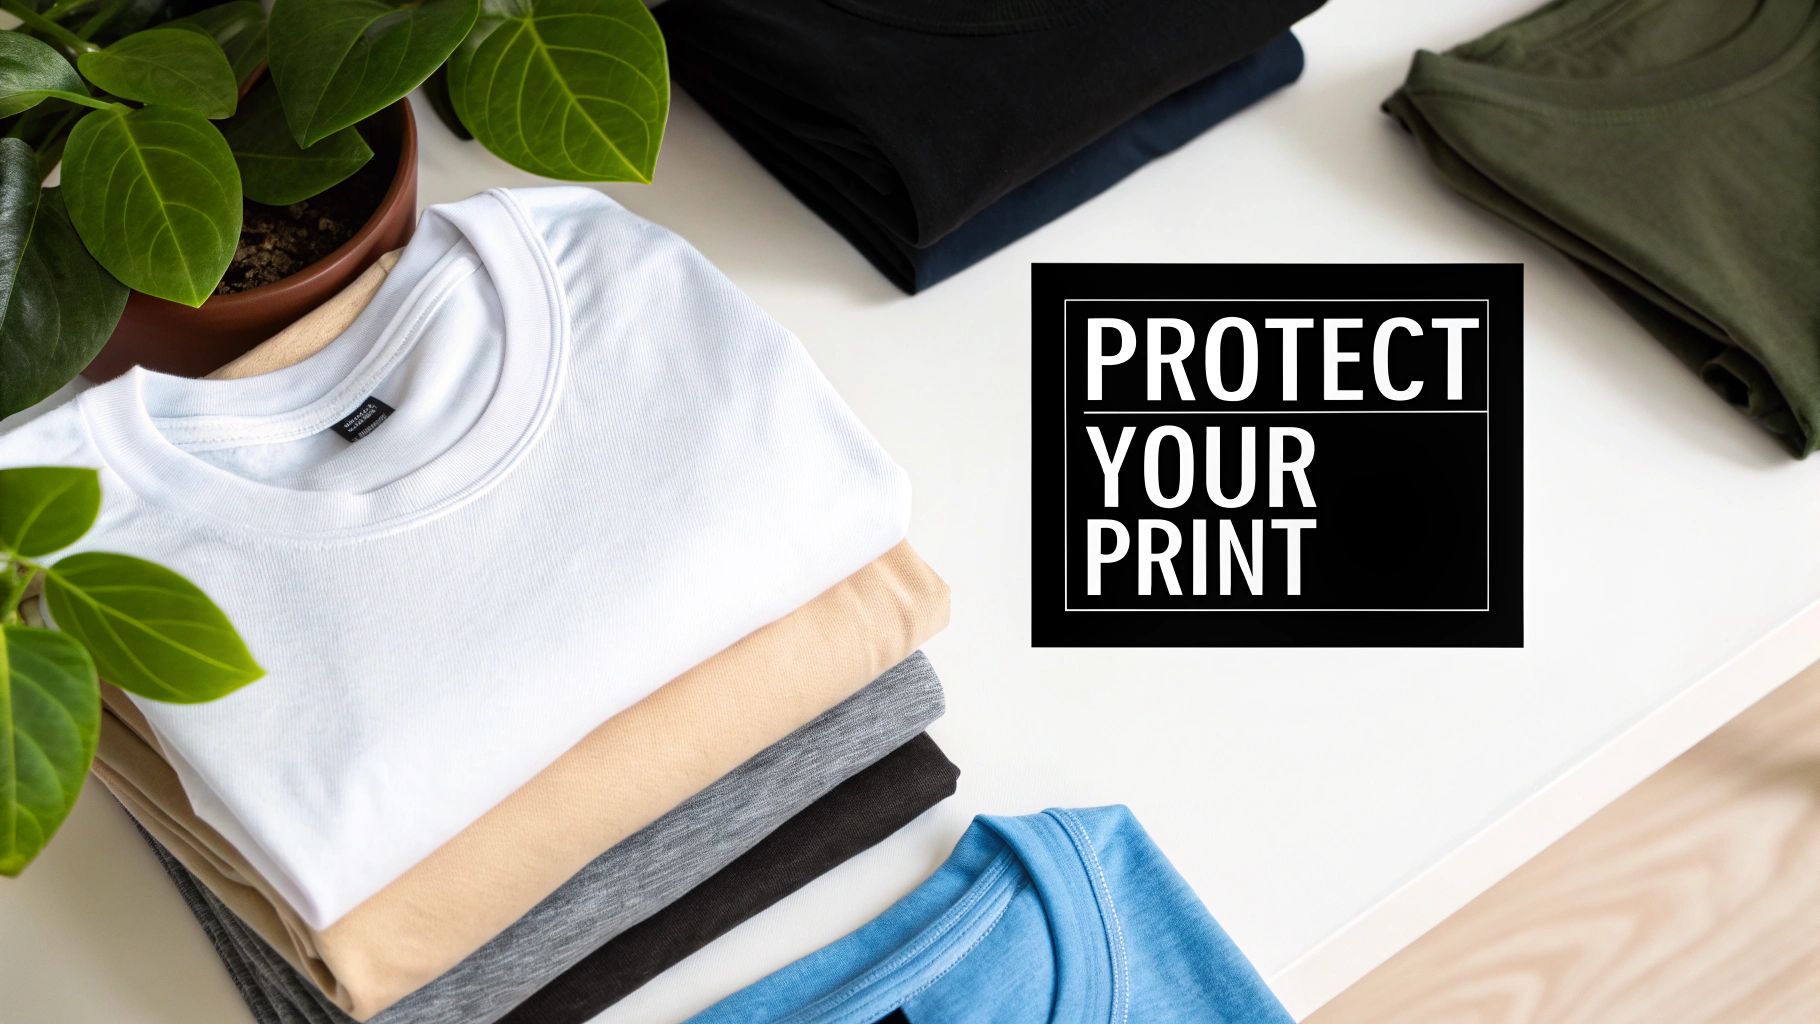
How to Wash Graphic Tees and Keep Prints from Fading
The quickest and safest way to wash your graphic tees? Turn them inside out, use a cold water, gentle cycle, and let them air-dry. This simple routine is your best defense against the cracking and fading that ruins a great print. Heat and friction are the enemies of Direct-to-Film (DTF) and similar prints, and this method keeps them both in check.
The Secret To Making Your Graphic Tees Last
If you’re running an apparel brand or a custom print shop, you know a graphic tee isn't just a shirt. It's a walking billboard for your quality and creativity. The difference between a print that cracks after a few washes and one that looks sharp for years all boils down to proper care.
This guide goes beyond the basic advice. We'll get into the specific, actionable steps that prevent common headaches like fading, cracking, and shrinking. You’ll see exactly why things like cold water, gentle cycles, and smart drying are non-negotiable for keeping your custom apparel looking brand new.
Why Your Washing Method Matters
Every single trip through the laundry machine puts stress on a garment, especially on the print. The combination of high heat, constant friction from other clothes, and harsh detergents is a recipe for disaster. It can quickly break down the adhesive layers in modern prints like DTF, causing them to peel, crack, or lose their vibrancy.
A careless laundry routine can easily ruin a perfectly good shirt in just a couple of months.
This is critical for anyone selling custom apparel. Your brand's reputation is directly tied to how well your products hold up over time. Providing clear, simple care instructions is a game-changer. It helps you:
- Boost Customer Satisfaction: Happy customers whose purchases last are the ones who leave great reviews and come back for more.
- Protect Your Brand's Reputation: A durable, high-quality product tells customers they can trust your brand.
- Cut Down on Returns: When you teach customers how to properly care for their items, you see far fewer returns due to preventable damage.
Think about this: Up to 85% of damage to graphic tees comes from improper washing. The biggest culprit? The high heat from dryers, which accounts for 60% of those cases. Just by switching to cold water—below 30°C (86°F)—you can help the ink's adhesion last 40% longer than it would in a warm wash.
To give you a quick reference, here’s a cheat sheet with the most important do's and don'ts.
Graphic Tee Washing Cheat Sheet
This table breaks down the essential best practices for keeping your graphic tees in prime condition.
| Action | Best Practice | Why It Matters |
|---|---|---|
| Preparation | Turn the tee inside out before washing. | Protects the print from direct friction with other clothes. |
| Water Temp | Always use cold water (below 30°C / 86°F). | Prevents the print's adhesive from weakening and reduces fading. |
| Wash Cycle | Select a gentle or delicate cycle. | Minimizes rubbing, pulling, and stretching that can crack the graphic. |
| Detergent | Use a mild, color-safe detergent. Avoid bleach. | Harsh chemicals can strip colors and break down the print's materials. |
| Drying | Air-dry by hanging or laying flat. Avoid the dryer. | High heat is the #1 cause of cracked, peeled, and shrunken prints. |
Following these simple rules is the most effective way to extend the life of any printed garment.
Common Missteps in Tee Care
Even with the best intentions, people often make simple mistakes that shorten a tee's lifespan. The most common error is treating a graphic tee just like any other piece of laundry—tossing it in with heavy items like jeans, using hot water, and then blasting it on high heat in the dryer. Each of those steps slowly but surely destroys the print.
By adopting a gentler approach, you preserve not just the artwork but the shirt itself. To really get it right, we recommend exploring more expert tips on how to wash graphic tees and keep them looking vibrant. The small adjustments we're covering here will make a huge difference in the long run.
Getting Your Tees Ready for the Wash
What you do before your graphic tee even sees a drop of water can make or break its lifespan. A good wash isn't just about picking the right cycle. It’s about a little prep work that shields that awesome print from the chaos of a washing machine. Think of it as a warm-up before the main event.
The single most important thing you can do? Turn every single graphic tee inside out. I can't stress this enough. It’s not just an old laundry myth—it’s the golden rule for keeping prints looking new. This simple flip creates a protective shield, letting the plain fabric take the beating from other clothes and the machine drum. Your precious DTF print stays safely tucked away, drastically cutting down the risk of scuffing, peeling, or fading.
Sort Like You Mean It
Going beyond the standard "lights and darks" pile is a game-changer for graphic tees. You need to start sorting by fabric weight. Tossing a lightweight cotton tee in with heavy hitters like denim jeans, zippered hoodies, or bulky towels is practically a death sentence for the print.
Just picture your favorite tee tumbling around with a pair of raw denim jeans. The rough fabric, metal zippers, and rivets are like sandpaper, slowly grinding away at the design. Over time, this causes those tiny cracks and pilling that ruin the look. Make a habit of creating a dedicated "tees and delicates" load. It’s a small change that can literally add years to a print's life. If you want to dive deeper, you can learn more about how different t-shirt materials hold up in the wash, which will make your sorting even more effective.
The Gentle Touch for Stains
Stains are inevitable, but panicking and scrubbing is the worst thing you can do. When you spot a smudge on your tee, fight the urge to attack it with a stiff brush or a harsh chemical remover, especially if the stain is on or near the graphic itself.
Instead, take a deep breath and try a more delicate approach:
- Dab, Don't Rub: Gently blot the stain with a clean, damp cloth. Use a tiny bit of mild, bleach-free detergent or even a simple paste of baking soda and water.
- Work from the Outside In: Start dabbing at the edges of the stain and move toward the middle. This keeps it from spreading and becoming a bigger problem.
- Give It a Moment: Let your gentle cleaning solution sit for about 10-15 minutes before washing. This gives it time to work its magic without any aggressive scrubbing on your part.
This careful, targeted method lifts the stain without messing with the print's adhesive or damaging the fabric fibers around it.
Pro Tip: For those really special or expensive tees, grab a mesh laundry bag. They’re cheap and provide an extra layer of defense, keeping the shirt contained and minimizing friction. Think of it as a cheap insurance policy for your favorite graphics.
Check Your Zippers and Fasteners
One last look before you press start can save a lot of heartache. If you absolutely have to wash your tees with items that have zippers, hooks, or velcro, double-check that every single one is fastened shut. An open zipper on a hoodie is basically a set of sharp metal teeth tumbling around, ready to snag and tear not just your graphic tees, but anything else in that load.
Taking these few extra moments to prep your laundry really does set your tees up for success. It’s a crucial step that ensures your graphics stay bold, crisp, and crack-free for a long, long time.
Machine vs. Hand Wash: Choosing the Right Path for Your Tee
Once you've prepped your graphic tee, you’ve hit a fork in the road. How you wash it from here on out will make or break how long that print stays looking sharp. This isn't just about convenience; it's about matching the washing method to the value and delicacy of your shirt. While both machine and hand washing work, knowing when to use each is the key to protecting your favorite tees.
Most modern graphic tees can handle a machine wash just fine, but only if you do it right. This is where so many people mess up—they just toss it in on a normal cycle that's way too rough. Your washing machine isn't a blunt instrument; think of it as a tool you need to dial in for the job.
Dialing in the Perfect Machine Wash Settings
The whole point of machine washing a graphic tee is to get it clean with the least amount of abuse possible. The two biggest threats to a DTF print in a washer are friction and heat. Luckily, you can control both.
Always, always choose the delicate or gentle cycle. These settings use slower agitation and a shorter wash time, which means your tee isn't getting thrashed against other clothes or the machine's drum. It’s a simple change that makes a huge difference in reducing wear and tear.
Just as critical is the water temperature. Use cold water, no exceptions. Hot water is the mortal enemy of a printed graphic. It can soften the adhesive in DTF and other prints, which is a fast track to cracking and peeling.
The numbers on this are pretty stark. Industry data shows that a whopping 92% of custom apparel returns happen because of print damage from washing. A huge 65% of that damage is directly blamed on using hot water (over 40°C). By simply switching to cold washes, you can improve fabric integrity by up to 95% after just 30 cycles. That's a massive deal in a custom apparel market set to jump from $5.16 billion to $9.82 billion by 2030.
Finally, watch the spin speed. A high-speed spin cycle is designed to wring clothes out aggressively, but that force can stretch and warp both the fabric and the graphic. If you can, set your machine to a low spin speed—anything under 800 RPM is a good target. The shirt might come out a little wetter, but the print will thank you for it.
This quick flowchart sums up the pre-wash essentials.

As you can see, turning the shirt inside out and separating it from heavy items are non-negotiable checks before you even think about starting the machine.
Front-Loader vs. Top-Loader: Does It Matter?
Yes, it actually does. Modern front-loading machines are way gentler on clothes than their top-loading cousins, especially the ones with a big agitator in the middle. That central post grabs and twists clothes, creating a ton of friction. Front-loaders, in contrast, just tumble clothes over each other—a much kinder environment for a delicate print.
Hand Washing: The Gold Standard for Preservation
For those irreplaceable vintage tees, limited edition drops, or just a shirt you absolutely love, hand washing is the best you can do. It takes a few extra minutes, but it gives you total control and ensures the gentlest cleaning imaginable. It's the go-to method for shirts with super detailed designs or those printed on more fragile fabrics.
Here’s how to do it right:
- Get your basin ready. Fill a clean sink or a small tub with cool water. Again, never hot.
- Add a touch of soap. You only need a tiny bit of mild, color-safe detergent—way less than you'd use in a machine. Just enough to get a few suds going.
- Gently wash. Submerge your inside-out tee and just swirl it around. You can gently squeeze the fabric in any particularly dirty spots, but don't scrub or twist it.
- Rinse it clean. Drain the soapy water and refill with clean, cool water. Swish the shirt around until all the soap is gone. You might need to do this twice.
- Press the water out. Gently squeeze the excess water from the shirt. Never, ever wring it out! That’s a surefire way to stretch the fabric and crack the print. A great pro tip is to lay it flat on a clean towel, roll the towel up with the shirt inside, and press gently to absorb more moisture.
Whether you opt for the machine or the sink, a little bit of intention goes a long way. Knowing about the different t-shirt printing techniques can also shed light on why this careful approach matters so much. Once you get these methods down, you'll be able to keep every graphic tee in your collection looking like new.
Mastering the Art of Drying and Ironing
You've done everything right so far—turned your tee inside out, used a gentle cold wash, and steered clear of harsh detergents. But now comes the part of the laundry process that causes more damage to graphic tees than any other: the drying. This single step is where countless prints meet a premature, cracked, and peeling end.
The high heat of a machine dryer is the undisputed worst enemy of a DTF print. Heat is designed to break down bonds, and that’s precisely what happens to the adhesive holding your graphic to the fabric. This process weakens the design and leads to the very issues you're trying to avoid. On top of that, the intense heat can shrink the cotton fibers, which distorts the graphic and messes with the fit of the entire tee.
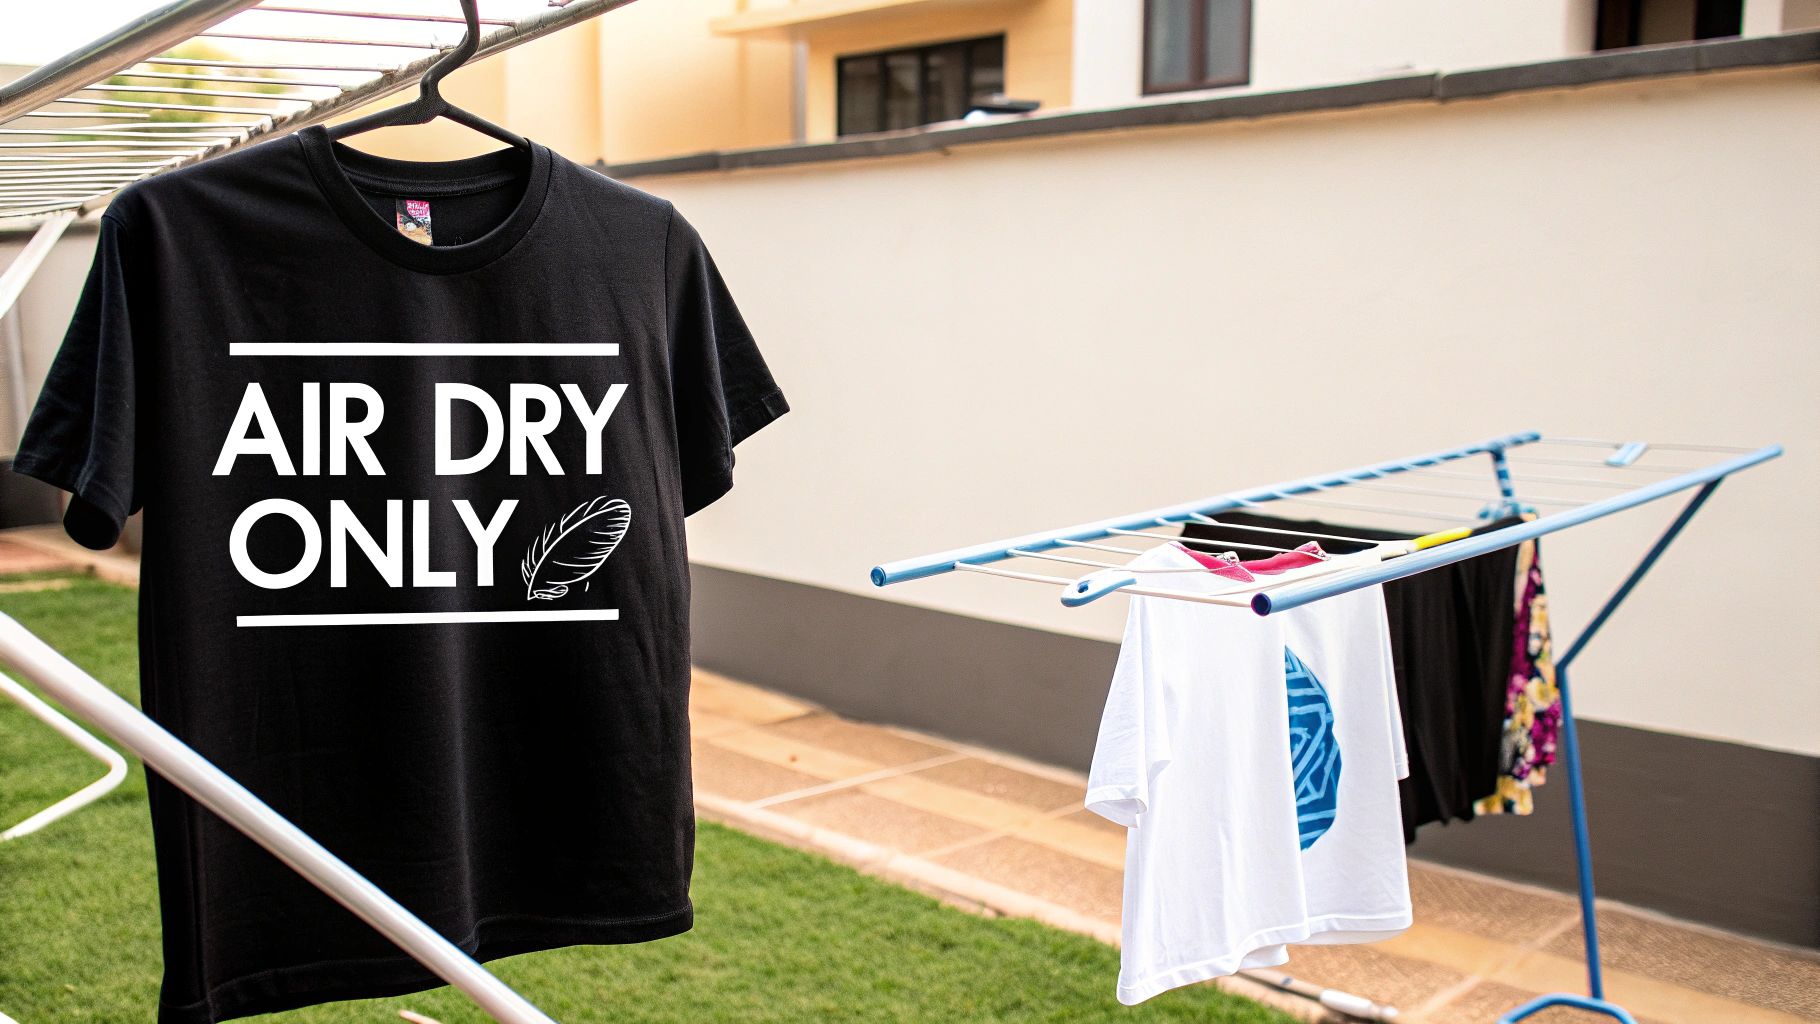
Why Air-Drying Is Non-Negotiable
The absolute best, safest, and most effective way to dry your graphic tees is to let the air do the work. It's that simple. Air-drying completely removes the destructive element of high heat from the equation, preserving the integrity of both the print and the shirt itself. It might take a bit longer, but the payoff in longevity is huge.
Here are a couple of my go-to methods for air-drying:
- Line-Drying: Hang your tees on a clothesline or a drying rack. A little pro-tip: to avoid those annoying shoulder bumps from clothespins, hang the shirt by its bottom hem. This keeps the weight distributed evenly and helps the shirt maintain its natural shape.
- Flat-Drying: If you've got a heavier tee or one you're especially protective of, lay it flat on a clean surface like a towel or a mesh drying rack. This method eliminates any chance of stretching whatsoever.
No matter which method you choose, follow this crucial rule: keep them out of direct sunlight. The sun's UV rays act like a natural bleach, slowly fading the vibrant colors of your print and the fabric dye. Find a shaded, well-ventilated spot instead—it’s the perfect environment.
Air-drying isn't just a suggestion; it's the single most impactful habit you can adopt to extend the life of a printed garment. It sidesteps the primary causes of damage—heat and aggressive tumbling—ensuring the print's adhesive remains strong and the fabric stays true to size.
A Damage Control Guide for Machine Drying
Look, we get it. Sometimes life gets in the way, and you just don't have the time or space to air-dry. If you absolutely must use a machine dryer, think of it as a damage control mission. Your goal is to use the least amount of heat for the shortest amount of time.
Here’s how you can minimize the harm:
- Keep it Inside Out: Just like in the wash, leaving the shirt inside out provides a valuable layer of protection against the heat and friction from the dryer drum.
- Use the Lowest Heat Setting: This is non-negotiable. Select tumble dry low, delicate, or the air fluff (no-heat) option. Never, ever use the medium or high heat settings on a graphic tee.
- Pull It Out Early: Here's the real secret: don't dry the shirt completely in the machine. Take it out while it's still slightly damp to the touch. Then, just hang it up or lay it flat to finish air-drying for that last 10%. This simple trick dramatically reduces its exposure to damaging heat.
This hybrid approach is a reasonable compromise when air-drying isn't an option, but it should always be your plan B.
The Golden Rule of Ironing
Wrinkles happen, but grabbing a hot iron is the final hurdle where a great print can be ruined in seconds. The rule here is simple and absolute: never, ever apply an iron directly to the graphic. The concentrated heat will melt the print's adhesive and ink almost instantly, creating a sticky, smudged, and irreversible mess.
To iron your graphic tee safely, always turn it inside out first. Use the lowest heat setting on your iron that will still work on the fabric (usually the cotton or synthetic setting). This lets you press the fabric on the reverse side, smoothing out wrinkles without ever touching the delicate print. If you need some extra tips on dealing with applied graphics, this DIY guide to iron-on clothing decals has some useful techniques. Mastering these finishing touches is a crucial part of knowing how to wash graphic tees the right way.
Dealing With Life: Advanced Care and Stain Removal
Even when you do everything right, stuff happens. A splash of coffee, a greasy fingerprint—it's just a matter of time. When a stain hits your favorite graphic tee, you need to know how to handle it without wrecking the print. This is where we move beyond the basic wash and into the finer points of keeping your shirts looking brand new.
The absolute worst thing you can do when you see a stain is grab the nearest bottle of all-purpose cleaner or bleach. That's a one-way ticket to a faded, peeling graphic. These harsh chemicals are the mortal enemy of a DTF print; they'll eat right through the colors and adhesive. The real secret is to act fast but be gentle.
How to Safely Tackle Common Stains
Believe it or not, you probably already have everything you need to handle most stains right in your kitchen. The strategy is always to lift the stain out of the fabric, not scrub it into oblivion or attack it with chemicals that could damage the print itself.
Here’s my go-to guide for the usual suspects:
- Oil and Grease: These are the most common culprits. The moment it happens, sprinkle a generous amount of baking soda or cornstarch directly onto the spot. Let it sit for at least 30 minutes—this gives it time to pull the oil out of the fibers. After, just brush it off gently and wash the shirt like you normally would.
- Coffee or Tea: First, blot the fresh stain with a cool, damp cloth to pick up as much as possible. If a faint mark is left behind, mix one part white vinegar with two parts water. Apply it to the spot and let it work its magic for about 10 minutes before tossing it in a cold wash.
- Ink Stains: Okay, this one’s a bit tougher, but you can still win. Lay the shirt flat with a paper towel underneath the stained area. Then, take a cloth with a little rubbing alcohol and dab the ink stain from the top. The goal is to push the ink through the fabric and onto the paper towel below. Be patient and work carefully to avoid making it spread.
Here’s the single most important rule for spot-treating: Blot, don't rub. Rubbing just grinds the stain deeper into the fabric and can easily damage the shirt's fibers or the nearby print. A gentle dabbing motion lifts the stain out.
This delicate approach is key for today's detailed prints. If you're curious about what makes these graphics so vibrant yet sensitive, our guide on high-quality transfer sheets for shirts sheds some light on why this level of care makes all the difference.
Storing Your Tees for the Long Haul
How you store your shirts is just as crucial as how you wash them. A lot of people just throw their graphic tees on hangers, but that’s a classic mistake. Over time, the weight of the shirt hanging in a closet will stretch out the neckline and create weird bumps on the shoulders. Gravity is not your friend here.
The best way to keep your tees in shape is to fold them. It’s simple, but it works. Folding prevents any strain on the fabric, seams, and collar, preserving the shirt's original fit. A little pro-tip: when you fold, try to place the creases along the sides of the graphic, not right down the middle, to prevent a permanent line from forming in the print.
And please, avoid those sealed plastic bags or bins for long-term storage. It seems like a good idea for keeping dust off, but plastic traps moisture. That creates a humid little greenhouse for mildew, which leads to that musty smell and can even cause discoloration. A cool, dry dresser drawer or a shelf with good air circulation is all you need. Do this, and your favorite tee will be ready to go, looking as crisp as ever, even if it's been a few months.
Answering Your Graphic Tee Care Questions
Even when you’ve got your laundry routine down, specific questions always pop up. It’s those small details that make the difference between a tee that lasts a season and one that becomes a long-term favorite. Let's tackle some of the most common questions we hear about washing graphic tees to help you sidestep those costly (and preventable) mistakes.
Think of this as your quick-reference guide for those "what if" moments in the laundry room. A little expert knowledge goes a long way in keeping your prints looking sharp.
Can I Use Fabric Softener on My Graphic Tees?
This is a big one, and the answer is a hard no. I can't stress this enough: keep liquid fabric softeners and dryer sheets far away from your printed apparel. While they promise that soft, fluffy feel, they achieve it by coating fabric fibers in a waxy, chemical residue.
That coating is bad news for your graphic tee for two reasons:
- It breaks down the adhesive in DTF and other modern prints, which is a fast track to peeling and cracking.
- It also clogs the fabric's weave, which makes the shirt less breathable and can trap odors over time.
Looking for a safe alternative to fight static and add a bit of softness? Pour a half-cup of distilled white vinegar into your washer's rinse cycle. It works like a charm without leaving any damaging gunk behind, and I promise the vinegar smell vanishes completely once the shirt is dry.
How Often Should I Wash My Graphic Tees?
When it comes to washing, less is definitely more. Over-washing is one of the fastest ways to wear out both the t-shirt and the graphic. Every trip through the machine, no matter how gentle, contributes to fading and the slow breakdown of the fabric.
Unless a shirt is legitimately dirty or has picked up odors from a workout, you probably don't need to wash it after just one casual wear. Sometimes, just airing it out is all it needs to feel fresh again.
My rule of thumb? Aim to wash your graphic tees after every one to two wears, depending on how active you've been. This simple habit can dramatically extend the life of your shirts, keeping those prints vibrant for much, much longer.
This small change in your routine just means less exposure to water, detergent, and the tumbling action of the machine—the main culprits behind a print's early retirement.
What if My Print Is Already Starting to Crack?
It’s a gut-punch seeing those first tiny cracks appear, but don't throw in the towel. While you can't reverse major damage, you can stop it in its tracks and prevent it from getting worse. The second you spot any cracking, it's time to get serious about your laundry process.
From that point on, make washing inside-out in cold water non-negotiable. Most importantly, commit to air-drying every single time. The intense, dry heat from a machine dryer is the number one enemy of a print, as it makes the ink and adhesive brittle. Taking the dryer out of the equation is your single best defense.
For those tiny, hairline cracks, here's a little trick you can try, but no guarantees. Turn the shirt inside out, lay a piece of parchment paper over the back of the graphic, and give it a quick press with an iron on a very low setting. This can sometimes help re-bond the adhesive, but think of it as a last-ditch effort. Prevention is always going to be your best move.
Is It Better to Wash Tees Together or with Other Clothes?
Washing a bunch of graphic tees in the same load is totally fine—in fact, it's a great practice. The real problem isn't the tees themselves, but what else you toss in the machine with them. The biggest threat comes from abrasive fabrics and chunky hardware.
You should never, ever wash your graphic tees with heavy-duty items like:
- Denim jeans (that rough twill acts like sandpaper)
- Bulky towels (they create a ton of friction and lint)
- Anything with zippers, big buttons, or other metal bits
These items literally grind against the print during the wash cycle, causing scuffs, pilling, and other damage. The safest bet is to create a dedicated "tees and delicates" load. Sorting your laundry this way ensures your prints are only tumbling around with other soft, lightweight fabrics, creating the gentlest environment possible.
At Cobra DTF, we're obsessed with creating prints that are not only vibrant and eye-catching but also built to last. By following these care tips, you can ensure the custom apparel you create stands the test of time. Discover our high-quality, USA-made DTF transfers at https://cobradtf.com and give your customers prints they'll love for years.