

How to Transfer an Image onto a Shirt The Easy Way
If you're looking for the fastest, most reliable way to get a design onto a shirt, your best bet is a Direct-to-Film (DTF) transfer paired with a good heat press. This technique has really changed the game. You simply print your design onto a special film, coat it with an adhesive powder, and then press it onto almost any fabric you can think of. The result is a vibrant, durable graphic that feels surprisingly soft.
Why DTF Is the Best Way to Transfer an Image onto a Shirt
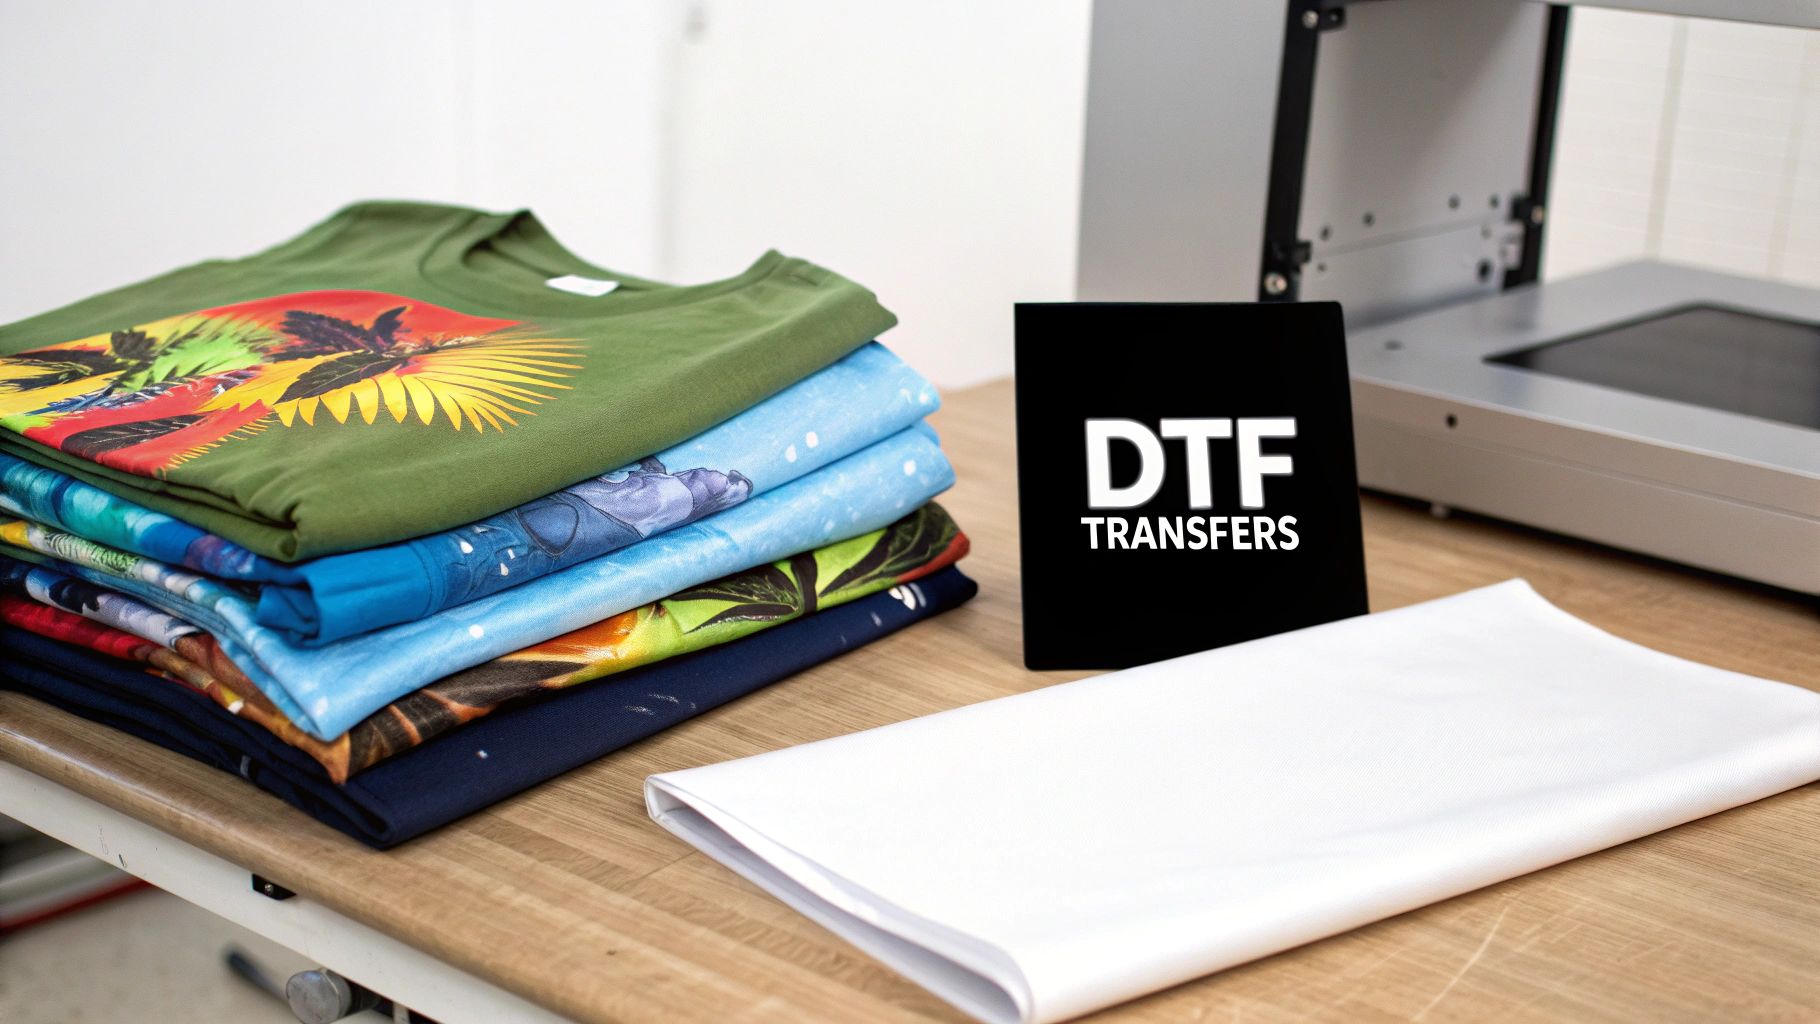
When you dive into the world of custom apparel, you'll find a handful of ways to get the job done, each with its own quirks. Methods like screen printing and heat transfer vinyl (HTV) definitely have their moments, but Direct-to-Film (DTF) has quickly become the go-to for small businesses, hobbyists, and anyone running an online store. It just hits that sweet spot of quality, versatility, and affordability that makes it the clear winner for most custom shirt projects.
The real beauty of DTF is its flexibility. You’re not boxed in by fabric type or limited by the number of colors in your design. For creators who want to offer a diverse product line without sinking money into a bunch of different machines, this is a massive advantage.
Comparing Your Options
To really see why so many people are turning to DTF, it helps to compare it against the old-school methods. Each has its place, but they come with trade-offs.
A quick look at the popular methods shows where DTF really shines.
Comparing Shirt Transfer Methods at a Glance
| Method | Best For | Feel & Durability | Fabric Compatibility | Cost Per Shirt (Small Run) |
|---|---|---|---|---|
| Direct-to-Film (DTF) | Multi-color, detailed graphics on any fabric. | Soft, flexible, and very durable. | Cotton, poly, blends, leather, and more. | Low to Moderate |
| Screen Printing | Large bulk orders (100+) with few colors. | Varies; can be soft or thick. Great durability. | Most fabrics, but inks may vary. | High (due to setup) |
| Heat Transfer Vinyl (HTV) | Simple, one-color text and shapes. | Can feel thick or stiff; durability is good. | Mostly cotton and poly blends. | Low |
| Direct-to-Garment (DTG) | Full-color photos on 100% cotton. | Very soft, breathable feel. Moderate durability. | Best on 100% cotton; pre-treatment needed. | Moderate to High |
As you can see, DTF fills a crucial gap, offering a professional-grade solution that's accessible even for small-batch creators.
Here’s a more detailed breakdown:
- Screen Printing: This is the undisputed king for huge, single-color runs. The catch? The setup is a killer. You're looking at costs that can easily exceed $50 per color screen, making it totally impractical for a small batch of shirts with a colorful design.
- Heat Transfer Vinyl (HTV): HTV is a solid choice for simple text or basic shapes. The problem is that it often feels like a plastic patch on the shirt, and weeding intricate designs can be an absolute nightmare.
- Direct-to-Garment (DTG): DTG prints feel incredibly soft because the ink soaks into the fabric. However, it’s mostly limited to 100% cotton, requires a messy pre-treatment spray, and often struggles to produce bright, punchy colors on dark shirts.
DTF essentially takes the best features from all these methods and rolls them into one. You get the stunning, full-color detail of DTG, more fabric versatility than even sublimation, and a cost-per-shirt that makes small runs profitable—something screen printing just can't do.
Key Takeaway: For small businesses and custom creators, DTF offers the most balanced approach. It delivers retail-quality results without the steep startup costs or frustrating material limitations of other popular methods.
The Rise of a Dominant Technology
This shift toward DTF isn't just something a few people are talking about; it's a full-blown market trend. The global Direct-to-Film printing market was valued at USD 6.25 billion in 2024 and is on track to nearly double, hitting an estimated USD 12 billion by 2030.
This kind of explosive growth tells you everything you need to know about how well DTF meets the demands of today's custom apparel businesses. You can learn more about DTF market trends and see for yourself why so many shops are making the switch.
Preparing Your Image for a Perfect Transfer
The secret to a flawless shirt design—one that looks professional and actually lasts—starts long before you even fire up the heat press. Honestly, how you prep your digital file is probably the most critical part of the whole process. A bad file guarantees a bad print. You can have the best press and the best technique, but if the image is blurry or low-res, the final shirt will look just as bad.
Think of it this way: your digital file is the blueprint for the final product. Any little mistake in that blueprint is going to show up big and bold on the finished shirt. I’ve seen so many people rush this part only to waste time, transfers, and perfectly good shirts. Let’s not do that.
File Prep Basics: The Non-Negotiables
First things first, you absolutely need a PNG file with a transparent background. If you use something like a JPEG, it's going to print that white (or colored) box behind your design, and nobody wants that. A transparent PNG ensures that only your artwork gets printed and transferred, giving you that clean, professional look.
If you're starting with a photo or an image that has a background, you'll need to remove it cleanly. A good background remover tool can be a lifesaver here, especially for complex images where you want to isolate just one element.
Resolution is the other big one. Your file has to be 300 DPI (Dots Per Inch). An image that looks sharp on your monitor at 72 DPI will turn into a fuzzy, pixelated mess on a t-shirt. There's just no way around it.
A Tip from Experience: After removing a background, zoom way in and hunt for stray pixels or faint smudges around the edges of your design. Those nearly invisible specks will get printed and show up as tiny, annoying dots of ink or powder on your final shirt. Clean them up now!
Getting the Size and Placement Just Right
Sizing your art correctly is what separates a homemade-looking shirt from a professional one. Too big, and it's overwhelming. Too small, and it just gets lost.
Here are some go-to measurements I use as a starting point:
- Full Chest: Generally, 10 to 12 inches wide for adult shirts.
- Left Chest Logo: Keep these around 3 to 4.5 inches wide.
- Full Back: You can go big here, anywhere from 12 to 14 inches wide.
- Sleeve Print: Typically 2 to 4 inches wide, depending on the art.
But don't just trust these numbers blindly. Always grab a ruler and measure the actual shirt you're pressing on. A 12-inch wide design looks completely different on a size Small than it does on a 3XL. Visualizing it on the garment first saves a ton of headaches later.
Maximize Your Value with Gang Sheets
For anyone running a small business, gang sheets are a game-changer. This is simply a large DTF transfer sheet where you arrange ("gang up") multiple designs. Instead of paying for a bunch of individual transfers, you can cram several logos, chest designs, and sleeve prints onto one sheet, which massively drops your cost per image.
When you're starting out, a great strategy is to put a few different sizes of your most popular designs on a single gang sheet. This lets you test the market and see what sells without sinking cash into a huge inventory of one size. To get more ideas on building a killer layout, check out our guide on how to create the best DTF transfer designs. It goes deep into maximizing your sheet space.
One last check before you send your file off to print: your color space. While most modern DTF printers are pretty good at color matching, sticking to an sRGB color profile is a safe bet. It helps ensure the vibrant colors on your screen are what you actually get on the shirt. Get these few things right, and you're well on your way to a perfect transfer, every single time.
Bringing Your Design to Life: The Heat Press Process
This is where the magic really happens—turning that printed film into a vibrant, wearable piece of art. Getting the heat press application just right is the final, crucial step. With the right technique, you'll create a professional-quality garment that feels great and is built to last.
It’s about more than just sandwiching the transfer and shirt together. Time, temperature, and pressure are the three pillars of a perfect press. When you get this trio right, you ensure the adhesive bonds correctly with the fabric, giving you a result that can stand up to dozens of washes.
This quick overview covers the essentials that set you up for a flawless transfer.
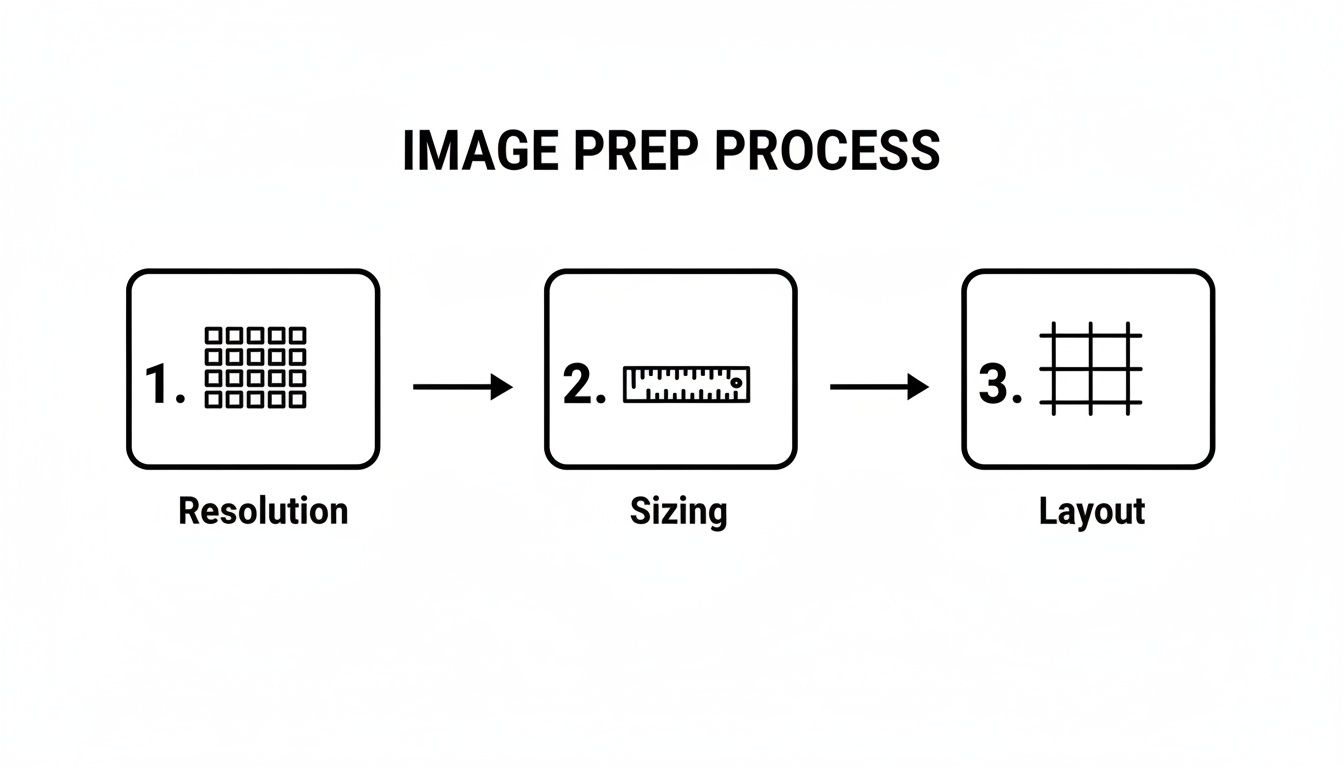
As you can see, getting the basics of image prep—resolution, sizing, and layout—sorted out first directly impacts the quality you'll get on the final shirt.
First Things First: The Pre-Press
Before you even think about laying down your transfer, you have to pre-press the garment. This is a non-negotiable step that beginners often skip, usually with frustrating results. Shirts, especially cotton ones, are like sponges; they hold moisture from the air, which turns into steam under the intense heat of the press.
That trapped steam can completely sabotage the transfer's adhesion, leading to peeling or bubbling later on. A quick 5-10 second pre-press at your target temperature forces this moisture out and flattens any wrinkles, giving you a perfectly smooth, dry canvas to work with.
Dialing In Your Heat Press Settings
There's no single "magic number" for heat press settings; the right combination depends entirely on the fabric you're working with. What works for a 100% cotton tee will absolutely scorch a delicate polyester blend. Nailing this is what separates the pros from the hobbyists.
Here are some solid starting points I use for common fabrics:
- 100% Cotton: This is your most forgiving material. I usually aim for 300-325°F (149-163°C) and press for 10-15 seconds with medium pressure.
- Polyester & Blends: These are much more sensitive to heat. You'll want to lower the temp to 275-300°F (135-149°C) and shorten the press time to 8-12 seconds with medium pressure. This helps avoid that dreaded shiny press box mark.
- Tri-Blends & Sensitive Fabrics: For anything delicate like tri-blends or rayon, you have to be extra cautious. I drop the temperature to 260-275°F (127-135°C) and press for just 7-10 seconds.
For a deeper dive, check out our complete guide on heat press settings for different materials to really fine-tune your process. And always, always use a Teflon sheet or a piece of parchment paper to protect both your shirt and your heat platen.
Mastering the Art of the Peel
Once the timer goes off, how you remove the carrier film is just as important as the press itself. We call this the "peel," and DTF transfers are designed for a specific type—hot, warm, or cold. Using the wrong technique can cause the ink to lift right off or leave behind a weird texture.
A Pro Tip from Our Shop: Always follow the supplier's instructions. When they say "cold peel," they mean it. Let the garment cool completely to room temperature before even touching the film. Rushing this step is probably the number one reason a perfect press gets ruined.
Let’s break down the differences:
- Cold Peel: This is the standard for high-quality DTF transfers. You wait for the shirt and transfer to cool down completely. It gives the best adhesion and a smooth, matte finish because the adhesive has had plenty of time to set properly.
- Warm Peel: You wait a few seconds (usually 5-15) after the press opens before peeling. It’s a nice middle ground, often used to speed up workflow on big orders.
- Hot Peel: You peel the film away immediately after the press opens. This often creates a glossier look but can be tricky to master and might compromise the bond if you don't do it perfectly.
No matter which method you use, always peel the film back in a smooth, fluid motion at a low angle. Don't rip it off like a band-aid; instead, gently roll it back over itself.
The Final Touch: A Second Press for Durability
So, you’ve pressed the shirt, peeled the film, and the design looks fantastic. You might think you're done, but there's one more quick step that makes all the difference: the second press.
Place a sheet of parchment paper over the now-exposed design and press it again for another 5-10 seconds at the same temperature. This simple action does a few amazing things. It melts the design ever so slightly into the fabric fibers, which dramatically improves the soft-hand feel and boosts its wash durability. It also helps even out the finish, giving it that professional, retail-ready look.
This is the secret to creating shirts that not only look incredible but also last. The versatility of DTF printing is a huge part of why the market is projected to hit USD 4.57 billion by 2033. Unlike other methods like sublimation heat transfer that are limited by fabric type, DTF achieves stunning 99% color accuracy on cotton, polyester, and blends alike. As a Texas-based family business, we at Cobra DTF are proud to offer USA-made transfers that can withstand 50+ washes, giving your business a real competitive edge.
Troubleshooting Common Shirt Transfer Issues
Even when you've done everything right, you'll eventually run into a transfer that just doesn't want to cooperate. Don't panic. Most issues are surprisingly easy to fix once you know what to look for. Think of this as your field guide for diagnosing what went wrong when you transfer an image onto a shirt.
Getting a feel for your heat press is a skill that comes with experience. Every machine has its quirks—from tiny temperature fluctuations to subtle pressure differences across the platen. Learning to spot these issues quickly will save you a ton of time, materials, and frustration down the road.
Why Your DTF Transfer Is Not Sticking
This is, without a doubt, the most common headache for printers. You peel back the film, and bits of the design (or the whole thing) are left clinging to it. The culprit is almost always a failure in one of the three pillars of heat pressing: time, temperature, or pressure.
Uneven or insufficient pressure is a frequent offender. If your press doesn't clamp down with consistent force across the entire design, some areas won't get the contact they need for the adhesive to bond properly. This is especially true when you're pressing over seams, collars, or zippers, which create gaps between the platen and the fabric.
Pro Tip: Use a heat press pillow or a foam pad when working near tricky areas like seams or collars. These simple accessories slide inside the shirt and raise the print area, ensuring the platen can apply firm, even pressure directly onto the transfer without any interference.
Another possibility is a cold spot on your heat press. Cheaper or older models can sometimes have heating elements that don't distribute heat evenly, leaving some areas cooler than what your temperature gauge says. An infrared temperature gun is an invaluable tool for scanning your platen for these kinds of inconsistencies.
Solving Dull or Faded Colors After Pressing
You started with a perfectly vibrant transfer, but after pressing, it looks disappointingly dull. This issue often points back to your initial file prep or the settings on your press.
If the colors look muted, the first thing to check is your temperature and time. Too much heat for too long can actually "overcook" the ink, causing the pigments to lose their pop. This is a particularly common problem with polyester garments, which are extra sensitive to high heat.
Here are a few other things to investigate:
- Original File Quality: A low-resolution image or one designed in the wrong color space (like RGB instead of a profile optimized for printing) will always lead to a duller output.
- Second Press Time: That final press is crucial for durability, but if you do it for too long—say, more than 10 seconds—it can flatten the colors. Keep it short and sweet.
- Fabric Color Interaction: Bright transfers on dark polyester can sometimes suffer from "dye migration," where the fabric's dye bleeds into the transfer ink. Using a special poly-blocking transfer or simply lowering your heat can help stop this.
What to Do When the Design Cracks or Peels
A design that cracks or peels after the first wash is a dead giveaway of poor adhesion. Assuming you started with a quality transfer like those from Cobra DTF, the problem almost certainly happened during the application process. The adhesive just didn't get a chance to form a strong, permanent bond with the fabric.
The number one cause is skipping the pre-press. Garments hold moisture, and that moisture turns to steam under the press, getting trapped beneath the transfer. This steam barrier prevents the adhesive from properly melting into the fabric fibers. A quick 5-10 second pre-press is all it takes to drive out that moisture and create a perfect surface for application.
Also, take another look at your pressure settings. You need firm pressure to really embed the adhesive into the shirt's weave. If it's too light, the transfer will just sit on top of the fibers, ready to peel away after a few wears. And of course, always follow the peeling instructions—peeling a cold-peel transfer while it’s still warm is a guaranteed way to ruin the application.
Even the most seasoned pros run into these issues from time to time. The key is knowing what to look for so you can make a quick adjustment and get back to pressing. I've put together a quick diagnostic table to help you solve these problems on the fly.
Quick Fixes for Heat Press Issues
| Symptom | Likely Cause | Solution |
|---|---|---|
| Transfer won't stick | Insufficient pressure or cold spots | Increase pressure to firm. Use a heat press pillow over seams. Check platen with a temp gun. |
| Edges are peeling up | Uneven pressure or a cold peel done too soon | Center the design away from collars/seams if possible. Let the transfer cool completely. |
| Colors look dull or faded | Too much heat/time; low-quality art file | Reduce temperature by 5-10 degrees. Shorten the final press to 5-7 seconds. Verify file is 300 DPI. |
| Design cracks after washing | Not enough pressure; moisture in the shirt | Pre-press the shirt for 5-10 seconds. Increase pressure to ensure the adhesive melts into the fabric. |
| Fabric shows "scorch" marks | Temperature is too high for the fabric | Lower the temperature. Use a protective Teflon sheet. Check the garment's heat sensitivity. |
Keep this table handy near your press. Often, a small tweak to one of these three variables—time, temperature, or pressure—is all it takes to turn a failed press into a perfect one.
Caring for Your Custom Shirts to Make Them Last
You’ve pressed the perfect shirt. Now what? The final step is making sure that beautiful print stays vibrant for a long, long time. A well-made DTF transfer can easily handle dozens of washes, but only if you treat it right.
Giving your customers these simple care instructions is a huge value-add. It shows you care about the quality of your work and helps them keep their new favorite shirt looking brand new.
The whole point of proper aftercare is to protect the two things that matter most: the ink and the adhesive. The biggest enemies are the heat and friction from your washer and dryer, which can wreck a great design if you're not careful.
The Right Way to Wash Your DTF Shirts
Here’s the single most important tip I can give you: wash the shirt inside out. It's that simple. This protects the design from getting scuffed up by other clothes, zippers, and buttons, which is what causes most prints to crack and fade over time.
For the best results, stick to these guidelines:
- Go with Cold Water: Always choose a cold wash cycle. Hot water can slowly eat away at the transfer’s adhesive, which eventually leads to peeling. Cold water is much gentler and does the job just fine.
- Pick a Mild Detergent: You don't need anything heavy-duty. Harsh detergents and aggressive stain removers can be too much for the inks. A simple, gentle detergent is all you need.
- No Bleach or Fabric Softeners: This is a big one. Chlorine bleach will absolutely destroy the colors in your print. Fabric softeners are also a no-go, as they can leave a film that weakens the transfer's bond to the fabric. Just skip them.
Following these rules creates the safest possible environment for the design when it’s in the wash.
Drying Your Shirts Without Damaging the Design
Just like with washing, heat is your main enemy during the drying process. A hot dryer is the fastest way to kill a custom-printed shirt. It can soften the adhesive and even make the design pucker or wrinkle.
The absolute best way to dry your shirt is to hang it up. This completely takes heat damage out of the equation and is by far the gentlest method. If you’re in a pinch, you can tumble dry on the lowest possible heat setting—just don't overdo it.
And whatever you do, never iron directly on the transfer. If you have to iron the shirt, turn it inside out, use a low heat setting, and be very careful to avoid the printed area.
Taking care of your garments is a simple but critical part of the process. If you want to dive deeper, you can learn more about how to wash graphic tees to keep every single print looking sharp.
Got Questions About DTF? We've Got Answers.
When you're first figuring out how to get a design onto a shirt, the same questions tend to pop up again and again. Getting them answered upfront can save you a ton of headaches and wasted materials. We get it.
Here are the straight-up answers to the most common questions we hear from people just getting started with Direct-to-Film.
Can I Just Use My Home Iron for This?
I know it's tempting, but please don't. While you technically can try, a regular home iron is the fastest way to get a transfer that peels off after one wash. They just don't get hot enough, and more importantly, they don't apply even pressure.
You'll end up with hotspots and cold spots, which means parts of your design won't bond correctly to the fabric. For a professional finish that you can confidently sell to a customer, a real heat press is non-negotiable. It's the only way to get the consistent heat and pressure needed for a durable, long-lasting print.
What Kind of Shirts Can I Print On?
This is where DTF really pulls ahead of the pack. The versatility is incredible. You can press these transfers onto pretty much anything you can get your hands on.
We're talking about:
- 100% Cotton (the classic)
- Polyester and performance wear
- Cotton/Poly Blends of all kinds (50/50, 60/40, you name it)
- Tri-Blends
- Heavier stuff like Canvas and Denim
This is a huge advantage over something like sublimation, which locks you into using only polyester. With DTF, you have the freedom to decorate a much wider range of apparel.
How Long Will the Print Actually Last?
A good quality DTF transfer, when pressed correctly, is built to last. We're talking 50+ washes without any signs of cracking, peeling, or serious fading. Honestly, the transfer will often look better than the shirt itself after a year of wear.
The secret to that kind of longevity comes down to two things: a solid press and proper care. Always advise your customers (or yourself!) to wash the shirt inside-out in cold water and tumble dry on low. That's the key to making the print last as long as possible.
Do I Need to Pre-Treat the Shirt First?
Nope! And this is one of the best parts about working with DTF.
Unlike Direct-to-Garment (DTG) printing, which involves a whole messy step of spraying the shirt with a chemical pre-treatment and heat-curing it, DTF is ready to go right out of the box. You just press it directly onto the blank shirt. This saves a massive amount of time, money, and hassle in your production workflow.
Ready to create stunning, long-lasting custom shirts with ease? Trust Cobra DTF for vibrant, USA-made transfers that ship fast and deliver professional results every time. Explore our high-quality DTF transfers today!