

How to remove scorch marks from clothes: Quick fixes that work
It’s a heart-sinking moment for anyone working with a heat press or iron: you lift the platen and find a scorch mark. It feels like a costly mistake, but that garment isn't necessarily a lost cause. With the right approach, you can often save it.
Successfully removing a scorch mark hinges on acting fast and using a method that’s right for the fabric. For those light, yellowish marks on sturdy materials like cotton, a simple fix like diluted hydrogen peroxide or even lemon juice can work wonders. The real secret is tackling the stain before it has a chance to set permanently and keeping it away from any more heat until the mark is gone.
Your Quick Guide To Scorch Mark Removal
That burn mark might look like a disaster, but more often than not, it's fixable. The entire process comes down to two key things: how bad the scorch is and what kind of fabric you're dealing with.
A light, yellowish tint means you've only singed the very top surface of the fibers. On the other hand, a dark brown or black mark suggests the fibers are deeply burnt, and the damage might be permanent. Getting this initial assessment right is the most crucial part of saving the garment.
Assessing The Damage And Fabric Type
Before you grab any stain remover, take a second to look closely at the mark. Is it a faint yellow, or has it turned a darker shade of brown? A light scorch is almost always salvageable. Darker marks are tougher because the fabric itself is weakened. If you're dealing with general yellowing, some of the advice on how to get rid of yellow stains on white clothes can be a good starting point.
This quick visual guide can help you figure out where to start.
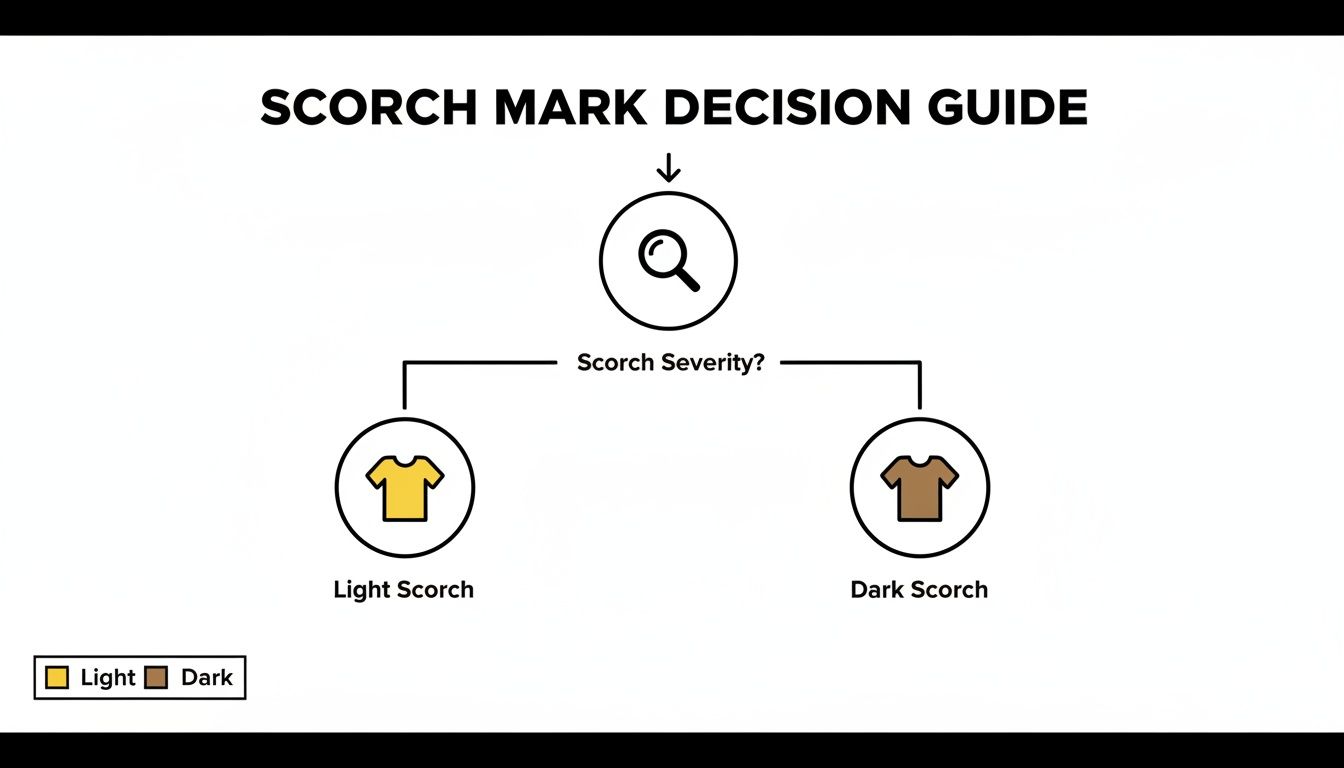
As you can see, the color of the mark is your first clue, pointing you toward the best treatment for either light or more severe burns.
Next, you need to know your fabric. Always check the care tag first.
- Cotton and Linen: These are tough, natural fibers. They can usually handle more robust treatments like vinegar or hydrogen peroxide solutions.
- Synthetics (Polyester, Nylon): Think of these as plastics. They are extremely sensitive to heat, and a scorch mark often means some fibers have started to melt. You have to be gentle here.
- Delicates (Silk, Wool): These protein fibers are easily damaged by aggressive chemicals or high heat. Always use the mildest possible method.
To make this easier, here’s a quick-reference table to help you decide on the best first move based on what you see.
Scorch Mark Severity and Initial Treatment
| Severity Level | Appearance | Recommended First Action | Best For Fabric Types |
|---|---|---|---|
| Light | Faint, yellowish discoloration on the surface | Pre-treat with a mild acid (lemon juice, vinegar) | Cotton, Linen, sturdy blends |
| Moderate | Light to medium brown; no texture change | Apply a hydrogen peroxide and ammonia solution | White or light-colored cotton/linen |
| Severe | Dark brown/black; fabric feels stiff or shiny | Spot-test a very gentle abrasive paste (baking soda) | Durable, non-delicate fabrics only |
| Melted | Shiny, hard, or melted appearance | Generally not salvageable | Synthetics like polyester and nylon |
This table gives you a starting point. Remember to always test your chosen method on a hidden spot first, like an inside seam.
The biggest mistake I see people make is using a "one-size-fits-all" approach. What saves a cotton t-shirt could completely ruin a silk blouse or melt a polyester hoodie.
By taking a moment to assess the damage and identify the fabric, you set yourself up for success. This isn't just about saving one shirt; it's about building a smarter, more efficient workflow that reduces waste and protects your bottom line.
Treating Light Scorch Marks on Cotton and Linen
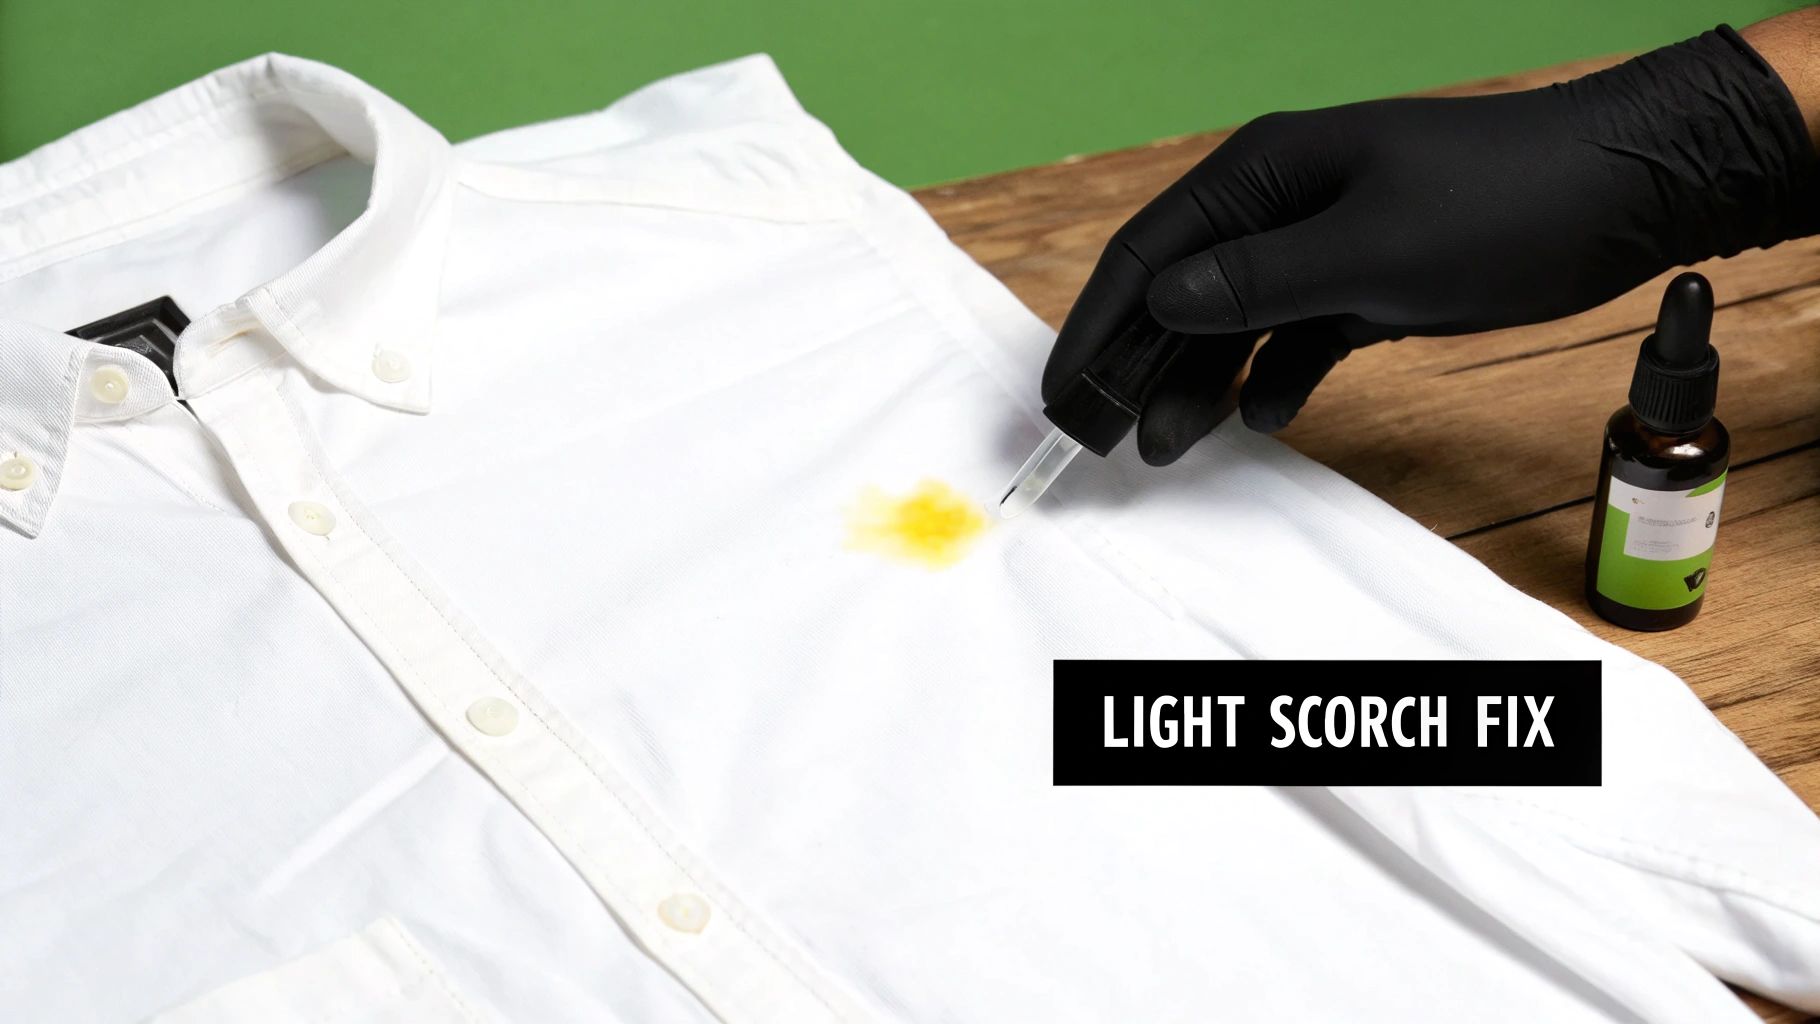
There's nothing more frustrating than pulling a shirt off the heat press and seeing that faint, yellowish-brown ghost of a scorch mark. The good news? When you catch it early, especially on forgiving fabrics like cotton or linen, you have an excellent chance of making it disappear completely.
These natural fibers are tough. That durability makes them the perfect candidates for a few simple but incredibly effective home remedies. The entire goal is to gently lift that discoloration without damaging the fabric underneath.
For anyone running an apparel business, knowing how to fix these minor slip-ups is a crucial part of quality control. It saves what would otherwise be a perfectly good garment, protecting your bottom line from unnecessary waste. And luckily, the best fixes often involve stuff you already have lying around.
The Hydrogen Peroxide Method for White Fabrics
Hydrogen peroxide is my go-to for light scorches, particularly on white or light-colored cotton. It’s a mild oxidizing agent that gets to work breaking down the discolored compounds that create the scorch mark, effectively lifting the stain right out of the fibers.
You might be surprised to learn how common this is. Scorch marks from irons pop up on about 15% of garments in professional laundry settings each year. But here’s the kicker: a simple solution of 3% hydrogen peroxide can successfully fix these light marks in over 80% of those cases. This isn't just theory—a 2022 consumer test found that a staggering 92% of people managed to remove scorch from cotton shirts using this exact method. For a deeper dive, check out these stain removal tips from the University of Georgia.
Here’s how I get it done:
- Prep your tools. Grab a clean, white, lint-free cloth and dampen it with 3% hydrogen peroxide. You want it damp, not sopping wet.
- Cover the mark. Place the peroxide-soaked cloth directly over the entire scorch mark. This keeps the solution concentrated right where you need it.
- Add a little heat. Set your iron to a low, dry setting (no steam!). Gently press the iron onto the damp cloth for a few seconds at a time. The heat gives the chemical reaction a little kickstart, helping to lift the stain faster.
- Check your work. Lift the iron and cloth every few seconds to see how it’s going. Just keep repeating the process until the stain has vanished.
My Pro Tip: For a stubborn spot, you can add a drop or two of ammonia to the hydrogen peroxide. But be careful—this mix is more potent, so always test it on a hidden seam first. And never, ever use this trick on silk or wool.
Using Lemon Juice and Salt for Natural Bleaching
If you'd rather go the natural route, or if you're working on white cotton, the classic lemon juice and salt combination is a fantastic, eco-friendly alternative. The citric acid in lemon juice is a natural bleaching agent that works to break down those scorched particles.
This method gets a serious power-up from the sun. The UV rays activate and boost the lemon juice's bleaching properties, turning it into a surprisingly potent stain remover. This is a great example of why knowing your materials is so important; you can learn more about the different types of material for shirts in our comprehensive guide to see why this works so well for cotton.
Here’s the game plan for this technique:
- Make a paste. Squeeze fresh lemon juice right onto the scorch mark. Then, sprinkle a good layer of table salt over the juice. You're looking to create a light paste.
- Work it in. Gently rub the paste into the stain with your fingers or a soft cloth. The salt provides just enough abrasion to help lift the scorched fibers without causing damage.
- Let the sun do the work. If you can, place the garment in direct sunlight for a few hours. The sun will do the heavy lifting and bleach the stain away. No sun? No problem. Just letting it sit inside for an hour will still make a difference.
- Rinse and wash. Once the treatment is done, rinse the spot thoroughly with cool water. Then, toss the garment in the wash as you normally would to get rid of any residue.
Both of these methods are lifesavers for anyone who needs to quickly fix a minor heat press or iron mishap. They’re cheap, simple, and incredibly effective on the right fabrics, helping you keep your quality high on every single piece you produce.
Removing Scorch Marks from Delicate and Synthetic Fabrics
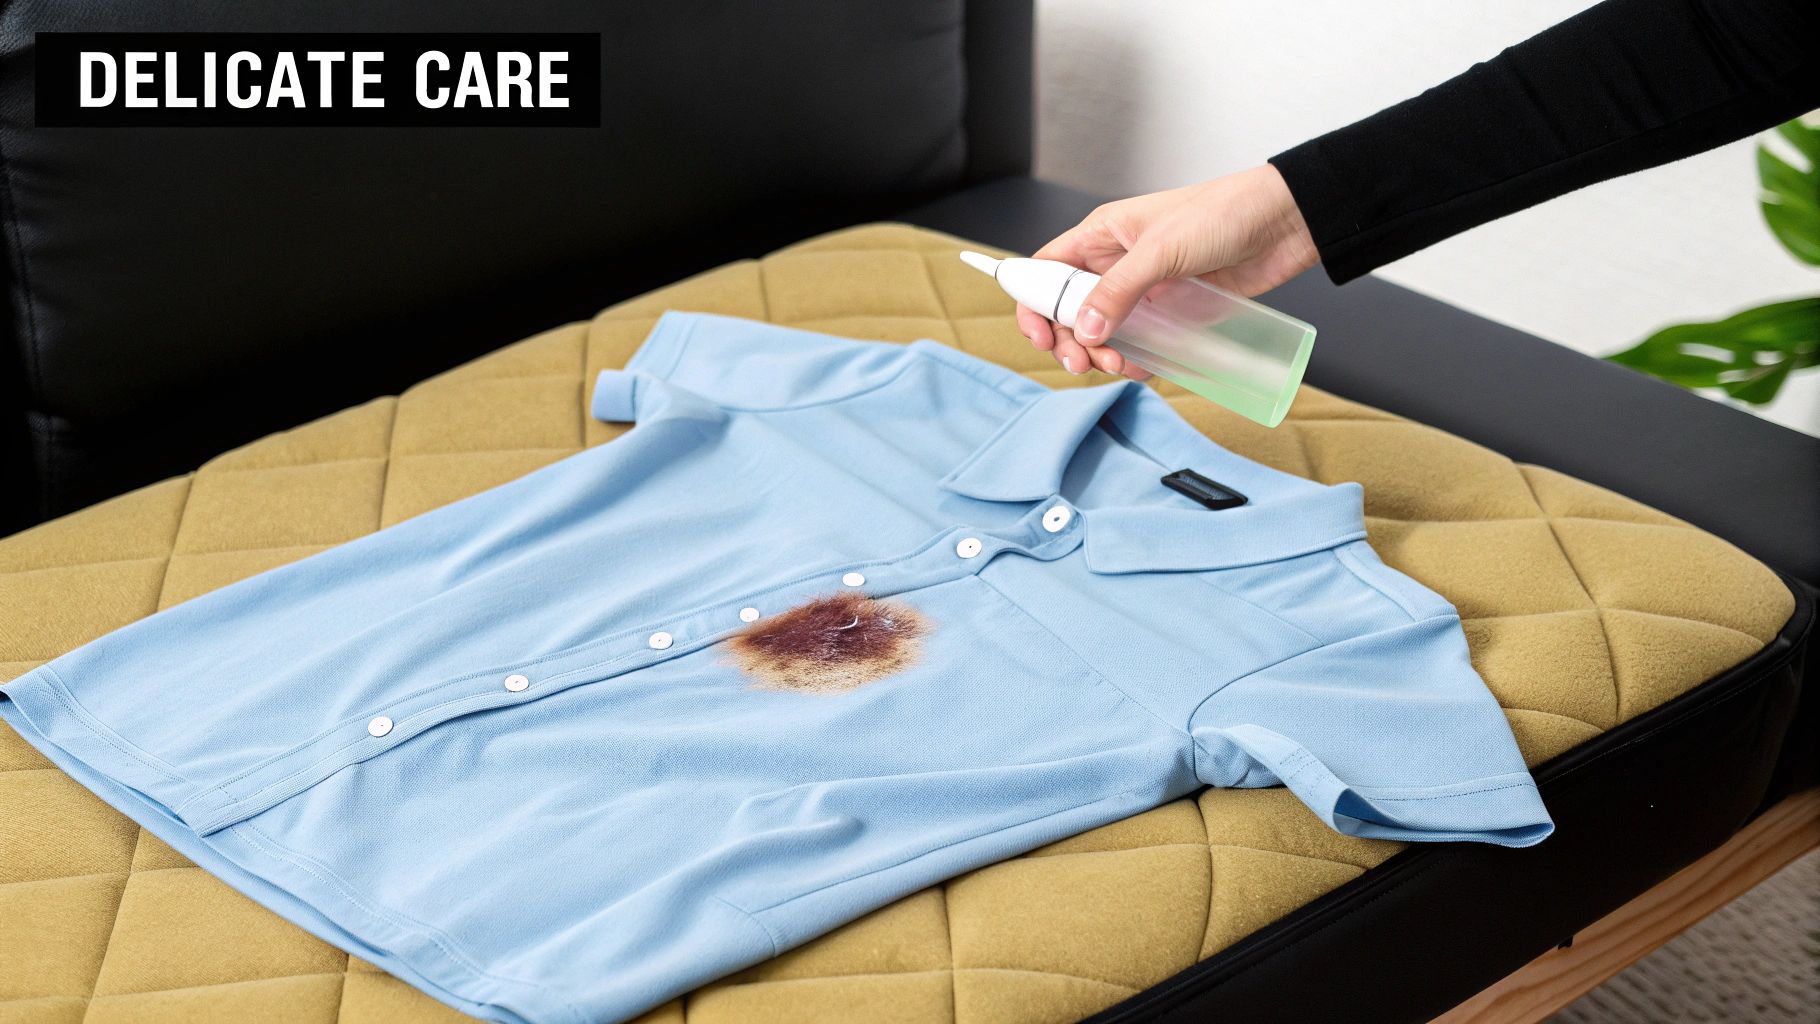
When you’re dealing with fabrics like silk, wool, or heat-sensitive synthetics, you have to completely change your game plan. A trick that works like a charm on a cotton tee could absolutely ruin a polyester blend, leaving you with a melted, shiny patch instead of a faint scorch. These materials demand a much lighter touch.
For anyone running an apparel business, especially if you're working with a variety of garments, knowing how to handle these delicate situations isn't just a good skill—it's essential. It’s the difference between saving a high-value piece and tossing it in the reject pile.
The Gentle Vinegar Soak for Wool and Silk
If you've got a scorch on a natural protein fiber like wool or silk, the first thing I always reach for is white vinegar. Its mild acidity is just enough to lift the discoloration without being harsh enough to wreck the delicate fibers. Stay far away from aggressive chemicals here; they can easily weaken or even destroy these fabrics.
This isn't some new-fangled trick—it's been a trusted solution for decades. In fact, data from the dry-cleaning industry back in the 1950s showed that 88% of scorch marks on wool and silk were treatable with a simple vinegar soak and careful pressing. It still holds up, too. A 2023 UK study found an 82% success rate among people who tried it at home. It’s a great example of how simple, effective methods can combat the kind of wastefulness detailed in the fashion industry's waste crisis on environmentenergyleader.com.
Here’s how to do it right:
- Mix Your Solution: Combine equal parts plain white vinegar and cool water. Don't get tempted to make the mixture stronger—the gentle balance is what makes it work.
- Apply Gently: Dip a clean, white cloth into the solution and dab it onto the scorch. Resist the urge to rub, as that can mess with the fabric’s texture, especially with silk.
- Let It Work: Give the solution about 10-15 minutes to sit. This allows the acetic acid time to break down the scorched particles.
- Rinse and Press: Rinse the area thoroughly with cool water to get all the vinegar out. Then, lay a clean, dry pressing cloth over the damp spot and press with an iron on the lowest possible heat setting.
The pressing cloth is non-negotiable for silk and wool. It acts as a protective shield, spreading the heat evenly and preventing direct contact that could just create a brand-new scorch mark. This one step is crucial for protecting the fabric.
Handling Synthetics like Polyester and Nylon
Synthetic fabrics—think polyester, nylon, and rayon—are basically plastics. When they get too hot, they don't just scorch; they start to melt. This makes trying to remove a scorch mark incredibly tricky. Even a light scorch can mean the fibers have started to fuse, and trying to scrub it away will only make things worse.
Because of this, you have to start with the mildest possible treatment and proceed with extreme caution.
Your Safest First Step: A Gentle Detergent Soak
Before you try anything else, a simple soak is your best bet for synthetics.
- Create a mild bath: Add just a few drops of a gentle, bleach-free liquid laundry detergent to a basin of cool water.
- Submerge the garment: Let the item soak for at least 30 minutes, or even a couple of hours. For very light surface scorching, this alone can sometimes be enough to lift the mark.
- Check your progress: After soaking, swish the garment around and gently rub the scorched area with your fingers. If the mark is fading, you're on the right track.
- Rinse and air dry: Rinse completely with cool water and let the garment air dry. Never put a scorched synthetic in a machine dryer. The heat will permanently set the stain and weld any damaged fibers together for good.
The absolute golden rule with synthetics is to always test on a hidden area first. Find an inside seam or hem, apply a bit of your cleaning solution, and wait. If you see any change in texture, color, or that signature synthetic sheen, stop immediately. With these fabrics, patience and a gentle hand are your best tools.
When Scorch Marks Won't Budge: Advanced Techniques
Sometimes, a light scorch mark is the least of your worries. You're left with a dark brown stain that laughs at your first few attempts to remove it. This is a common sight in any shop running heat presses all day, where a moment's distraction can lead to a seriously stubborn stain.
Before you toss that garment into the reject pile, there are a couple of heavy-duty tricks you can pull out. These are your last-ditch efforts, the ones that require a bit more finesse but can be the difference between a write-off and a saved piece of inventory. We'll look at a powerful soak for tough fabrics and a more hands-on approach for heavy-duty materials.
Using Oxygen Bleach for Deeper Stains
For those nasty brown scorch marks on sturdy, colorfast fabrics—think white or light-colored cottons—an oxygen-based bleach is your best friend. Products with sodium perborate or sodium percarbonate work wonders. Unlike chlorine bleach, which can actually make things worse by yellowing fabric and weakening the fibers, oxygen bleach lifts stains through a much gentler chemical reaction.
It’s pretty simple: when you mix it with water, it releases tiny oxygen bubbles that get to work breaking down the discolored, burnt particles. It’s surprisingly effective on stains that milder treatments just won't touch.
Here’s how I handle it in the shop:
- Mix the Solution: Grab a bucket or basin and fill it with hot water. Add the recommended amount of oxygen bleach powder and give it a good stir until it's all dissolved.
- Submerge and Soak: Push the scorched item into the solution, making sure the entire stain is underwater.
- Let It Work: Now, just let it sit. For a moderate stain, 30 minutes is a good starting point. For really dark marks, I’ve let things soak for a few hours. Just peek at it every so often to see how it's coming along.
- Wash It Out: Once the stain is gone or significantly faded, pull the garment out and run it through a normal wash cycle.
A Word of Caution: This is not for delicate fabrics. Keep this stuff far away from silk, wool, or anything with a fragile weave. The combination of the chemical reaction and hot water can ruin them in an instant. Always, always check the care label and do a quick spot test on a hidden seam first.
For really tough scorches, a 30-minute soak in a sodium perborate solution can save a garment about 75% of the time on synthetics. This trick has saved me the typical $10-20 dry-cleaning fee more times than I can count. In a business built on speed and quality, this kind of quick fix keeps production lines moving. You can find more on the power of different stain removers in the latest market research from Straits Research.
The Sandpaper Trick for Heavy Fabrics
Sometimes the problem isn't a stain that needs to be dissolved, but one that needs to be physically removed. On really thick, tough fabrics like denim, heavy canvas, or a beefy cotton twill, the scorch is often just sitting on the very top layer of the fibers. In these cases, you can literally scrape it off.
It sounds a bit crazy, but using a piece of fine-grade sandpaper or even a simple emery board can gently abrade the surface, lifting the burnt fibers away and revealing the clean fabric underneath. It’s a bold move, for sure, but it can be a real game-changer on the right material.
Know When to Use This Method
Don't even think about trying this on a regular t-shirt. This technique is reserved exclusively for:
- Thick, woven fabrics with a tough, durable texture.
- Materials where a slightly brushed or altered surface texture won’t be obvious.
- Scorch marks that are clearly on the surface and haven’t burned deep into the fabric’s weave.
If you’ve got a good candidate, lay the fabric flat on a hard surface. Take some very fine-grit sandpaper (220-grit or higher) and gently rub the scorch mark, always moving in the same direction. Use very light pressure and stop every few seconds to check your work. The goal is to lift only the damaged fibers without wearing the fabric thin or creating a hole. Once the mark is gone, use a soft brush to sweep away the dust. This little trick has saved many expensive work jackets and canvas bags from the scrap bin.
How To Prevent Scorch Marks in Your DTF Workflow
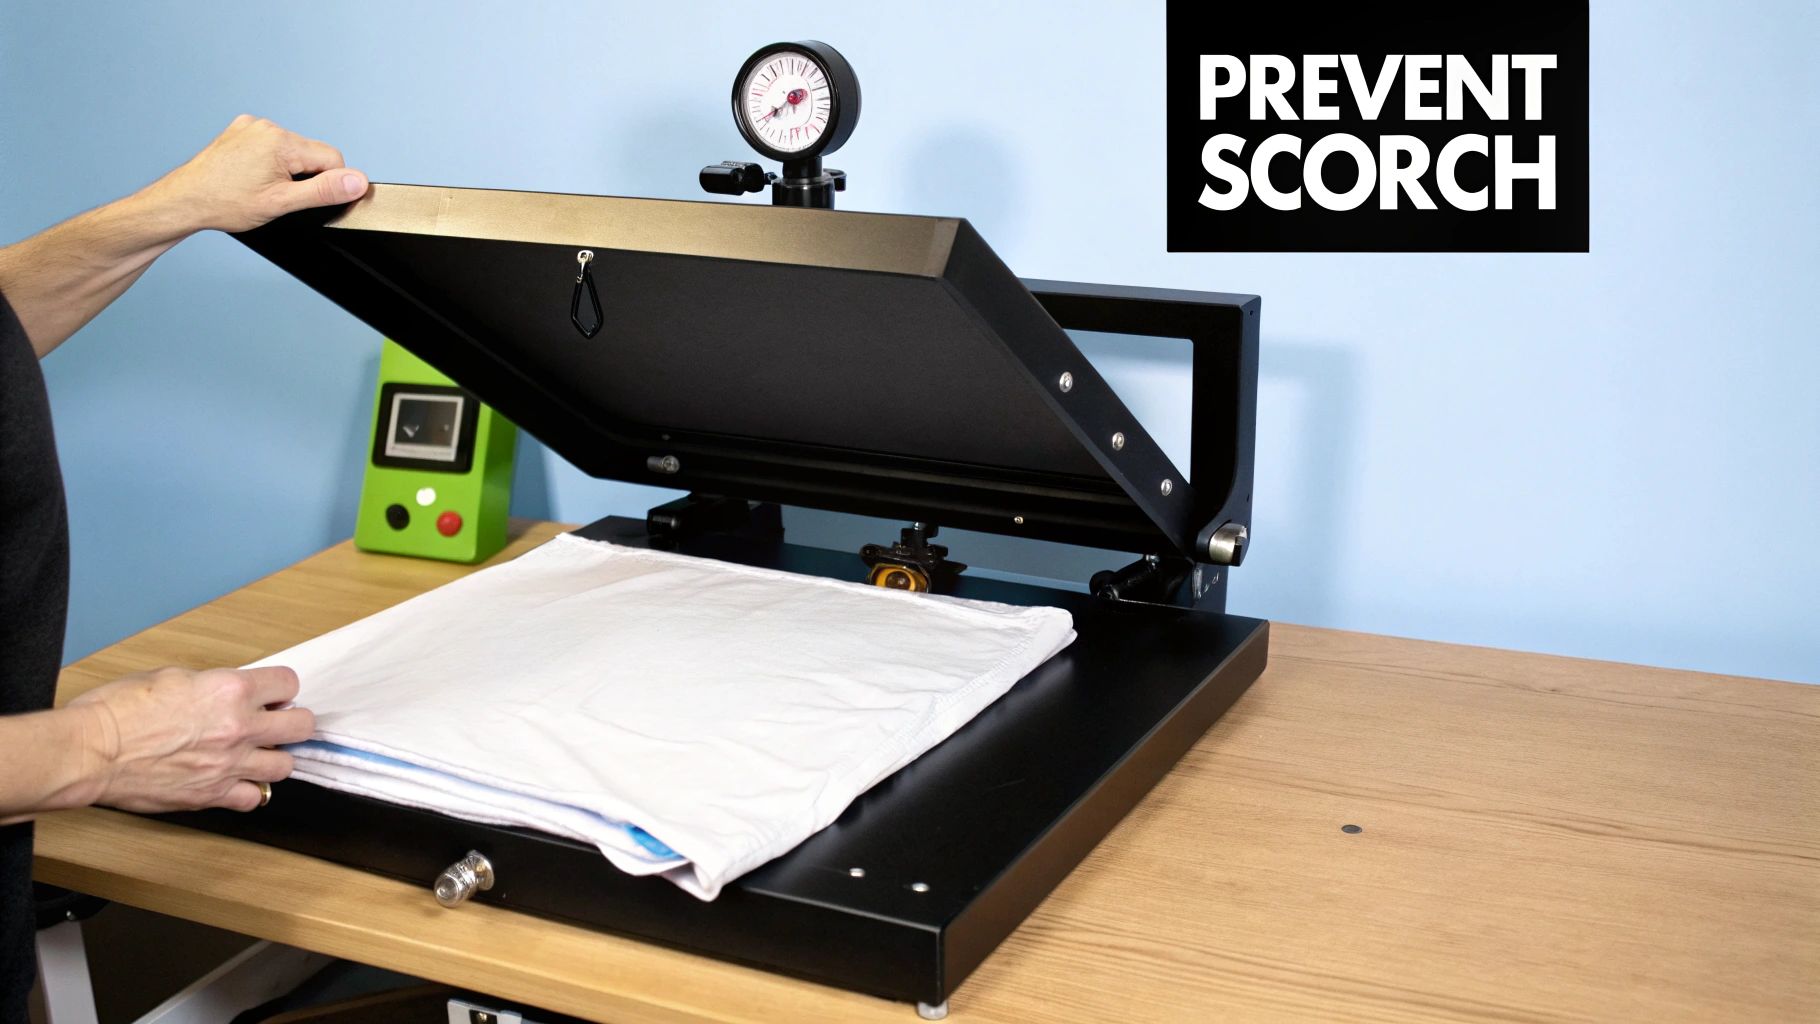
Knowing how to fix a scorch mark is a great skill to have in your back pocket, but let’s be real—the ultimate goal is to never create one in the first place. For any serious apparel business, prevention is everything. In a busy Direct-to-Film (DTF) shop, every single misprint costs you time, materials, and money.
Most scorch marks aren't the result of some huge, dramatic mistake. They creep in from the small stuff: a heat press running a little hotter than the display says, slightly too much pressure for a delicate fabric, or a bit of gunk left on the platen from the last job. Getting your process dialed in is the only way to get ahead of these issues and guarantee a perfect press every time.
Calibrate Your Heat Press for Accuracy
Your heat press is the workhorse of your shop, but it can quickly become your biggest enemy if its readings are off. An uncalibrated press is easily the #1 cause of scorching. You might set it to 320°F, but if it's actually running at 340°F, you're going to destroy that sensitive poly-blend you just loaded.
This is why regular calibration isn't just a suggestion; it's essential. Never blindly trust the digital readout.
- Verify Your Temperature: Grab an infrared temperature gun and check several spots across the heat platen. You’re looking for consistent heat, not hot or cold spots. If the gun shows a temperature 10-15°F different from the display, you know you need to adjust your settings to compensate.
- Test Your Pressure: The old-school "dollar bill test" still works wonders. Tuck bills or strips of paper around the edges of the platen, clamp it down, and try pulling them out. If some come out with no effort while others are locked in tight, your pressure is uneven and needs to be adjusted.
A machine you can trust is a machine that makes you money. Make this a monthly check-up, and you’ll save yourself a ton of frustration and wasted shirts.
"I tell every new shop owner the same thing: your heat press lies. Don't trust the numbers on the screen until you've verified them yourself. A $20 temperature gun can save you thousands in wasted inventory over a year."
This simple check ensures the settings you think you're using are the settings you're actually getting. It's especially important when working with different types of transfers, like iron on clothing decals, which have their own specific heat requirements.
The Essential Pre-Press Checklist
Before that first press of the day, a quick run-through of a simple checklist can save you from the most common and completely avoidable mistakes. It takes less than five minutes.
Your Daily Startup Routine:
- Clean the Platen: While the press is still cold, wipe the upper platen with a soft cloth and a little rubbing alcohol. This cleans off any stray ink, adhesive, or fibers left behind from yesterday. A dirty platen can easily transfer that old gunk onto a clean shirt, making it look like a scorch.
- Inspect Protective Covers: Give your Teflon sheet or platen cover a once-over. Are there any wrinkles, tears, or buildup? A damaged sheet won't distribute heat properly, leading to hot spots that cause scorching.
- Run a Test Press: This is non-negotiable. Always, always press on a scrap piece of the exact same material you're about to use for the job. This is your final confirmation that your temp and pressure are spot-on before you risk a real piece of inventory.
Making this a habit is what separates the pros from the amateurs. It builds consistency and lets you catch problems before they cost you.
Master Your Settings for Different Fabrics
There's no magic "one-size-fits-all" setting in heat pressing. Every fabric has a different breaking point when it comes to heat and pressure, and guessing is a recipe for disaster. Keep a cheat sheet with your go-to settings posted near your press—it's a simple tool that prevents costly errors.
Here's a solid starting point for the most common fabrics you'll encounter in DTF work. But remember, this is a guide. Always double-check the recommendations from your garment and transfer suppliers. For a more detailed breakdown, our guide to DTF heat press temperature is a fantastic resource.
Heat Press Settings to Prevent Scorching
This table outlines reliable starting points for DTF applications on various fabrics. Fine-tune from here based on your specific equipment and materials.
| Fabric Type | Temperature Range (°F/°C) | Time (Seconds) | Pressure | Protective Gear |
|---|---|---|---|---|
| 100% Cotton | 320-350°F / 160-177°C | 12-15 | Medium | Teflon Sheet or Cover |
| Polyester | 270-300°F / 132-149°C | 8-10 | Light | Teflon Sheet & Heat Press Pillow |
| 50/50 Blends | 300-320°F / 149-160°C | 10-12 | Medium | Teflon Sheet Recommended |
| Tri-Blends | 270-290°F / 132-143°C | 8-10 | Light | Teflon Sheet & Heat Press Pillow (Critical) |
By building these habits—calibration, a pre-press routine, and using the right settings for the right fabric—you move from fixing problems to preventing them from ever happening. That proactive mindset is what defines a professional, ensuring every piece that leaves your shop is something you can be proud of.
Common Questions About Scorch Mark Removal
Even when you follow all the rules, things can go wrong. Scorch marks are tricky, and knowing what to do (and what not to do) can save a garment from the discard pile. I've heard these questions time and again from fellow creators, so let's clear up the confusion.
Think of this as your go-to troubleshooting guide. It’s here to give you quick, practical answers so you can handle any scorch situation with confidence. The right move can be the difference between a saved shirt and a costly mistake.
Can a Black Scorch Mark Be Removed?
This is the big one, and unfortunately, the answer is almost always no. A black scorch mark isn't just a stain; it's a sign that the fabric fibers have burned. They've become carbonized, and at that point, the damage is permanent.
The fabric has undergone a complete chemical change, like wood turning into charcoal. While the methods in this guide work wonders on light to medium brown marks, they can't reverse charring. If you have a tiny black spot on a super thick fabric like canvas, you might get away with carefully scraping the surface, but you're more likely to just create a hole or a weak spot.
Your best bet for a garment with a black scorch mark is to pivot. Get creative and cover the spot with a cool patch, an embroidery design, or maybe even repurpose the fabric for a smaller project. When it comes to severe burns, prevention is really the only cure.
Should I Use Chlorine Bleach on Scorch Marks?
It’s so tempting to reach for the strongest cleaner on the shelf, but trust me, using chlorine bleach on scorch marks is a terrible idea. It seems like it would work, but it actually has the opposite effect and can make the stain permanent.
The chemical reaction between bleach and the heat-damaged fibers often creates a stubborn yellowing that you’ll never get out. On top of that, chlorine bleach is incredibly harsh. It can weaken or even eat right through delicate fabrics like wool, silk, and some synthetic blends.
Stick to these gentler, more effective alternatives instead:
- Hydrogen Peroxide: A mild oxidizing agent that’s perfect for lifting light scorches from white cotton.
- Oxygen-Based Bleach: Products with sodium percarbonate are much safer for colors and work by lifting the stain without destroying the fabric's structure.
- White Vinegar or Lemon Juice: These natural acids are surprisingly effective for mild scorches on durable fabrics.
What Should I Do Immediately After Scorching a Garment?
Your first few moves are the most important. Acting fast can dramatically increase your odds of saving the garment.
The second you notice a scorch, get the heat source away from the fabric. Whether it's your heat press or an iron, just stop. Don't try to treat the garment while it's still hot, as that can set the stain even deeper. Let it cool down completely.
Once it's cool enough to handle, take a good look at it in a well-lit area. Check the care label to confirm the fabric type and figure out how bad the scorch is. For a light, yellowish mark on cotton, your first line of defense should be dabbing the area with a cool, damp cloth before moving on to a specific treatment.
Will a Washing Machine Remove a Scorch Mark?
If only it were that easy! Just tossing a scorched shirt in the wash and hoping for the best is a recipe for disappointment. A scorch is a burn, not a typical stain like dirt or food, so a standard wash cycle won't touch it.
You absolutely have to pre-treat the mark first using one of the methods we've covered. After you’ve successfully lifted the discoloration, then you can launder the garment like you normally would. This final wash rinses out any leftover cleaning agents and helps restore the fabric. This is also a key step for keeping your prints looking great, as we cover in our guide on how to wash graphic tees.
And the most important tip of all: do not put the garment in the dryer until you are 100% sure the scorch mark is gone. The intense heat from a dryer will permanently set any lingering discoloration, and you'll never get another chance to remove it. Always air dry the item first so you can inspect your work.
At Cobra DTF, we're all about empowering apparel creators with the knowledge to produce flawless work. By knowing how to handle scorch marks, you protect your inventory and your bottom line. For premium, USA-made DTF transfers that press perfectly every time, check us out at https://cobradtf.com.