

Your Guide to DTF Heat Press Temperature
Getting your DTF heat press temperature just right is probably the single most important part of getting a vibrant, durable print. For most projects, you’ll find the sweet spot is somewhere between 320°F and 350°F. This isn't just an arbitrary number; it's the specific range needed to perfectly melt the adhesive without scorching the garment.
Think of it like this: the heat press temperature is what activates the adhesive powder on the back of your DTF transfer. It turns that powder into a molten state that grabs onto the fabric fibers, creating the strong, flexible bond DTF is known for.
Go too low with the heat, and the adhesive won't melt all the way. The design might look fine right off the press, but you'll almost certainly see it peeling or cracking after a wash or two. On the flip side, too much heat can be a disaster. It can easily burn sensitive fabrics like polyester, cause the garment's dye to bleed into your design (a phenomenon called dye migration), or leave the print feeling stiff and plastic-y.
The Trio: Heat, Time, and Pressure
Temperature, time, and pressure are the three legs of the stool for a perfect press. You can't have one without the others. They have to work together.
- Heat is what melts the adhesive.
- Time gives that melted adhesive a chance to sink in and bond with the fabric.
- Pressure makes sure the entire transfer has firm, even contact, pushing the adhesive deep into the fibers.
If you change one, you often need to tweak the others. For example, if you lower the temperature slightly for a delicate fabric, you might need to add a few extra seconds of press time to get the same solid bond. These precise settings are what make or break a DTF transfer. While the 320°F to 350°F (that’s about 160°C to 177°C) range is the industry-standard starting point, always be ready to adjust. For a deeper dive, the experts at Picasso Print offer great insights on DTF temperature settings.
This quick visual breaks down the simple, three-stage workflow for a flawless DTF application.
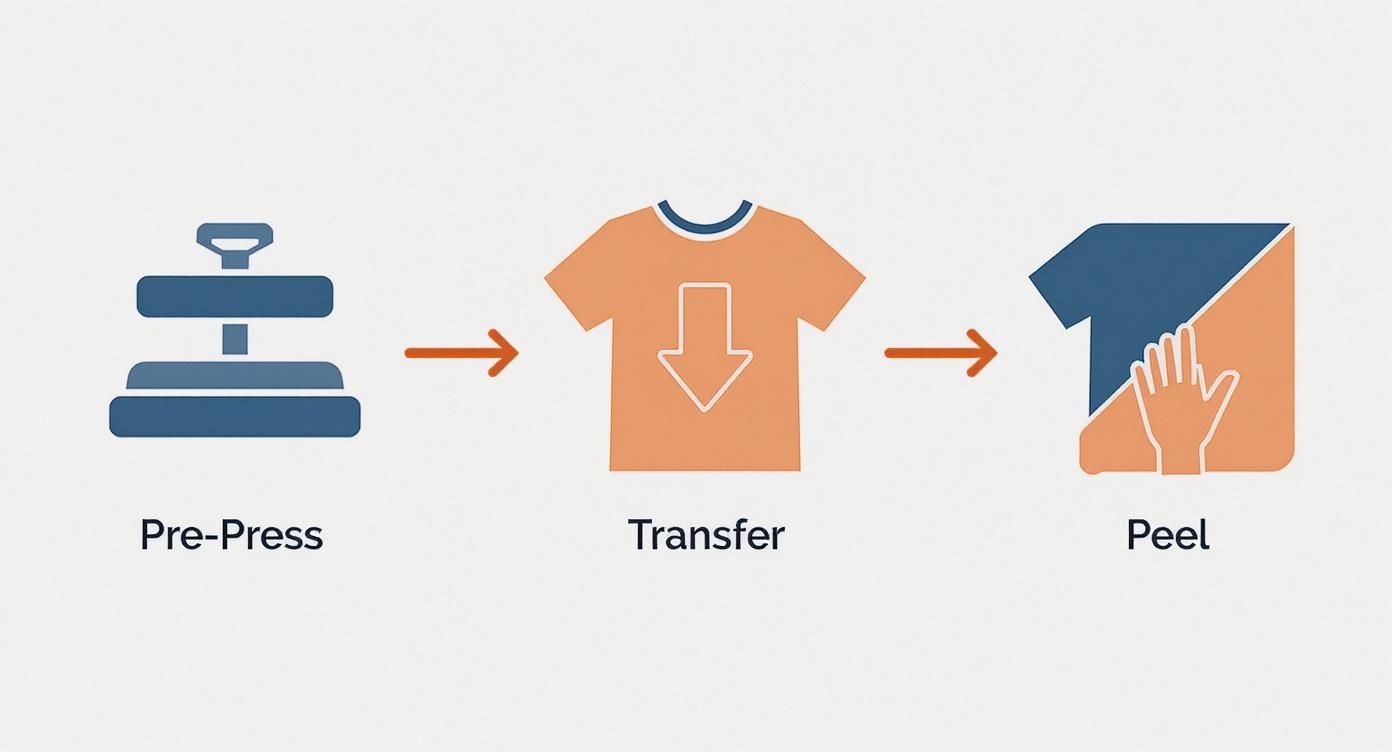
As you can see, a quick pre-press is an essential first step. It's followed by positioning and pressing the transfer, and then the final peel.
It’s Not Just About the Numbers
You also need to think about your environment. Is your shop humid? That moisture gets into the fabric and can turn to steam during pressing, which can seriously interfere with the adhesive.
This is exactly why a quick 2-3 second pre-press is non-negotiable. It zaps out any lingering moisture and smooths out wrinkles, giving you a perfect, flat surface to work with.
Pro Tip: Don’t treat the recommended settings as absolute rules. See them as a solid starting point. Your real goal is to find the lowest possible temperature that gives you a complete, durable cure for the specific garment you're using. This approach protects the fabric while giving you top-notch quality.
Quick Reference for DTF Heat Press Settings
Here's a handy chart to get you started with some of the most common fabrics you'll encounter. Remember, these are just starting points—always run a small test on a scrap piece or an inconspicuous area before committing to a full production run.
| Fabric Type | Temperature Range (°F) | Time (Seconds) | Pressure | Peel Type |
|---|---|---|---|---|
| 100% Cotton | 320°F - 340°F | 12 - 15 | Medium | Hot or Cold |
| Cotton/Poly Blends | 300°F - 325°F | 10 - 12 | Medium | Cold |
| 100% Polyester | 275°F - 300°F | 8 - 10 | Medium | Cold |
| Tri-Blends | 275°F - 300°F | 8 - 10 | Light-Medium | Cold |
| Spandex/Lycra | 260°F - 280°F | 8 - 10 | Light-Medium | Cold |
With this table and a willingness to test, you'll be able to dial in the perfect settings for almost any job that comes your way. Consistency is key, so once you find what works for a specific garment, jot it down
How to Calibrate Your Heat Press for Accuracy
Is your heat press lying to you? Its digital display might claim a perfect 325°F, but what’s actually happening on the platen's surface can be a completely different story. In my experience, inconsistent heat is the number one reason DTF transfers fail, leading to peeling, weak adhesion, and a pile of wasted shirts.
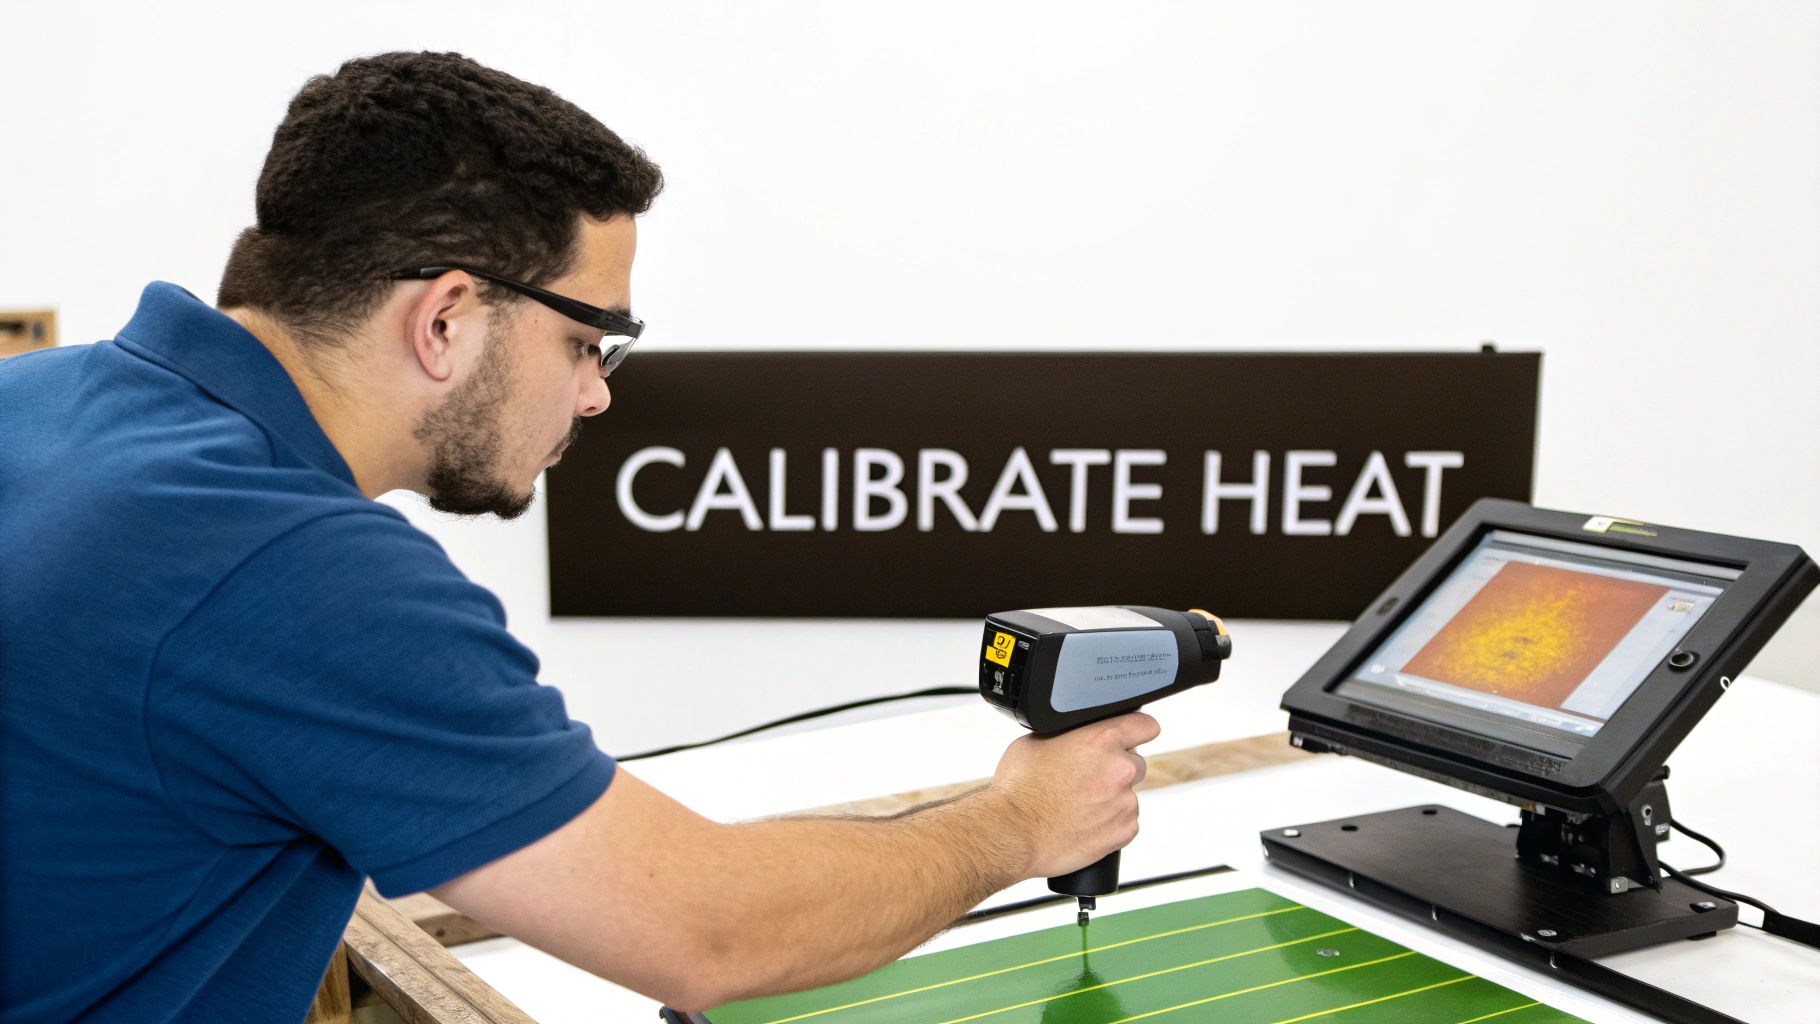
Many presses, especially older or more affordable models, are notorious for having "hot spots" and "cold spots." This means one part of your platen could be 15 degrees hotter than you set it, while another corner is 20 degrees cooler. That kind of swing is more than enough to ruin an entire batch where consistency is key. You can't dial in a reliable DTF heat press temperature if you don't truly know your equipment.
Mapping Your Platen with a Temperature Gun
The only way to stop guessing is to get some real data, and the best tool for the job is a handheld infrared (IR) temperature gun. They're inexpensive and give you an instant, accurate surface reading. I like to think of this as creating a heat map of my press.
Here's my simple process for mapping a platen:
- Warm It Up: Set your press to a common temperature you use, like 320°F, and give it a good 15-20 minutes to fully stabilize. Don't rush this part.
- Check the Center: Pop it open and quickly take a reading right in the middle of the lower platen. Write that number down.
- Map the Perimeter: Now, work your way around the platen, measuring all four corners and the midpoint of each edge. Note every single reading.
After a few minutes, you'll have a clear picture of how your press actually performs. You might find that while your display says 320°F, the top left corner is only hitting 305°F and the bottom right is a blistering 335°F. This is gold. This is the information that will save you headaches.
Knowing your press’s specific hot and cold zones allows you to adjust your placement or settings accordingly. For a full chest design, you might need to slightly increase the overall temperature to ensure the coolest spot still reaches the minimum required heat for a proper cure.
Why Consistent Calibration Matters
This isn't a one-and-done chore. Heating elements wear out and change over time, so I recommend making this check a monthly routine or doing it any time you start seeing weird, inconsistent results.
The importance of this precision is huge. Even small temperature swings can mess with a print's durability, causing it to crack and peel after just a few washes. Nailing your temperature is fundamental to creating professional-quality products that people will love.
Getting to know the quirks of your own equipment is what separates the pros from the hobbyists. For more detailed instructions on getting the most out of your press, check out our complete Cobra DTF press instructions guide.
Adjusting Settings for Different Fabrics
One of the most common mistakes I see people make is treating every fabric the same. Using a single DTF heat press setting for everything is a recipe for disappointment. The truth is, different materials react to heat in completely different ways. What works perfectly on a heavy cotton tee will absolutely destroy a delicate polyester performance shirt. Nailing your settings is what separates the pros from the amateurs.
Take a thick, 100% cotton hoodie, for instance. Those natural fibers are porous and can handle more heat. In fact, they need that higher temperature to help the DTF adhesive create a deep, permanent bond. If you don't give it enough heat, the transfer ends up just sitting on the surface, ready to crack and peel after the first wash. This is where you’ll be working in those higher temperature ranges.
The Challenge of Heat-Sensitive Synthetics
Now, polyester and other synthetic blends are where things get tricky. These fabrics are basically a form of plastic. If your press is too hot, they can scorch, melt, or get a nasty sheen. But the biggest headache is dye migration. This happens when the fabric's own dye turns into a gas under the heat and bleeds into your transfer, turning a crisp white design into a faded, tinted mess.
To avoid this disaster, you have to bring the temperature way down. It's a real balancing act—you need just enough heat to cure the adhesive but not so much that you damage the garment. This is why testing is completely non-negotiable with synthetics. Trust me, a melted shirt is a lesson you only want to learn once.
If you want to dive deeper into how these materials behave, check out our guide on the differences between cotton and polyester for printing.
This image really shows that direct contact between the heat press, the transfer, and the garment, hammering home why getting those fabric-specific settings right is so crucial.
Finding the Sweet Spot for Blends
So what about those super popular 50/50 cotton/poly blends? As you might guess, the ideal setting is somewhere in the middle. You can't crank up the heat like you would for pure cotton without risking dye migration from the polyester. But you also can't go as low as you would for 100% polyester without getting a weak bond on the cotton fibers.
You’re looking for a temperature that threads the needle. Industry benchmarks back this up:
- 100% Cotton: Typically needs higher heat, around 350°F to 375°F.
- 100% Polyester: Performs best at much lower temperatures, from 300°F to 325°F.
- Cotton/Poly Blends: The sweet spot is usually in a medium range of 325°F to 350°F.
Key Takeaway: Always start with the garment manufacturer's recommended heat limit—that's your absolute maximum. From there, use your DTF transfer supplier’s guidelines and test until you find the perfect combo of temperature, time, and pressure for that specific shirt.
Mastering the Hot Peel vs. Cold Peel Method
The moment your heat press timer beeps, you're at a crossroads. Do you rip that film off immediately, or do you let it cool down? This single decision—the choice between a hot peel and a cold peel—is one of the most important you'll make, as it completely changes the look and feel of your final print. Your DTF heat press temperature settings are a huge part of getting this right.
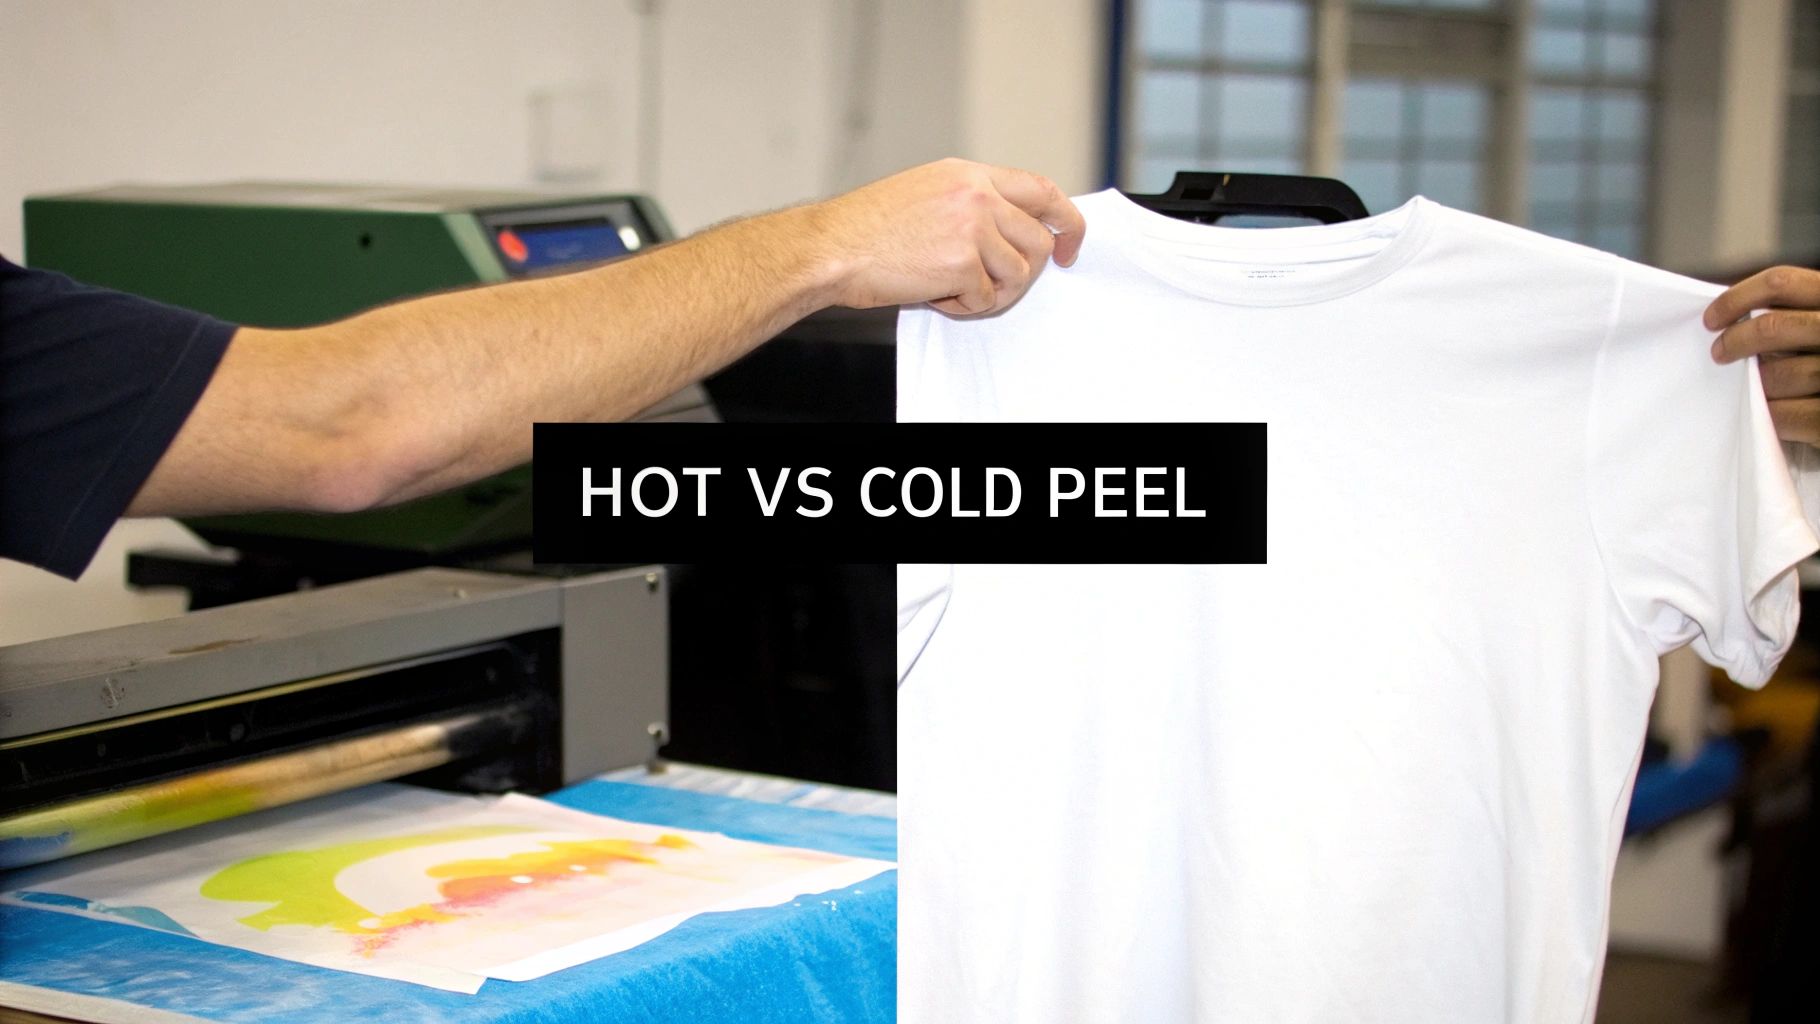
Think of it like choosing between a gloss or matte finish for a photograph.
A hot peel is all about speed. You peel the film just seconds after the press opens, while everything is still piping hot. This leaves the design with a slick, glossy finish that feels smooth and a bit thinner on the shirt. Because the ink is still almost liquid, the film releases fast, leaving that shine behind.
On the other hand, a cold peel demands a little patience. You need to let the garment and transfer cool down completely before you even think about touching the film, which can take anywhere from 30 to 60 seconds. This wait time allows the adhesive to cure and really lock itself into the fabric's fibers. The result? A super durable, flexible print with a trendy, matte finish and a much softer feel, or "hand."
How Your Settings and Peel Method Connect
So, which one should you use? The DTF film you bought will often make the decision for you. Most films today are engineered for one method or the other, so the first thing you should do is check what the manufacturer recommends. If you try to hot peel a film designed for a cold peel, you're asking for trouble—the design will likely lift, stretch, or peel off entirely because the adhesive never got a chance to set.
You might also need to tweak your temperature based on the peel. Hot peel films are made for a quick getaway, so they usually work great within the standard temperature range. For a cold peel, though, it's absolutely critical that the adhesive has melted completely into the fabric. If you're attempting a cold peel and notice parts of your design are lifting with the film, it’s a classic sign your temperature is a touch too low to get a solid bond.
Pro Tip: A clean peel is all about the technique. For a hot peel, be quick and confident—pull it off in one smooth motion. For a cold peel, "low and slow" is the mantra. Keep the film as flat against the shirt as possible and roll it back gently to avoid tugging on the ink.
Once you get the hang of both methods, you can offer clients the exact finish they're after, whether it's a bold, glossy statement piece or a subtle, soft-touch design.
Troubleshooting Common Heat Press Problems
Even when you think you've nailed the perfect DTF heat press temperature, things can go sideways. A perfect run of shirts on Monday can suddenly turn into a mess on Tuesday, leaving you frustrated and behind schedule. Don't worry—most of these issues are common and surprisingly easy to fix once you know what to look for.
Let's get practical and talk about the real-world headaches that can pop up. From prints that look amazing right off the press but fall apart after one wash, to colors that just don't pop, we'll walk through the symptoms and get you back on track.
The Print Peels or Cracks After Washing
This is probably the most gut-wrenching issue. You hand over a beautiful shirt, feeling proud of your work, only to get an angry call a week later because the design is cracking and peeling off. This is almost always a classic case of a poor bond, which points right back to your core settings: temperature, pressure, or time.
The main culprit is usually not enough heat or pressure. Simply put, the adhesive on the back of the transfer didn't fully melt and weave itself into the fabric's fibers.
-
Try This First: Bump Up the Heat. Increase your temperature by 5-10°F. Your heat press might display 325°F, but a cold spot on the platen could mean that area is only getting 310°F of heat, which isn't enough to get the job done.
-
Next: Check Your Pressure. You need firm, even pressure. If your press doesn't have a digital readout, a good rule of thumb is that it should take a solid effort to lock the handle down. It shouldn't be easy.
-
Don't Forget the Pre-Press! Did you skip it to save time? That's a huge mistake. Any moisture trapped in the garment turns to steam during the press, which actively works against the adhesive. Always pre-press for 3-5 seconds to drive out that moisture.
A Lesson from the Shop: I once had an entire batch of hoodies start peeling. I checked my temp and pressure, and everything seemed fine. The real issue? The thick seam along the hoodie's pocket was preventing the platen from making full contact with the design. The pressure wasn't even. A simple heat press pillow under the print area solved it instantly by elevating the surface.
The Colors Look Faded or Dull
When a vibrant design comes off the press looking muted and washed out, your first instinct is probably to blame the transfer or the inks. More often than not, the problem is actually too much heat.
Excessive temperatures can literally scorch the inks, causing the pigments to lose their punch. This is especially true when working with sensitive fabrics like polyester. It's a fine line between melting the adhesive and over-cooking the color.
Learning what goes into producing high-quality, custom DTF transfers that are ready to press can also help, as premium materials are often more forgiving.
An Adhesive "Halo" or Outline Shows Up
Ever peel the film away and notice a faint, shiny outline around your design? That's the dreaded "adhesive halo." It’s caused by a little bit of excess adhesive powder clinging to the edges of the transfer film. While it’s not a catastrophic failure, it just looks unprofessional.
Luckily, the fix for this is incredibly easy.
- The Quick Fix: Do a Second Press. After you've peeled the film, just cover the design with a piece of parchment paper or a Teflon sheet. Press it again for just 2-5 seconds. This quick second hit of heat melts that stray adhesive right into the fabric, making the halo vanish. As a bonus, it also helps soften the feel of the print.
DTF Print Problem Troubleshooting Guide
When you're in the middle of a big order, you don't have time for guesswork. Use this guide to quickly diagnose and solve the most common issues you'll face with DTF heat pressing.
| Symptom | Potential Cause | Recommended Solution |
|---|---|---|
| Print is peeling/cracking after washing | Not enough heat or pressure; moisture in the garment. | Increase temp by 5-10°F, increase pressure to firm, and always pre-press for 3-5 seconds. |
| Colors look dull or faded | Too much heat; the ink is being "over-cooked." | Reduce temperature by 5-10°F. Test on a scrap piece of fabric first. |
| A shiny adhesive outline ("halo") is visible | Excess adhesive powder stuck to the film edges. | After peeling, do a quick second press for 2-5 seconds with a Teflon sheet or parchment paper on top. |
| The transfer is difficult to peel (cold peel) | Film was peeled too soon; transfer is not fully cool. | Let the garment cool completely to room temperature. Placing it on a cool surface can speed this up. |
| Part of the design didn't transfer | Uneven pressure due to seams, buttons, or collars. | Use a heat press pillow to raise the print area and ensure even pressure across the entire design. |
| Fabric shows scorching or shine (esp. polyester) | Temperature is too high for the specific fabric. | Lower the temperature significantly (try 275-290°F) and use a protective cover sheet. |
Keep this chart handy. It's a great first-response checklist that can solve 90% of your heat press frustrations and keep your production running smoothly.
Your Top DTF Temperature Questions, Answered
Even with a solid guide in hand, you're bound to run into specific questions once you start pressing. It’s one thing to read the instructions, but it's another thing entirely when you’re staring down a tricky fabric or a less-than-perfect result.
Let's dive into some of the most common questions we get about DTF heat press temperature. Think of this as the real-world advice that bridges the gap between theory and practice, helping you fine-tune your process for consistently great results.
Can I Use the Same Temperature for All DTF Films?
That’s a hard no. This is one of the most common mistakes people make, and it can be a costly one. While 320-350°F is a fantastic starting point for many transfers, it’s definitely not a one-size-fits-all setting.
Every manufacturer has its own secret sauce for films, inks, and especially adhesive powders. Some powders are formulated to melt and bond at lower temps, while others need a bit more heat to properly activate and cure. Your supplier’s recommendations should always be your guide. Before you ever press a full run with a new film, press a small test on some scrap material. Seriously, that five-minute check can save you hours of headaches and a pile of wasted shirts.
What’s More Important: Temperature or Time?
This is like asking what’s more important in a recipe: the oven temperature or the baking time? The truth is, they're partners. One is useless without the other. They work together to create the perfect bond.
If your temperature is off, the adhesive won't cure correctly, no matter how long you leave it under the press. On the flip side, even at the perfect temperature, cutting the time short means the adhesive won’t have a chance to fully melt and penetrate the fabric fibers. The result? A print that looks great at first but starts peeling after a single wash. And don't forget pressure—it's the third critical part of this equation. Getting a flawless DTF transfer is all about the delicate balance of all three.
Key Insight: Stop thinking about it as temperature versus time. They're a team. If you adjust one, you'll likely need to tweak the other to keep everything in balance and ensure a solid, durable cure.
How Do I Prevent Dye Migration on Polyester?
Ah, dye migration. It’s the nemesis of anyone printing on dark polyester or poly-blends. It’s that gut-wrenching moment when you pull a shirt off the press and your crisp white design has turned a murky pink because the fabric dye gassed out and stained your transfer.
Your best line of defense is to lower the heat. For polyester, I always recommend starting your tests much lower, somewhere in the 275-300°F range. You're trying to find that sweet spot with just enough heat to cure the transfer without waking up the fabric dye. For particularly stubborn fabrics, look into specialty consumables like blocker films or powders that are specifically designed to create a barrier against migrating dyes.
Why Does My DTF Transfer Feel Stiff?
If your finished transfer has a stiff, plastic-like feel, you’ve likely overcooked it. Too much heat or too much pressure can bake the ink and adhesive into a rigid sheet instead of a soft, flexible print that moves with the fabric.
First things first, grab an infrared temperature gun and check your platen. Heat presses can be notoriously inaccurate. If the temp is right, start by dropping it by 5-10 degrees or shaving a few seconds off the clock. You should also check your pressure setting—it should be a firm medium, not a crushing heavy pressure. A great pro-tip is to do a quick second press for just 2-5 seconds with a sheet of parchment paper over the design. This can work wonders for softening up the final feel.
For transfers that deliver vibrant colors and a soft hand feel every single time, you can count on Cobra DTF. Our USA-made DTF transfers are produced for consistency and professional quality. Order custom transfers and gang sheets at cobradtf.com.