
How to Print Transfer Paper a Practical DTF Guide
Printing on Direct-to-Film (DTF) paper is a game-changer. It's a multi-step dance: you prep your art, print it onto a special film, dust it with an adhesive powder, and cure it with heat. That finished transfer is then ready to be pressed onto almost any fabric, creating designs that are incredibly vibrant, stretchy, and built to last.
Gathering Your DTF Printing Essentials
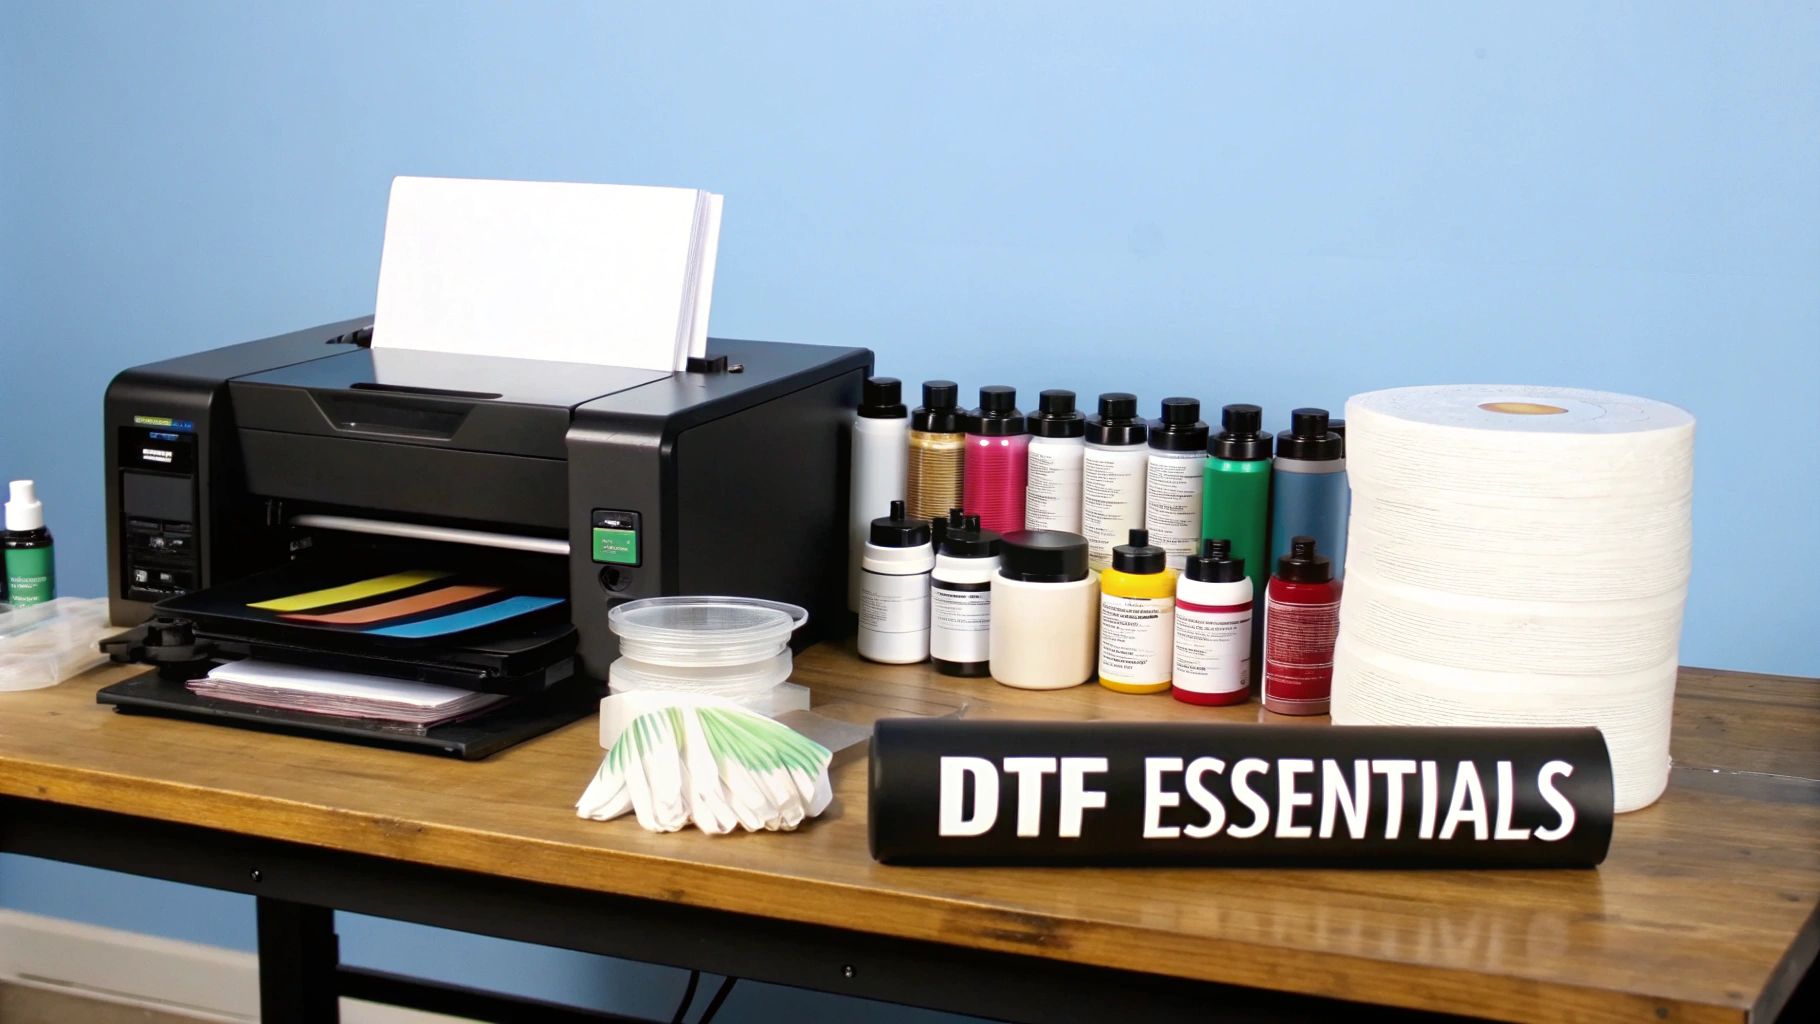
Before you hit "print" on that first masterpiece, getting your toolkit in order is the single most important thing you can do. A good setup doesn't just make your transfers look better—it makes your whole process smoother, saving you headaches and money down the line. With the custom apparel market booming, having the right gear is what separates a fun hobby from a real, profitable business.
And this isn't just a trend. The global market for printing transfer paper was valued at USD 12,940.87 million and is expected to climb to USD 17,439.83 million by 2032. People want custom, high-quality gear, and DTF is one of the best ways to deliver it.
Core Equipment and Supplies
Think of these as the non-negotiables. Each piece has a critical job to do, and skipping or skimping on any of them will show in your final product.
To help you get organized, here’s a quick rundown of what you absolutely need to get started in the world of DTF printing.
Your DTF Printing Equipment and Supplies Checklist
| Item | Purpose in the DTF Process |
|---|---|
| DTF Printer | The heart of your operation, built to handle special films and lay down a crucial white ink base. |
| DTF Inks (CMYK+W) | Specially formulated pigment inks that stick to the film and bond with the adhesive powder. |
| DTF Film | Coated transfer paper that holds ink precisely and releases it cleanly under heat. |
| Adhesive Powder | A fine polymer that sticks to wet ink and melts into a strong adhesive, binding the design to fabric. |
| Curing Oven / Heat Press | Used to melt the adhesive powder evenly, preparing the transfer for application. |
Getting these core components right is the foundation of every great DTF print you'll create. Let's dig a little deeper into each one.
Your DTF printer is the star of the show. It's not the same as the inkjet printer on your desk; it's engineered to work with DTF films and, most importantly, manage that thick, opaque white ink. For a deeper dive, check out our guide on choosing the best DTF printer for a small business.
Next up are your DTF inks and DTF film. The inks (cyan, magenta, yellow, black, and white) are formulated to sit perfectly on the film's special coating without bleeding. The white ink is the real hero here—it’s printed first as a base layer, which is what makes your colors look so brilliant, even on a black t-shirt.
The adhesive powder is the magic ingredient. This stuff looks like fine sugar, and you sprinkle it over the wet ink on your film. When heated, it melts and turns into the glue that permanently fuses your design to the garment fibers.
Finally, you'll need a way to cure that powder. A dedicated curing oven gives you consistent, even heat, but many people start by using their heat press. You just hover the top platen over the powdered film without letting it touch. It takes a bit more practice to get it right, but it works.
Safety and Workspace Gear
Don't overlook the "boring" stuff—it's what keeps you safe and your prints clean. A few small investments here make a huge difference.
That adhesive powder is extremely fine and gets everywhere if you're not careful. Always wear a mask to avoid breathing it in, and use gloves to keep your hands clean. The oils from your skin can easily ruin a transfer.
Good ventilation is also a must-have. You'll be melting polymer powder, which can create fumes, so keeping the air moving is important. A clean, organized workspace isn't just for safety; it prevents dust and pet hair from getting into your prints, which is one of the most common ways a perfect transfer gets ruined.
Getting Your Artwork Ready for a Flawless Transfer
A great print always starts with a great digital file. Before your design ever hits the DTF film, you have to get the artwork dialed in. Nailing these details from the get-go is the difference between a professional result and a frustrating dud riddled with pixelation, dull colors, or backward text.
First things first, let's talk file format. Your go-to for DTF is going to be a PNG (Portable Network Graphics) file, hands down. The magic of PNGs is their ability to support transparent backgrounds. This is non-negotiable, as it ensures only your design gets printed—not a clunky white box around it.
Getting the Size and Resolution Right
Now for one of the most critical parts: resolution. Your design file absolutely must be set to 300 DPI (dots per inch). Think of DPI as the sharpness of your print. While 72 DPI is fine for web images, it will look like a blurry, pixelated mess on a t-shirt. 300 DPI is the industry standard for a reason—it produces crisp, clean graphics that look professional.
My Two Cents: Always, and I mean always, build your design at the exact size you plan to print it. You can't just take a tiny, low-res image and blow it up without completely wrecking the quality. If you want a 12-inch wide print, start with a 12-inch wide canvas at 300 DPI.
Getting the size right on screen is one thing, but you also have to think about how it will look on an actual shirt. If you're unsure about standard placements and dimensions, our guide on DTF transfer sizes is a fantastic resource.
Don't Forget to Mirror! (And Manage Your Colors)
This next one is a simple step, but it's probably the most common mistake I see beginners make: you have to mirror your image. Since the transfer film is flipped over to be pressed onto the fabric, your artwork needs to be printed backward. If you skip this, all your text and any asymmetrical parts of your design will be reversed on the final shirt.
- Mirror Image: Look for a "flip horizontal" or "mirror" command in your design software. Make this the absolute last thing you do before saving your PNG.
- Color Profile: When you're creating the design, stick with an RGB color space. I know, printers technically use CMYK, but modern RIP software (like AcroRIP) is brilliant at handling the conversion from RGB. You'll often find you can achieve a more vibrant and wider range of colors by starting in RGB.
If you're new to this and want to build a solid foundation before diving deep into DTF specifics, brushing up on some general graphic design principles can be a huge help.
The RIP software is also your command center for the white underbase. This is the secret sauce—a layer of white ink that gets printed underneath the colors, making them opaque and vibrant on any color garment. Your RIP software lets you control the density of this white layer, so you get bold colors without laying down too much ink. When you feed it a clean, well-prepped file, the software can create that perfect underbase, setting you up for a fantastic final print.
Nailing the DTF Printing Process
You’ve got your artwork dialed in, and now it’s time for the exciting part—turning that digital file into something tangible. This is where the ink hits the film, a make-or-break moment that dictates the quality of your final product. Getting this right is the key to prints that are vibrant, sharp, and ready to press.
The demand for custom apparel is exploding, and DTF is a huge part of that wave. The global market for textile transfer paper hit $1.2 billion and is on track to more than double to $2.5 billion by 2033. This isn't just a trend; it's a massive opportunity for businesses that can deliver top-notch quality.
Loading and Configuring Your Printer
First things first, let's get the film loaded. Always, and I mean always, handle your DTF film by the edges. The oils from your fingertips can wreak havoc on the printable surface, causing the ink to repel and leaving you with frustrating blank spots.
You'll notice one side of the film is matte and the other is a bit glossier. You are always printing on the matte, coated side. It’s one of the most common rookie mistakes to load it backward, and it's a costly one in both ink and film. Make sure the sheet is perfectly flat and seated correctly in the printer to avoid any jams mid-print.
This simple workflow is your pre-flight checklist before hitting "print."
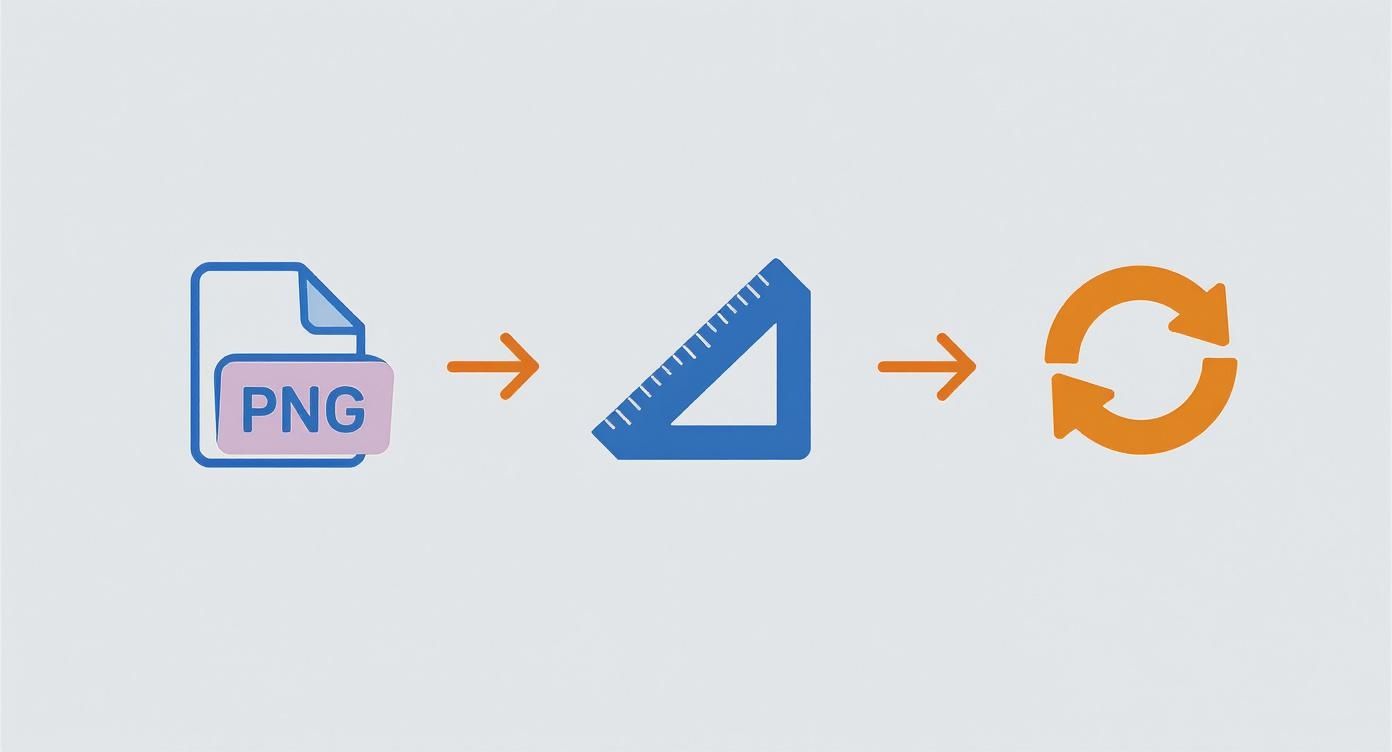
Stick to this process—PNG file, 300 DPI, and a mirrored image—and you've built the foundation for a great transfer.
The Two-Phase Ink Application
DTF printing isn't a single pass. Your RIP software orchestrates a brilliant two-part sequence that lays the ink down in a very specific order.
To start, the printer puts down the color layer—your CMYK inks. This is where all the detail and vibrancy of your design comes to life directly on the film. Immediately following that, it makes a second pass, this time laying down a perfectly registered layer of white ink right on top of the color.
Here's the secret sauce of DTF: That white ink layer does everything. It’s the underbase that makes your colors explode on dark garments, and it’s also the adhesive foundation that the powder needs to cling to. Skimp on your white ink settings, and you'll end up with weak, semi-transparent prints.
The quality of your ink is non-negotiable at this stage. You need professionally formulated inks designed to stick to the film and bond perfectly with the powder. For a deeper dive, check out our guide on choosing the right DTF printer ink.
As soon as the print finishes, handle it like a wet painting. The ink is incredibly delicate. Move it straight to your powdering station, keeping it as flat as possible to prevent smudging. Your print is now ready for the powdering and curing phase.
Getting the Powder and Cure Just Right
You’ve got a perfectly printed design on your film, but don't get too excited just yet. That wet ink is only half the battle. The next part of the process—applying and melting the adhesive powder—is what really gives a DTF transfer its superpowers. This is where we create that incredible durability and stretch that makes DTF so popular.
First things first, let's get that powder on. You'll want to work in a shallow tray or bin to contain the mess. With your print still wet, lay it flat and generously sprinkle the DTF adhesive powder all over the design.
Pick up the film by the edges and gently rock it back and forth, making sure the powder covers every last drop of ink. It’s pretty cool to watch—the powder sticks only to the wet ink, leaving the rest of the film clean. Once you're confident it's completely coated (no shiny ink spots showing through!), give it a good flick to shake off any excess. You should be left with a sharp, powdered outline of your design.
Curing: Turning Powder into Power
Now, we need to melt that powder. This is the "curing" step, and it transforms the grainy powder into a solid, smooth sheet of adhesive. This is a crucial step, so precision matters. If you under-cure it, the transfer won’t stick properly. If you over-cure it, you risk scorching the film or the adhesive.
You’ve got a couple of ways to get this done:
- A Curing Oven: This is the best-case scenario. It gives you consistent, even heat for a perfect cure every time. A good starting point is 230-250°F (110-120°C) for about two to three minutes.
- The Heat Press Hover: No oven? No problem. You can use your heat press. Crank the temperature up to around 350°F (177°C), but—and this is important—do not close the lid. You're just going to hover the top platen about half an inch over the powdered film.
As it heats up, keep a close eye on the powder. You’ll see it change from that white, sugary texture to a glossy, almost wet look. Some people describe it as having a slight "orange peel" texture. That’s the visual cue you’re looking for. It means the adhesive is fully melted and ready to go.
My Two Cents: If you're using the hover method, you'll probably notice the edges of the transfer cure faster than the middle. To get an even melt, I usually have to shift the film around a bit under the platen during the process. Just a little nudge here and there does the trick.
Once the entire design has that glossy, melted look, you're done! Your transfer is cured and ready for the main event: pressing it onto the garment. You've just locked in all the adhesive it needs to become a vibrant, tough print that will last. This is one of the most technical parts of learning how to print on transfer paper, and you just nailed it.
Perfecting Your Heat Press Technique
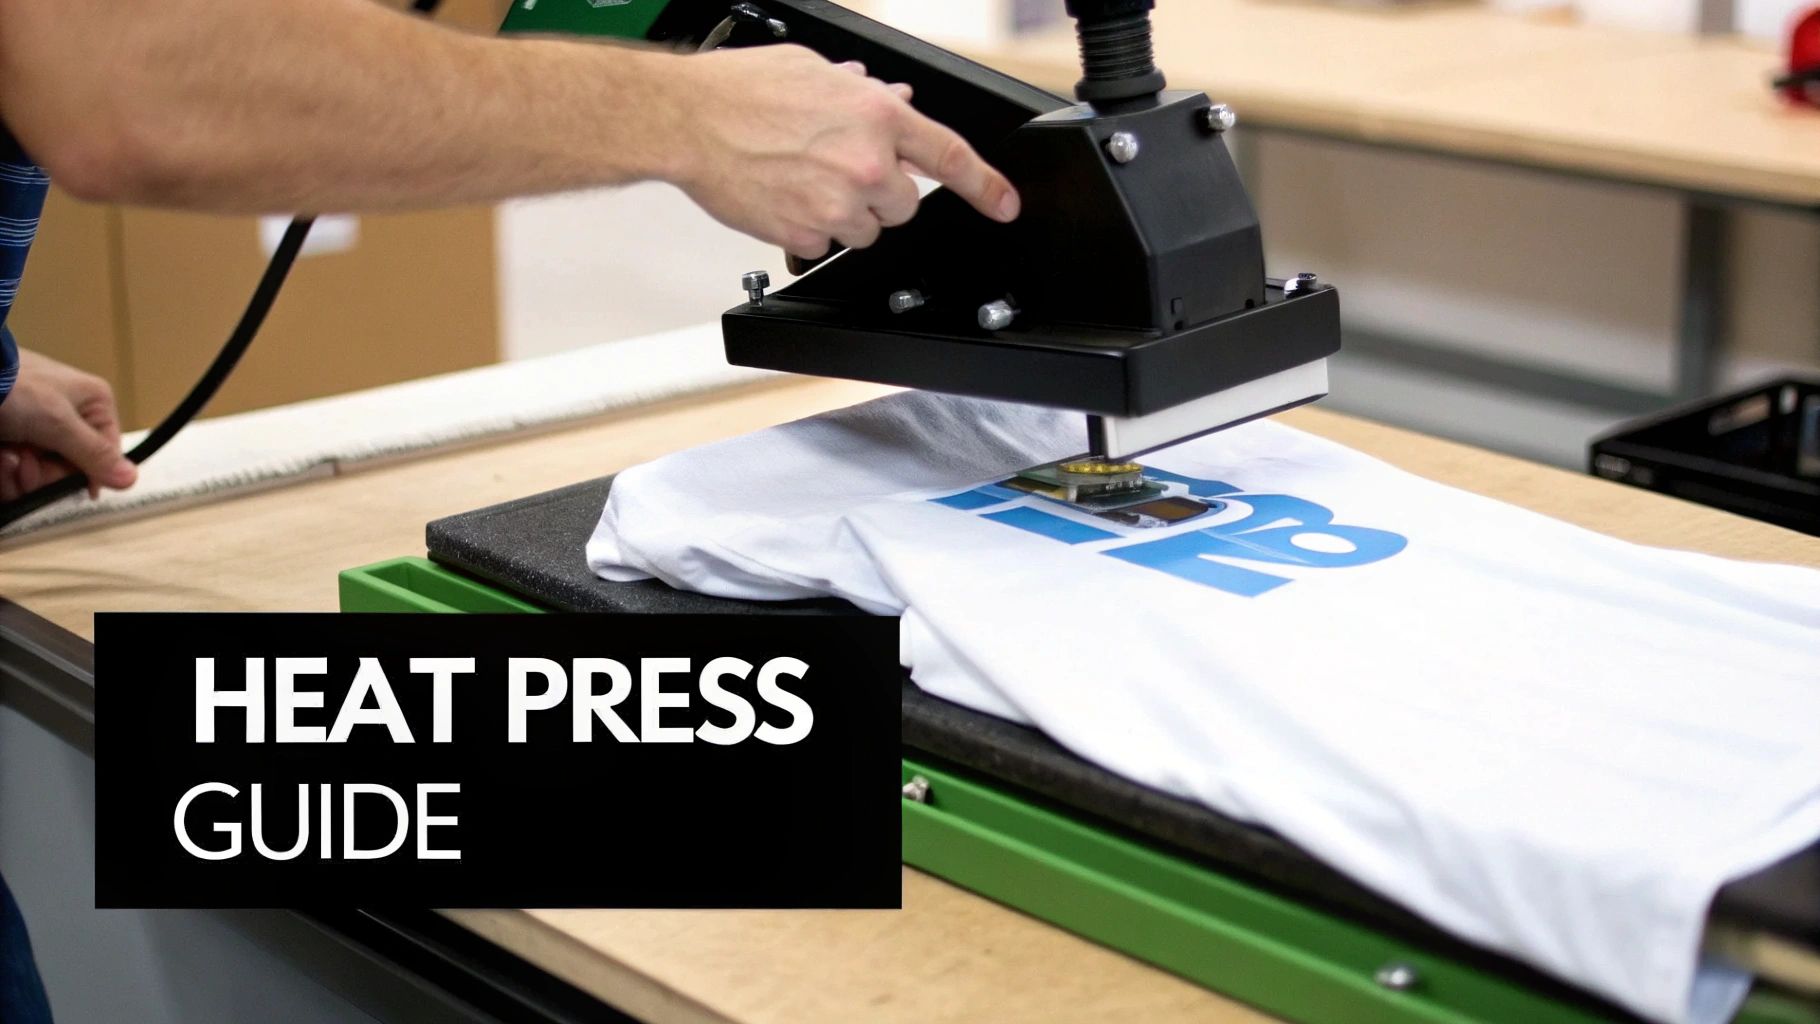
This is where all your hard work pays off. You’ve prepped the art, printed the film, and cured the powder. Now it’s time to bring it all home at the heat press. Success here boils down to the delicate dance between three things: time, temperature, and pressure.
Nailing these variables is the difference between a professional, durable print and a costly mistake. Get them wrong, and you're looking at scorched fabric, peeling graphics, and wasted supplies. The demand for great custom apparel isn't slowing down, and with the heat transfer market projected to jump from USD 1.6 billion in 2025 to USD 2.27 billion by 2034, mastering this step is more critical than ever. According to market research, textiles account for a massive 47% of that usage. You can see more details about this growing market on businessresearchinsights.com.
Dialing in Your Heat Press Settings
Every fabric is different, and your heat press settings have to respect that. The same settings that work for a heavy cotton hoodie will absolutely melt a polyester performance shirt. Always start with the manufacturer’s recommendations for your DTF film, but you can use the chart below as a solid starting point.
It’s a good idea to keep a quick reference guide like this handy near your press.
Recommended Heat Press Settings by Fabric Type
| Fabric Type | Temperature (°F/°C) | Press Time (Seconds) | Pressure Level |
|---|---|---|---|
| 100% Cotton | 300-320°F / 150-160°C | 10-15 seconds | Medium-Firm |
| 50/50 Cotton/Poly | 280-300°F / 138-150°C | 8-12 seconds | Medium |
| Tri-Blends | 270-285°F / 132-140°C | 8-10 seconds | Light-Medium |
| 100% Polyester | 260-275°F / 127-135°C | 7-10 seconds | Light |
A couple of things to remember: always test a new garment type if you're unsure. And just as important, always use a protective cover sheet—like Teflon or parchment paper—between your transfer and the heat platen. This small step saves your gear from stray adhesive and protects the garment from getting scorched.
The Pre-Press Is Non-Negotiable
Before you even think about laying down your design, you have to pre-press the garment. Seriously, don't skip this. A quick 5-10 second press removes moisture and flattens wrinkles.
Why does it matter so much? Trapped moisture is the number one enemy of a good transfer. It turns to steam under the heat, messing with the adhesive and leading to prints that peel after the first wash.
After the pre-press, it's time to position your cured DTF transfer. Lay it on the garment with the design facing down. Take a moment to get the alignment just right. A t-shirt ruler is a great tool, but with practice, you'll be able to eyeball it perfectly.
Pro Tip: For a softer-feeling print, try a quick second press. After you peel the film, cover the design with parchment paper and press again for just 3-5 seconds. This really helps meld the ink into the fabric fibers, giving it a much better "hand" or feel.
The Art of the Peel
Once the timer beeps, open your press and slide the garment onto a cool, flat surface to rest. The majority of modern films, including Cobra DTF, are a cold peel. This is a critical detail—you have to let the transfer cool completely to the touch before you even attempt to peel the film.
If you peel too soon while it's still warm, you risk pulling up parts of your design with the film. When it’s cool, start at one corner and peel the film back slowly, at a low, smooth angle.
If you see any part of the design lifting, stop. Don't panic. You can usually fix this by laying the film back down, returning it to the press, and giving it a few more seconds of heat. Once you've peeled it clean, you've done it—you’ve mastered the final, crucial step of creating a custom garment.
Working Through Common DTF Printing Problems
Even with the best equipment and a perfect process, things can still go sideways with DTF printing. Don't sweat it. Most of the issues you'll run into are common, and more importantly, they're fixable. Learning how to spot and solve these little hiccups is what really turns you into a pro, saving you a ton of time, materials, and headaches.
Think of this as your field guide for mastering the craft. Every challenge is just another chance to get better at dialing in your process for those perfect, consistent results.
When Your Colors Don't Look Right
It's a classic problem: your print comes out looking dull, washed out, or the colors are just plain wrong. Before you start messing with the printer, take a hard look at your artwork and RIP software.
First, is the source file top-notch? You absolutely need a high-resolution, 300 DPI image to start. A low-quality graphic is a guaranteed way to get a disappointing print.
Next, dive into your RIP software. A weak white underbase is often the real killer, making your colors look faded, especially on dark shirts. Make sure your white ink percentage is set high enough—usually somewhere between 70-100%—to create a solid, opaque foundation for the color layer to pop.
Fixing Powder Adhesion Problems
You’ve got a great-looking print, but when you go to add the powder, it’s not sticking right. Or even worse, it’s sticking everywhere, leaving a fuzzy, grainy mess on your design.
Let's look at the usual suspects:
- Ink Isn't Wet Enough: Time is of the essence. If you let the print sit for too long before powdering, the ink will start to dry out. You've got to get that powder on while the ink is still wet and tacky.
- Static Cling: Dry air is the enemy here. Static electricity can make loose powder cling to the non-printed parts of your film. An easy fix is to gently wipe the film with an anti-static cloth before you hit print.
- Uneven Curing: If you’re seeing blotchy patches after curing, your heat source probably wasn't even. This is a common issue if you're using the "hover" method with a heat press. A simple trick is to rotate the film halfway through the curing time to get more even heat distribution.
A Quick Tip for a Clean Finish: After you've shaken off the big clumps of powder, I always give the back of the film a few good "thumps" with my finger. It sounds simple, but that little vibration works wonders for knocking loose any stubborn powder particles that are clinging on because of static.
Why Your Print Cracks or Peels After Washing
This one hurts. You press a fantastic-looking shirt, only to have the design crack or peel after the first wash. This is almost always a heat press problem.
It usually comes down to one of three things: wrong temperature, not enough pressure, or skipping the pre-press. That initial 5-10 second pre-press is a must-do. It gets rid of moisture in the fabric, which would otherwise turn to steam and mess up the adhesive's bond.
If the transfer is peeling off, you probably need to crank up the pressure or bump the temperature a bit to really melt that adhesive into the fabric. On the flip side, if the design feels stiff and cracks, your press might be too hot, which can make the adhesive brittle. Always, always do a test press on a scrap piece of fabric to get your settings just right before moving to your final garments.
Ready to eliminate printing issues with reliable, American-made supplies? Cobra DTF provides premium films, inks, and powders that deliver consistent, professional results every time.
Explore our full range of DTF products and get started today at cobradtf.com