How to Print onto Transfer Paper: Easy DIY Guide
Alright, let's get down to the nitty-gritty of printing on transfer paper. It all boils down to a few key moments: creating your design, getting it printed correctly on that special paper, and then using heat to make it a permanent part of your fabric. The one thing people always forget? You've got to mirror your image before printing if it's going onto a light-colored shirt.
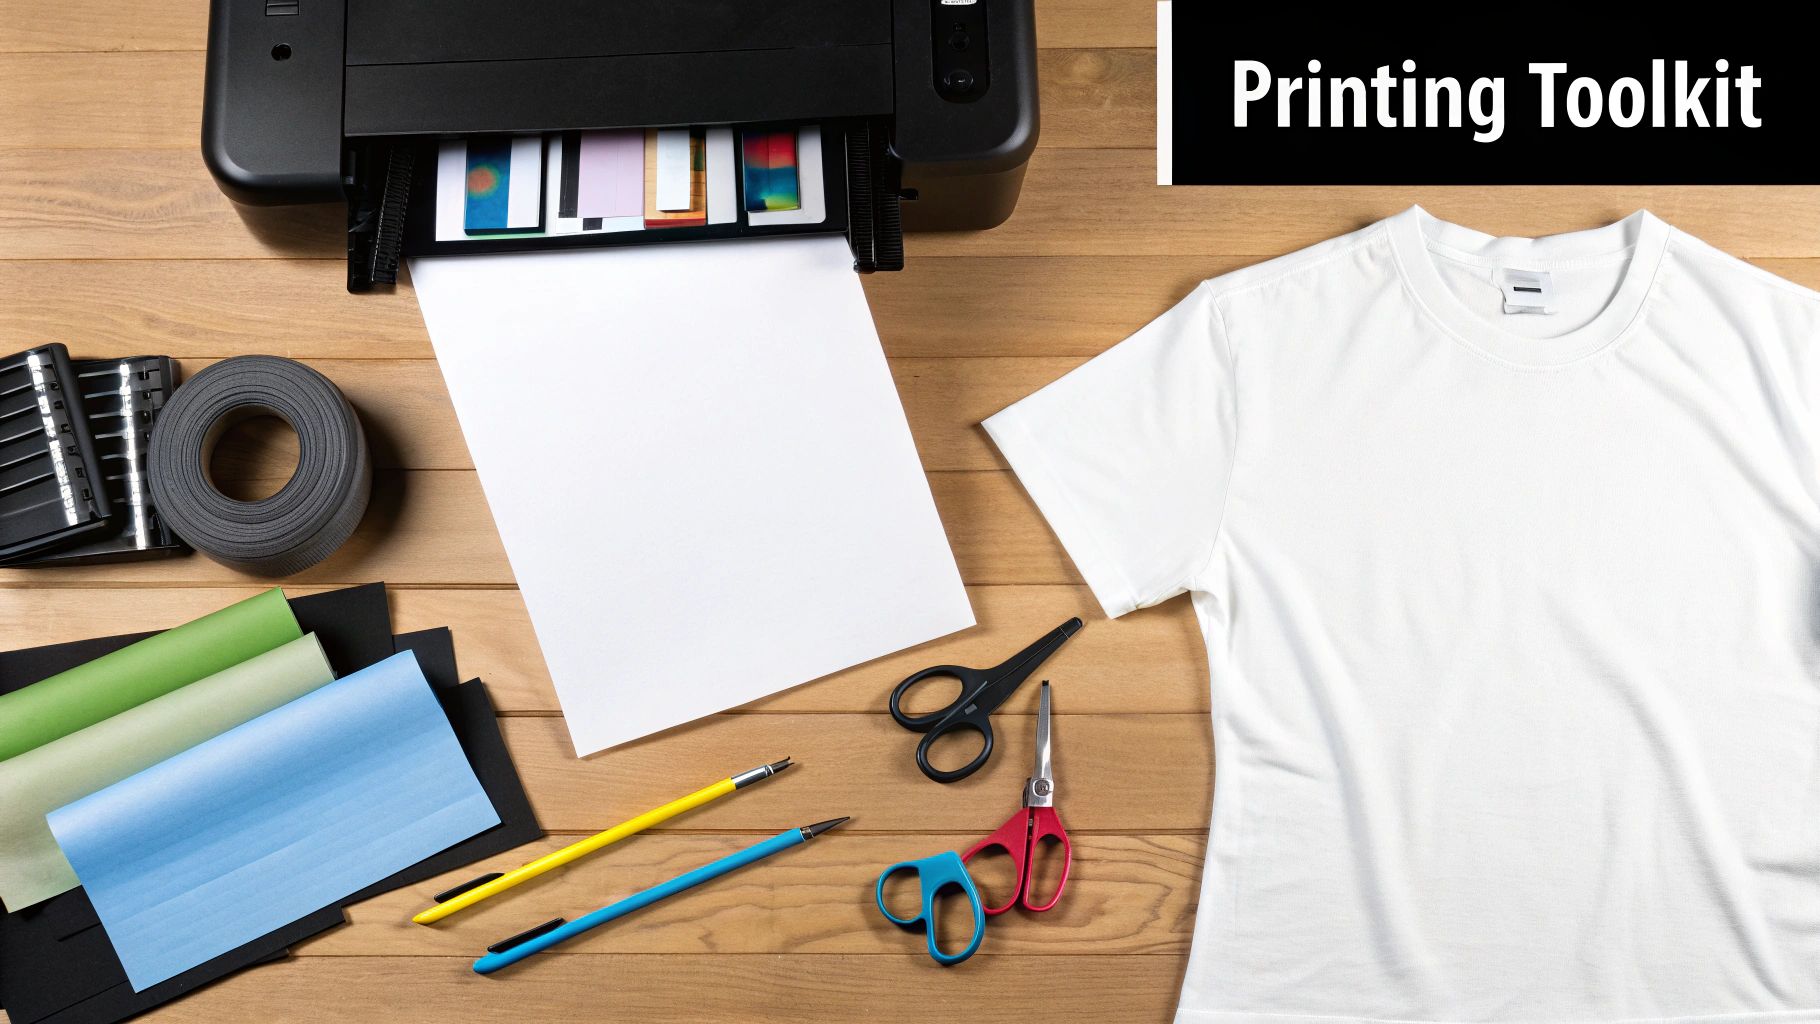
Your Essential Transfer Paper Printing Toolkit
Before you can bring that awesome design to life, you need to get your workspace set up. Think of it like a chef preparing their station before service—having everything you need within arm's reach makes the whole process go a lot smoother. This is especially true when you're just starting to figure out how to print onto transfer paper.
This isn't just about grabbing a sheet of paper. It's about the whole setup working in harmony. Your printer, the ink, the paper, and your heat source all have to play nice together. If one piece of the puzzle is off, you can end up with disappointing results like faded colors or a design that peels after the first wash.
Core Supplies for Your Project
To really nail this, you'll want to have these essentials ready to go before you even think about hitting 'print'. This is your foundational checklist for any transfer paper project, from a one-off custom tee to a small batch for a family reunion.
Before we dive into the steps, here’s a quick-reference guide to the must-have supplies for your project.
Essential Toolkit for Transfer Paper Printing
| Item | Purpose | Pro Tip |
|---|---|---|
| Compatible Printer | An inkjet or laser printer to apply the design. | Double-check that your transfer paper is made for your specific printer type—they aren't cross-compatible! |
| High-Quality Transfer Paper | The special medium that carries your design to the fabric. | Always choose paper designed for either light or dark fabrics to ensure your colors pop correctly. |
| The Garment/Fabric | Your canvas, typically a t-shirt or tote bag. | Pre-wash your item! 100% cotton or poly-cotton blends work best. Stay away from synthetics like nylon. |
| Heat Source | Applies heat and pressure to bond the transfer. | A heat press is the gold standard for even results, but a household iron can work in a pinch for small jobs. |
Getting these basics right is more than half the battle. Once you're comfortable with this core toolkit, you can start experimenting with more advanced stuff.
The demand for top-notch custom apparel is only getting bigger. In fact, the global tacky transfer paper market is on track to hit an incredible USD 5.7 billion by 2035, all thanks to the boom in the textile and apparel worlds. You can read more about this growing market over on Future Market Insights.
Once you've got these fundamentals down, you'll be ready to move on to the actual application. For a super-detailed walkthrough, you should definitely check out our guide on how to make a shirt transfer, which picks up right where this leaves off.
Matching Your Paper and Printer for Best Results
Long before you even think about hitting 'print,' the success of your custom apparel project comes down to one crucial decision: choosing the right transfer paper. Getting this wrong is probably the single most common reason people get frustrated when they're first learning how to print onto transfer paper. If you don't match the paper to your printer and your fabric, you're just setting yourself up for wasted materials and a bad time.
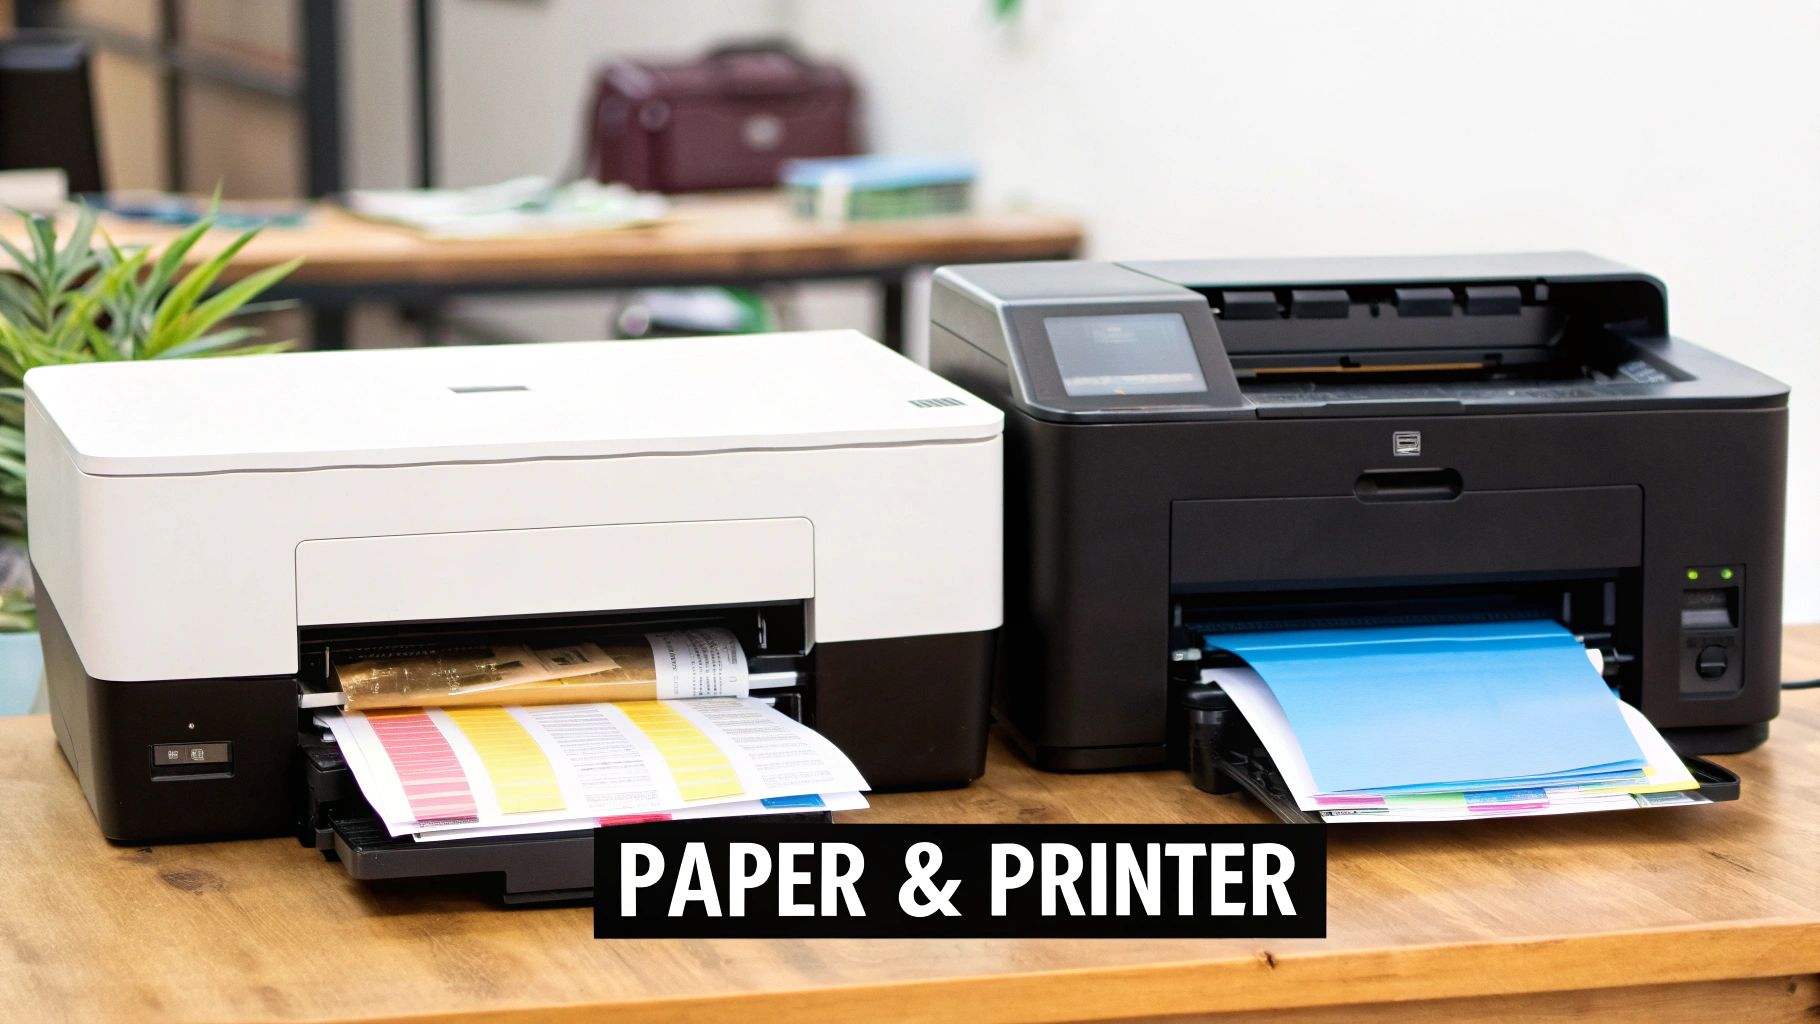
Think of it like this: transfer papers are specifically engineered for either inkjet or laser printers. They simply are not interchangeable. Trying to use one with the wrong type of machine won't just ruin your print; it can seriously damage your equipment.
Inkjet vs. Laser Transfer Paper
So, what's the big difference? It all comes down to how the ink or toner gets onto the shirt.
Inkjet transfer paper has a porous coating that’s made to absorb liquid ink from the printer. This keeps your design's details sharp and stops the colors from bleeding. When you press it, this ink-infused layer literally bonds with the fabric fibers.
Laser transfer paper, on the other hand, is built to handle the intense heat inside a laser printer. It works by melting toner onto a polymer film, which you then press onto the garment. If you put inkjet paper in a laser printer, that special coating can melt inside the machine and cause a huge, expensive mess.
Pro Tip: Never, ever guess which paper to use. The packaging will clearly state "For Inkjet Printers" or "For Laser Printers." Don't risk your project—and your printer—by grabbing the wrong one.
The Critical Choice: Light vs. Dark Fabric Paper
Once you've sorted out your printer type, the color of your fabric is the next piece of the puzzle. This isn't just a suggestion; it’s a hard rule that will make or break the vibrancy of your design.
-
Paper for Light Fabrics: This paper has a transparent transfer film. Any part of your design that's white will just be clear on the paper, allowing the color of the light garment to show through. This is exactly why you must mirror your image before printing on this type of paper.
-
Paper for Dark Fabrics: This version has an opaque, white background layer. This white base makes your colors pop on dark-colored shirts instead of getting swallowed by the fabric's dye. You do not mirror your image for this paper. It's also critical to trim as close to the edge of your design as possible to avoid leaving a white "halo" or box around it on the shirt.
Getting these two mixed up leads to some classic beginner mistakes. Use light-fabric paper on a black shirt, and your design will be practically invisible. Use dark-fabric paper on a white tee, and you'll end up with a stiff, noticeable film around your entire graphic.
This kind of technology is part of a massive global industry. In fact, the market for sublimation paper, a close relative used in tons of textile applications, hit 3.04 billion square meters in 2024. That growth just goes to show how much demand there is for high-quality digital printing on all kinds of fabrics.
If you're curious about other professional-grade methods beyond standard transfer paper, it helps to see how the technology stacks up. We dive deep into the pros and cons in our guide comparing https://cobradtf.com/blogs/guides/dtf-vs-dtg-printing, giving you another angle on creating top-tier custom apparel.
Getting Your Design Ready for a Perfect Print
Now for the fun part—taking your digital masterpiece and getting it onto the transfer paper. This is where the magic really starts, but it's also where a little precision goes a long way. Getting this stage right is the foundation for a professional-looking final product.
Whether you're a pro using Adobe Photoshop or you're designing with a more accessible tool like Canva, the prep work is basically the same. Your goal is simple: get your digital file dialed in perfectly before you hit that print button. A small oversight here can mean wasted ink, paper, and a lot of frustration.
The Golden Rule: To Mirror or Not to Mirror?
Let's talk about the single most common mistake people make. If you're printing for light-colored garments, you absolutely must mirror your image. This just means flipping the design horizontally.
Why? Because when you place the transfer paper face-down on the shirt for pressing, the image gets reversed. If you forget to mirror it first, any text or logos will be backward. Trust me, you don't want your "Game Day" shirt to read "yaD emaG." It’s a simple click that saves a world of headache.
On the other hand, transfers for dark fabrics usually have an opaque white layer, so you typically do not mirror the image. The golden rule is to always, always check the specific instructions that came with your transfer paper. They’ll tell you exactly what to do.
My Pro Tip: I've found the best way to avoid mistakes is to make mirroring the very last thing I do before saving the file. In most design software, you'll find "Flip Horizontal" under a menu like 'Edit' or 'Transform.' Make it a habit.
Dialing in Your Printer Settings for Rich, Vibrant Color
With your design mirrored and ready, it's time to talk to your printer. Just hitting 'Print' and hoping for the best is a recipe for a faded, disappointing transfer. You need to jump into the printer settings and tell it what you’re doing.
This handy infographic breaks down the three must-do stages for a perfect print every time.
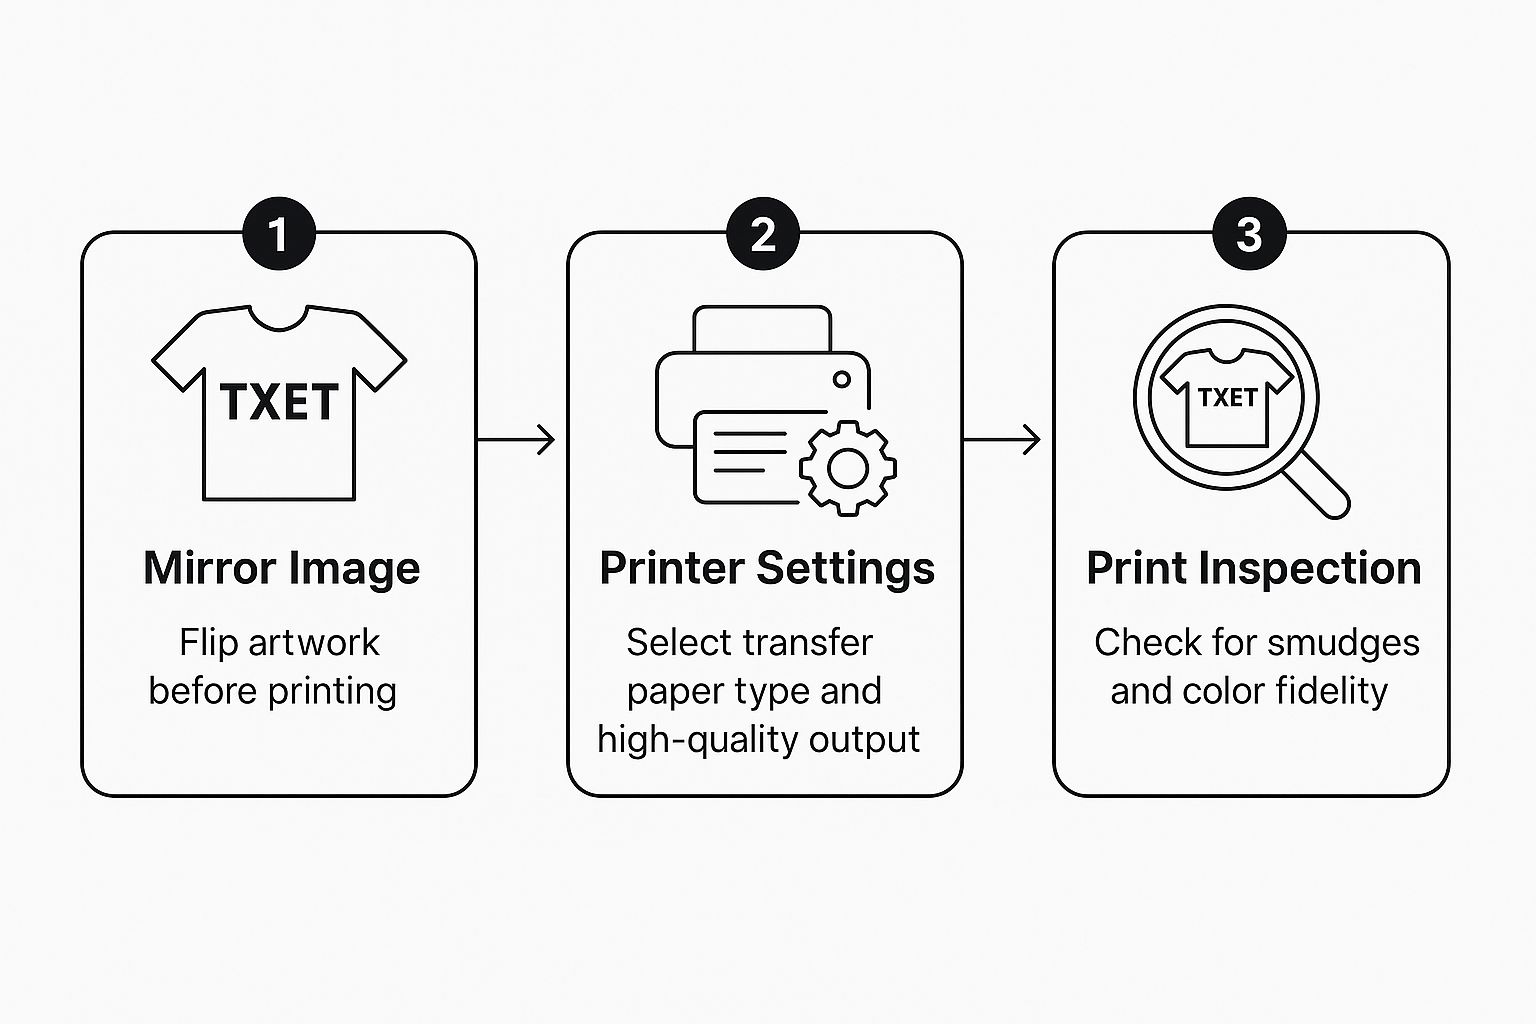
Following these three key actions—mirroring, adjusting your settings, and checking the final print—is your best defense against common printing pitfalls.
To get those deep, saturated colors and avoid nasty issues like smudging or banding, make these tweaks in your printer’s settings dialog:
- Paper Type: Your printer won't have a "Transfer Paper" setting, so you have to choose the next best thing. I get great results with settings like “Photo Paper Glossy,” “Premium Matte,” or if you have it, “T-Shirt Transfer.” These settings tell the printer to slow down and lay the ink down more carefully.
- Print Quality: Don't skimp here. Crank this all the way up to the highest setting available. It might be called “High,” “Best,” or “Photo.” This pushes the printer to use more ink, which is exactly what you need for a design that really pops off the shirt.
- Color Management: For most people, letting the printer manage the colors is the way to go. Make sure any built-in enhancements like "Color Correction" or "PhotoEnhance" are turned on. This helps the printer's software do the heavy lifting to produce bright, accurate colors.
Taking that extra minute to fine-tune these settings is what separates an amateur-looking shirt from a professional one. It ensures the ink is applied perfectly for the paper's unique coating, giving you a sharp, vibrant design that’s ready for the heat press.
Mastering The Heat Press Application
After all that design work, the final press is what makes the magic happen. This is the moment your digital file becomes a real, wearable piece of art, and it all comes down to three things: time, temperature, and pressure. Getting this trifecta right is the secret to a transfer that doesn't just look good, but lasts.
Whether you’ve got a professional-grade heat press or are starting with a household iron, mastering these settings is what creates a vibrant, durable transfer that feels great to wear.
Calibrating Your Heat Press Settings
Think of your heat press settings like a recipe. You wouldn't bake a cake and a cookie at the same temperature, right? The same goes for fabrics. A sturdy cotton tee can take more heat than a delicate polyester blend, so a one-size-fits-all approach just won't cut it.
-
Temperature: This is probably the most critical part. Too low, and the transfer adhesive won't bond properly, leading to it peeling off after the first wash. Go too high, and you risk scorching the shirt or even melting the film. A great starting point for most standard transfers on cotton is somewhere between 350-375°F (177-190°C).
-
Time: The duration of the press is what allows the heat to fully penetrate the transfer and lock it into the fabric's fibers. Most applications will call for about 15-30 seconds. If you press for too little time, you'll get a weak bond. Too long, and you might see some discoloration or a burnt look.
-
Pressure: You need firm, even pressure across the entire design. This is where a real heat press shines, as it delivers consistent pressure every time. If you're using an iron, you'll have to put some serious muscle into it, applying your body weight and keeping it moving to avoid any hot or cold spots.
The heat transfer business is a serious part of the custom apparel world. It was valued at USD 1.6 billion in 2025 and is expected to hit USD 2.27 billion by 2034. This boom shows just how much people want high-quality custom gear, which often needs temperatures as high as 400°F (204°C) to get that perfect, seamless bond.
Heat Press Settings for Common Fabrics
To help you get started, here is a quick-reference table with some typical settings for different materials. Always remember to do a test press on a scrap piece if you're unsure!
| Fabric Type | Recommended Temperature (°F/°C) | Press Time (Seconds) | Pressure Level |
|---|---|---|---|
| 100% Cotton | 350-375°F / 177-190°C | 15-25 | Medium-Firm |
| Polyester | 270-300°F / 132-149°C | 10-15 | Medium |
| 50/50 Cotton/Poly Blend | 320-330°F / 160-165°C | 12-18 | Medium |
| Tri-Blends | 280-300°F / 138-149°C | 12-15 | Light-Medium |
These are just guidelines, of course. Your specific transfer paper, heat press, and even the humidity in your room can affect the outcome, so don't be afraid to adjust slightly to dial in your perfect settings.
Hot Peel vs. Cold Peel: The Critical Difference
Once that timer beeps, what you do next is crucial and depends entirely on the type of transfer paper you're using. Get this wrong, and you can easily ruin a perfectly good shirt.
-
Hot Peel: Just like it sounds, you peel the backing paper off immediately after opening the press, while everything is still piping hot. This method tends to leave a softer, more flexible finish because the ink melts right into the fabric weave.
-
Cold Peel: With this type, you have to be patient. You need to let the garment and transfer cool down completely before you even think about touching the backing paper. Peeling it while it's still warm is a guaranteed way to pull up the design. Cold peel transfers often have a slightly glossier, sharper look.
How do you know which one to use? Read the instructions that came with your paper! Guessing at this stage is a recipe for disaster.
For a deeper dive into these techniques and troubleshooting common issues, our complete guide on heat transfer shirt printing is a great resource.
Nailing these final steps—from calibrating your settings to knowing your peel type—is what elevates your work from a simple printout to a professional, durable product you can be proud of.
Getting Your Prints to Last: Aftercare and Washing
You've done the hard part—printing and pressing a killer design. Now, let's talk about making sure it stays that way. How you care for the garment, especially in the beginning, makes all the difference between a print that lasts and one that fades away.
The first 24 hours are absolutely critical. Think of it as a mandatory "curing" period. This time allows the ink to fully set and create a permanent bond with the fabric. If you jump the gun and wash it too soon, you're asking for trouble in the form of cracking and fading.
The First Wash (And Every Wash After)
When that 24-hour waiting period is up, it's time for the first wash. The single most important thing you can do is turn the garment inside out. This isn't just an old wives' tale; it physically shields the print from rubbing against other clothes and the inside of your washing machine.
For washing and drying, keep these rules in mind:
- Go Cold: Always use cold water. Hot water is the enemy here—it can soften the transfer's adhesive and dull your vibrant colors.
- Keep it Mild: Stick with a gentle detergent. Stay far away from bleach and fabric softeners, as their harsh chemicals can degrade the ink over time.
- Low and Slow Drying: High heat will destroy your transfer. The best option is to hang it up to air dry. If you have to use a machine, choose the lowest heat setting or a no-heat tumble dry option.
A Quick Ironing Tip: If you absolutely must iron the shirt, never let the iron touch the design directly. Flip the garment inside out and iron the back, or place a sheet of parchment paper over the graphic before you press.
What About That "Stiff" Feeling?
You might notice that a brand-new print, especially one on darker fabrics, can feel a little stiff or plasticky at first. Don't worry, that's completely normal.
That initial stiffness almost always disappears after the first wash and dry cycle. If you want to help it along, you can gently stretch the fabric around the printed area once it's dry. This helps the transfer relax and feel more like it's part of the shirt. With every wash, it will get softer and more flexible, eventually feeling like it was always there.
Common Questions About Transfer Paper Printing
Even when you follow the steps perfectly, questions always come up. Learning the ins and outs of printing on transfer paper means knowing how to troubleshoot when things don't go as planned. Let's walk through some of the most common hiccups I see, so you can solve them fast and get back to creating.
These are the issues that pop up time and time again. Thankfully, the fixes are usually pretty simple once you know what to look for.
Why Is My Design Cracking or Peeling After Washing?
This is almost always an issue with the heat press step. If your design is cracking or peeling, it's the number one sign that something went wrong with the application, and it usually boils down to one of three things: not enough pressure, a temperature that was too low, or not pressing it for long enough.
For instance, a standard household iron just can't deliver the consistent, heavy pressure needed for a really durable bond. It’s also critical to follow the specific instructions that came with your transfer paper to the letter.
The most overlooked step? The 24-hour cure time. You absolutely have to wait a full day after pressing before you even think about that first wash. This period is non-negotiable; it's when the ink truly sets and bonds with the fabric.
Can I Use Any Inkjet Printer for This?
While most modern inkjet printers can physically feed the paper through, the ink inside makes a massive difference in how your final product holds up. For designs that actually last in the wash, pigment-based inks are a world apart from the much more common dye-based inks.
Here’s a quick rundown of why this is so important:
- Pigment Inks: Think of these as tiny particles of color that sit on top of the fabric. They are highly resistant to water and UV fading, meaning your design stays vibrant for much, much longer.
- Dye Inks: This type of ink is designed to soak into photo paper. On fabric, however, it’s prone to bleeding during washing and will fade noticeably when exposed to sunlight.
Take a moment to check your printer’s specs to see which ink it uses. If you're serious about making professional-quality shirts, making the switch to a printer that uses pigment inks is an investment that pays for itself.
What Is the Difference Between Paper for Light and Dark Fabrics?
This one is crucial—using the wrong paper for your shirt color is a guaranteed way to ruin a project. The core difference is the background of the transfer film itself.
Paper for light fabrics has a completely transparent film. This is so the color of the shirt can show through in any of the blank or white areas of your design. It's also why you have to mirror the image before printing; you'll be placing it face-down on the shirt to press.
On the other hand, paper for dark fabrics has an opaque, solid white background layer. This white base acts like a primer, making sure your colors pop on a darker shirt instead of getting swallowed by the fabric's color. With this paper, you do not mirror the image, and you have to trim very carefully around the edges of your design to avoid that obvious white box outline on your final product.
Ready to skip the variables and get perfect, professional-grade transfers every time? Cobra DTF offers premium Direct-to-Film transfers made right here in the USA. Get vibrant, durable, and ready-to-press designs delivered in 1-3 days. Explore our high-quality DTF solutions and see the difference for yourself.