

How to print iron on transfer paper: A Simple Guide to Perfect Transfers
Before you can even think about printing, you've got to gather your gear. Having the right tools on hand makes the entire process smoother and saves you from a world of frustration. At a minimum, you’ll need transfer paper that matches both your fabric color and your printer, your design ready to go on a computer, an inkjet or laser printer, scissors or a cutting machine, and a way to apply heat—either a standard iron or a heat press.
Getting this basic toolkit set up is your first real step toward making custom apparel that actually looks good.
Your Essential Iron-On Transfer Toolkit
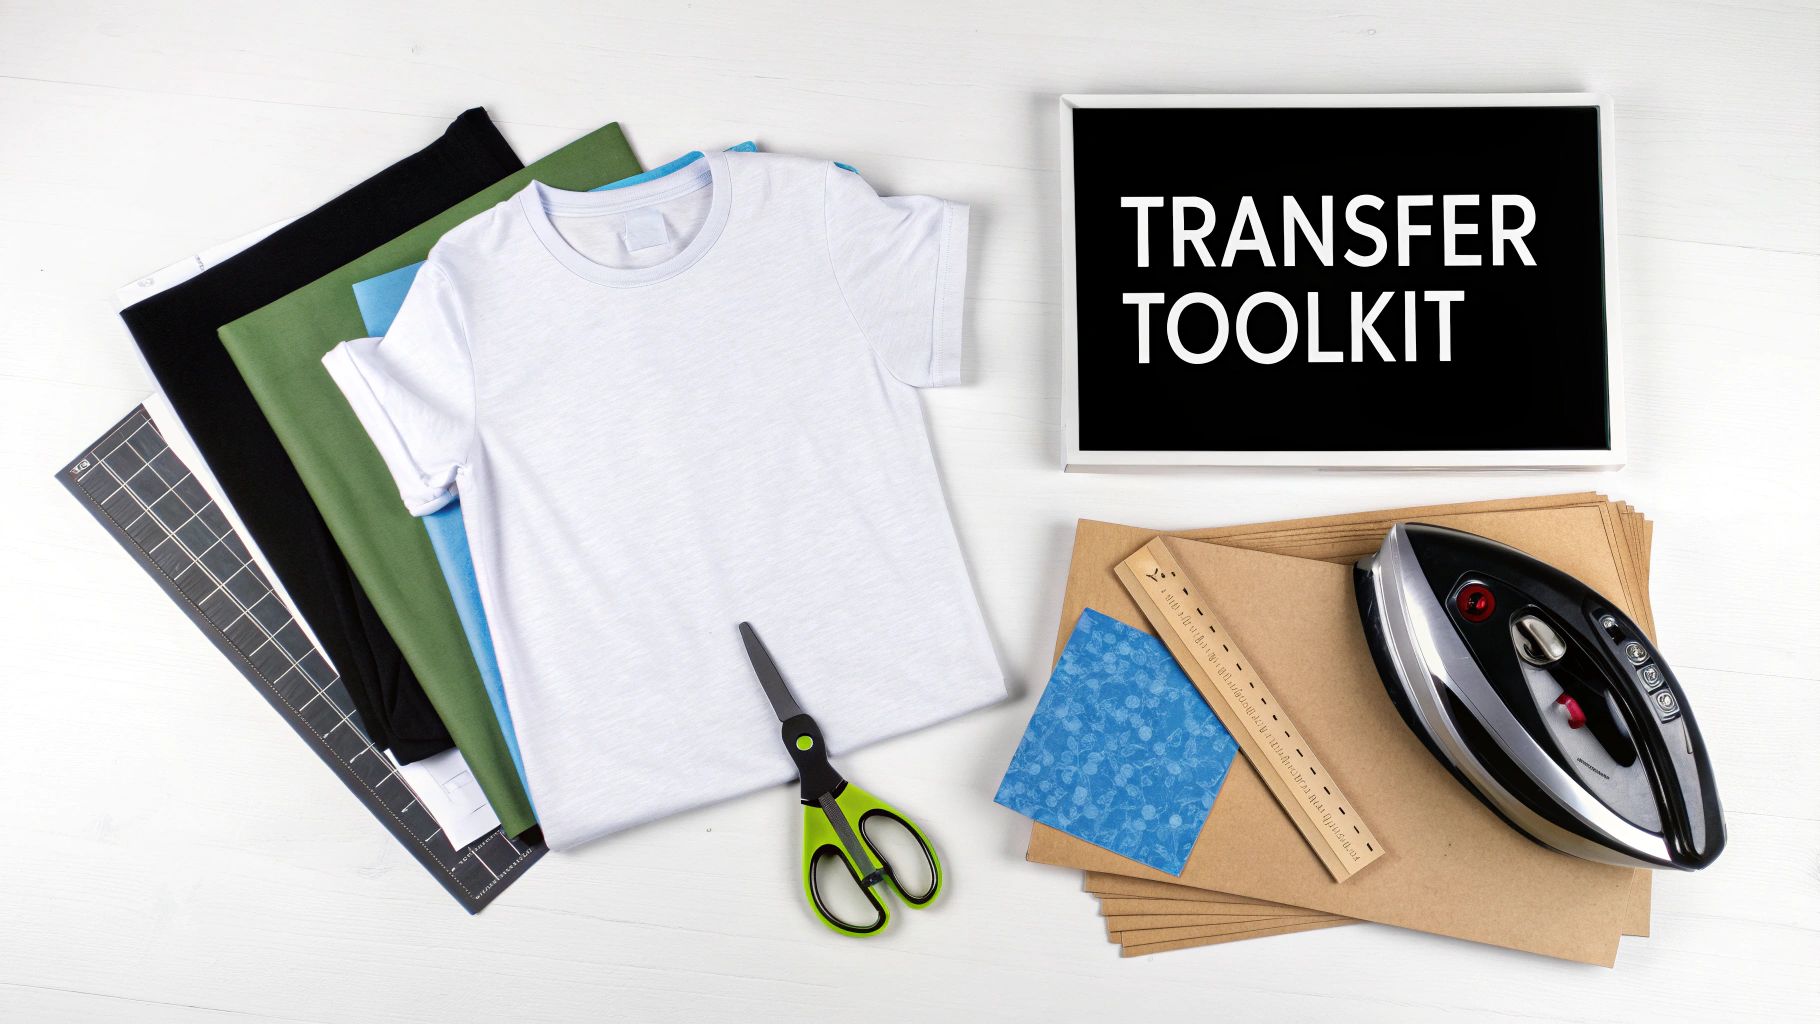
It’s easy to get excited and just jump right in, but a little prep goes a long way. Think of it like cooking—you wouldn't start a recipe without having all your ingredients measured out. Each item in your toolkit plays a crucial role in getting a clean, durable transfer.
The most important decision you'll make at this stage is about the paper itself. This isn't just regular paper; it's a specialty product, and not all transfer sheets are created equal. The one you choose will make or break your project.
Choosing the Right Transfer Paper
Your first fork in the road is matching the paper to the color of your garment. This isn't optional; it's a critical step for getting results you'll actually want to wear.
- Paper for Light Fabrics: This paper has a transparent film. When you press it, only the ink transfers, and any unprinted areas remain see-through. It’s perfect for white, beige, and pastel-colored shirts where you want the design to feel like it's part of the fabric.
- Paper for Dark Fabrics: This is a different beast altogether. It has an opaque white background. Your design prints on top of this white layer, which then gets pressed onto the garment. You absolutely need this for black, navy, or any vibrant fabric, otherwise your design’s colors will just sink into the shirt and look dull.
Next, you have to match the paper to your printer. Trying to use the wrong type can result in a smudgy mess or even gum up your printer's internals. Just check the box; it will clearly state what it's for.
- Inkjet Transfer Paper: Made specifically for the liquid inks used by most standard home printers.
- Laser Transfer Paper: Formulated to handle the high heat and bond with the toner used in laser printers.
A Word of Warning: The most common mistake I see beginners make is using "light fabric" paper on a dark t-shirt. The design will look transparent, faded, and muddy. Always, always match the paper to your fabric.
Assembling Your Application Tools
With the paper sorted, you'll need the right tools to apply the transfer. You've got two main options here for applying the heat and pressure that make the magic happen.
A simple household iron is where most people start. It's accessible and gets the job done for small projects. The trick is to skip the ironing board—it’s too padded and will absorb the firm pressure you need. A sturdy table with a pillowcase on top is a much better bet.
If you're planning on making more than just a few shirts or you're a stickler for quality, a heat press is a game-changer. It delivers perfectly even heat and pressure, which is something an iron just can't do consistently. If you think you might be heading in that direction, our guide on the best heat press for beginners can help you figure out what to look for.
Finally, you need to cut out your design. A sharp pair of scissors is fine for simple shapes and circles. But if your design has intricate details or lettering, a craft cutting machine like a Cricut or Silhouette will give you crisp, professional edges you could never get by hand.
Choosing Your Materials and Nailing the Design
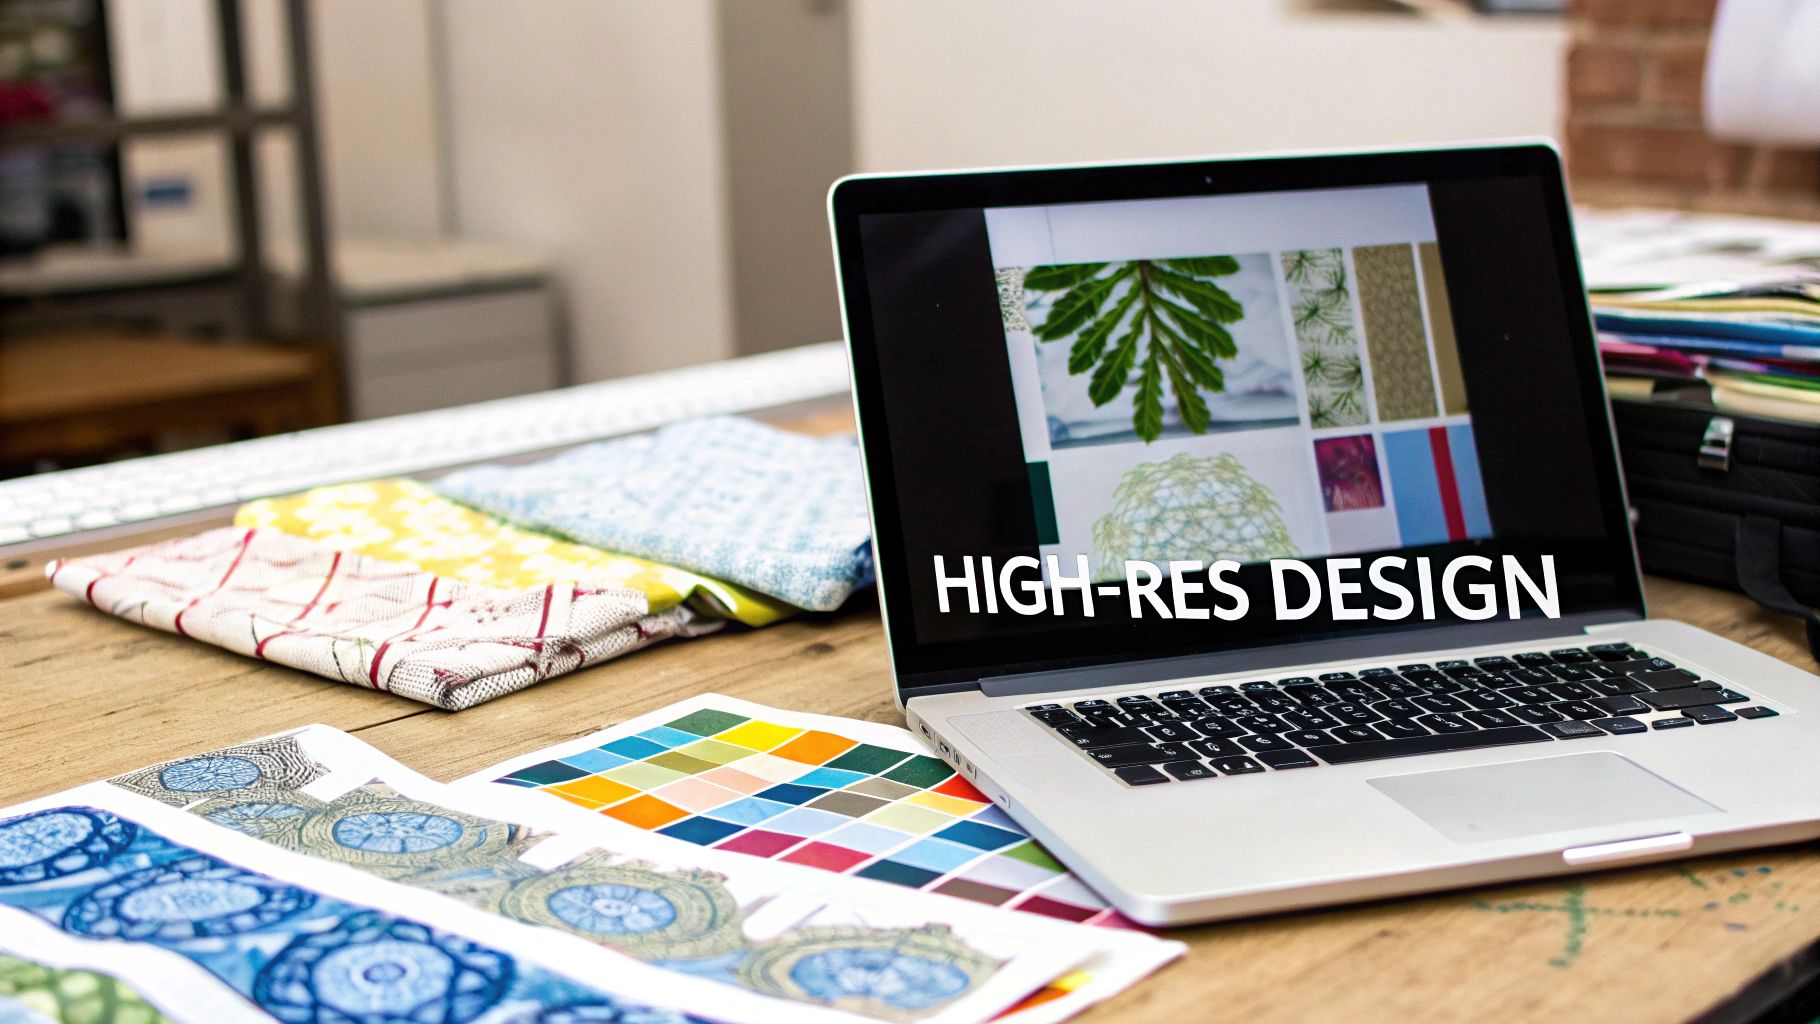
The secret to a professional-looking shirt often comes down to the choices you make long before you hit the print button. Getting the right transfer paper and prepping your design file correctly are the two pillars that support a great final product. Get these right, and the rest of the process becomes so much smoother.
Think of the paper as your canvas. Different brands will give you wildly different results in durability, how soft the design feels after washing, and how vibrant the colors look. Some cheaper papers can leave a stiff, plastic-like feel on the shirt, while premium options offer a much softer "hand" that blends almost seamlessly with the fabric.
Selecting the Best Transfer Paper for Your Project
The paper you choose has a huge impact on the final look and longevity of your design. It’s not just a simple light-vs-dark fabric decision; it’s about the actual quality of the transfer film. As you learn how to print iron on transfer paper, you’ll quickly realize that spending a little more on a good sheet pays for itself. To help you sort through the options, our detailed guide on what is transfer paper is a great place to start.
The demand for these materials is massive, which tells you just how central they are to the custom apparel world. The textile transfer paper market was valued at an incredible USD 871.6 billion in 2025 and is projected to hit USD 1,546.3 billion by 2035. This boom, detailed by Future Market Insights, means there are more options than ever for creators and businesses looking for reliable transfer solutions.
Here’s a quick rundown of what you might find:
- For hobbyists: Brands like Avery or Jolee's are easy to find at craft stores and are perfect for one-off projects or gifts.
- For small businesses: You’ll want to look at brands like Neenah or PPD (Photo Paper Direct) for more consistent, durable results that hold up to repeated washing.
This table should help you quickly match the right transfer paper to your printer and fabric color, ensuring you get the best results for your project.
Quick Guide to Choosing Your Transfer Paper
| Paper Type | Best For | Key Characteristic | Ideal Printer |
|---|---|---|---|
| Light Fabric Transfer | White or light-colored cotton/poly-cotton blends | Transparent polymer film; the design is printed in reverse | Inkjet or Laser |
| Dark Fabric Transfer | Black, navy, red, or any dark-colored fabrics | Opaque white background; prints right-reading | Inkjet or Laser |
| Inkjet Transfer Paper | Vibrant, full-color photos and complex graphics | Designed to absorb and hold water-based inkjet inks | Standard Inkjet Printers |
| Laser Transfer Paper | Sharp text, logos, and solid color graphics | Works with dry toner, often more durable and self-weeding | Laser Printers |
No matter which paper you land on, the goal is the same: to get your design onto the fabric cleanly and vibrantly.
My best advice? Always buy a few extra sheets. This lets you run a test print and press on some scrap fabric, saving you from the heartbreak of ruining your favorite t-shirt.
Prepping Your Design for a Flawless Print
With your paper picked out, it's time to shift focus to your digital file. This is where you can prevent the most common printing disasters, like blurry images and backward text. Your design software is your command center for getting this right.
First up, image quality. A low-resolution image that looks decent on your screen will almost always turn into a pixelated, blurry mess when it's printed on a shirt. The non-negotiable standard for quality printing is 300 DPI (dots per inch).
Setting your canvas to 300 DPI from the start ensures there's enough digital information packed in to produce sharp lines and rich colors. If you just grab an image off the internet, it’s probably 72 DPI—great for web viewing, terrible for printing. Always work with a high-resolution source file or create your design in a program that lets you control the resolution.
The Critical Step: Mirroring Your Image
I can’t stress this enough. This is probably the most crucial—and most frequently forgotten—step in the entire process. For nearly all iron-on transfers, especially those for light-colored fabrics, you must print your design as a mirror image.
Why is this so important? When you lay the transfer paper face-down on the shirt to apply heat, the image gets flipped. If you don't mirror it beforehand, any text, logos, or asymmetrical designs will end up completely backward.
Here’s how to do it:
- Check your printer settings: Most modern printers have a "Mirror Image," "Flip Horizontal," or "T-Shirt Transfer" option right in the print dialog box. This is the simplest method.
- Use your design software: Programs like Adobe Photoshop, Canva, or Cricut Design Space all have easy-to-find flip tools. Just hit "Flip Horizontal" before you even think about sending the file to your printer.
This step is an absolute must for anything with text. Imagine printing a batch of shirts for a family reunion that reads "noinuЯ ylimaF 4202"—it’s a simple mistake that can ruin a whole project. A quick double-check of this one setting will save you a world of time, money, and frustration.
Getting Your Printer and Settings Just Right
This is where the magic really starts—turning your design from pixels on a screen into something you can actually hold and press. Nailing your printer settings is what makes the difference between a vibrant, professional-looking transfer and a faded, muddy mess. Let's be honest, nobody wants to waste expensive paper on a shirt that ends up at the back of the closet.
Think of your printer's settings menu as your mission control. It's how you tell the machine exactly what kind of quality you're aiming for. Flying blind here is a recipe for disappointment, kind of like trying to bake a cake without preheating the oven.
Choose the Right Paper Type
First things first: you have to tell your printer it’s not dealing with plain old copy paper. It needs to know it's handling a thicker, specially coated sheet. This one setting completely changes how much ink gets put down and how it dries, which is everything for getting rich, saturated colors.
You almost certainly won't see an option that says "Iron-On Transfer Paper." Don't panic. Just look for one of these, which work just as well:
- T-Shirt Transfer: Some printers, especially from brands like Epson or Canon, actually have this setting. If you see it, that’s your golden ticket.
- Glossy Photo Paper: This is my go-to and the best all-around substitute. It signals to the printer to lay down a healthy amount of ink for those deep, vibrant colors.
- Premium Matte or Other Photo Paper: If there’s no glossy option, any high-quality photo paper setting is your next best bet.
Why is this so critical? It all comes down to ink. If you stick with the default "Plain Paper" setting, the printer will be too stingy with the ink, leading to undersaturated colors and smudging because it's not expecting to coat a film.
Max Out Your Print Quality
Once you've set the paper type, it's time to crank up the quality. Most printers default to a "Standard" or "Normal" mode to save ink and speed things up. For what we're doing, that's the last thing you want.
Dive back into the settings and find the print quality option. You're looking for whatever sounds like the best, which might be called:
- High
- Best
- Photo
- Fine
This setting forces the printer to slow down and make more passes over the paper. The result? Sharper details and much richer colors that will really pop once you press them onto your garment. Trust me, skipping this step is one of the top reasons people complain about faded, washed-out transfers.
My number one tip? Always run a test print on a regular piece of paper first. It costs next to nothing and immediately flags any issues—you forgot to mirror the image, the colors look weird, or a nozzle is clogged. This simple five-second check has saved me from wasting countless sheets of expensive transfer paper over the years.
Final Checks Before Hitting "Print"
With your settings dialed in, take a breath and run through a quick pre-flight checklist before using your good paper.
First, triple-check that your image is mirrored. I know we've talked about it, but it's the easiest mistake to make. Any text that looks perfect on screen will be a backward mess on your shirt if you forget to flip it.
Next, make sure you've loaded the transfer paper correctly. On most inkjet printers, the printable side goes face down in the tray, but it's always worth double-checking your model. The printable side is usually a blank, bright white; the back often has a grid or a brand logo. Printing on the wrong side renders the sheet useless.
Finally, if you haven't printed in a while, run a quick nozzle check from your printer's utility software. Clogged nozzles leave horrible lines ("banding") across your print, and it’s way better to spot that on a cheap piece of paper than on your final transfer.
Getting the Heat Application Just Right
This is where the magic happens. All your work designing, printing, and cutting comes down to this one critical moment. How you apply heat will make the difference between a design that bonds beautifully with the fabric and one that cracks, peels, and disappoints after the first wash.
Success boils down to three key ingredients: heat, pressure, and time.
Whether you're working with a basic household iron or a professional heat press, the goal is the same. You need to deliver consistent heat and firm, even pressure for a specific duration to activate the transfer’s adhesive, fusing it right into the fabric's fibers.
The demand for this kind of custom apparel is booming. In fact, the heat transfer paper market was valued at USD 656.62 million in 2024 and is on track to hit USD 1,224.5 million by 2034. That's a massive community of creators you're a part of! You can read more about these trends at Zion Market Research. Nailing the application process is your ticket to creating top-notch gear.
Using a Household Iron and Getting Great Results
Lots of people start out with a standard household iron, and you can absolutely get fantastic, lasting results this way. The trick is knowing how to work around its two main limitations: inconsistent heat and uneven pressure.
First things first: do not use your ironing board. Seriously. They are padded and soft by design, which is the exact opposite of what you need for a good transfer. That padding will just soak up all the pressure you're trying to apply, resulting in a weak, poorly bonded design.
Instead, find a hard, flat, and heat-resistant surface. A sturdy table or countertop works perfectly. Just lay down a protective layer first, like a Teflon sheet or even a clean pillowcase, to protect both the surface and your garment.
Here’s how to get it done with an iron:
- Crank Up the Heat: Set your iron to its highest temperature, which is usually the cotton/linen setting. This is crucial: make sure the steam function is turned OFF and the water reservoir is empty. Steam is the enemy of transfer adhesive.
- Pre-Press the Garment: Before placing your design, quickly iron the target area for about 5-10 seconds. This little step does two important things: it gets rid of any hidden moisture and smooths out wrinkles, giving you a perfect canvas.
- Apply Serious, Even Pressure: Place your transfer paper design-side down on the pre-heated spot. Now, press down hard. I mean, use your body weight. Don't just glide the iron around like you're getting rid of wrinkles. Press and hold it in one spot for 15-20 seconds before moving to the next, slightly overlapping the area you just pressed. Keep going until you've covered the entire design.
Dialing in a Heat Press for Pro-Level Quality
If you're planning to sell your creations or you just crave flawless, repeatable results every single time, a heat press is a game-changing investment. It takes all the guesswork out of the equation by giving you precise, digital control over temperature, pressure, and time.
Your transfer paper will always come with recommended settings from the manufacturer—follow them. A good starting point for many papers is somewhere around 350-375°F (175-190°C) for 15-25 seconds with medium to firm pressure.
Here's a quick look at how the two methods stack up:
| Feature | Household Iron | Heat Press |
|---|---|---|
| Temperature | Inconsistent; relies on general fabric settings | Precise and digitally controlled |
| Pressure | Uneven; depends entirely on your strength | Even, consistent, and adjustable |
| Coverage | Small sections at a time, requiring overlaps | The entire design is pressed at once |
| Consistency | Very difficult to replicate perfectly | Every press is virtually identical |
Using a press is simple. You just set the temperature and time, adjust the pressure knob, pre-press your shirt to remove moisture, place your transfer, and clamp it down. The machine does the rest, delivering a perfect press that you can count on.
A Pro Tip You Can't Ignore: The single most overlooked factor is pressure. Too little, and the transfer won't fully bond, leading to cracks and peeling after washing. Too much, and you can scorch the fabric or push the ink too deep, making the colors look faded.
The Hot Peel vs. Cold Peel Showdown
Last but not least, you need to know when to peel the backing paper away. This isn't a personal preference; it’s determined by the specific type of transfer paper you bought. Peeling at the wrong time will ruin all your hard work in a split second.
- Hot Peel: This means you have to remove the backing paper immediately after lifting the heat press or iron, while the design is still blazing hot. Hot peel papers generally leave a softer, more flexible finish that feels like it’s part of the fabric itself.
- Cold Peel: With this type, you must let the transfer cool down completely before you even think about touching the backing paper. If you peel it while it's still warm, you'll likely pull the design right off with it. Cold peel transfers often have a glossier, more vibrant look.
Always, always check your paper’s instructions to see which type you have. There’s no way to tell just by looking. Getting this one detail right is one of the most important parts of learning how to print iron on transfer paper successfully.
Keeping Your Creation Looking Great: Aftercare & Troubleshooting
You've pressed your design, peeled back the paper, and it looks amazing. Awesome job! But the work isn't quite over. How you care for your custom garment from this point forward is just as important as how you made it. Get this part right, and your design will stay bright and intact for a long time.
The single most important rule? Wait at least 24 hours before that first wash. I know it's tempting to wear it right away, but you have to give the adhesive that time to fully cure and lock into the fabric fibers. Rushing this step is the fast track to peeling and cracking. Just set it aside and be patient.
The Secrets to a Long-Lasting Design
When that 24-hour waiting period is up, a few simple laundry habits will protect your hard work and dramatically extend the life of your transfer.
First things first: always turn the garment inside out before washing. This little trick puts the fabric on the outside to take the brunt of the machine's agitation, protecting your design from friction.
Here’s the simple laundry routine I swear by:
- Go Cold: Wash your garment in cold water on a gentle cycle. Hot water is the enemy of transfer adhesive—it can soften it and cause colors to bleed or fade.
- Mild Detergent Only: Stick to a basic, mild detergent. You'll want to avoid harsh chemicals, bleach, and especially fabric softeners, which can get under the transfer and degrade the bond over time.
- Air Dry if You Can: High heat from a dryer can do a lot of damage. The absolute best method is to hang it up to dry. If you're in a pinch and must use a machine, tumble dry on the lowest possible heat setting.
A Quick Ironing Tip: If the rest of the shirt gets wrinkled, never iron directly on the transfer. It will melt. Turn the garment inside out, use a low heat setting, and carefully press around the design area.
Getting the application right from the start is your best defense against future problems. It all comes down to mastering the essentials of heat, pressure, and peeling.
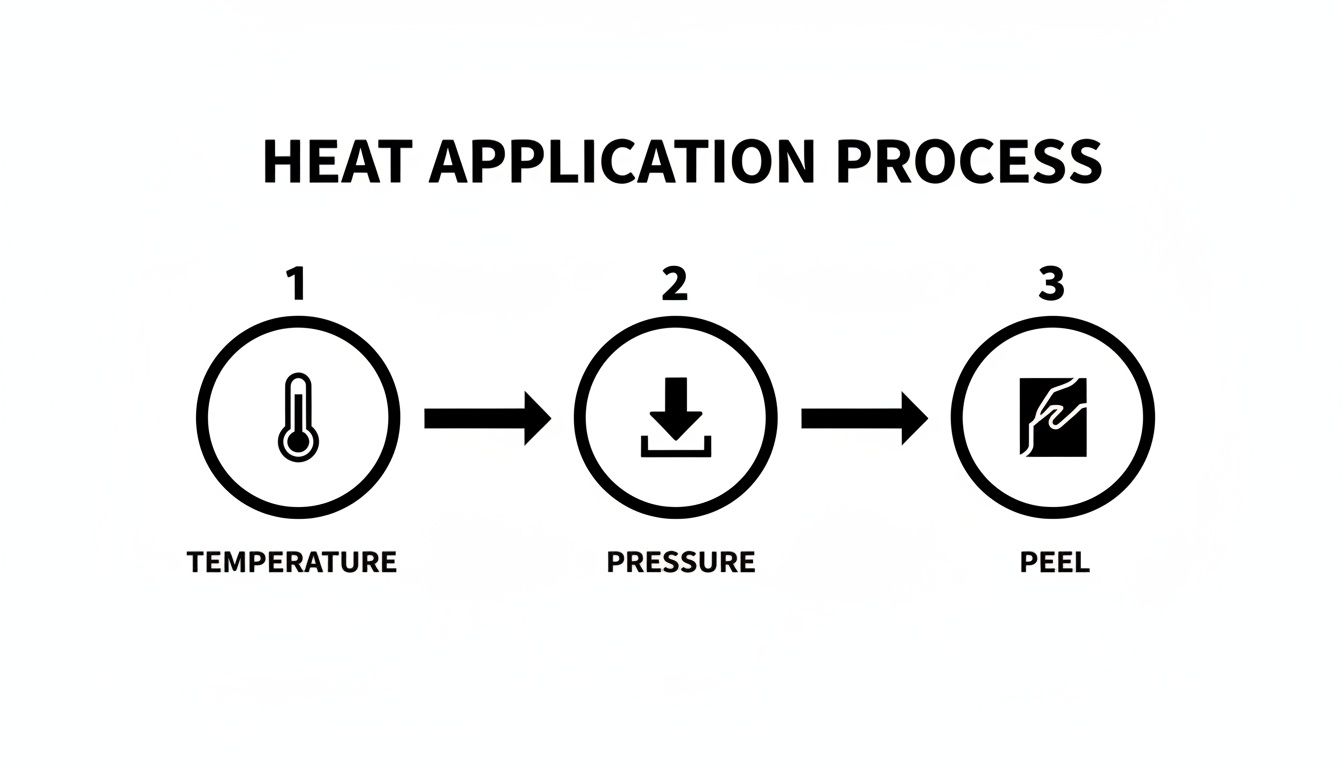
Nailing these three steps is fundamental. When you do, you'll find most of the common frustrations people face simply disappear.
What to Do When Things Go Wrong
Even seasoned pros run into issues now and then. Don't worry if your first few attempts aren't perfect. Most problems are easily fixable and are actually great learning moments. Here’s how to tackle the most common headaches.
The Problem: My Design Is Cracking or Peeling!
This is the most frequent issue, and nine times out of ten, it’s a problem with pressure or heat during application. If the edges are lifting or you see cracks after the first wash, the adhesive didn't get a good enough grip.
- The Fix: You can usually save it by re-pressing. Lay a sheet of parchment paper or a Teflon sheet over the design (this is critical to protect it!), and press it again. This time, really lean into it with firm, even pressure for another 10-15 seconds.
The Problem: The Colors Look Dull or Faded.
If your design looks faded right after you press it, the problem likely happened before the heat press was even turned on.
- The Fix: This is almost always a printer setting issue. Go back to your print dialog and make sure you're using a high-quality setting like "Glossy Photo Paper," not "Plain Paper." Plain paper settings just don't put down enough ink for a vibrant transfer. On the other hand, too much heat can also dull certain colors, so double-check your temperature recommendations.
The Problem: The Transfer Feels Stiff or Has a White Halo.
A slightly stiff feel is normal for some papers (especially those for dark fabrics), but if you see a clear or white outline around your art, that’s an easy one to diagnose.
- The Fix: This is purely a cutting issue. The only real solution is to be more precise when you trim the design. If you're cutting by hand, use sharp scissors and get as close to the edge of the ink as you possibly can. For anything complex, a Cricut or Silhouette cutting machine is a game-changer for getting that clean, professional edge.
When It’s Time to Upgrade to Professional DTF Transfers
Iron-on transfer paper is a fantastic gateway into the world of custom apparel. It’s affordable, accessible, and honestly, a lot of fun for personal projects, one-off gifts, or just testing out a new design idea. But for every growing hobbyist or budding entrepreneur, there comes a point where the DIY method starts to feel… limiting.
When you find yourself needing to make more than just a handful of shirts, or when quality and durability become the top priority, it’s time to start looking at the next step up.
This is exactly where professional Direct-to-Film (DTF) transfers enter the picture. Think of iron-on paper as learning to ride a bike with training wheels; DTF is like graduating to a high-performance road bike. It's a commercial-grade solution built for efficiency, incredible quality, and scaling your production, bridging that critical gap between a fun hobby and a serious business.
Hitting the Wall with Iron-On Paper
Iron-on transfers are great for what they are, but they definitely have a ceiling. As your ambitions grow, you’ll probably run into a few common hurdles that are clear signals it’s time to upgrade. Catching these signs early can save you a ton of time and frustration down the road.
You might be ready for a change if you're facing these challenges:
- Durability Issues: Your designs are cracking or fading way too fast, sometimes after just a couple of washes. It's frustrating to see your hard work literally wash away.
- Fabric Limitations: You're itching to print on dark polyester, stretchy spandex, or other cool materials that just don't cooperate with standard iron-on paper.
- The Time Sink: The whole process—printing, meticulously cutting out the design, and carefully weeding away the excess vinyl—is eating up hours of your day. It’s just not sustainable for bigger batches.
If any of this sounds painfully familiar, you haven't failed—you've just outgrown a DIY-focused product.
The DTF Advantage: Durability and Versatility
The single biggest leap you'll notice with DTF transfers is their professional quality. Unlike iron-on paper that essentially lays a printed film on top of the fabric, DTF ink is bonded directly to the garment using a powerful adhesive. The result is a transfer with unbelievable durability that can handle dozens of washes without cracking, peeling, or fading.
Another game-changer is the stretch. When you pull on a shirt with a DTF transfer, the design stretches right along with the fabric and snaps back perfectly. An iron-on transfer, being more rigid, is far more likely to crack under that same stress. This makes DTF the undisputed winner for performance wear, athletic apparel, or any garment made with stretchy fabric.
DTF technology opens up a whole new world of creative possibilities. You're no longer stuck with just cotton or poly-cotton blends. You can confidently press vibrant, full-color designs onto polyester, nylon, leather, and more—all with the same simple application process.
The demand for high-quality custom printing is exploding. The global transfer paper market, valued at USD 3.3 billion in 2025, is on track to hit USD 5.8 billion by 2035. This kind of growth shows a clear trend: creators and businesses are actively seeking more professional and reliable methods to meet customer expectations for quality that lasts.
Making the Leap to Professional Quality
Moving from DIY methods to a professional solution is a pivotal moment for any apparel business. While knowing how to print iron on transfer paper is a valuable skill, knowing when to switch to a more efficient process is what truly fuels growth. By ordering pre-printed DTF transfers, you completely eliminate the printing, cutting, and weeding from your workflow.
This strategic shift frees you up to focus on what really matters: designing amazing products and building your brand. You get all the perks of commercial-grade quality—punchy colors, incredible durability, and the freedom to print on almost any fabric—without the massive investment in professional equipment. For anyone serious about creating custom apparel, understanding the power of DTF custom transfers is the key to unlocking that next level of quality and efficiency.
Ready to elevate your products with transfers that offer unmatched durability, vibrancy, and stretch? At Cobra DTF, we provide premium, USA-made DTF transfers that are ready to press, helping you scale your business with professional-quality results. Explore our custom DTF transfers today and see the difference for yourself. https://cobradtf.com