How to Iron Transfer for Flawless Custom Designs
Applying an iron-on transfer really comes down to a few key moments: getting your garment ready, nailing the placement of the design, and pressing it with the right amount of heat and pressure. I've learned over the years that if you get these fundamentals right, your custom design won't just look professional—it'll last.
Your Essential Iron Transfer Toolkit
Before you even plug in the iron, let's get your workstation set up. A little prep work here goes a long way and helps you avoid those frustrating moments like peeling corners or a transfer that just won’t stick.
To make things easier, here’s a quick rundown of everything you’ll need to have on hand for a smooth process.
Essential Supplies for Your Iron Transfer Project
| Item | Why You Need It | Pro Tip |
|---|---|---|
| Household Iron | The heat source that activates the transfer's adhesive. | Make sure it’s completely empty of water—steam is your enemy here! |
| Garment | The canvas for your design. | 100% cotton or high-quality poly/cotton blends work best. |
| Hard, Flat Surface | Provides the firm backing needed for even pressure. | A sturdy table or countertop is perfect. Avoid flimsy ironing boards. |
| Protective Sheet | Shields the transfer from direct heat and protects your iron. | A sheet of parchment paper or a Teflon sheet is a must-have. |
Having these items ready before you start ensures you're not scrambling mid-project, which is when mistakes tend to happen.
Setting the Stage for Success
First things first, let's talk about the fabric. You'll get the best results with 100% cotton or a solid cotton/polyester blend. These materials can take the heat needed to create a strong, lasting bond.
Always, and I mean always, pre-wash your garment. Skip the fabric softener, as it leaves behind a residue that can block the transfer's adhesive from properly bonding to the fibers.
Now, where you press is just as important as what you press with. That standard ironing board you have? Push it aside. Its soft, padded surface will absorb all the pressure you're trying to apply, leading to a weak application. You need something solid. A sturdy table or even a clean countertop will do the trick. Just lay down a thin towel to protect the surface from the heat.
Another absolute must-have is a protective sheet. A simple piece of parchment paper or a Teflon sheet acts as a barrier between your iron and the transfer. It prevents scorching and stops any sticky residue from getting on your iron's plate. It’s a small step that makes a huge difference.
I can't stress this enough: consistent pressure is just as critical as the temperature. If you don't press down firmly and evenly across the entire design, you're going to see corners and edges lifting after the first wash. It's the most common mistake I see people make.
The whole process is a careful balance of heat, time, and pressure. You’re typically aiming for a temperature between 300 and 350 degrees Fahrenheit, pressing firmly for about 15 to 60 seconds. This combination melts the adhesive and forces it deep into the fabric's weave.
For a more detailed look at creating your own custom apparel, check out our guide on making custom iron-on shirt decals.
Getting Your Fabric and Transfer Ready
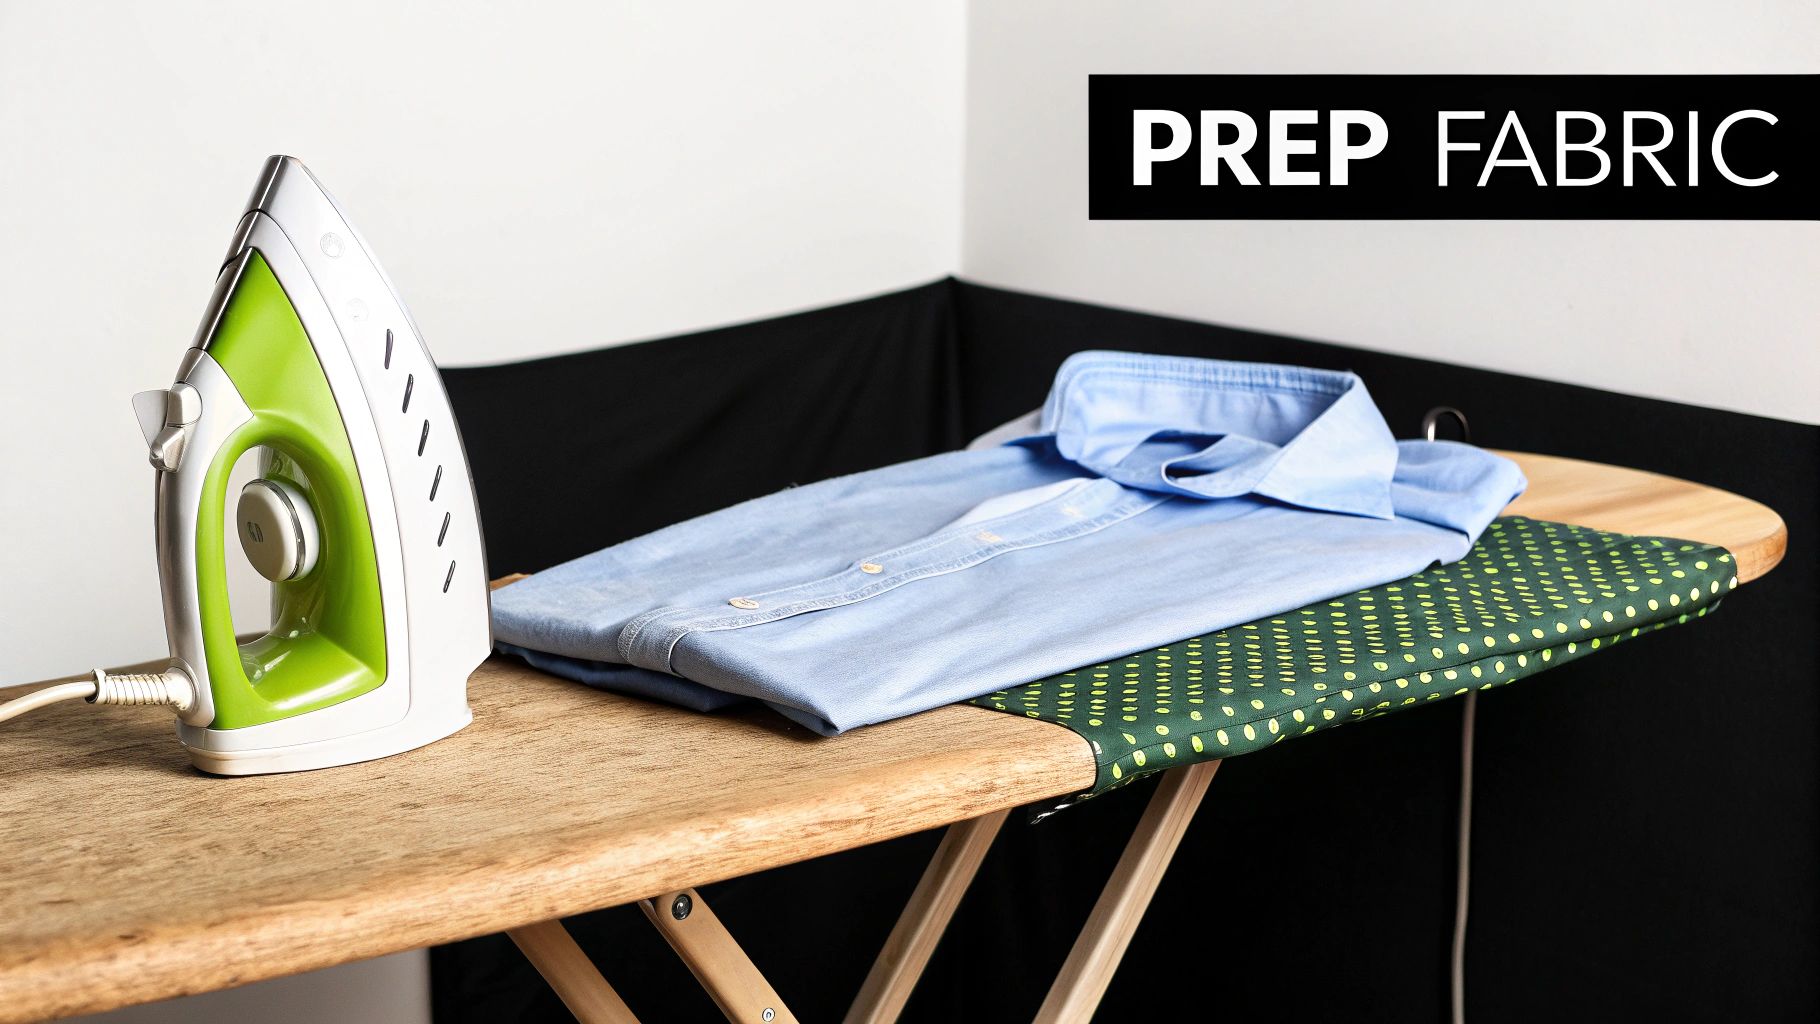
The secret to an iron-on transfer that looks like it came from a high-end print shop? It’s all in the prep work. This is the one step people tend to rush, but trust me, spending an extra minute or two here is the difference between a design that peels after one wash and one that lasts for years.
First thing's first: pre-press your garment. Grab your hot, dry iron and go over the area where the design will live for a good 5-10 seconds. This might seem like a small thing, but it does two crucial jobs. It gets rid of any wrinkles and, more importantly, it zaps any lingering moisture hiding in the fabric. Moisture is the ultimate enemy of a solid, lasting press.
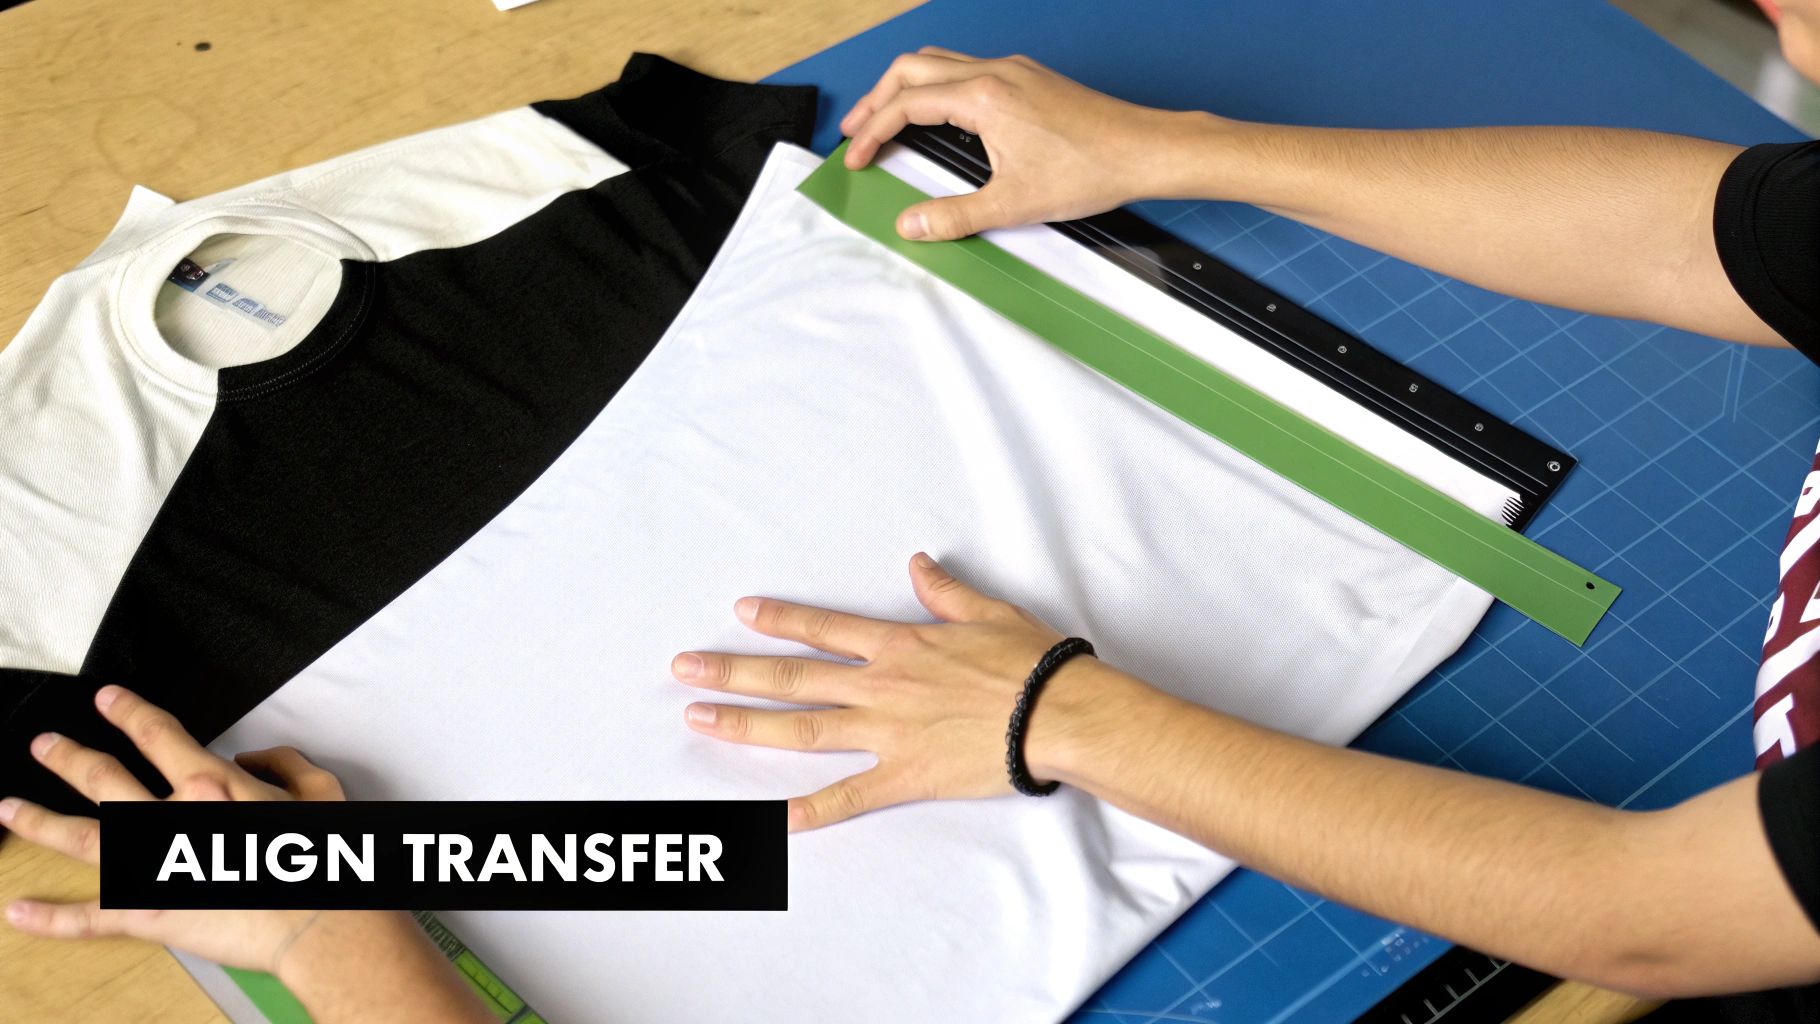
Nailing the Placement
With your shirt perfectly flat and dry, it's time to get that design positioned just right. Nothing gives away a DIY project faster than a crooked logo or a graphic sitting way too low. Proper placement is what elevates your work from a hobby to truly professional-looking apparel.
A classic rookie mistake is placing designs too far down the chest. As a solid rule of thumb for an adult t-shirt, aim to place the top of your transfer about three to four inches below the collar.
For dead-on centering every time, here’s a simple trick I swear by:
- First, fold the shirt in half vertically. Line up the shoulder seams perfectly.
- Give it a quick press with your iron to create a faint crease right down the middle.
- When you unfold it, you’ll have a perfect centerline to guide your placement.
- You can even gently fold your transfer in half to find its center, then just line up the two creases. Easy.
Keep in mind that different fabrics will respond differently to the heat and pressure you're about to apply. If you want to get into the nitty-gritty of why this prep is so important, understanding the fundamental differences between cotton vs. polyester is a great place to start.
This little folding trick guarantees your design is perfectly centered, giving your project that clean, polished look. Take your time here—once you apply that heat, it's permanent.
Nailing the Perfect Press with Heat and Pressure
Alright, this is where all your prep work comes together. The press itself is the magic moment, the step that permanently bonds your incredible design to the garment. Getting the temperature, pressure, and timing just right is the secret to a transfer that looks amazing and lasts through wash after wash without a hint of cracking or peeling.
Applying Pressure with a Home Iron
Let's be real: getting consistent pressure with a home iron can feel a little awkward at first, but it's totally doable. A big professional heat press clamps down with perfectly even force, but with an iron, you are the press. You'll need to use your body weight to your advantage. Lean into the iron and press down firmly.
Start at one edge of the transfer and hold that pressure for 10–15 seconds.
Instead of sliding the iron around like you're just getting wrinkles out, think of this as a series of deliberate, overlapping presses. Press one spot, lift the iron completely, then move it to the next spot, overlapping the previous one just slightly. Press again. This methodical process guarantees that every inch of the design—especially those tricky edges—gets the consistent heat and pressure it needs to adhere properly.
This image breaks down the core idea of the pressing process.
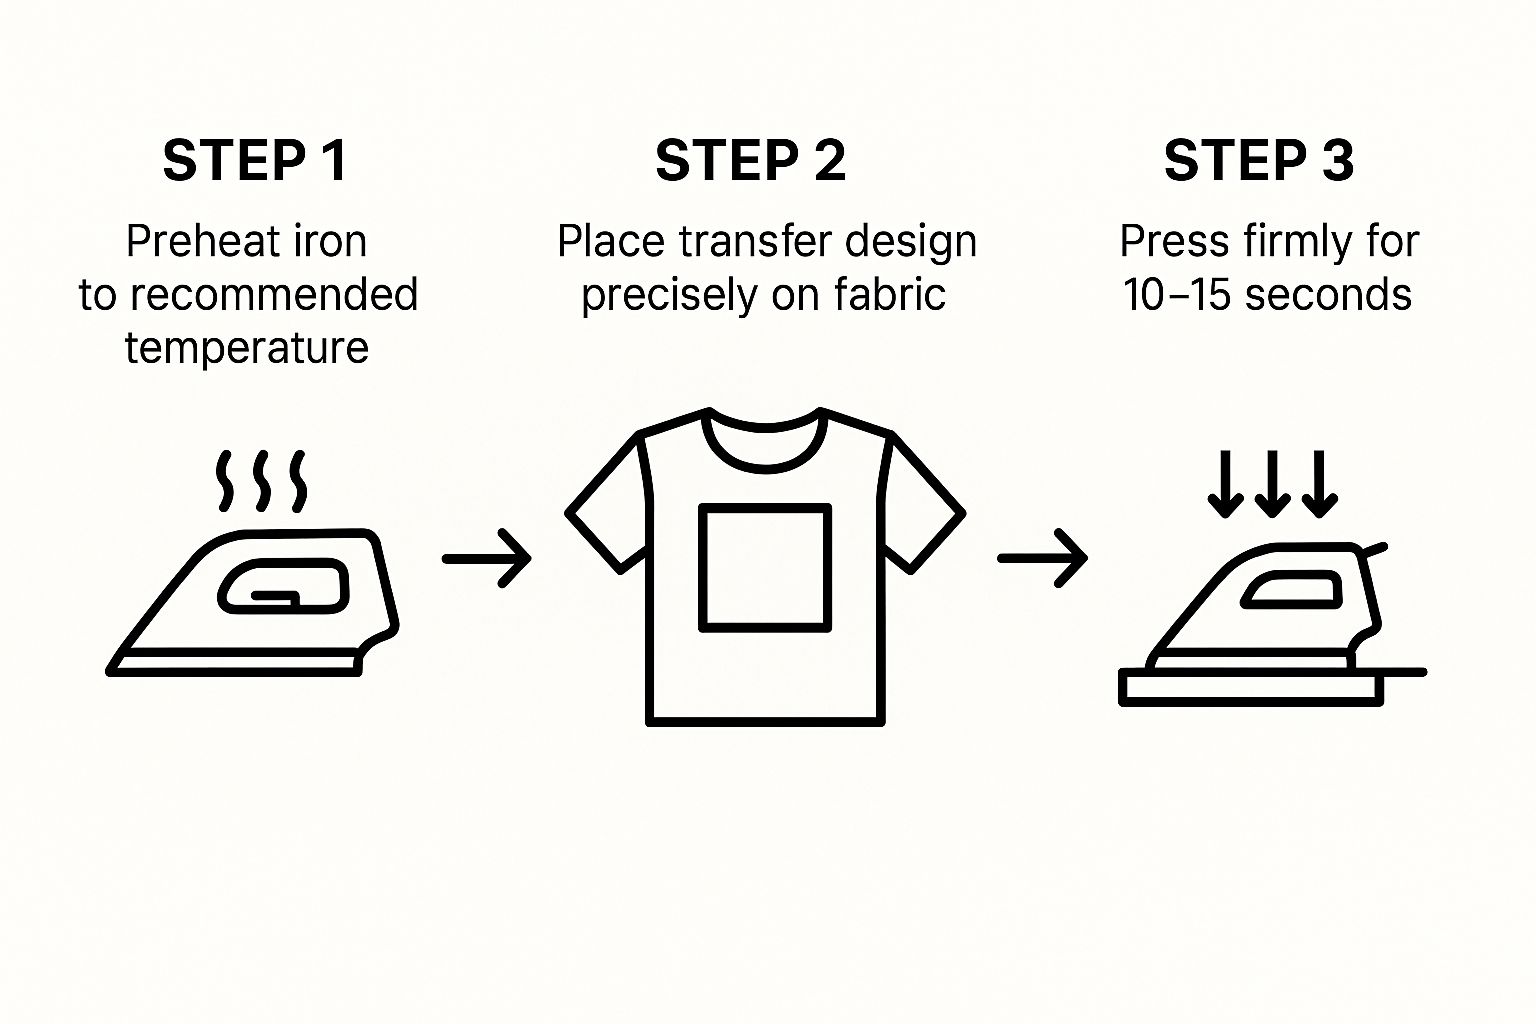
As you can see, it's all about that final, firm, timed press after you've got everything set up.
Hot Peel vs. Cold Peel: What You Need to Know
One of the most critical details is whether your transfer is a "hot peel" or a "cold peel." This isn't just shop talk; it dictates what you do the second you lift the iron and is absolutely essential for a clean result. Mess this up, and you could ruin the whole project.
- Hot Peel: Just like it sounds, you need to peel the backing film off immediately while the transfer is still piping hot. If you wait, the adhesive will cool and stick back to the film, which can lift your design right off the shirt.
- Cold Peel: This one requires a bit of patience. You have to let the transfer cool down completely to room temperature before you even think about peeling the backing. If you jump the gun and peel it while it's still warm, you risk stretching the design or getting an incomplete transfer.
Pro Tip: What if a corner or edge doesn't stick after you peel? Don't freak out. It happens. Just lay your protective sheet back over the design, focus on that specific spot, and press it again with firm pressure for another 5–10 seconds. That almost always does the trick.
For a deeper dive into different application techniques, our guide to heat transfer shirt printing has a ton of extra info. But always, always check the instructions that came with your specific Cobra DTF transfer to confirm the peel type. It’s a small detail that makes all the difference in getting that perfect, professional finish.
Keep Your Designs Looking Great: Aftercare Secrets
You've done the hard work and your design looks fantastic. Now, the real test begins: making sure it survives the wash and stays looking brand new. Getting the aftercare right is just as important as the application itself.

The first rule of iron-on aftercare is simple: patience. You need to let that garment sit for at least 24 to 48 hours before its first trip through the laundry. This is non-negotiable. That waiting period is when the adhesive truly cures and grabs onto the fabric fibers for a permanent bond. Throwing it in the wash too early is the number one reason I see designs start to peel.
The Right Way to Wash and Dry
Once the curing time is up, a few small changes to your laundry routine will make all the difference. Always, always turn the garment inside out before washing. It’s a simple trick, but it protects the design from rubbing against other clothes and the inside of the machine.
When you're setting up the wash cycle, think gentle.
- Go Cold: Stick with cold water, every time. Hot water is the enemy of transfer adhesive; it can soften it up and cause cracking or peeling over time.
- Gentle Cycle: Choose the delicate or gentle cycle on your machine to minimize rough agitation.
- Mild Detergent: Use a mild detergent. Steer clear of bleach and fabric softeners, as their harsh chemicals can eat away at the transfer's integrity.
I’ve seen countless perfectly good designs ruined by a hot wash cycle. If you treat your custom gear like you would any of your other delicate clothes, you'll be amazed at how long it lasts.
When it comes to drying, you’ve got two solid choices. The best option is to hang it up to air dry. If you're in a hurry, you can tumble dry, but make sure it’s on the absolute lowest heat setting. Just like hot water, high heat from a dryer can do a lot of damage.
This level of care is especially crucial if you're running a small business. With custom merchandise making up nearly 40% of the market for things like team gear and promo items, your reputation depends on quality. Following these steps ensures your products always look professional, wash after wash. You can dig deeper into the custom apparel market on verifiedmarketreports.com.
Working Through Common Iron Transfer Hiccups
Even when you do everything right, sometimes a transfer just doesn't want to cooperate. Don't sweat it. Most of the common issues are surprisingly easy to fix and offer a great lesson for your next project. Let's walk through what can go wrong and how to make it right.
Edges Peeling Up Right After Pressing
You finish your press, peel the film, and... the edges of the design are lifting. This is a classic sign of uneven pressure or heat. It’s a frequent problem with home irons because their heat plates don't always distribute temperature evenly, and it's tough to apply consistent pressure across the entire design by hand.
The fix is usually pretty simple. Just lay your parchment paper back over the design, get your iron hot again, and press down firmly only on the lifting area. A targeted 5-10 second press should be all it takes to reactivate the adhesive and lock that edge down for good.
Cracking or Peeling After the First Wash
This one is frustrating. The design looked absolutely perfect right after you pressed it, but the first trip through the laundry left it cracked or peeling. This almost always means the adhesive didn't get a solid, permanent bond with the fabric fibers.
This usually boils down to one of a few things:
- Not enough muscle: You need firm, consistent pressure to really push that adhesive deep into the fabric's weave.
- Washing too soon: The adhesive needs time to cure. You have to give it a full 24-48 hours before its first wash.
- Too much heat: It sounds counterintuitive, but excessive heat can actually burn the adhesive, making it brittle and weak instead of strong and flexible.
If you ever peel the film away and find a sticky, gooey residue left on the shirt, that's a tell-tale sign your iron was too hot or you pressed for too long. Stick to the recommended settings as your starting point and only make small adjustments from there.
Getting the hang of iron-on transfers is a hands-on process. Once you learn to spot these common issues, you’ll be able to fix them on the fly and save your custom creations from the reject pile.
Troubleshooting Your Iron-On Transfers
Even with the best instructions, sometimes things just don't go as planned. Let's walk through a few of the most common questions and hiccups people run into when working with iron-on transfers. Getting these sorted out can be the difference between a frustrating experience and a flawless final product.
Can I Use a Steam Iron for My Transfer?
That's a hard no. Steam is the arch-nemesis of a good transfer. Any moisture, even a little bit, will interfere with the adhesive and prevent it from properly bonding to the fabric. The result? A weak application that will start peeling almost immediately.
Before you even plug it in, make sure your iron is completely dry. Empty any water from the reservoir and double-check that the steam function is turned off. This is a non-negotiable step for getting a professional, long-lasting press.
Why Is My Transfer Paper Lifting the Design?
This is a classic and incredibly frustrating problem, but it usually comes down to one of two things. First, you might be peeling at the wrong temperature. If you have a "cold peel" transfer, you absolutely have to wait until it's cool to the touch. Peeling it while it's still warm means the adhesive hasn't had a chance to fully release from the film and grab onto the shirt.
The other likely culprit is insufficient pressure. If you didn't press down firmly and evenly across the entire design, some spots might not have bonded correctly, causing them to lift right off with the paper. When in doubt, check your transfer's instructions and try pressing it again for a few more seconds.
Pro Tip: Patience is your best friend here. If you're not sure whether to peel hot or cold, waiting for the transfer to cool completely is always the safer bet. It's much better to wait a few extra minutes than to ruin the entire project.
What Are the Best Fabrics for Iron-On Transfers?
You'll get the most vibrant, durable results by sticking with fabrics that can take the heat. Your go-to choices should be:
- 100% Cotton
- 100% Polyester
- Cotton/Polyester Blends
Steer clear of delicate, heat-sensitive materials like nylon or rayon. These synthetics can easily scorch or even melt under the heat of an iron, destroying both the garment and your transfer.
Ready to create stunning, long-lasting custom apparel with ease? The team at Cobra DTF offers premium, American-made transfers that deliver vibrant colors and professional quality every time. Explore our high-quality DTF transfers today!