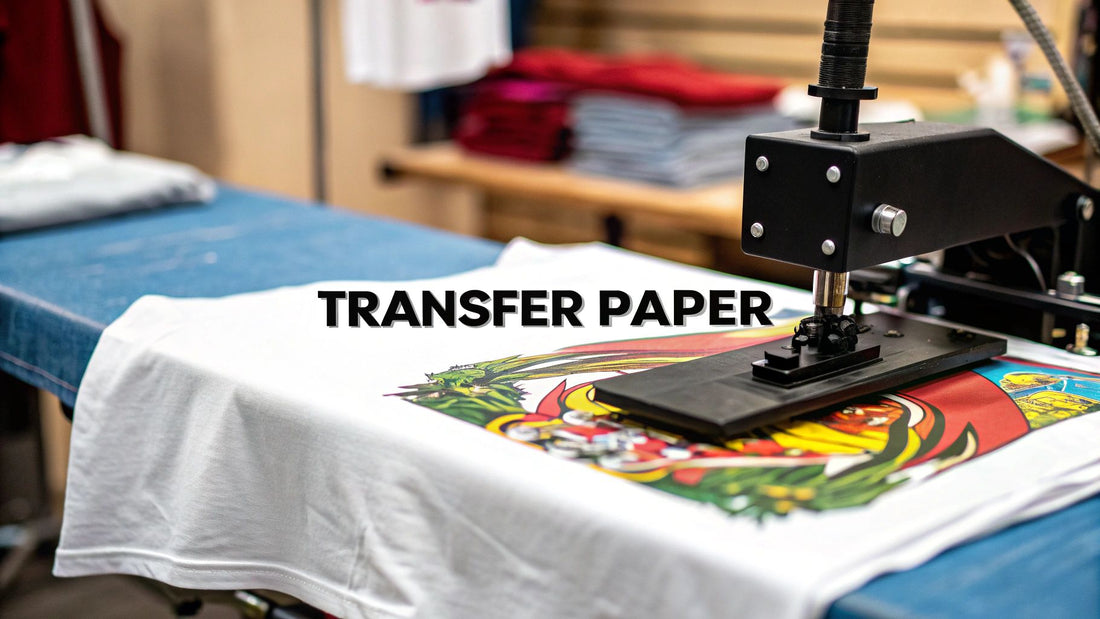
How Does Transfer Paper Work for Custom Shirts?
Ever wondered how a digital design gets onto a t-shirt? Often, the magic behind it is heat transfer paper. Think of it as a special delivery service for your artwork; it carries the ink from your printer and, with a bit of heat, delivers it right onto the fabric.
It’s a deceptively simple idea, but it’s the science behind the paper that makes it all work. Let's break down exactly what’s happening.
How Does Transfer Paper Actually Work?
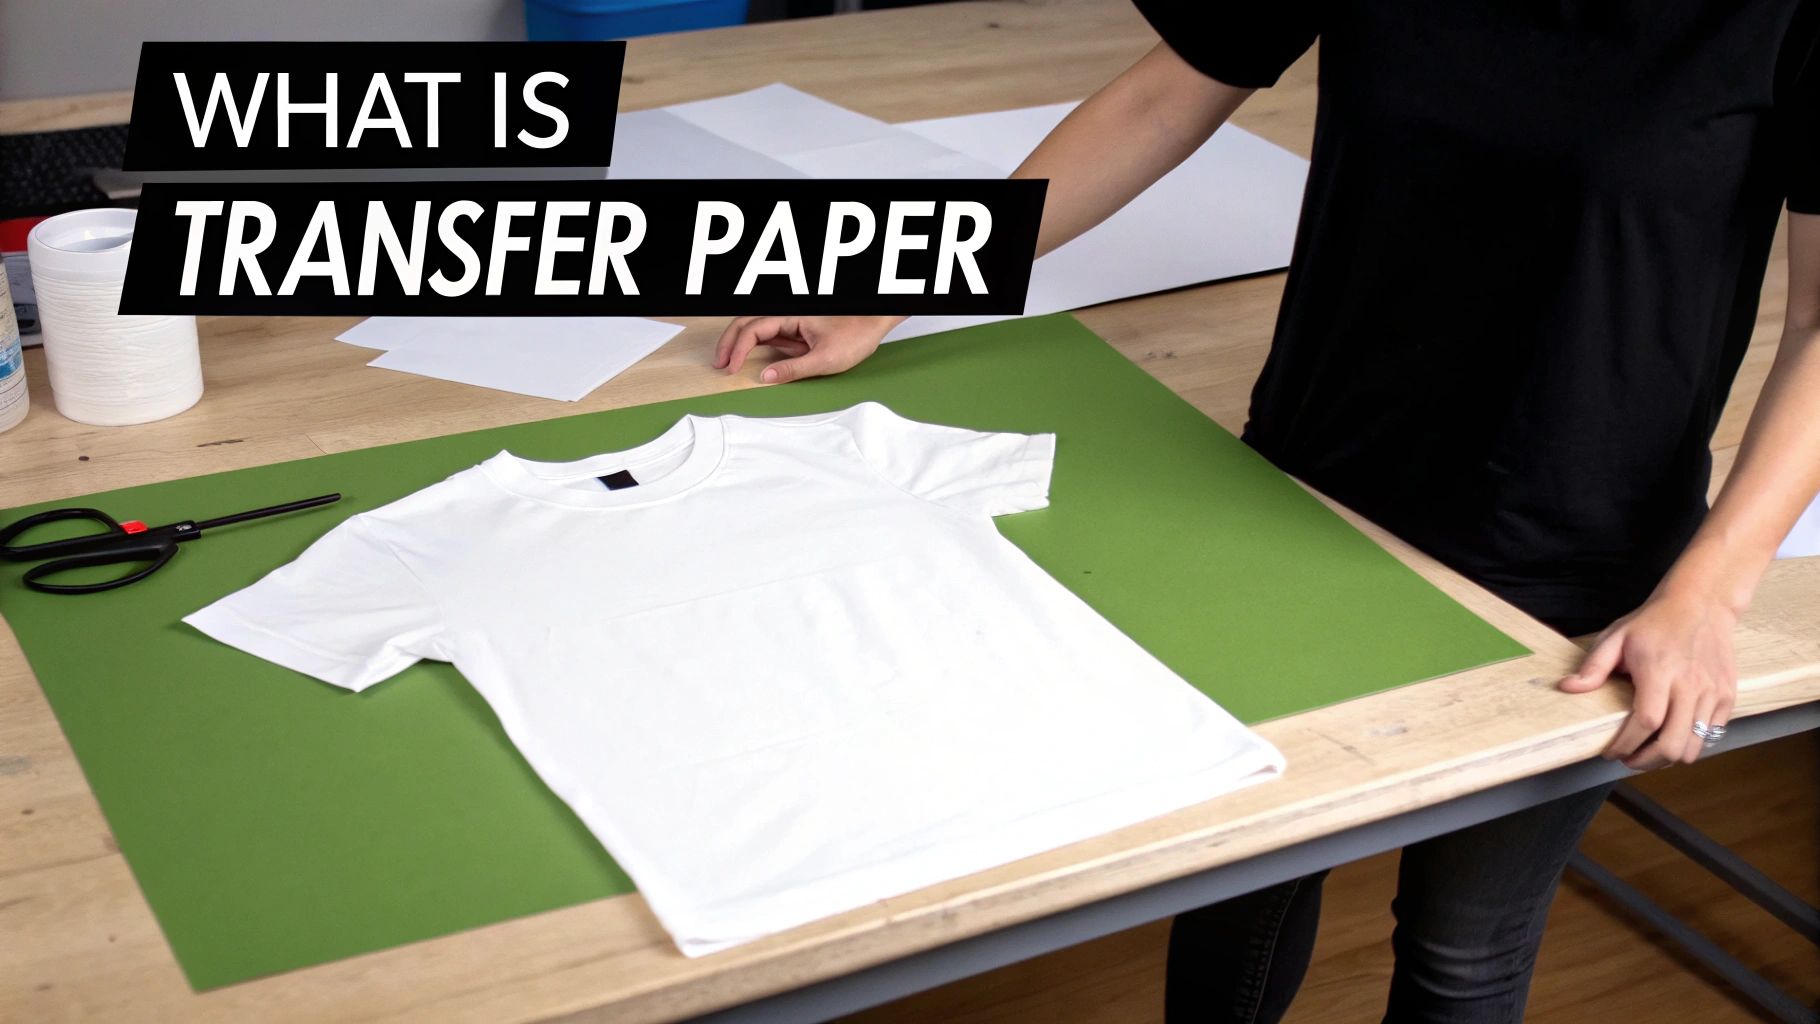
At its core, the entire process hinges on four key elements: the special paper, the ink, heat, and pressure. When these four things come together in the right way, your design moves from the paper to its new home on a piece of apparel.
The paper itself is the real star of the show. It's not just regular copy paper; one side is coated with a unique polymer film. This film is engineered to hold your printer's ink on the surface, preventing it from soaking in and bleeding. When you apply heat with an iron or a heat press, that polymer coating softens up.
This is the critical moment. As the coating gets hot, it releases the ink it was holding. With a little bit of pressure, the ink is then pushed into the fibers of the fabric, creating a permanent bond as it cools.
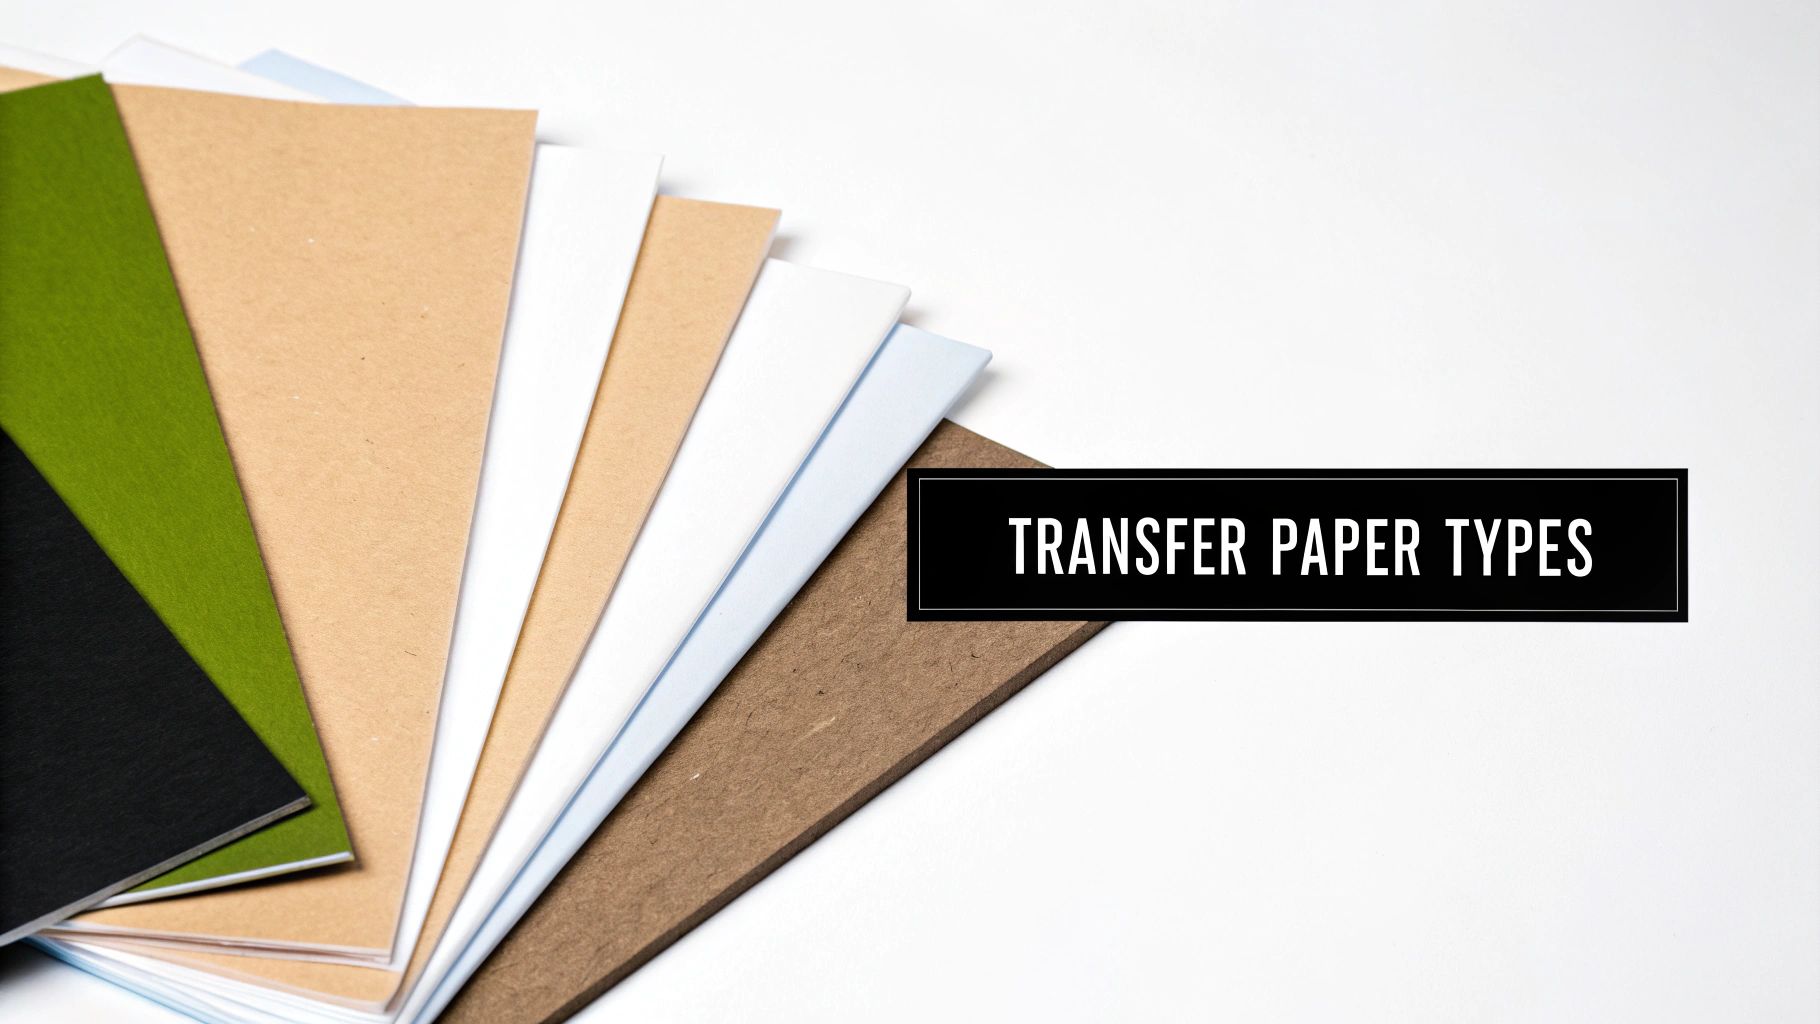
Light vs. Dark Fabric Paper: A Crucial Difference
Getting the hang of that basic process is the first step. The next is realizing that not all transfer paper is created equal. The most important distinction you'll need to make is choosing paper designed for light fabrics versus paper for dark fabrics. They work in fundamentally different ways.
For a quick overview, here's how the two types stack up against each other.
Transfer Paper Types at a Glance
| Feature | Paper for Light Fabrics | Paper for Dark Fabrics |
|---|---|---|
| Background | Transparent | Opaque white |
| Application | Image printed in reverse (mirrored) | Image printed normally (not mirrored) |
| Best For | White, pastel, or light gray items | Black, navy, red, and all dark colors |
As you can see, the application method is completely different. With light fabric paper, the background is clear, so you print a mirrored image and place it face-down to transfer. For dark fabrics, the paper has an opaque white background to make the colors pop, so you print the image normally and place it face-up on the shirt.
The Science Behind a Perfect Heat Transfer
So, how does a simple piece of paper turn a plain t-shirt into a custom piece of art? The real magic isn't just the heat itself—it's the specialized polymer coating on the transfer paper. This super-thin, heat-activated layer acts as the carrier for your ink.
When you print your design, the ink settles on this polymer film, waiting for the signal to move. At room temperature, the ink and the polymer are just resting on the paper, totally separate from the fabric. It’s only when you bring in a heat press or an iron that the transfer process truly begins.
The entire technique, known as heat transfer printing, relies on this special coating holding the ink until heat and pressure work their magic, embedding the design into the fabric's fibers. You can dive deeper into the market and technologies on businessresearchinsights.com.
The Role of Heat and Pressure
Here’s a simple way to think about it: imagine the polymer coating is a thin layer of wax holding tiny bits of color. On its own, it's solid. But what happens when you heat wax? It melts.
That’s essentially what’s happening when you apply heat to the transfer paper. The heat softens the polymer layer, which accomplishes two critical things at once:
- It releases the ink it's been holding.
- It temporarily opens up the fibers of the t-shirt, making them ready to accept the ink.
But heat alone isn’t enough. Pressure is the final piece of the puzzle. Firmly pressing down forces the released ink to move from the paper and sink deep into those now-receptive fabric fibers. It's the difference between a design that sits on top of the shirt and one that becomes part of it.
The Key Takeaway: Heat melts the polymer carrier and opens the fabric, while pressure drives the ink into the fibers. As it all cools down, the polymer re-hardens and the fabric fibers close up, locking the design in place for good.
This delicate dance between temperature and pressure is why following the instructions on your transfer paper is non-negotiable. Not enough heat, and the ink won't transfer cleanly. Too much heat, and you risk scorching the shirt or melting the design into a blurry mess. Nailing that balance is the secret to creating sharp, vibrant prints that feel professional and can stand up to the washing machine.
Choosing the Right Printer and Paper
If you want a fantastic result, you have to start with the right tools. The quality of your finished design comes down to two key things: your printer and your transfer paper. Each one has a specific job to do, and how they work together makes all the difference.
When it comes to printing at home, you're usually looking at either an inkjet or a laser printer, and they handle transfer paper in completely different ways.
Most people doing DIY projects use inkjet printers. They work by spraying microscopic droplets of liquid ink onto the paper's special coating. This process is perfect for creating those really vibrant, photo-realistic images with smooth, beautiful color blends.
Laser printers, on the other hand, don't use liquid ink. They use a super-fine powder called toner, which gets fused onto the paper with heat. Transfers made with a laser printer often feel a bit smoother on the shirt and can be incredibly durable. The market has exploded with options for both types, which really shows how vital it is to match your supplies to your project goals. You can see just how much the textile market relies on these products on futuremarketinsights.com.
The Critical Choice Between Light and Dark Fabric Paper
After you've sorted out your printer, the next big decision is choosing the right paper for your fabric color. This isn’t a minor detail—it's the single most important choice you'll make for the project to even work.
-
Paper for Light Fabrics: This type of paper has a transparent polymer coating. When you press the design, only the ink itself transfers onto the shirt, leaving the fabric's natural color to show through in the blank areas. This is why you must print your design as a mirror image; the pressing process flips it back the right way.
-
Paper for Dark Fabrics: This paper is completely different. It has an opaque, white background layer. That white base is crucial because it acts like a primer, making sure your colors look bright and pop, even on a black t-shirt. You print the image normally (not mirrored) for this one. You'll peel the design off its backing and place it face-up onto the fabric before pressing.
A common rookie mistake is using light-fabric paper on a dark shirt. The design will look faded and almost invisible because there’s no white background to make the colors stand out. The dark color of the shirt will just bleed right through the ink.
Don't forget that the fabric itself plays a role, too. The material's weave and fiber content—whether it's cotton, polyester, or a blend—can change how well the ink bonds to the shirt. To get a better handle on this, check out our guide comparing cotton vs polyester fabrics.
Your Step-by-Step Guide to a Flawless Transfer
Alright, now that we've covered the science, let's get our hands dirty. Turning that digital file on your screen into a piece of wearable art is actually pretty straightforward once you get the hang of it. We'll walk through the whole process, from clicking "print" to that incredibly satisfying final peel.
The whole thing boils down to a few critical stages. Nail these, and you're golden.
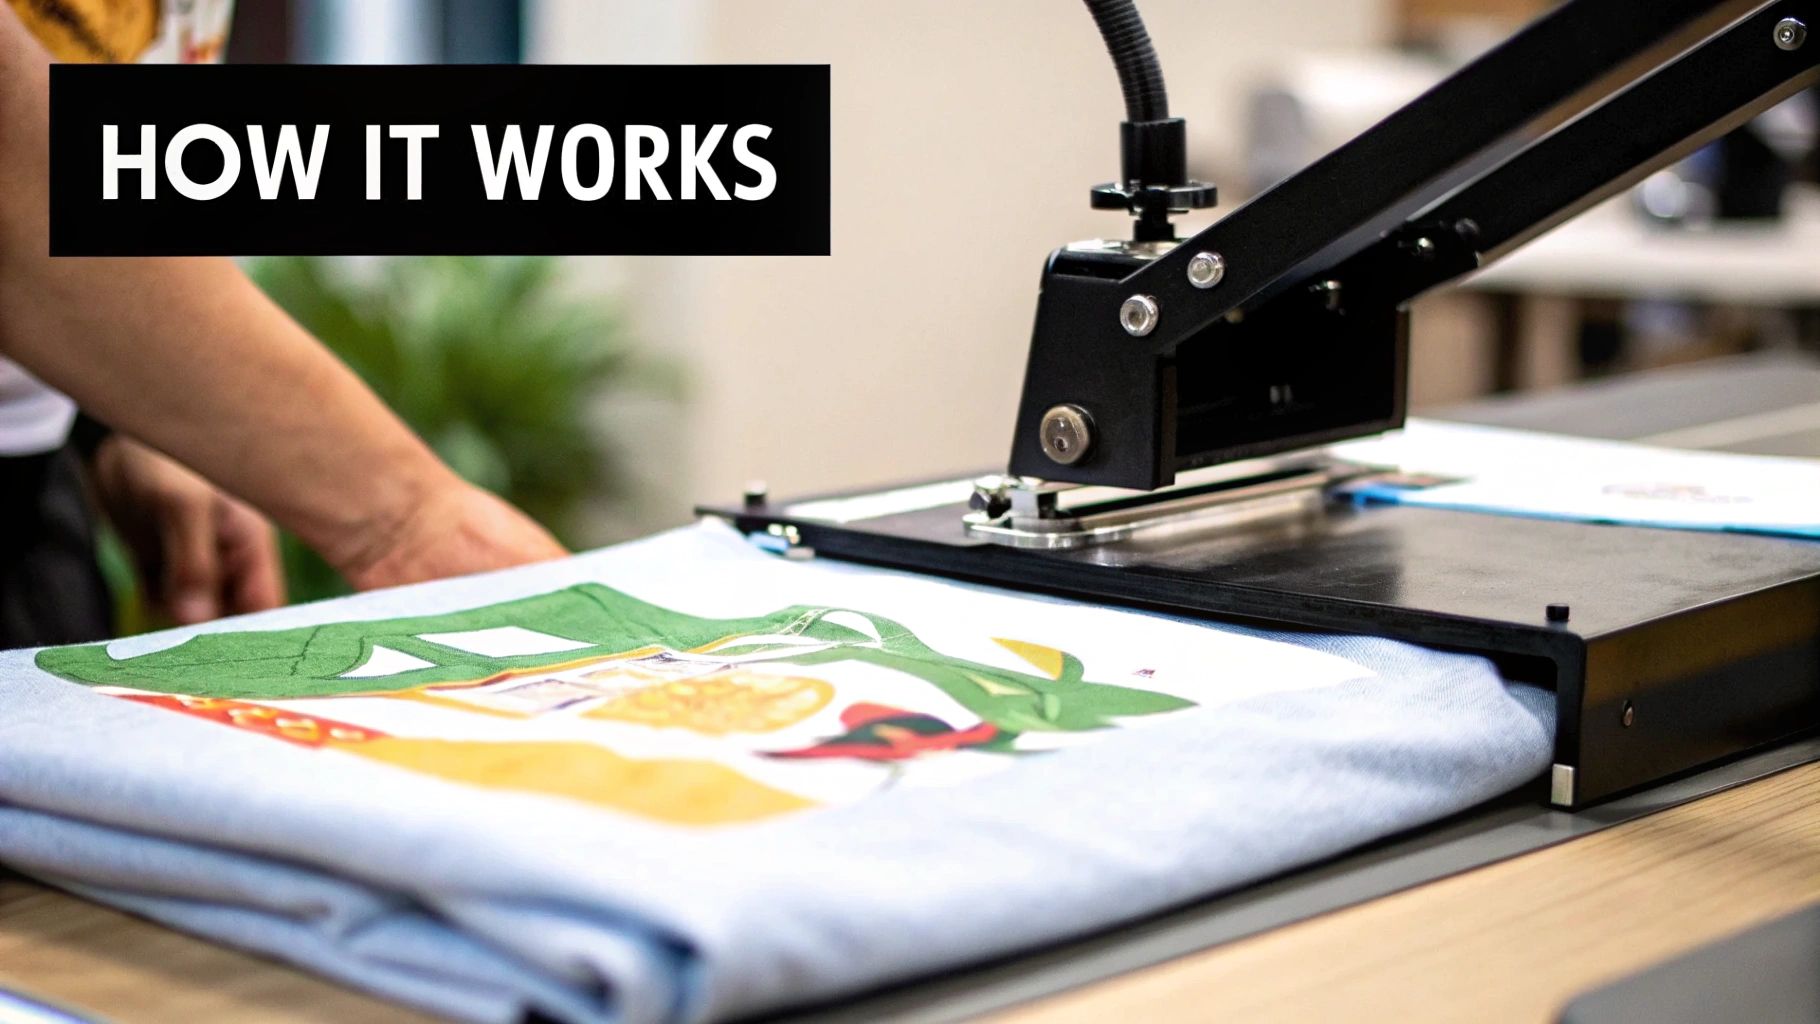
This image gives you a great birds-eye view of the journey from screen to shirt.

As you can see, getting the print, press, and peel right is what separates an amateur job from a professional-looking one.
The Application Process, Up Close
Let's break down each step. Following this process carefully is the secret to getting a vibrant, durable print every single time. Consistency is king.
Step 1: Get Your Design Ready
First thing's first: your artwork. Before you even think about printing, there’s one non-negotiable step for light-colored fabrics—you have to mirror your image. Think about it: you’ll be placing the paper face-down, so the design needs to be flipped horizontally to read correctly once transferred. If you're working with paper for dark fabrics, you can skip this part.
Step 2: Print It Right
Load the transfer paper into your inkjet printer, making absolutely sure you’re printing on the coated film side (check the instructions!). Head into your printer settings and crank up the quality. Select a "high-quality" or "photo" setting, and if there's an option for "T-shirt transfer" or "glossy paper," choose it. This ensures the printer lays down enough ink for a bold, saturated image.
Step 3: Prep Your Fabric and Workspace
Take a moment to pre-press your shirt or garment for a few seconds. Whether you're using a heat press or an iron, this quick step smooths out wrinkles and, more importantly, gets rid of any hidden moisture. A flat, dry surface is the perfect canvas. If you're using a household iron, do it on a hard, heat-resistant surface like a countertop (with protection, of course)—an ironing board is too squishy and won't give you the pressure you need.
Pro Tip: The number one reason transfers fail? Uneven pressure. A dedicated heat press is the professional's choice because it guarantees consistent heat and pressure across the entire design. That said, you can absolutely get great results with an iron if you’re careful to press down hard and evenly.
Step 4: Time for Heat and Pressure
Position your design on the garment. For light fabric paper, place it face-down. For dark fabric paper, you’ll peel the backing off first and place it face-up.
Now, follow the time and temperature instructions that came with your paper to the letter. Press down with firm, consistent pressure, making sure every corner and edge of your design gets the same amount of heat.
Step 5: The Peel and Reveal
This is the moment of truth, and it all comes down to your specific paper type. It will be either a "hot peel" or a "cold peel." Some papers need you to rip that backing off the second you're done pressing, while others require you to wait until it's completely cool to the touch. Getting this wrong can stretch or tear the design, so always check the instructions!
Once you’ve peeled back the paper, your custom creation is ready to show off! To really master your craft, you can dive deeper into the essentials of heat transfer shirt printing and learn all the pro techniques.
What to Do When Transfers Go Wrong
Even with the best preparation, sometimes things just don't work out. It's a frustrating part of the process, but don't toss that t-shirt just yet. Most of the common headaches with transfer paper are surprisingly simple to solve once you know what to look for.
The Most Common Culprit: Heat and Pressure
If your design starts cracking or peeling after a wash or two, the issue is almost always a weak bond. This means the ink didn't get hot enough or you didn't apply enough pressure to really push it into the fabric fibers. It's sitting on top, not fused within.
On the flip side, what if your colors look dull, faded, or even a bit brownish right off the press? You've likely overdone it. Too much heat for too long can literally cook the ink, killing its vibrancy before it ever has a chance to shine.
Nailing the Diagnosis
Getting to the root of the problem is everything. A splotchy transfer, where some parts stick and others don't, is a classic sign of uneven heat—something you see a lot with a standard household iron. One area gets the perfect temperature while another is left too cool, resulting in a patchy mess.
Nine times out of ten, a failed transfer comes down to one of three things: the wrong temperature, not enough pressure, or peeling the backing paper at the wrong time (hot vs. cold). Always, always read the specific instructions for your paper, because they can be wildly different from one brand to the next.
Here are a few things to try for your next attempt:
- If it's Cracking or Peeling: Bump up the heat a little or add an extra 10-15 seconds to your press time. If you're using an iron, put your body weight into it and work on a hard surface like a countertop (with a protective layer, of course), not a flimsy ironing board.
- If the Colors Look Faded: Dial back the temperature or shorten the press time. Also, double-check your printer settings—you want to make sure you're printing in a high-quality mode to lay down plenty of ink in the first place.
- If the Transfer is Uneven: Always pre-press your shirt for a few seconds. This gets rid of any hidden moisture and wrinkles that can ruin a transfer. With an iron, keep it moving slowly and deliberately, giving every inch of the design equal love and pressure.
Answering Your Top Questions About Transfer Paper
Even with a good grasp of the process, it's natural to have a few lingering questions. Let's clear up some of the most common ones so you can move forward with your next project feeling like a pro.
How Long Will My Transfer Paper Design Actually Last?
This is the million-dollar question, isn't it? The real answer depends on a trifecta of factors: the quality of the transfer paper itself, how well you applied it, and how the shirt is treated afterward.
When you nail the application process with a good-quality paper, you can realistically expect the design to hold up through 25-30 washes. After that, you might start seeing some fading or fine cracking, which is pretty normal for this method.
To maximize its lifespan, treat it right:
- Always wash the shirt inside-out. This simple step protects the design from rubbing against other clothes.
- Stick to cold water and a gentle wash cycle.
- Either tumble dry on the lowest possible heat setting or, for best results, just hang it up to air dry.
Can I Really Use a Regular Home Iron?
You sure can! Most of the transfer paper you'll find at craft stores is made specifically for home irons. It's a fantastic way to get started without investing in more equipment.
The catch? A home iron makes it tough to get perfectly even heat and pressure, which are crucial for a great transfer. You'll have hot spots and cooler spots, and you have to press down hard. A dedicated heat press is the gold standard because it clamps down with consistent temperature and force every single time. But for one-off projects or just trying things out, your iron will absolutely get the job done. Just make sure you're pressing on a hard, solid surface—an ironing board is too soft and will absorb all your pressure.
What’s the Difference Between Transfer Paper and HTV?
It's easy to get these two mixed up, but they work in fundamentally different ways and are suited for different kinds of projects.
-
Transfer Paper: Think of this as printing an image onto a special film that then gets heat-fused to the fabric. The ink itself becomes part of the final design. This makes it perfect for intricate, full-color designs with gradients and lots of detail, like a photograph.
-
Heat Transfer Vinyl (HTV): This is more like a sticker. HTV is a solid-colored material that you cut a shape or design out of using a machine like a Cricut. You then "weed" away the parts you don't need and press the remaining vinyl shape onto the shirt. It's the go-to for bold, simple graphics, lettering, and logos.
If you're making designs with text or distinct shapes, checking out different types of custom iron-on shirt decals can give you some great ideas.
Is Selling Shirts Made With Transfer Paper a Good Business Idea?
Absolutely. It’s one of the most accessible entry points into the world of custom apparel. The low startup cost is a huge advantage, and the demand for personalized gear just keeps growing.
In fact, the heat transfer paper market is a significant slice of the textile industry pie. It was valued at around USD 523.2 million in 2023 and is projected to climb to roughly USD 696.3 million by 2033. That growth is fueled by people just like you wanting to create unique items. You can dive deeper into these trends over at market.us.
Once you get the hang of applying transfer paper, it's natural to think about turning it into a side hustle. Many small businesses got their start this way. If that sounds like you, it's worth reading up on these tips for selling custom Amazon Merch designs to see how you can turn your new skill into a profitable venture.
Ready to create stunning, durable, and vibrant custom apparel? At Cobra DTF, we provide top-tier, American-made DTF transfers that offer professional quality without the hassle. Experience the difference with our fast shipping and satisfaction guarantee. https://cobradtf.com