

How Do You Iron on Transfers for Flawless Professional Results
When it comes to applying an iron-on transfer, the process really boils down to three key stages: pre-press your garment to get rid of any moisture, apply the transfer using the right combination of heat, time, and pressure, and finally, peel the film as instructed. If you can nail this sequence every single time, you'll be creating vibrant, durable designs that not only look professional but can also stand up to dozens of washes.
Let's walk through the blueprint for getting flawless results every time.
Your Blueprint for Perfect Iron-On Transfers
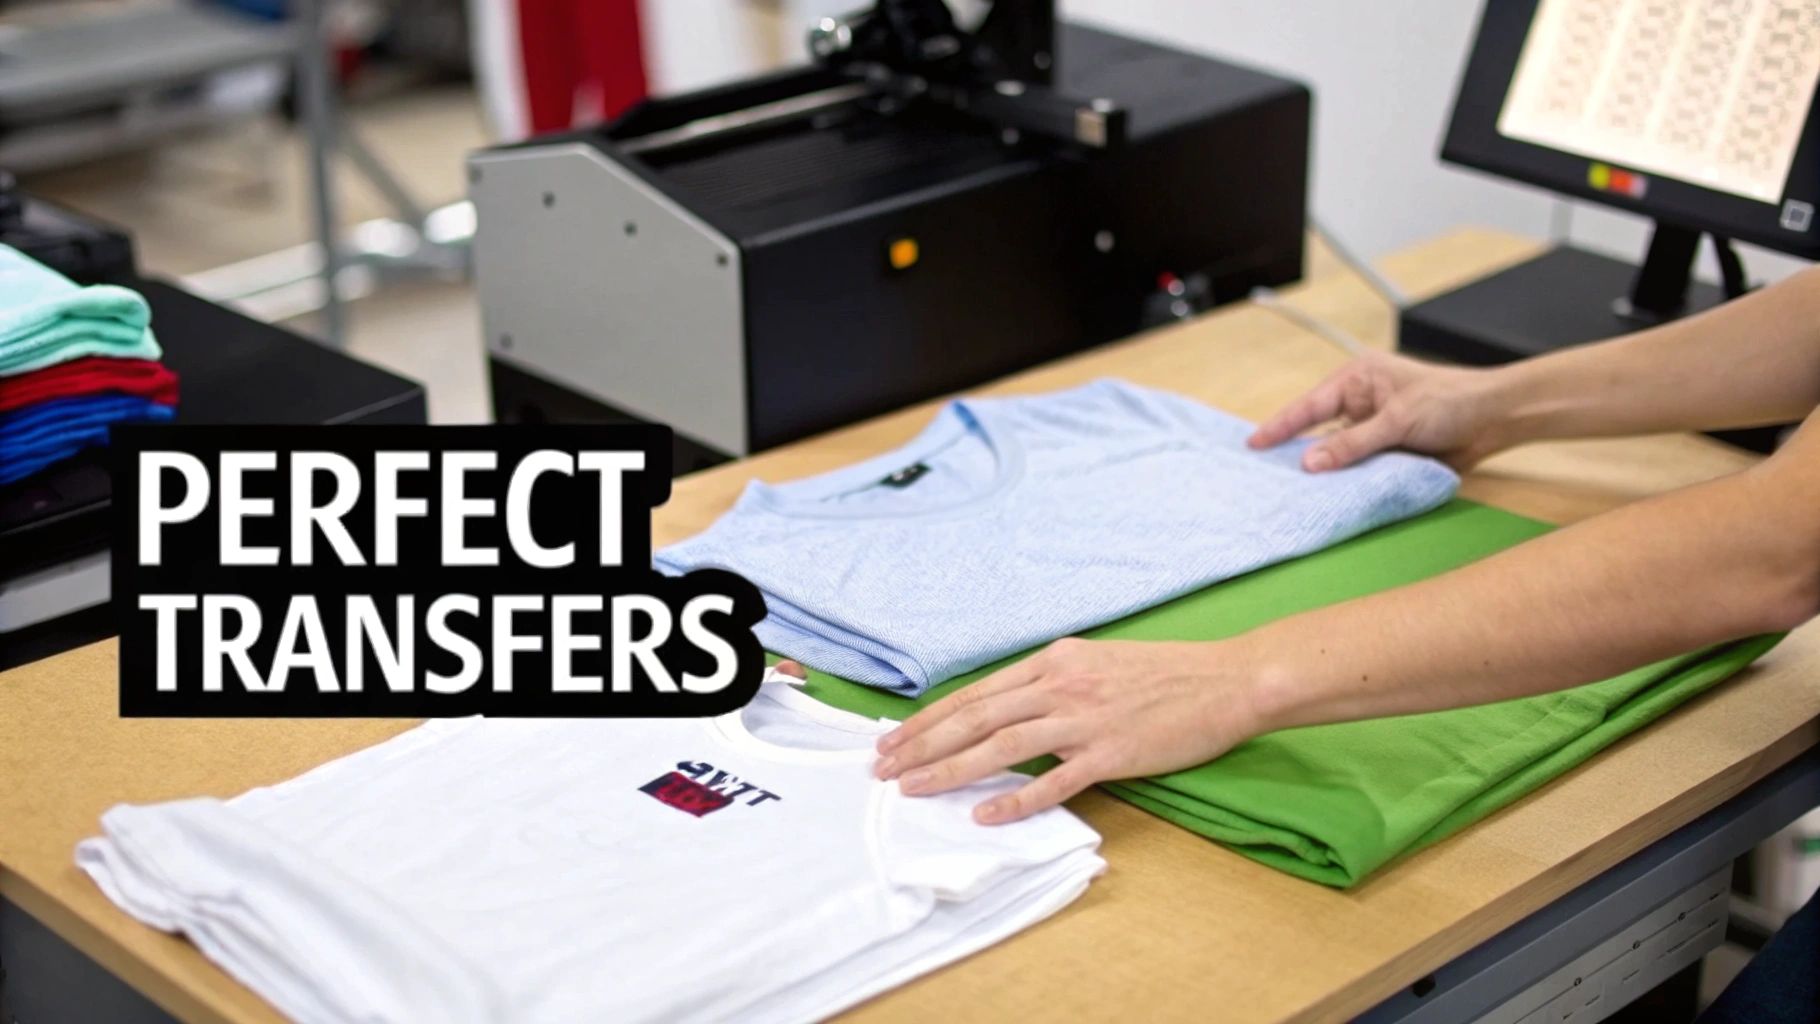
Getting a perfect transfer isn't about luck; it's about having a repeatable, professional process you can count on. For anyone running a business with high-quality Direct-to-Film (DTF) transfers, consistency is everything—it's the foundation of your reputation. This isn't just a simple list of steps; think of it as a strategic framework for achieving the kind of store-quality results that will keep your customers coming back.
The custom apparel world is booming. The global Heat Transfer Vinyl (HTV) market alone was valued at USD 371.4 million in 2024 and is expected to climb to USD 551.96 million by 2034. That kind of growth, highlighted in a report from Zion Market Research, shows just how much small businesses and custom shirt makers rely on this technology for both quality and speed.
The Three Pillars of a Flawless Transfer
To get truly professional results, you need to master three core pillars. Each one is critical and builds on the last, ensuring the final product is something you're genuinely proud to sell.
- Precise Preparation: This is way more than just turning on your heat press. It's about choosing the right fabric, pre-pressing the garment to make sure it's completely free of moisture and wrinkles, and getting your design placement just right. Honestly, skipping or rushing this stage is the number one reason transfers fail.
- Flawless Application: This is where the science kicks in—the delicate balance of heat, time, and pressure. Different fabrics demand different settings, and dialing in the right combination is non-negotiable for proper adhesion. A quality heat press and reliable transfers really show their worth here.
- Durable Aftercare: The job isn't done when the press opens. A second press and clear washing instructions for your customers are what truly guarantee the design's longevity. After all, a print that looks amazing today but peels after one wash is a recipe for an unhappy customer and a bad review.
By focusing on this professional workflow, you shift from just sticking a design on a shirt to actually engineering a quality product. It’s the difference between a one-off hobby project and a scalable business that produces consistent, sellable apparel.
This guide is designed to give you that confidence. We'll break down each of these pillars, sharing the specific techniques and insider tips that the pros use. If you're new to some of the terms, our article explaining what transfer paper is is a great place to get up to speed. Our goal is to help you master this process, press with precision, and build a brand known for durability and excellence.
The Prep Work That Makes or Breaks Your Press
A perfect transfer doesn't start when you lower the heat press. It starts long before that. The prep work you do in these first few moments is what separates a professional-looking product from something that just looks homemade. Rushing this stage is hands-down the number one reason I see for failed applications, leading to wasted transfers and unhappy customers.
Think of it like painting a wall. You wouldn't just slap a new color on without cleaning the surface and taping the edges first, right? Same idea here. Good prep creates the perfect canvas for your transfer, guaranteeing a smooth, durable finish that holds up wash after wash.
Choosing the Right Garment Matters
Not all fabrics are created equal, and some will fight you every step of the way. The material itself, its texture, and even chemical coatings can completely change the outcome of your press. For Cobra DTF transfers, you'll have the best luck with cotton, polyester, and poly-cotton blends. Those are your safe bets.
But watch out for a few tricky ones:
- Heavily Ribbed Fabrics: Think of the fabric on some tank tops or sweater cuffs. The surface is all peaks and valleys. The transfer adhesive might only grab onto the "peaks," leaving the "valleys" unbonded. That's a recipe for cracking and peeling down the road.
- Waterproof Coatings: If a jacket or piece of performance wear has a waterproof or water-resistant coating, you're in for a tough time. That chemical barrier is designed to repel everything, and unfortunately, that includes the adhesive on your transfer. A solid bond is next to impossible.
- Fuzzy Stuff: You can press on fleece and other fuzzy materials, but you need to be really mindful of your pressure. It takes a good, firm press to meld the design into the fibers instead of just letting it sit on top of the fuzz.
The One Step You Absolutely Cannot Skip
If you take only one piece of advice from this guide, let it be this: always pre-press your garment. I mean it. Every single time. Fabric that feels perfectly dry to you is still holding onto moisture, especially if it's been sitting in a box. This hidden moisture is the enemy.
When you hit it with heat, that moisture instantly turns to steam. The steam gets trapped under your transfer, physically blocking the adhesive from bonding to the fabric fibers. The result? You'll see bubbling, lifting edges, and a transfer that starts peeling after the first wash.
A quick 3-5 second press at your target temperature is all it takes. This simple step gets rid of the moisture and smooths out any wrinkles, creating a perfectly flat, dry foundation for your transfer. It’s the easiest thing you can do to guarantee a better result.
Skipping the pre-press is like trying to stick a decal on a wet, crumpled piece of paper. It might hold for a second, but it’s destined to fail. Those few seconds are the cheapest insurance policy you have for your work.
Nailing the Placement Every Single Time
Consistency is everything, especially when you're running a batch of shirts for a client. "Eyeballing it" might fly for a one-off personal project, but it’s a recipe for disaster in a business setting. Even a half-inch difference from one shirt to the next is glaringly obvious and makes the whole order look sloppy.
Here’s how the pros get dead-on placement:
- Find Your Centerline: Fold the shirt in half vertically, from shoulder to shoulder, and give it a quick press. This leaves a faint crease right down the middle, giving you a perfect line to center your design against.
- Use a Ruler: A simple t-shirt placement guide or ruler is a game-changer. These tools help you set the design the exact same distance from the collar on every single shirt, from a Small to a 2XL.
- Go with Lasers: For shops doing any kind of volume, a laser alignment system is a worthy investment. It projects crosshairs right onto your garment, letting you place transfers with incredible speed and precision.
Putting a solid alignment process in place will save you from costly mistakes and ensure every piece you produce meets the same professional standard. That’s the kind of detail that builds a great reputation.
Getting Your Heat Press Settings and Technique Just Right
You've prepped your garment and lined up the design perfectly. Now comes the moment of truth: the press. This is where the real magic happens, and getting it right is what separates an amateur-looking shirt from a professional, retail-quality product.
Success boils down to getting three key things in sync: temperature, time, and pressure. Think of them as the three legs of a stool—if one is off, the whole thing is unstable. An imbalance here is the root cause of nearly every common issue, from transfers that won't stick to scorched fabric.
This simple flowchart lays out the crucial prep work that needs to happen before you ever close that press.
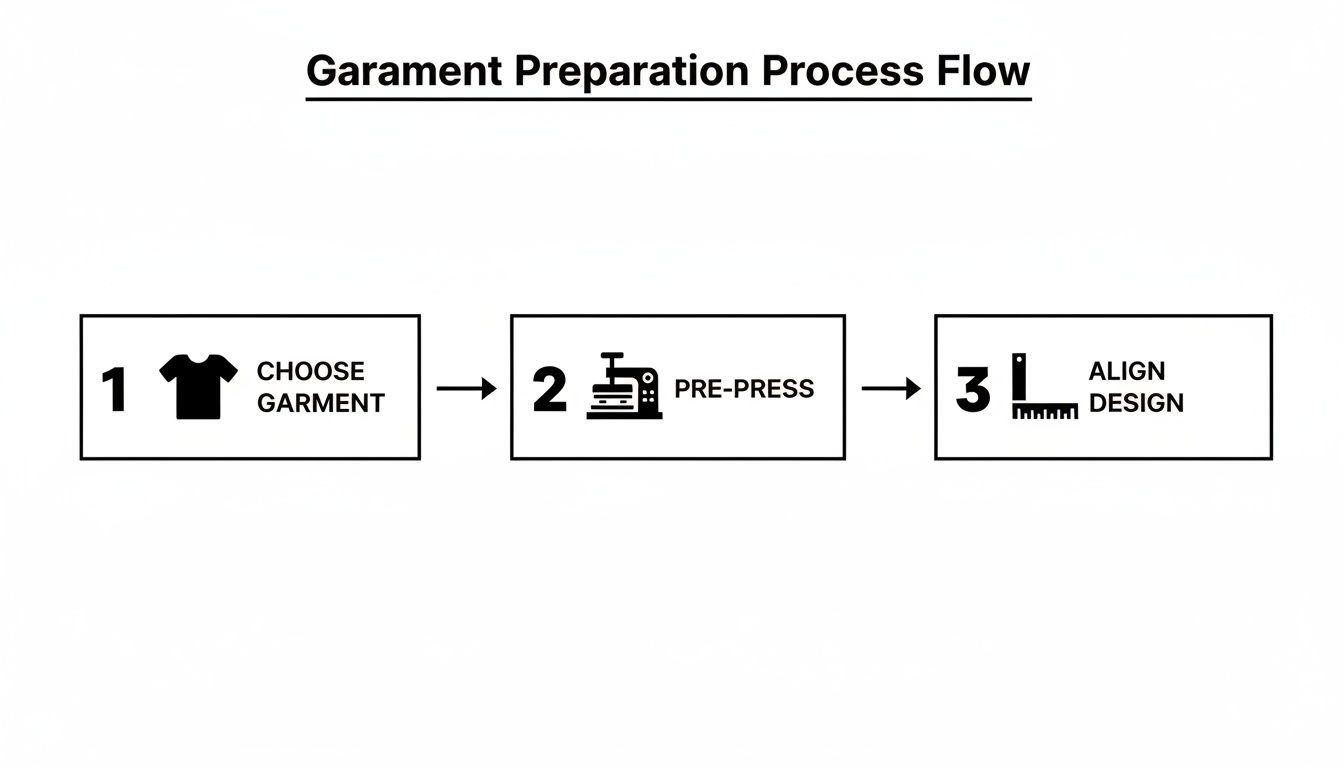
Nailing this flow—picking the right blank, doing a quick pre-press, and carefully aligning the transfer—is half the battle won.
Dialing in Your Press for a Perfect Finish
Let's break down exactly how to fine-tune your settings. The goal is to create a durable bond that makes the design feel like it’s part of the fabric, not just sitting on top.
Temperature: The Key to Adhesion
The right amount of heat is what activates the transfer's adhesive, allowing it to liquefy and sink into the garment's fibers.
- For Cotton & Blends (50/50): Your go-to range is 300-325°F. It’s the ideal temperature to cure the adhesive without damaging the cotton.
- For 100% Polyester: Tread carefully here. Synthetics can scorch easily. Drop your temperature down to 270-285°F to keep the fabric safe.
Time: The Curing Sweet Spot
This is all about how long you apply the heat. Too little time, and the transfer won't fully adhere. Too much, and you can burn the garment or over-bake the ink, which makes it brittle and prone to cracking. For our Cobra DTF transfers, 10-15 seconds is the sweet spot.
Pressure: Forcing the Bond
Pressure is the force that physically pushes the melted adhesive into the weave of the fabric. You’re aiming for medium to firm pressure. You should feel some solid resistance when closing your press, but you shouldn't have to wrestle with it to get it locked.
Your technique is what makes or breaks the final product. The objective is to fuse the design and fabric into one. That's how you achieve that signature soft-hand feel and create a print that survives wash after wash.
Hot Peel vs. Cold Peel: The Big Reveal
Once the timer goes off, what you do next depends on the transfer film. All Cobra DTF transfers are hot peel, which is great news for your workflow.
Hot peel means you remove the carrier film right away, as soon as the press opens. There's no waiting for it to cool. Just grab a corner and pull it back in one smooth, confident motion. Peeling it while hot allows the ink to settle into the fibers, giving it that super soft, professional finish.
Pro-Tips for a Flawless Application
A few extra steps can take your quality from good to absolutely perfect.
- Always Use a Teflon Sheet: Drape a Teflon sheet or a piece of parchment paper over the transfer before you press. It protects your garment from direct heat and prevents any stray ink from getting on your upper platen.
- Do a Finishing Press: This is a game-changer. After you've peeled the film, cover the design with parchment paper and press it again for just 5-7 seconds. This quick second press melts the design into the fabric, gets rid of any plastic-like shine, and dramatically improves the feel and durability.
The demand for custom apparel is exploding. The heat transfer film market, which is the core of this process, hit USD 2,808 million in 2024 and is projected to climb to USD 3,914 million by 2032. You can read more about these trends over at Intel Market Research.
For an even more detailed breakdown of machine settings for different fabrics and scenarios, check out our guide on heat press settings at https://cobradtf.com/blogs/guides/heat-press-settings.
Aftercare and Quality Control for Lasting Results
Your job isn’t done just because the heat press beeps. What happens next—both your own quality check and the care instructions you give your customers—is what really separates a good print from a great one. Nailing this last part is how you build a reputation for quality and keep customer complaints to a minimum.
A professional finish comes from a professional process, and that includes a solid quality control (QC) checklist before anything gets folded and packed. Think of it as your final line of defense. It only takes a few seconds per shirt, but that small time investment pays off massively in customer satisfaction and repeat business.
Your Professional Quality Control Checklist
Before any garment is cleared for takeoff, give it a quick but thorough inspection. Running through these checkpoints on every single item is how you maintain a high standard across all your orders and catch small mistakes before they become big problems.
- Check for Full Adhesion: Gently run your fingernail along the edges of the transfer. Does any part of it lift or feel loose? If it does, you might have an issue with uneven pressure or not enough heat. A quick re-press for 5-7 seconds with a cover sheet usually does the trick.
- Inspect Color Accuracy: Get the shirt under good light. The colors should pop and match your original file. If they look dull or faded, that’s a classic sign of under-pressing—either the heat was too low or the press time was too short.
- Verify Placement Consistency: On a multi-shirt order, grab a few finished pieces and lay them side-by-side. Is the graphic in the exact same spot on all of them? A simple ruler can confirm if the design is the same distance from the collar on each one. Consistency is key.
- Look for Scorching or Press Marks: Check the fabric around the transfer for any shiny outlines from the heat press platen or slight discoloration. This happens a lot with polyester. Using a Teflon pillow or backing off the pressure a bit can prevent this on future jobs.
A rigorous QC process isn't about finding fault; it's about guaranteeing excellence. It’s your final handshake with the product, ensuring what you send out the door truly reflects your brand's commitment to quality.
Essential Care Instructions for Your Customers
Once a garment passes your inspection, you have to hand the baton to your customer. Giving them clear, simple washing instructions is a non-negotiable part of the service. You can print these on a small care card, stick a sticker on the packaging, or add them to your online product listings.
These instructions are your best defense against accidental damage from a hot wash cycle or a harsh detergent. You're not just selling a shirt; you're educating your customer on how to keep it looking great.
The Golden Rules of Garment Aftercare
- Wait Before Washing: This is the big one. The transfer needs time to fully cure and bond with the fabric. Make sure customers know to wait at least 24-48 hours before that first wash.
- Turn It Inside Out: A simple step that protects the design from rubbing against other clothes in the wash.
- Use Cold Water: Always wash on a gentle cycle with cold water. Hot water is the enemy; it can weaken the adhesive over time and cause colors to fade.
- Avoid Harsh Chemicals: Tell your customers to steer clear of bleach and aggressive detergents. Mild is always better.
- Hang Dry When Possible: The intense heat of a tumble dryer can wreak havoc on a print. For the absolute best results, recommend hanging the item to dry. If they insist on using a dryer, they need to use the lowest heat setting.
- Never Iron Directly on the Design: It might seem obvious, but you’d be surprised. If the garment needs ironing, it absolutely must be turned inside out first.
Following these simple rules will ensure your hard work stands the test of time. For an even deeper dive, you can share our guide on how to wash graphic tees. It’s a great resource to help your customers keep their custom apparel looking fantastic.
Scaling Production Without Sacrificing Quality
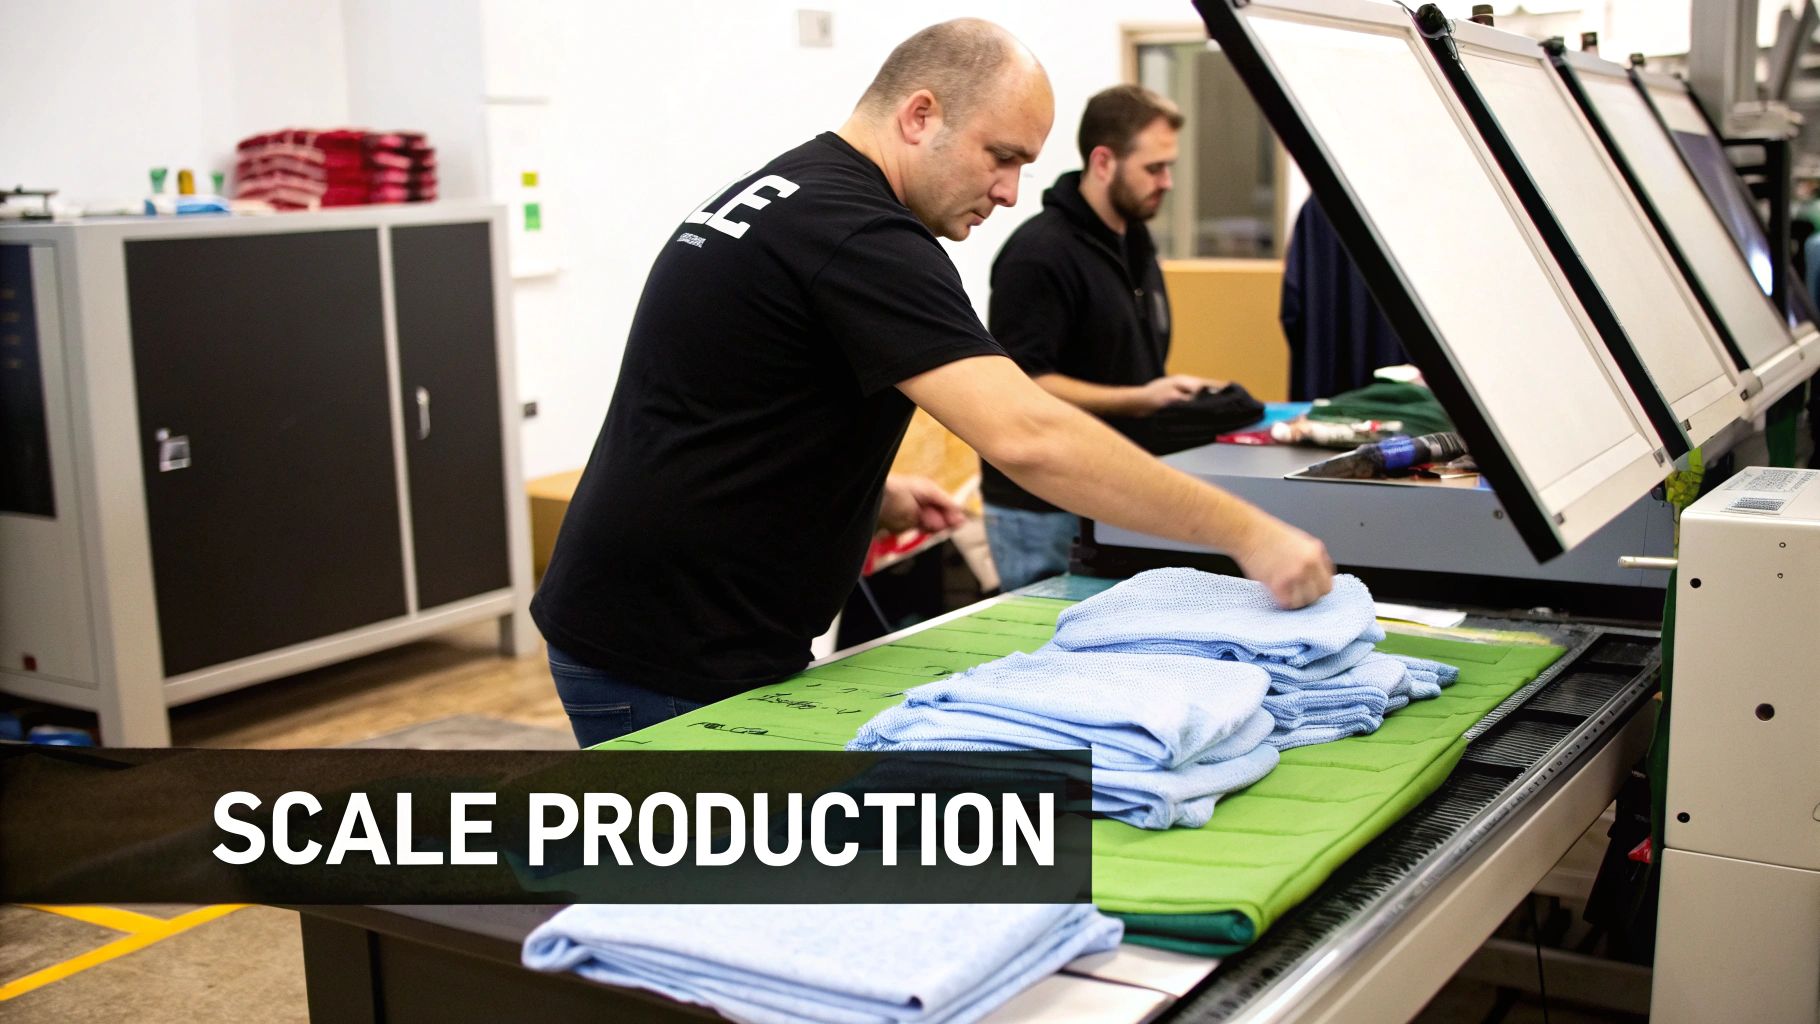
So, you're moving from a handful of custom orders to processing dozens, maybe even hundreds, of pieces at a time. That’s the goal, right? But as the volume ramps up, it's easy for quality to take a nosedive. This is where efficiency becomes your best friend and learning how to apply your transfers at scale is a skill that separates the pros from the hobbyists.
This isn't just about moving faster—it's about working smarter. Growing your business successfully means fine-tuning your process, getting the right tools for the job, and adopting a real production mindset. It's what lets you confidently take on those big, profitable contracts and still nail every single piece.
Upgrading Your Equipment for Growth
That trusty craft press or home iron that got you started? It will eventually become your biggest bottleneck. While they’re fantastic for one-off projects, they just don't have the consistency you need for professional production. When it's time to scale, a professional-grade heat press is a non-negotiable investment.
The reason is simple: consistent pressure. A pro-level clam-shell or swing-away press gives you even, measurable pressure across the entire platen, something a handheld press can never truly guarantee. This is absolutely vital for ensuring every millimeter of your DTF transfer adheres perfectly, from the center right out to the edges.
Investing in a professional heat press isn't just an expense; it's a direct investment in your brand's quality and your shop's capacity. It’s the tool that allows you to confidently say "yes" to larger, more profitable orders.
Workflow Hacks for Maximum Efficiency
Once your equipment is solid, the next place to find speed is in your workflow. Shaving just a few seconds off each press adds up to hours saved on large orders. When you're trying to scale, you should always be looking for ways to improve manufacturing efficiency because it directly impacts your output and quality.
One of the most effective strategies I’ve seen is ganging your designs. This just means arranging multiple smaller designs—like left-chest logos, sleeve hits, or neck tags—onto one big DTF transfer sheet. Instead of pressing each tiny design one by one, you print a full sheet and simply cut them apart before pressing.
This approach pays off in a few huge ways:
- Less Waste, More Profit: You use every square inch of the transfer film, which brings your cost per print way down.
- Faster Pressing: You're not fumbling with tiny individual transfers. You can get into a smooth, assembly-line rhythm.
- Simpler Ordering: It's so much easier to order a few large gang sheets from Cobra DTF than to manage dozens of separate small design files.
Structuring Your Workspace for Production
Don't underestimate how much your physical layout affects your speed. A messy, disorganized space is a recipe for wasted time and frustrating mistakes. Setting up a dedicated pressing station is a total game-changer for handling big jobs.
Try a simple, effective layout like this:
- The "Before" Station: To your left (if you're right-handed), have a table or cart with all your blank apparel. Take a minute to pre-sort everything by size before you start. This one step saves you from digging through boxes mid-run.
- The Pressing Zone: This is your command center. Your heat press is here, with your transfers, Teflon sheets, and rulers all within arm's reach. The less you have to move, the faster you'll be.
- The "After" Station: To your right, set up a table where finished garments can cool down before you fold and stack them. This keeps a bottleneck from forming right at the press.
This assembly-line flow helps you find a repeatable rhythm. You grab a shirt, pre-press, place the transfer, press, and slide it over to the cooling station in one fluid motion. It becomes second nature.
And the opportunity here is massive. The heat transfer film market is projected to skyrocket from USD 3.2 billion in 2025 to USD 8.9 billion by 2035. That explosive growth is driven by the exact kind of custom work you're doing. For shops in North America, sourcing USA-made transfers from Cobra DTF is a major advantage. You dodge the average $500 in customs fees and the painful delays that come with big overseas shipments, letting you focus completely on production.
Combine the right gear with a smart workflow and an organized space, and you’ll be ready to take on bigger jobs with total confidence, hitting tight deadlines and keeping your quality top-notch.
Answering Your Top Iron-On Transfer Questions
Even when you've got your process down, things can still go sideways. Whether you're wrestling with a tricky new fabric or just can't figure out why a design won't stick right, getting straight answers is critical. Let's dive into the most common questions we hear from creators and business owners who are serious about getting professional-level results.
Think of this as your personal troubleshooting guide. These are the real-world problems that pop up in the middle of a production run, and knowing the fix can save you time, money, and a whole lot of frustration.
Can I Get Away With Using a Regular Household Iron?
Technically, yes, you can use a home iron. But for a business, it's a massive gamble. The real problem boils down to two things: inconsistent heat and uneven pressure. Your standard iron has hot and cool spots all over its plate, and it's physically impossible to apply the firm, even pressure you need for a transfer to truly bond with the fabric.
For a one-off hobby shirt, it might hold up for a wash or two. For a business trying to build a reputation? It's a recipe for peeling designs and unhappy customers. Investing in a quality heat press isn't just an upgrade; it's the foundation for creating products that last.
Using a home iron is like trying to bake a cake with a hairdryer. You might get it warm, but you'll never get the consistent, penetrating heat needed for a perfect result. A heat press is your professional oven.
Why Are the Edges of My Transfer Peeling Up?
This is easily the most frustrating issue we see, and it almost always comes back to one of three things: pressure, heat, or moisture.
- Pressure Problems: If your heat press isn't clamping down evenly across the entire design, the edges will be the first to lift. This happens a lot with budget presses or when you're trying to press over bulky seams, collars, or zippers. A simple heat press pillow can be a lifesaver here, as it helps create a flat, even surface for the transfer.
- Not Enough Heat: If your press isn't hot enough, the adhesive on the transfer never fully melts and sinks into the fabric's fibers. The center might seem okay, but the edges—which lose heat the fastest—won't have a solid grip.
- Skipping the Pre-Press: We've said it before, but it's worth repeating: hidden moisture is your worst enemy. Pressing a damp garment creates a layer of steam that gets trapped under the transfer, physically blocking the adhesive from bonding. A quick 3-5 second pre-press is all it takes to drive that moisture out.
What Fabrics Should I Avoid Pressing On?
While DTF transfers are incredibly versatile, some materials just can't take the heat. You'll want to steer clear of anything that can easily melt or scorch, like delicate synthetics—think rayon, silk, or certain types of thin nylon.
Heavily textured fabrics like waffle knits or wide-ribbed materials can also be a challenge. The transfer adhesive needs a reasonably smooth surface to grab onto. And forget about anything with a waterproof or fire-retardant coating; those finishes are designed to repel things, and they'll repel your transfer adhesive just as effectively. When in doubt, always press a small test on a scrap piece first.
How Do I Get Rid of That Shiny Box Outline on My Shirts?
Ah, the dreaded "press box." That faint, shiny rectangle you sometimes see around your design is most common on polyester and dark-colored garments. It happens when the heat and pressure from the platen slightly compress or melt the fabric's surface fibers.
Luckily, it's usually an easy fix. Here’s what to try:
- Ease Up on the Pressure: More often than not, you're simply using too much force. Dial it back to a medium pressure and see if that solves it.
- Use a Flexible Finishing Sheet: Instead of a standard Teflon sheet for your final press, a flexible finishing sheet distributes heat and pressure more gently.
- Tear the Transfer Paper: This is a great old-school trick. Instead of cutting a perfect rectangle around your transfer, tear the paper around the design. The soft, feathered edge creates a much gentler pressure drop-off, preventing that hard line from forming.
Once you understand why these issues happen, you can spot the problem and fix it on the fly. Mastering these little details is what separates good results from great ones and helps you consistently produce apparel that keeps customers coming back.
Ready to produce vibrant, durable, and professional-grade apparel without the headaches of international shipping? Cobra DTF offers 100% USA-made transfers with same-day shipping and a satisfaction guarantee.
Explore our premium DTF transfers and get started today at cobradtf.com