

Heat Press Test Strips: How to Validate Your DTF Press
You set the controller to 310°F, wait for the ready light, and press a gang sheet. The first transfer looks fine. Then the left side peels cleanly while the right side cracks, lifts, or refuses to bond. You repress it, change the pressure, blame the garment, and lose another blank before checking the one variable that may have been wrong all along: the actual heat reaching the transfer.
That's where heat press test strips earn their place. They don't just ask whether the display shows the number you entered. They show whether the platen delivers that heat at the center, corners, and contact areas where your DTF transfer sits. The routine below will help you map those zones, interpret uneven results, adapt testing for irons and handheld presses, and turn calibration into ordinary maintenance.
Why Your Press Display Is Not Telling the Whole Truth
A digital controller reports the temperature it believes the press has reached. It doesn't necessarily prove that every part of the platen has reached that temperature, or that the surface maintains it while the press is closed under pressure. Heating elements age, platens lose uniformity, and mechanical alignment can create areas that don't make equal contact.
DTF work exposes those weaknesses quickly. The transfer may look correct in one section and fail at another because the adhesive didn't receive the same heat exposure. A perfect controller reading can coexist with a cold corner, an edge that loses heat, or a platen that recovers unevenly after repeated cycles.
Shop rule: Treat the display as a setting, not as evidence that the garment received uniform heat.
DTF guidance commonly targets about 310°F, while some heat-transfer processes operate in a relatively narrow range around 290°F to 330°F. Even modest drift within that working window can affect adhesion, color, or finish, as reflected in this heat press temperature guide. That's why a transfer can appear nearly successful while still showing lifting around one edge or a dull patch through the middle.
The most useful test isn't a single strip placed in the center. A center reading can confirm that one convenient spot reached the target while hiding the cold areas where failures happen. Put the strips across the working surface, compare their activation, and keep the results. Once you know the platen's pattern, you can make informed adjustments instead of changing pressure, dwell, and temperature at random.
What Heat Press Test Strips Do
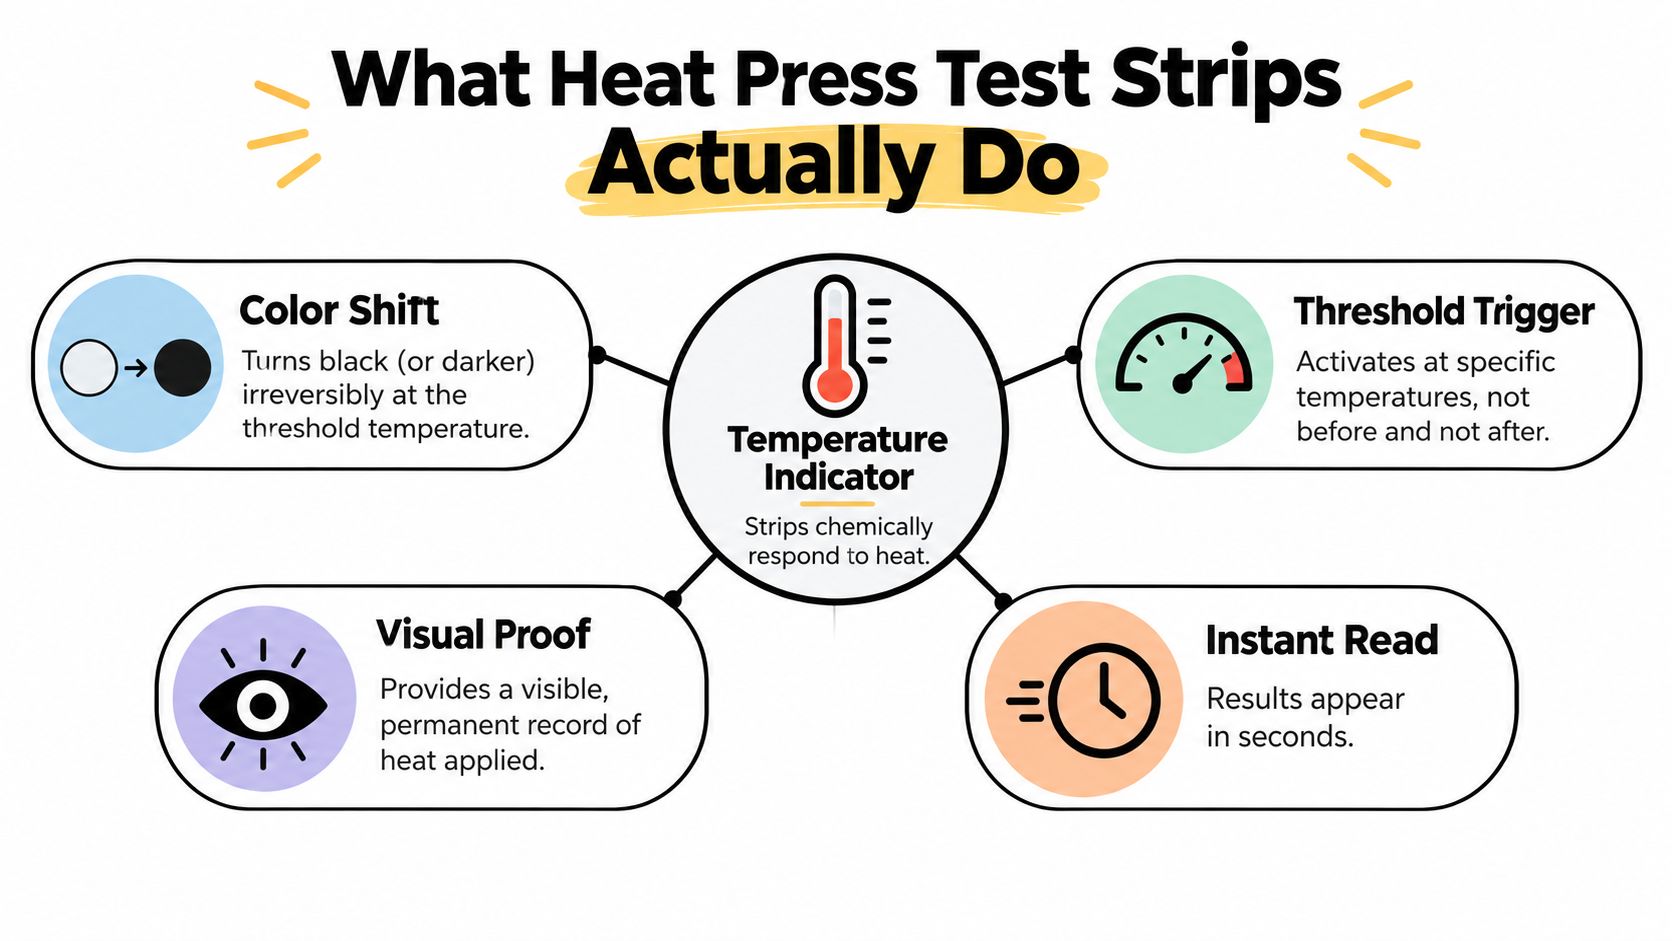
Heat press test strips are chemically responsive indicators. Temperature-sensitive areas on each strip change color when they reach defined heat thresholds. The change is irreversible, leaving a visible record after the platen cools. That record helps you compare zones instead of trusting a single controller reading.
Use the strip under the same conditions as a real application. Place pieces across the platen, close the press for the chosen dwell, then inspect which thresholds activated. The result reflects heat delivered through the pressing setup, including contact and pressure, rather than the setting shown across the table.
A representative industrial kit from STAHLS' heat seal machine test kit uses strips that blacken to show the tested platen area and register temperatures up to 360°F. The kit is intended to expose platen-to-platen and edge-to-center variation. For DTF work, that makes it useful for mapping the center, edges, and corners where a transfer may receive less usable heat.
What the color change tells you
A strip provides threshold evidence, not a live temperature graph. If the same threshold activates in the center and corners, those zones received comparable heat during that press cycle. If one area reaches only a lower threshold while another reaches a higher one, the platen is delivering different heat levels across its working surface.
Run several strips at once when checking a platen. One strip in the center can pass while an edge or corner remains cold. A zone map shows whether the problem follows a consistent pattern, which is more useful than changing temperature, pressure, and dwell at random.
The marked strips also support routine shop records:
- Calibration evidence: Keep each strip with the date, press setting, dwell, and platen layout.
- Troubleshooting evidence: Compare a failed transfer with the latest zone map before changing application settings.
- Process documentation: Record that the press was checked under a defined condition.
Strips cannot confirm adhesive quality, garment compatibility, or pressure by themselves. They answer a narrower question with practical value: where did the platen deliver the tested heat?
When You Need Strips Instead of an IR Gun
“Why buy strips if the press already displays the right temperature?” Because display accuracy and platen uniformity are separate problems. A controller might be close to the actual temperature at its sensor while another part of the platen runs cooler. An infrared thermometer may show a useful surface reading, but it still doesn't recreate the heat exposure that occurs during a closed press cycle.
An IR gun is reusable and fast. It's helpful for checking a hot surface, comparing areas before a run, or monitoring a machine without consuming a strip. However, trade guidance notes that strips can reveal cold spots and temperature inconsistency during pressure, while an IR gun measures surface temperature rather than heat exposure during the press cycle. See this heat press checklist from HowardCT for that distinction.
| What it measures | Heat press test strips | IR thermometer |
|---|---|---|
| What it measures | Threshold activation during a defined press cycle | Surface temperature at the point aimed at |
| Shows heat during pressure | Yes, when used under the press | No, unless paired with a separate pressing test |
| Detects cold spots | Yes, when placed across multiple zones | Only at the moments and points you measure |
| Provides permanent record | Yes, through irreversible color change | Not by itself, unless you record readings |
The trade-off is consumption. A strip is single-use, so frequent mapping uses supplies. The benefit is that it shows what happened to the material during pressing, including differences between the center and edges that an open-surface scan may miss.
A thermometer can tell you what the platen is doing now. A mapped strip test can show what five parts of the platen did during the same press cycle.
Use an IR gun when speed and repeat measurements matter. Use strips when you're validating a new press, investigating edge failures, checking a questionable display, or documenting uniformity before production. For DTF, the strongest approach is not choosing one tool forever. It's understanding that they answer different questions.
Running a Multi-Zone Temperature Test on Your Heat Press
A press can show the target temperature while a DTF transfer at the platen edge still lifts. Start the test only after the machine has fully stabilized. Let it reach the setpoint and hold there consistently. Testing during warm-up measures a changing machine, not the conditions used for production.
For a DTF validation, use a 15-second press at around 310°F, with one strip in the center and four positioned near the corners. The five-zone procedure is outlined in this multi-zone heat measurement guide. Match your normal pressure, closing motion, cover sheet, and dwell. A test cycle that differs from production can hide the cold spots that cause poor adhesion.
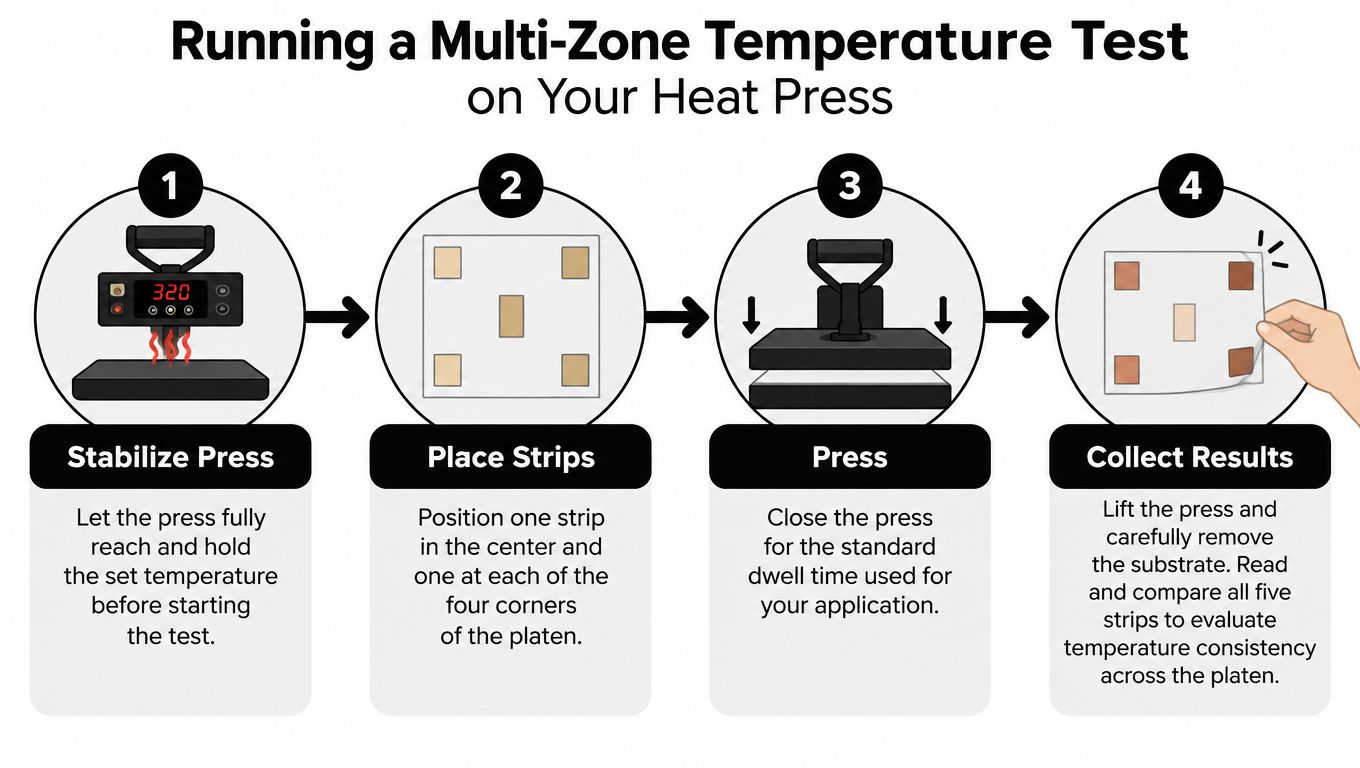
Place the center strip in the middle of the usable pressing area. Position the other four inside the upper-left, upper-right, lower-left, and lower-right corners. Keep every strip flat and away from the platen edge. If the strip instructions require it, place a sheet of paper over the fabric. That barrier prevents sticking and residue transfer while allowing heat to reach the strip.
Keep the layout repeatable
Draw a basic five-zone diagram on paper and assign each strip to a position before closing the press. Marking the positions prevents a common testing mistake: getting different color results, then forgetting which part of the platen produced each result.
Close the press smoothly and complete the selected dwell without opening it to inspect the strips. Early inspection changes heat exposure and weakens the comparison. Once the press opens, lift each strip without dragging it, then place the results side by side under the same light.
Run the test as a map, not a single confirmation. The center can activate as expected while a corner or edge receives less heat during the same cycle. That edge-to-center difference is easy to miss when pressing small logos, yet it can affect a larger gang sheet. Microbusinesses using an iron or handheld press can apply the same principle by testing the center, perimeter, and overlap areas separately. Mark each position on the garment or a paper template, and reposition the tool consistently for every zone.
Record the controller setting, dwell, pressure setting, date, and result for each zone. If the pattern is unclear, let the platen stabilize and repeat the test. Keep spare strips with your heat press accessories, especially when a machine is moved, serviced, or used for a new pressing area.
Reading the Results and Fixing Uneven Heat
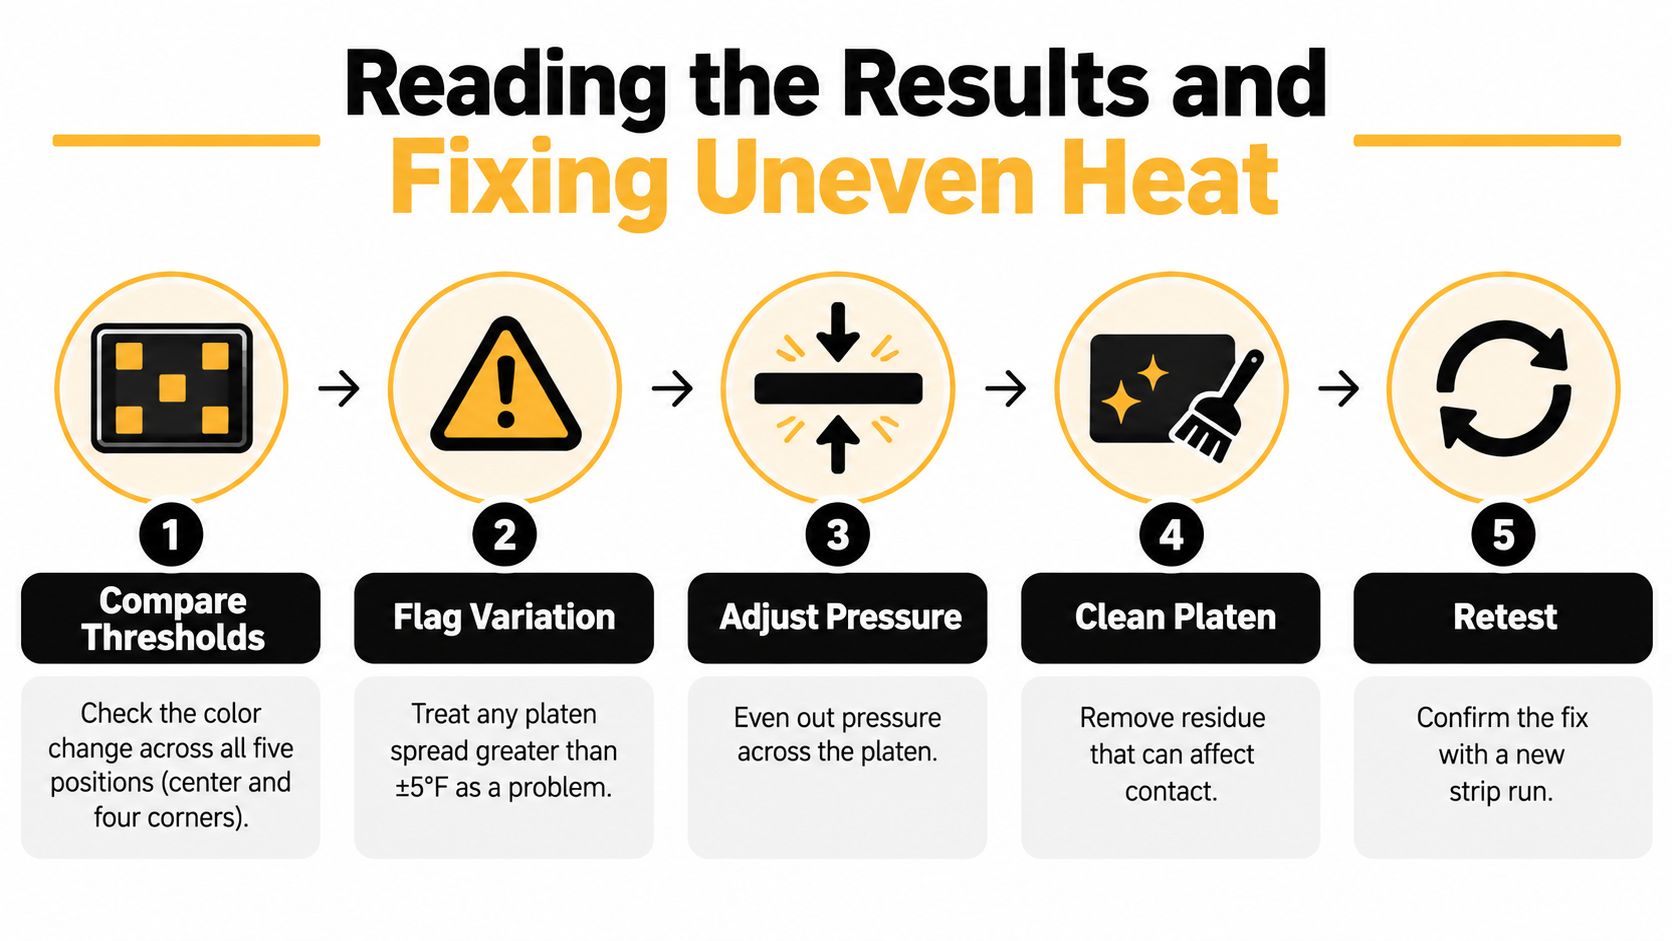
Lay the five activated strips side by side and compare the threshold reached at each platen position. Read the results as a pattern across the map, not as a search for the darkest strip. If a corner repeatedly activates below the center, that area is running colder. A strip that activates at a higher threshold can point to a hotter zone. Record the results rather than relying on memory.
A platen difference greater than ±5°F is a practical warning that the machine needs investigation, as noted earlier. Use that tolerance to identify a problem, not to justify guessing at a new production setting. Check contact, pressure, alignment, residue, and machine condition before changing the DTF recipe.
A cold top-left corner can explain why transfers placed there lift while the center of a gang sheet bonds correctly. Keeping important artwork away from that zone may protect a few orders, but it does not repair the press. Adding dwell time can overheat the areas that already reach the intended threshold while leaving the cold corner unreliable.
Correct the cause before changing the recipe
Work through the physical checks in this order:
- Compare thresholds: Confirm the center-to-corner difference from the recorded results.
- Inspect contact: Check for a worn lower pad, tilted platen, or garment surface that prevents flat contact.
- Clean the platen: Remove adhesive residue and buildup that can hold the transfer away from the heated surface.
- Check pressure distribution: Strong clamp force does not prove that pressure is even across every zone.
- Retest the map: Run fresh strips after each meaningful adjustment.
Document the offset before changing the controller setting or dwell. Remap the platen first, then decide whether a small operational adjustment is appropriate. A longer dwell might rescue one placement while overheating the rest of the design. A higher setpoint can affect finish or color without correcting the cold spot.
If the pattern remains inconsistent, arrange service or assess replacement. A press with a known defect can turn nearly successful transfers into returns and rework. The strip map identifies the problem by location, giving you a clear basis for repair instead of building production around a misleading display.
Using Test Strips with Handheld Irons and Small Presses
A standard clamshell isn't the only equipment used to apply DTF. Microbusinesses often work with household irons, compact handheld presses, or small tabletop machines that offer limited settings and inconsistent recovery. Test strips remain useful in those environments, but the layout and handling need to match the tool.
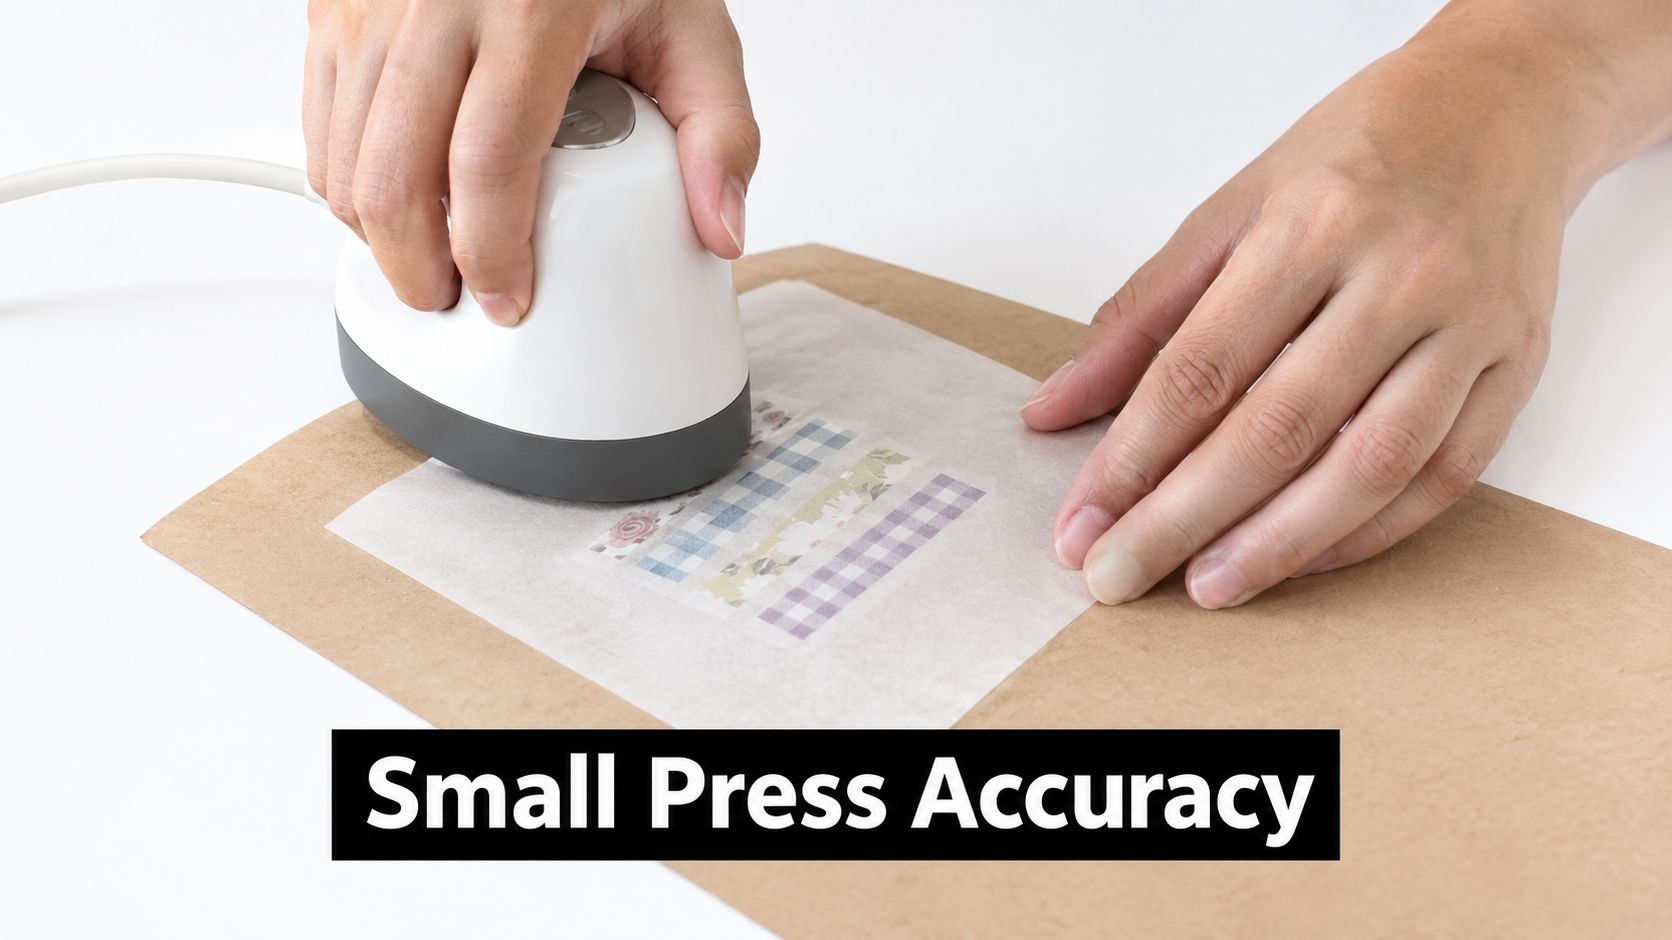
For an iron or handheld press, place the strip face down on paper over a piece of test fabric. Don't press the heated soleplate directly onto the strip. Warm the fabric and pressing surface consistently, apply the iron or handheld press for the chosen dwell, then inspect the activated threshold.
Recent DTF guidance confirms that strips can be used with irons and handheld presses on paper over fabric, with a practical working range around 290°F to 330°F for dialing in a 310°F DTF setting. The procedure is outlined in this guide to checking an iron or handheld press.
Map the tool you actually use
An iron has a small, irregular heating area. Test the soleplate in sections, including the center and the areas near its edges that will contact a design. Move the iron deliberately during production, but remember that movement changes dwell and pressure. A strip can tell you whether a particular area reaches the threshold, not whether your hand applies uniform force across a whole design.
With a handheld press, test the center of its pressing face and then repeat at overlapping positions if the transfer is larger than the tool. Allow inexpensive equipment to recover between tests. If the first test passes but the next one runs cool, that difference matters more than the setting printed on the dial.
Write the successful setting and technique on a card beside the press. If the device can't hold a stable result across repeated tests, limit it to small transfers, use a more controlled workflow, or move production to equipment with better coverage. A beginner equipment comparison can help when choosing a heat press for beginners.
The goal isn't to make a handheld tool behave like an industrial platen. It's to understand its working area, repeat the same motion, and avoid assuming that a single heat level applies evenly across every garment.
Building Strips into Your Regular Press Maintenance
Calibration belongs in maintenance, not only after a transfer fails. Heat presses drift as heating cycles accumulate, surfaces are cleaned, and repairs change the platen. A dated map gives you a baseline when adhesion weakens or color shifts.
Transfer Express recommends checking a press quarterly and offers a kit with 16 temperature strips. Use that cadence as a maintenance habit, not a one-time setup. The same kit profiled in the strip basics section above can support a five-zone check, but your own machine's heat pattern matters most.
Keep every test record with:
- The machine settings: Record temperature, dwell, pressure, and platen.
- The zone map: Mark the center and four corners, including any edge-to-center or corner cold spot.
- The date and operator: Note who ran the test and when.
- The action taken: Record cleaning, leveling, adjustment, service, or areas to avoid.
Retest before a large production run, after servicing, and whenever edge adhesion or color consistency changes. A few minutes of verification can keep a stack of garments from becoming rework.
Use this short checklist: stabilize the press, map five zones, compare thresholds, document variation, correct the physical cause, and retest. With handheld equipment, map overlapping sections and allow for recovery between presses. A stable display does not prove that the edges are hot enough.
Cobra DTF supplies ready-to-press DTF transfers for a consistent starting point in a verified heat-press workflow. Visit Cobra DTF to upload artwork or a gang sheet and order transfers for your next calibrated production run.