

Mastering DTF Transfer Instructions for Flawless Apparel
Getting your DTF transfer application right is what separates a professional, sellable print from a shirt that ends up in the reject pile. The whole process is pretty straightforward: you prep the garment, press the transfer using the right heat and pressure, let it cool all the way down, and then give it one final press to really lock it in. But here's the kicker: your success hinges on getting those steps exactly right.
Setting the Stage for a Perfect Press
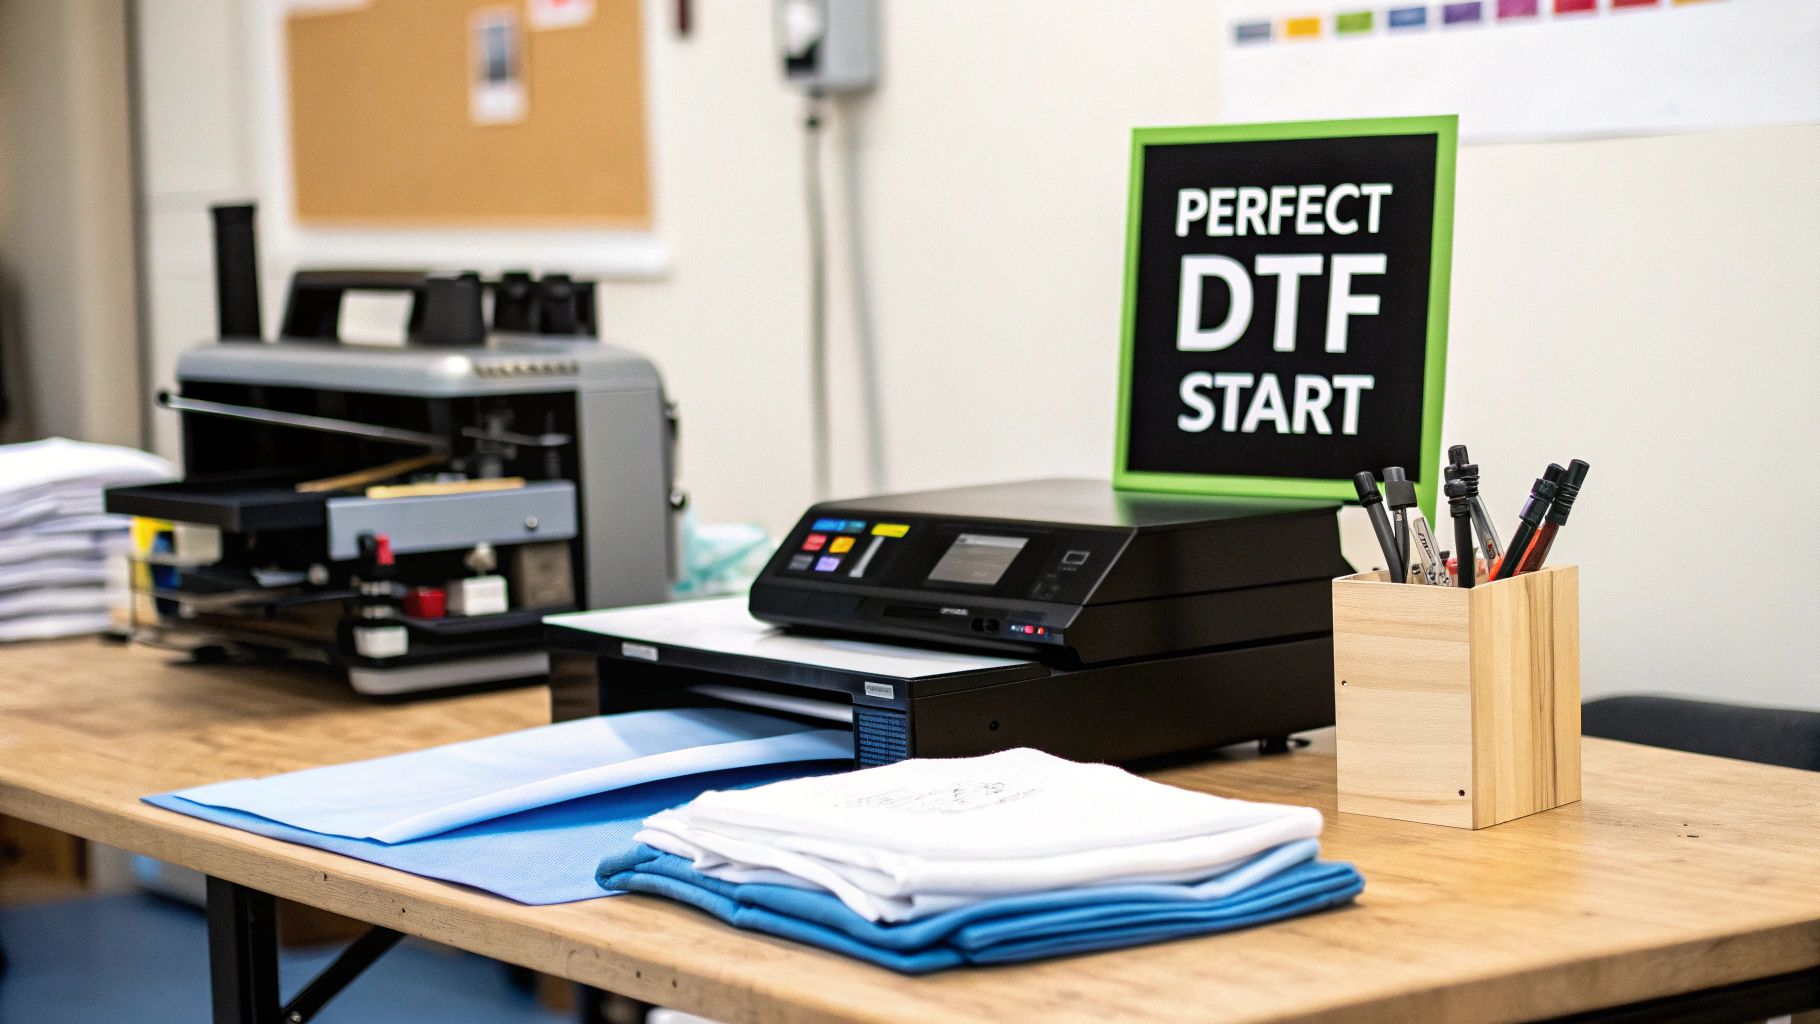
Before you even think about turning on that heat press, you need to set the stage. I like to think of this as a pre-flight checklist for printing. If you skip it, you're just asking for trouble. To get those true commercial-quality results that bring customers back, you have to understand why you're doing each step, not just how.
This is especially critical when you consider the quality of the transfers you're using. I’ve found that sticking with 100% USA-made transfers, like the ones we make at Cobra DTF, gives you a massive leg up on consistency. The film, adhesive, and inks are all designed to work in perfect harmony, which gets rid of the frustrating guesswork that can come with cheaper, overseas products.
Why Preparation is a Bigger Deal Than You Think
Trust me on this: a clean, organized workspace and a properly calibrated heat press can prevent over 90% of the common mistakes I see people make. A messy area means your transfers can pick up lint or dust, which then gets permanently embedded into the shirt. It’s a rookie mistake that’s easy to avoid.
Another classic error is not checking your press. If it isn't level, you'll get uneven pressure, which is the number one reason for peeling edges after a few washes. These aren't just little things; they are absolutely crucial for a professional workflow. Taking just a few minutes to prep your space and your gear sets every single press up for success.
If you want to dive deeper into the basics, you should check out our guide on what a DTF transfer is.
The whole Direct-to-Film (DTF) printing market is exploding right now—it's projected to hit USD 3.92 billion by 2030. That growth is being fueled by small businesses who need a versatile, top-quality printing solution. It's exactly why companies like Cobra DTF, focusing on reliable USA-made products with quick 1-3 day delivery, are seeing so much demand. You can find more market insights if you dig around.
Your Quick Reference Starting Guide
Look, every heat press is a little different, and every fabric has its own quirks. That's why having a reliable starting point is so important. Think of these settings as your baseline. From here, you can fine-tune as needed.
My best advice? Always, always do a test press on a scrap piece of fabric or a hidden spot if you're working with a new garment for the first time. It can save you a lot of headaches (and money).
To get you started, here’s a quick-reference table with our go-to settings for pressing Cobra DTF transfers onto the most popular fabrics.
Quick Reference Heat Press Settings for Cobra DTF Transfers
| Fabric Type | Temperature Range (°F) | Press Time (Seconds) | Pressure Level |
|---|---|---|---|
| 100% Cotton | 300 - 320 | 12 - 15 | Medium to High |
| 50/50 Cotton/Poly | 280 - 300 | 10 - 12 | Medium |
| Polyester | 260 - 280 | 8 - 10 | Medium |
| Tri-Blends | 260 - 280 | 8 - 10 | Light to Medium |
Keep this chart handy, but remember to adjust based on your specific equipment and the thickness of the material. These settings will get you in the right ballpark for a perfect press almost every time.
Getting Ready: Pre-Pressing Garments and Your Workspace
Think of applying a DTF transfer like painting a masterpiece. You wouldn't start on a dirty, wrinkled canvas, right? The same principle applies here. Everything you do before the transfer meets the fabric is what sets the stage for a perfect, long-lasting print. A few minutes of prep is the difference between professional results and a pile of wasted shirts.
This isn't just about switching on the heat press. It's about creating the right environment. Your workspace needs to be clean. I'm talking free of dust, lint, and especially pet hair. Any little speck that sneaks between the transfer and the shirt gets permanently sealed into the design, creating a tiny bump you can't fix. I make it a habit to give my pressing station a quick wipe-down before I start any job.
Dialing in Your Heat Press
Your heat press is the heart of the operation, but it's only as reliable as you make it. First things first, make sure it's sitting on a solid, level surface. If your press is wobbly or tilted, you're going to get uneven pressure, which is the number one reason transfers start peeling at the edges after a few washes.
Now, let's look at the platen—that's the hot part. Over time, it can get gunked up with residue from old jobs, like little bits of adhesive or fabric fibers. This buildup can create an uneven surface or even "cold spots." Before you start pressing for the day, take a soft cloth with a little isopropyl alcohol and give the cold platen a good cleaning. You want it spotless.
Here's a pro tip that has saved me countless headaches: don't blindly trust your heat press's temperature display. I picked up an inexpensive infrared temperature gun, and it was a total game-changer. I’ve seen brand-new presses that were off by 15-20°F—more than enough to ruin a whole batch of shirts. Taking a moment to check that the heat is even across the platen is a simple step that prevents so many problems down the line.
Once you know your press is clean and the temperature is true, you can turn your attention to the garment. The fabric you're working with makes a big difference. For a deeper dive into choosing the right apparel, check out our guide on the best shirts for DTF.
Tackling Tricky Garments and Pesky Moisture
Not every job is on a simple, flat t-shirt. Things like hoodies with zippers, polos with button plackets, or shirts with thick seams can make it tough to get that all-important even pressure. This is exactly where a pressing pillow becomes your best friend.
A pressing pillow is just a heat-resistant foam pad that you slide inside the shirt. It raises the print area up, allowing those bulky seams, zippers, and collars to sink down around it. This ensures the transfer gets perfectly flat, even contact with the heat press.
- Hoodies: Slide a pillow inside to lift the chest print area above the thick pouch seam.
- Polos: A smaller pillow works wonders to isolate the print area from the button placket.
- Zippers: Use a long, skinny pillow alongside a zipper to create a flat surface for your design.
And now for the final, absolutely non-negotiable step: the pre-press. Every single garment, no matter what it's made of, is holding onto some moisture you can't see. If you press a transfer onto a damp shirt, the steam created will mess with the adhesive, and your print simply won't stick properly.
A quick 5-10 second pre-press is all it takes. It does two critical things:
- Vaporizes Moisture: It forces all that trapped humidity right out of the fabric.
- Smooths the Surface: It gets rid of any wrinkles, giving you a perfect canvas.
You'll probably see a little puff of steam—that's a great sign! It means you've just eliminated the hidden moisture that could have ruined your work. For a 50/50 blend, 5 seconds is usually plenty. For a heavy 100% cotton hoodie, you might need closer to 10 seconds. Trust me, skipping this step is one of the most common and easily avoidable mistakes you can make.
The Complete DTF Application Workflow
Alright, you've got your workspace set and your garment is prepped. Now for the main event—applying the transfer. This is where a little bit of care and precision really pays off. Follow these steps, and you'll get that vibrant, durable, professional finish that makes a print truly stand out.
The process isn't rocket science, but each stage is built on the one before it. We’ll walk through getting your transfer positioned just right, the initial press, the make-or-break cool peel, and that final press to lock it all in. Get it right, and the results are flawless.
This visual guide is a great little cheat sheet for the garment prep itself.
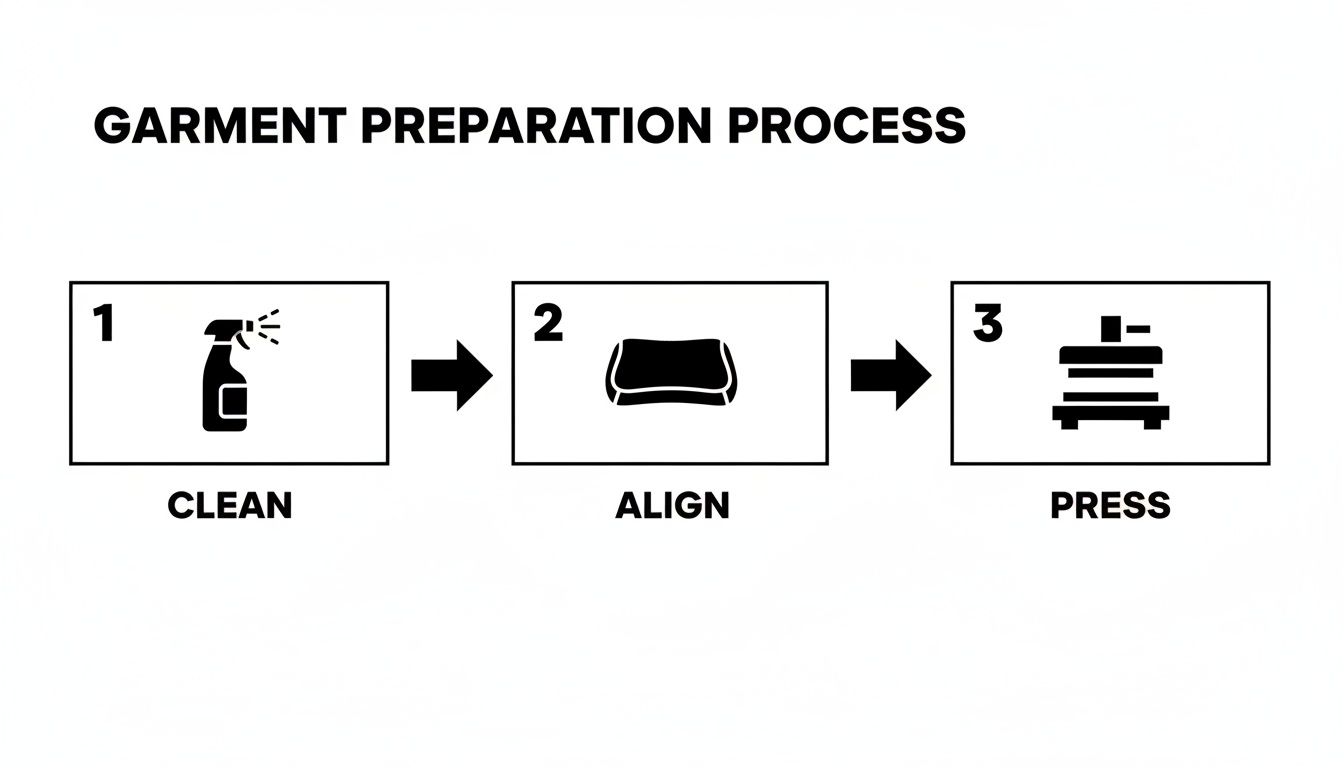
Nailing this clean, align, and press sequence gives your transfer the perfect surface to bond to.
Mastering Transfer Positioning and Alignment
Consistent placement is what separates the pros from the hobbyists. Nobody wants a t-shirt with a logo that's off-center or sitting too high. My advice? Get some simple alignment tools. They are an absolute game-changer for quality control, especially when you're cranking out a big order.
A T-shirt ruler or a laser alignment system eliminates all the guesswork. For a standard chest logo on an adult medium shirt, a solid rule of thumb is to place the top of the design about 3 to 3.5 inches down from the collar.
- T-Shirt Rulers: These are simple guides you just lay on the shirt to find the centerline and get the vertical placement perfect every time. They're cheap, easy, and incredibly effective.
- Laser Alignment Systems: If you're running a higher volume shop, these systems project crosshairs right onto your press platen. You can line up shirt after shirt in the exact same spot without breaking out a ruler each time.
Once you’ve got your transfer perfectly placed on the pre-pressed garment, use a couple of small pieces of heat-resistant tape to lock it down. It’s a small step that prevents the design from shifting when you lower the heat press.
The First Press: Activating the Bond
This is the moment the magic happens. The first press melts the adhesive on the back of your transfer, bonding it directly to the fabric fibers. It's so important to have your temperature and pressure dialed in for the specific garment you're using. Too hot, and you can scorch the fabric; too cool, and you'll get a weak bond that won't last.
Lower your heat press platen smoothly and apply firm, even pressure. This ensures the heat hits every part of the design equally.
Pro Tip from the Trenches: After this first press, you should be able to see the texture of the fabric’s weave through the transfer film. That’s your sign of a perfect press. If the film looks totally smooth, you probably need a bit more pressure.
The All-Important Cool Peel Technique
Patience is a virtue here, and this is the step where most people trip up. Our Cobra DTF transfers are a cold peel product. That means you must let the garment and the transfer cool down completely—we're talking room temperature—before you even think about peeling that film off.
If you peel it while it's still warm, the design will stretch and you’ll likely pull up parts of the ink. Seriously, just wait. Give it at least 45-60 seconds. For heavier items like hoodies, you might need a couple of minutes. Don't rush it.
Once it’s cool to the touch, start at a corner and peel the film back slowly and smoothly at a low angle. Don't just rip it off like a band-aid. A steady hand is what gives you those crisp, clean edges.
The Second Press for Durability and Finish
You’ve peeled the film and the design looks great, but you're not done yet. Right now, the transfer probably has a bit of a glossy look to it. This final press is what locks the design in for good, boosts its wash durability, and gives it that soft, matte finish that feels like it’s part of the shirt.
Place a protective sheet, like parchment paper or a Teflon sheet, over the exposed design. This isn't optional—it keeps the ink from sticking to the hot platen and ruining both your press and your shirt.
Press the garment again for another 5-10 seconds at the same temperature and pressure. This final cure pushes the ink deeper into the fabric, making it more stretchable and ensuring it lasts wash after wash. For a more detailed guide on all the settings, check out our complete guide to heat press settings for DTF transfers.
After that, you're done! You've got a professional-quality garment that's ready to go.
Troubleshooting Common DTF Transfer Problems
Look, even with the best process, things can go wrong. A perfect press is a balancing act between heat, time, and pressure. Throw one of those variables off, and you can run into trouble. But don't sweat it—most issues are surprisingly easy to fix once you know what you're looking for.
Think of it like being a detective. When a transfer doesn't come out right, the evidence is right there on the shirt. Once you learn to read the signs, you can diagnose the problem in seconds and adjust your approach. It's a skill that will save you a ton of time, materials, and frustration down the road.
The Most Common Culprit: Uneven Pressure
Before you start tweaking your temperature or adding more time, check your pressure. I can’t say this enough: inconsistent pressure is the number one reason DTF transfers fail, especially when you see those dreaded peeling edges. Your heat press might have a "medium pressure" setting, but that's often just a suggestion.
What really matters is how the platen connects with the garment. If your press is sitting on a wobbly table, or you’re pressing over a thick seam or a zipper without a pressing pillow, you’re creating dead spots. These are little pockets where the transfer gets almost no pressure, and that's exactly where it will fail first.
Here's a trick I use all the time: the "dollar bill test." With your press cold, place dollar bills around the edges of the platen and clamp it down. Now, try to pull them out. If any of them slide right out with no resistance, you've found an uneven pressure spot that needs to be fixed.
Diagnosing Peeling and Adhesion Failures
It's a gut-wrenching feeling to see your design lift off the shirt. When a transfer won't stick or the edges are curling up, it almost always points to a weak bond between the adhesive and the fabric. Let's run through a quick mental checklist.
- Did you pre-press the garment? Moisture is the ultimate enemy of a good transfer. Skipping that initial 5-10 second pre-press leaves steam trapped in the fabric, which fights against the adhesive. You want to see a little puff of steam—that means you're doing it right.
- Are you using a pressing pillow? If you're working on hoodies, polos, or anything with bulky seams, a pressing pillow isn't optional; it's essential. It raises the print area so the platen can make direct, even contact.
- Did you peel it while it was still warm? Our Cobra DTF transfers are strictly a cold peel product. If you get impatient and peel the film before the transfer has cooled down to room temperature, you'll stretch the design and pull it right off the fabric. Give it a solid 60 seconds, at least.
If you’ve done all that and are still getting peeling, it's time to bump up your pressure slightly or add a few more seconds to your press time.
Why Do My Colors Look Dull or Faded?
You sent a vibrant, punchy design to print, but what's on the shirt looks muted and flat. This is a classic symptom of a heat or pressure problem. More often than not, dull colors mean your heat is too high, and you're essentially "overcooking" the inks.
For a 50/50 cotton-poly blend, for instance, 300°F can be too hot. Try dialing it back to 280-285°F and see if that brings the vibrancy back. On the flip side, if the colors are faded and the texture looks a little patchy, your pressure might be too low to properly fuse the ink layer into the fabric.
To help you quickly figure things out, here's a handy chart I've put together from my own experience.
DTF Problem-Solving Matrix
When a press goes wrong, don't just guess. This table will help you connect the symptom to the likely cause and get you back on track fast.
| Symptom | Potential Cause | How to Fix It |
|---|---|---|
| Edges Are Peeling | Uneven pressure or moisture in the garment. | Use a pressing pillow; always pre-press for 5-10 seconds. |
| Colors Look Dull | Heat is too high for the fabric type. | Reduce temperature by 10-15°F and test again. |
| Design Feels Glossy | The second press was missed or done incorrectly. | Always do a second press with parchment paper for 5-10 seconds. |
| Tiny Details Didn't Stick | Peeled too quickly or insufficient pressure. | Ensure a full cool-down; slightly increase press pressure. |
| Ink Has a Cracked Texture | The transfer was overstretched when peeling. | Peel slowly at a low, flat angle after it's completely cool. |
The key to successful troubleshooting is to change only one variable at a time. Never adjust your heat, time, and pressure all at once. Make one small adjustment, run a quick test, and check the result. This methodical process is the fastest way to nail down your settings and perfect your DTF transfer instructions for any garment you press.
Keeping Your Prints Looking Great: Aftercare Instructions
Your job isn't quite done when the heat press timer goes off. The last, crucial step is making sure your client knows exactly how to care for their new garment. How they wash and dry it at home is just as critical as your pressing technique, and it will make all the difference in how long the print lasts.
Passing on a few simple care instructions isn't just good customer service—it protects your work. When a print stays vibrant and feels great wash after wash, it reinforces the quality you deliver and keeps people coming back. A few clear tips can prevent those common laundry mishaps that can quickly ruin a perfectly good transfer.
The First 24 Hours are Key
This is the most important rule of thumb to pass along: don't wash it right away. Even after the garment feels cool, the adhesive and inks are still doing their thing, fully curing and bonding to the fabric.
We always tell our clients to wait at least 24 to 48 hours before that first wash. Throwing it in the machine too early can interrupt the curing process, leading to cracking, peeling, or fading down the line. This one small step is the best insurance for a durable, long-lasting print.
Think of it like fresh paint. You wouldn't touch it until it's completely dry, and the same principle applies here. Rushing it just compromises the final product.
The Best Way to Wash and Dry
Once that initial curing window has passed, it’s all about gentle laundering. The goal is simple: protect the print from harsh chemicals, high heat, and friction.
Here are the specific instructions I give every customer:
- Turn it Inside Out: This is non-negotiable. It protects the design from rubbing against other clothes, which is the number one cause of wear and tear in the wash.
- Wash in Cold Water: Hot water is a print's worst enemy. It can soften the adhesive and dull the colors over time. Stick to a cold, gentle cycle.
- Go with a Mild Detergent: Harsh detergents, especially anything with bleach, will literally eat away at the transfer. A basic, mild detergent is all you need.
Laundry Habits to Avoid at All Costs
Knowing what not to do is just as important. Some everyday laundry products are guaranteed to destroy a DTF print, breaking down its structure and causing it to fall apart way too soon.
Make sure you warn your clients to stay away from these:
- Bleach: It will absolutely strip the color and destroy the transfer's integrity, causing it to crack and peel.
- Fabric Softeners: This is a big one. Both liquid softeners and dryer sheets deposit chemicals that can break down the print's adhesive and make it look faded.
- High-Heat Drying: Never, ever put a DTF-printed garment in the dryer on high heat. The temperature can basically re-melt the adhesive, leaving the print feeling sticky or even causing it to warp and pucker.
For the absolute best results, tell them to tumble dry on a low setting or, even better, hang it up to air dry. Air drying is the safest bet by far and will do more to extend the life of the print than anything else. By arming your customers with this knowledge, you're helping them keep your hard work looking fantastic for years to come.
Your Top DTF Questions, Answered
Even with the best instructions, questions always come up. It's just part of the process, especially when you're trying a new garment or just getting your feet wet. We've heard just about every question in the book, so we've put together answers to the most common ones we hear from our customers.
Think of this as your personal troubleshooting guide. Getting these details right can be the difference between a wasted shirt and a perfect, sellable product.
Can I Use a Home Iron or a Cricut EasyPress?
Honestly, for any kind of professional result that you’d want to sell, the answer is a hard no. A home iron or a handheld press like the Cricut EasyPress just isn't built for the job. They're missing two things that are absolutely critical for a good DTF application: consistent, accurate temperature and even pressure.
DTF adhesive needs a very specific combination of heat and firm, uniform pressure to melt into the fabric's fibers and create a permanent bond. An iron or handheld press is guaranteed to have hot spots and areas with weak pressure. That's exactly why you see transfers start to peel at the edges after just one or two washes. To get that soft feel and incredible durability our transfers are known for, you really do need a commercial-style heat press.
Why Is My White Ink Turning Pink on a Red Shirt?
Ah, the classic dye migration issue. This is a common headache, especially on 100% polyester or poly-blends, and it loves to show up on bright colors like red, maroon, or royal blue. What’s happening is the heat from your press is causing the dye in the fabric to turn into a gas—a process called sublimation. That gas then seeps into your transfer and stains the white ink from behind.
The fix is all about managing your heat. You need to use the lowest possible temperature that still gets the job done for that specific fabric.
- On polyester, I’d start testing around 275-285°F.
- Keep the press time short, somewhere in the 8-10 second range.
- It also helps immensely to start with a high-quality transfer, like ours, that has a built-in blocker to fight dye migration from the start.
What’s the Difference Between a Cold Peel and a Hot Peel?
This simply refers to when you pull off the clear carrier film after pressing. It’s a crucial step. All of our Cobra DTF transfers are "cold peel" products, and this isn’t just a suggestion—it’s a rule for getting good results. You absolutely must let the transfer and the shirt cool down completely to room temperature before you even think about peeling the film.
If you peel while it’s still warm, the design will likely stretch, bubble up, or just not stick properly. Hot peel transfers are a different animal entirely; they’re designed for the film to be ripped off the second the press opens.
We exclusively produce cold peel transfers. Why? Because they consistently result in a sharper, more detailed print with a beautiful matte finish. In the world of high-quality custom apparel, that's the look everyone wants.
How Should I Store My Extra DTF Transfers?
Proper storage is key to protecting your investment. You want your transfers to be as perfect in three months as they are the day you get them. The two biggest enemies of a DTF transfer are humidity and direct sunlight.
The best way to store them is flat in a cool, dry place. A cheap art portfolio, a flat file drawer, or even the box they shipped in works great. Whatever you do, don't roll or fold them. That can cause the ink and adhesive to crack and separate. Keep them in their original packaging until you’re ready to press, and you’ll be set for a flawless application every time.
Ready to create stunning, durable custom apparel with transfers that are built to last? The team at Cobra DTF is here to help with 100% USA-made products and fast, reliable shipping. Explore our premium DTF transfers and get started today!