

Your Guide to DTF Shirt Printing
If you're in the custom apparel world, you've definitely heard the buzz around Direct-to-Film, or DTF, printing. So, what is it? Put simply, it’s a method where you print a design onto a special film and then use heat to transfer that design onto a shirt.
Think of it like creating a super high-quality, flexible, and durable decal made specifically for fabric. This "decal" approach is what allows for incredibly vibrant, full-color prints on almost any material you can think of.
What Is DTF Shirt Printing Really
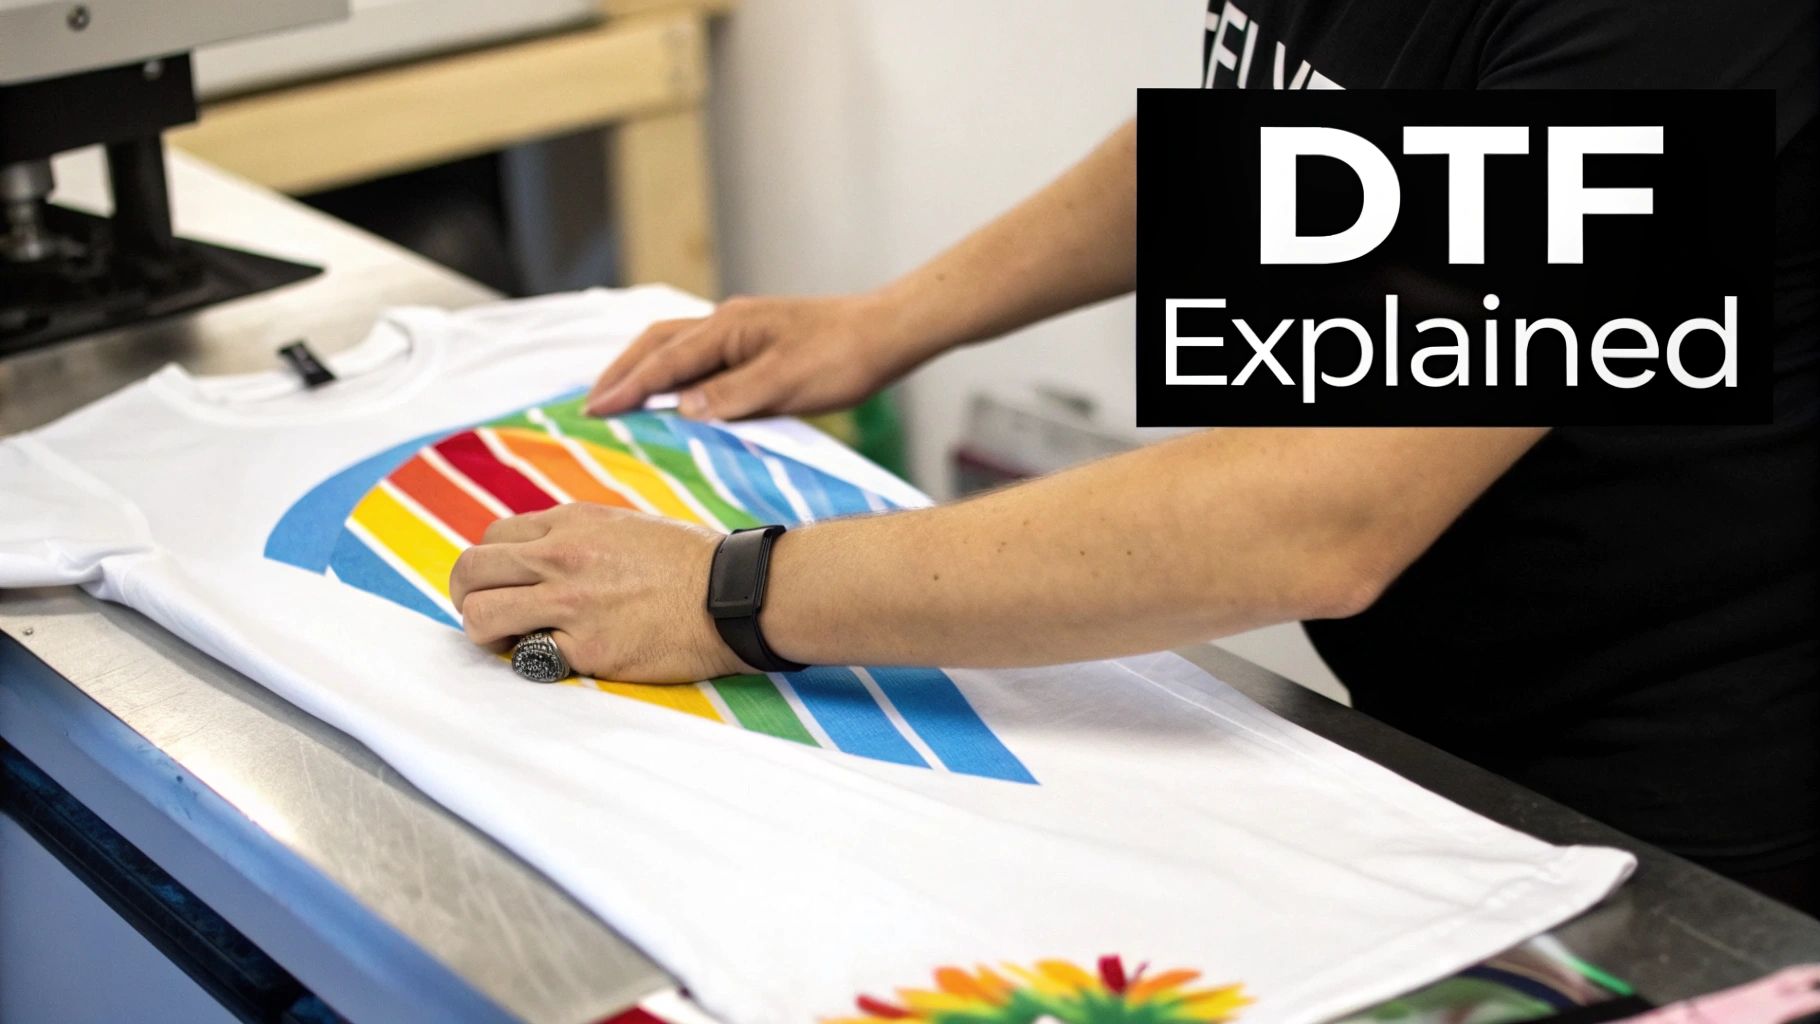
DTF printing cleverly finds its own space between traditional methods like screen printing and Direct-to-Garment (DTG). Instead of putting ink directly on the fabric (like DTG) or pushing it through a mesh screen, DTF uses a middleman: a special Polyethylene Terephthalate (PET) film. This simple but brilliant step is the secret to its versatility.
The process starts with a specialized inkjet printer that lays down the colors (CMYK) first, immediately followed by a solid layer of white ink. This white layer acts as an opaque base, making sure your colors pop, even on a black or navy blue shirt. It’s why DTF designs never look faded or "sunk in" on dark fabrics.
The Magic Ingredient: Adhesive Powder
Once the design is fresh off the printer, it gets an even coating of a hot-melt adhesive powder while the ink is still wet. This stuff looks a bit like fine sugar, and it’s what gives the transfer its permanent stick.
After getting powdered, the film is heated. This curing process melts the powder into a smooth, even adhesive layer that covers the back of the design. What you're left with is a ready-to-go transfer, waiting to be pressed onto a shirt.
Key Takeaway: The DTF process separates the printing from the pressing. You create the transfer first, then apply it. This gives you massive flexibility in when you produce your transfers and what you put them on.
This two-step approach has taken the garment industry by storm. We've seen production numbers soar, with over 7.2 billion DTF prints created globally in a recent year—that's a nearly 30% jump from the year before. This isn't just a niche method anymore; it's quickly becoming a go-to for decorators everywhere.
The 4 Core Steps of the DTF Printing Process
To really get a handle on how DTF works, it helps to break it down into its core stages. Each step builds on the last, working together to create a tough, vibrant print that feels great.
The table below outlines the four key steps that turn a digital file into a finished shirt.
The 4 Core Steps of the DTF Printing Process
| Step | Action | Purpose |
|---|---|---|
| 1. Print the Design | A specialized printer puts a mirrored version of your design onto PET film, printing the color layer first, then a white base. | The film acts as a temporary carrier for the ink, while the white base ensures your colors stay bright and true on any garment color. |
| 2. Add the Adhesive | The printed film, while the ink is still wet, is coated with a hot-melt adhesive powder that sticks only to the ink. | This powder is the "glue" that will permanently bond the design to the fabric's fibers once it's heat-pressed. |
| 3. Cure the Transfer | The powdered film is heated in a curing oven or under a heat press until the adhesive melts into a smooth, even layer. | This step finalizes the transfer, making it stable and ready for application, and ensures it will peel cleanly from the film. |
| 4. Press to the Garment | The finished transfer is placed on the shirt and pressed with heat, transferring the ink and adhesive from the film to the fabric. | The heat and pressure activate the adhesive, creating a permanent, durable, and flexible bond between the design and the shirt. |
Once you understand this simple workflow, you can see why so many businesses are turning to DTF. For those wanting an even deeper dive, our complete guide on what Direct-to-Film printing is is a great next step.
Building Your Complete DTF Printing Setup
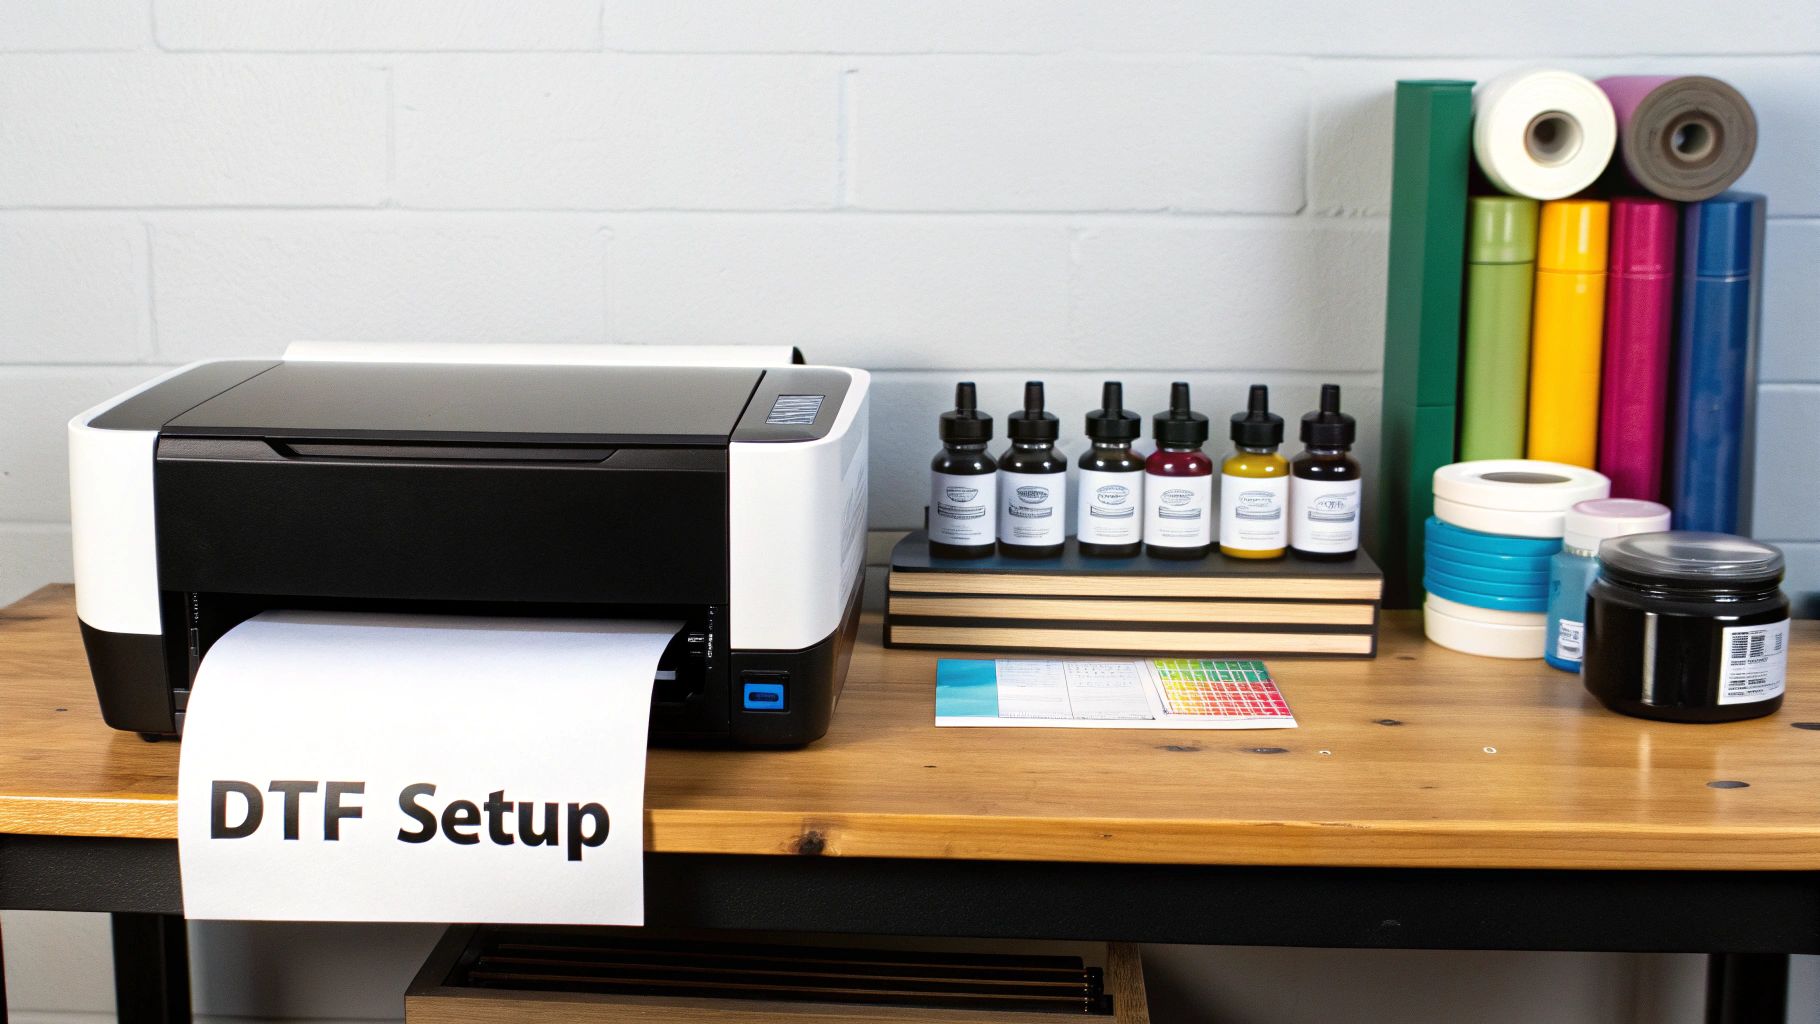
Getting into dtf shirt printing is like setting up a professional kitchen. You need the right tools, and each one has a specific, critical role to play in creating the final masterpiece. If you think of it as an assembly line, the printer creates the design, the powder and curing stations prepare it, and the heat press finishes the job.
Let's walk through the essential gear you'll need to build a full-fledged DTF production line, from digital file to finished shirt.
The Core Printing Components
Everything starts with the print itself. At the heart of your operation, you need a specialized printer, the right inks, and the film that will carry your design. Nail these three, and you're well on your way to creating professional-grade products.
-
The DTF Printer: This isn't your average desktop printer. We're talking about an inkjet machine built specifically for the demands of DTF. The most important feature is its ability to print with at least five colors: Cyan, Magenta, Yellow, and Black (CMYK), plus that all-important White ink.
-
DTF Pigment Inks: These inks are engineered for apparel. They have a unique elasticity that allows them to stretch with the fabric, preventing the cracking you see with lesser methods. The white ink, in particular, is a game-changer; it's laid down as a base layer so your colors pop with incredible opacity, even on a black t-shirt.
-
PET Transfer Film: This is the temporary home for your design before it meets the fabric. It’s a special Polyethylene Terephthalate (PET) film, usually about 0.75mm thick, with a coating designed to grab the ink and then release it perfectly under heat. You'll notice one side is matte for printing on, and the other is glossy.
Why RIP Software is a Non-Negotiable Tool
You can have the best printer on the market, but without a Raster Image Processor (or RIP) software, you're essentially guessing. This software is the brains of your printing operation. It precisely controls the ink flow, manages color profiles, and—most critically—tells the printer exactly how to lay down that opaque white underbase for maximum vibrancy.
From Powder to Press
Once your design is wet off the printer, the next stage is all about preparing it for the big finale. This is where we turn that wet ink on a piece of film into a durable, ready-to-press transfer.
First comes the adhesive powder. This stuff is basically a finely-milled hot-melt "glue" (a polyurethane powder) that will bond the ink to the garment's fibers. It gets sprinkled over the wet ink, sticking only to your design. Shake off the excess, and you’re ready for the next step.
After powdering, the transfer needs to be cured. This involves melting the powder into a smooth, even adhesive layer. You can do this with a small curing oven or by hovering your heat press over the film without letting it touch. This is a crucial step; get it right, and your transfer will peel cleanly and last for years.
The Final Step: The Heat Press
The last piece of gear in your lineup is the heat press. This workhorse provides the two things needed to make the transfer permanent: consistent heat and even pressure. A quality press is vital because any cold spots can lead to a print that peels or washes out.
Here’s a quick breakdown of how the equipment works together:
| Equipment Category | Key Components | Primary Function |
|---|---|---|
| Printing & Digital | DTF Printer, DTF Inks, RIP Software | Accurately prints the design with a white underbase onto the transfer film. |
| Transfer Preparation | PET Film, Adhesive Powder, Curing Oven | Creates the physical transfer, adds the "glue," and preps it for application. |
| Application | Heat Press | Permanently bonds the finished transfer to the garment using heat and pressure. |
Putting together a complete setup for dtf shirt printing can seem a bit intimidating at first, but it becomes a lot clearer when you understand what each piece of equipment does. From the software on your computer to the final press, every component plays a vital role in creating beautiful, durable, and high-quality custom apparel.
Choosing Between DTF, DTG, and Screen Printing
Picking the right printing method for your apparel business is a lot like choosing the right tool for a job. You wouldn't use a sledgehammer to hang a picture, right? In the same way, the best printing technology really depends on what you’re trying to accomplish.
The three main players in the custom apparel game are DTF shirt printing, Direct-to-Garment (DTG), and the old-school champion, screen printing. Each has its own personality and excels in different situations. Understanding where they shine is the key to making a smart, profitable choice for your business.
Let’s break down how they stack up in the areas that matter most: what you can print on, how much it costs, and what the final product looks and feels like.
Fabric Compatibility And Feel
One of the biggest wins for DTF is its incredible versatility. Because you're printing the design onto a transfer film first, you can press it onto almost anything. We're talking cotton, polyester, complex blends, leather, and even tricky materials like nylon—all without a hitch, regardless of the garment's color.
The final print sits on top of the fabric, which gives it a smooth, slightly raised feel that’s very similar to a high-quality screen print.
DTG, on the other hand, acts more like a fabric dye. It uses water-based inks that are sprayed directly into the fibers of the garment. This process is at its best on 100% cotton, delivering a super-soft print with almost no hand-feel because the ink literally becomes part of the shirt. However, getting good results on polyester or dark-colored fabrics requires a pre-treatment step, which adds time and complexity.
Screen printing is the seasoned veteran here. It’s known for its ability to work on just about any fabric you can throw at it. The feel of a screen print can range from buttery soft to thick and heavy, all depending on the type of ink and how many layers of color are needed for the design.
Cost Dynamics For Different Order Sizes
Your production volume is probably the biggest factor that will dictate which method is the most cost-effective. This is where the business side of things really comes into focus.
-
DTF Printing: This method is a rockstar for small to medium-sized orders. There are zero screen setup costs, which makes it perfect for printing a single custom shirt or a batch of 50 with a complex, multi-color design. You don't get penalized for complexity.
-
DTG Printing: Just like DTF, DTG is fantastic for small orders and one-offs. With no setup fees, it's the go-to for on-demand printing businesses where every single shirt might be different.
-
Screen Printing: This is the undisputed king of high-volume production. The main cost is upfront in the setup—you have to create a separate screen for every single color in your design. If you get a simple, one-color order for 500 shirts, screen printing will give you the lowest cost-per-shirt by a mile. But try to use it for a 20-shirt order with five colors, and the setup costs would be astronomical.
Scenario Snapshot: A customer walks in wanting 25 hoodies with their full-color company logo. For screen printing, you'd need at least four screens (for CMYK colors), making the setup alone really expensive for such a small run. With DTF or DTG, you just hit "print" on the digital file. It’s a no-brainer—DTF/DTG is far more profitable for that job.
The flexibility of on-demand production is a huge reason why the global direct-to-film printing market is projected to hit USD 3.92 billion by 2030. Businesses are actively looking for cost-effective ways to create personalized apparel without the high barrier to entry of traditional methods.
DTF vs Screen Printing vs DTG: A Head-to-Head Comparison
To make this even clearer, let's put these three methods side-by-side in a simple table. The best choice often comes down to balancing your initial investment, the kinds of orders you expect to get, and the quality your customers demand.
| Feature | DTF Printing | Screen Printing | DTG Printing |
|---|---|---|---|
| Fabric Compatibility | Excellent (Cotton, poly, blends, leather, nylon) | Very Good (Works on most fabrics) | Limited (Best on 100% cotton) |
| Best For | Small to medium runs, full-color designs | High volume, simple color designs | One-offs, on-demand, detailed photos |
| Print Feel | Smooth, slightly raised, flexible | Varies from soft to heavy/thick | Very soft, breathable, no feel |
| Durability | Excellent, resists cracking and fading | Excellent, very long-lasting | Good, but can fade with washing |
| Color Vibrancy | Excellent on all garment colors | Excellent, very opaque and bright | Best on light garments, needs underbase for darks |
| Setup Cost | Low (no screens needed) | High (screens required for each color) | Low (no screens needed) |
| Cost Per Print | Moderate for all quantities | Very low for high volume, very high for low volume | High for medium-to-large runs |
| Ideal Batch Size | 1 - 500+ | 100+ (ideally 500+) | 1 - 50 |
Ultimately, DTF carves out a powerful niche for itself by combining the fabric versatility of screen printing with the on-demand efficiency of DTG. It offers a wonderfully balanced solution for the modern apparel business.
While you're focusing on garment printing, understanding broader concepts like digital printing vs. offset printing can also provide helpful context on how different technologies are chosen for different jobs. And for an even deeper dive, check out our complete guide to t-shirt printing techniques and their unique applications.
Why DTF Gives Your Business a Competitive Edge
Forget the tech specs for a second. The real magic of DTF shirt printing is what it does for your business. This isn't just another printing method; it's a tool that gives you a serious leg up in a crowded market. It’s what lets you say "yes" to more customers, more often.
The biggest game-changer? Its incredible versatility. Think about it: no more turning down a customer who wants a logo on a tricky polyester jersey, a dark cotton hoodie, or even a leather patch. DTF transfers handle them all beautifully, breaking down the barriers that used to limit your shop.
This freedom to print on nearly any fabric or color, without a ton of special prep work, simplifies your entire workflow. You can stock fewer inks and supplies while offering a much deeper product catalog.
Unlocking Profitability with Small Batches
One of the classic headaches for small print shops is the setup cost for methods like screen printing. DTF completely sidesteps that problem. You don't have to burn screens or deal with messy color separations just for a small job.
This means small, full-color orders aren't just doable—they're incredibly profitable.
- No Minimum Orders: You can make good money printing a single custom shirt for a birthday gift or a run of 25 for a local soccer team. This opens your doors to a huge customer base that doesn't need hundreds of items.
- Faster Turnaround: By skipping the long setup process, you can go from digital file to finished shirt in a fraction of the time. Suddenly, offering rush services and hitting tight deadlines is easy.
- Reduced Waste: You print exactly what you need. That means less wasted ink, fewer trashed materials, and no more money tied up in inventory for jobs that don't hit a high minimum.
This on-demand model is precisely why the industry is booming. The global direct-to-film printing market is expected to more than double, hitting an estimated USD 5.18 billion by 2035. This massive growth is all about DTF's unique ability to deliver the personalization and speed today's customers demand. You can find more details about this market forecast on sphericalinsights.com.
Superior Quality That Builds a Following
A competitive advantage isn't just about being cheaper; it's about delivering a product people genuinely love to wear. DTF prints are vibrant and razor-sharp, but they’re also built to last. The prints feel soft, flexible, and stretch right along with the fabric, so you don't get that cracking and peeling you see with lesser methods.
This kind of quality creates happy, loyal customers. When someone's favorite shirt looks just as good after the tenth wash as it did on day one, they come back. They tell their friends. That repeat business and word-of-mouth is how you build a real, sustainable brand.
When you pair this top-notch printing with smart business automation strategies, you create a powerful engine for growth. At the end of the day, DTF gives you the flexibility to adapt, the efficiency to make a profit, and the quality to build a tribe of loyal fans.
Your First DTF Shirt Print: A Step-By-Step Walkthrough
Alright, theory is one thing, but now it’s time to get your hands dirty. Let’s walk through the process of making your very first professional DTF shirt printing transfer. We'll go from a digital file on your screen to a finished shirt you can actually wear.
Think of it like following a recipe. If you get the ingredients and measurements right (in this case, things like time and temperature), you’ll get a perfect result every time. Let's dive in.
Step 1: Prepare Your Digital Artwork
Before a single drop of ink is used, your success begins on the computer. Getting your artwork file ready is non-negotiable. A low-quality file will always produce a low-quality print, no matter how fancy your equipment is.
First, your design needs to be high-resolution. Aim for 300 DPI (dots per inch) at the actual size you plan to print. This keeps everything looking sharp and prevents that dreaded pixelated look.
Next—and this is a classic rookie mistake—you have to mirror your image horizontally. The design is printed on film and then flipped onto the shirt, so if you don't mirror it, your design will be backward.
Finally, make sure your artwork has a transparent background. Any solid background color will get printed, powdered, and transferred right onto the shirt. Your RIP software is smart enough to create the white underbase, so just give it a clean, isolated design to work with.
Step 2: Print Onto The PET Film
With your file prepped and ready, it's time to print. Load a sheet of PET film into your DTF printer. The key here is to make sure the matte, coated side is facing up—that's the side that grabs the ink. The glossy side is the back.
Your RIP software does the heavy lifting from here. It tells the printer to lay down all the colors (the CMYK layer) first, then it comes back and prints a perfectly aligned layer of white ink right on top. This white layer is the magic; it’s what makes your colors pop on any shirt, especially dark ones.
Pro Tip: Always run a quick nozzle check before starting a print run. One tiny clog in a white ink nozzle can leave ugly streaks through your design, wasting expensive ink and film.
Once it's done printing, be gentle. The ink is wet and incredibly easy to smudge. Handle the film only by the edges and avoid touching the printed area at all costs.
Step 3: Apply The Adhesive Powder
Now we need to add the "glue" that will fuse your design to the fabric. While the ink is still wet, lay your printed film down in a shallow tray or bin.
Sprinkle the DTF adhesive powder generously over the entire design. You want to make sure every last bit of wet ink is completely covered. You really can’t use too much at this stage, so don't be shy.
Once it's coated, pick up the film and give it a few gentle flicks to knock off all the extra powder. You’ll see the powder sticks only to the ink, leaving the blank areas of the film clean. The goal is an even, consistent coating of powder across your whole design.
The infographic below shows how these steps come together to give DTF its edge.
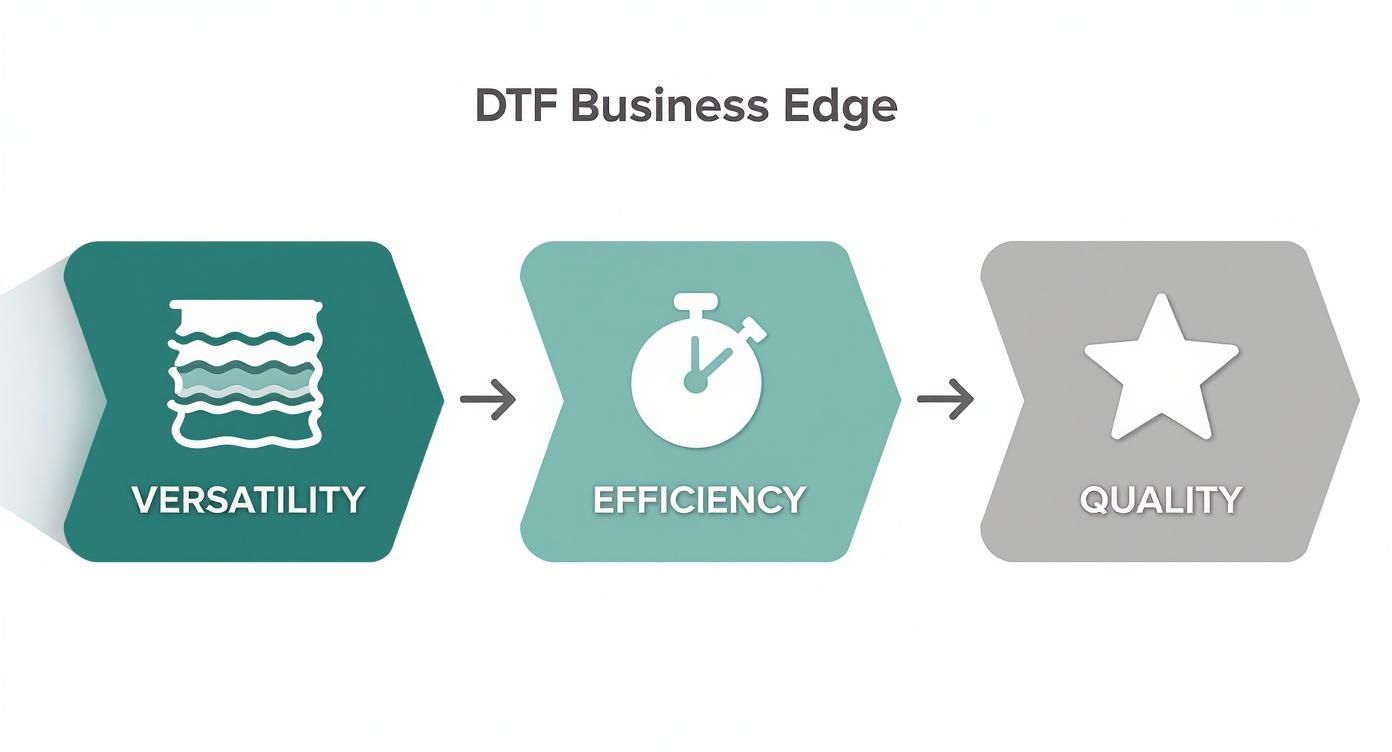
It’s this unique combination of versatility, quality, and efficiency that makes DTF such a powerful tool for anyone making custom apparel.
Step 4: Cure The Powdered Transfer
The next step is to melt that powder, turning it from a grainy mess into a smooth, solid sheet of adhesive on the back of your ink. This is what makes the transfer stable and ready to press.
You have a couple of options for curing:
- Curing Oven: A dedicated small oven gives you the most consistent and reliable results.
- Heat Press (Hover Method): You can also use your heat press. Set it to the right temperature (usually around 300-350°F or 150-175°C) and lower the top platen until it hovers about half an inch above the transfer. Don't let it touch!
You'll know it's ready when the powder goes from a sugary texture to a smooth, rubbery finish that almost looks like an orange peel. This usually takes a couple of minutes. If you under-cure it, the transfer won't stick properly. If you over-cure it, you risk damaging the film.
Step 5: Press Your Design And Peel
This is the moment of truth. Lay your shirt on the heat press and give it a quick pre-press for 5-10 seconds. This irons out wrinkles and removes any moisture from the fabric.
Now, carefully position your cured DTF transfer on the shirt with the design facing down.
Press it with firm pressure for about 15-20 seconds at the recommended temperature. When the timer goes off, open the press and—this is important—let the transfer cool down completely. DTF is a cold peel process. If you get impatient and try to peel it while it’s still warm, you'll likely pull the design right off.
Once the film is cool to the touch, start at a corner and gently peel it away. You should be left with a vibrant, crisp design permanently bonded to your shirt. That's it!
For more in-depth tips on different fabrics, check out our guide on the complete DTF printing shirt process.
Troubleshooting Common DTF Printing Issues
Even with the best equipment and a solid workflow, every now and then a DTF print just doesn't come out right. It’s a frustrating moment, but don't worry—most issues are surprisingly easy to fix. This is your go-to guide for turning those print mishaps into successes.
When things go wrong, the problem usually boils down to one of three things: heat, pressure, or moisture. If you can dial in those three variables, you’ll solve the vast majority of your printing headaches. Let's walk through the most common issues and how to get back on track.
Solving Poor Adhesion or Peeling Prints
It's a classic DTF frustration: you peel back the film, and part of your beautiful design is left behind. When your transfer lifts or refuses to stick to the garment, your heat press is almost always the culprit.
Here’s what to check first:
- Bump Up the Heat: The most common reason for peeling is not enough heat. The adhesive powder needs to hit a specific temperature to melt and bond with the fabric. If your press is running cool or has cold spots, you'll get a weak stick. Try increasing the temperature by 5–10 degrees.
- Apply More Pressure: DTF needs firm, even pressure. This is what physically pushes the melted adhesive deep into the fabric fibers. If your pressure is too light, the design will just sit on the surface, ready to peel away. Adjust your press for a tighter clamp.
- Always Pre-Press the Shirt: This is a non-negotiable step. Pressing the blank shirt for 5–10 seconds before applying the transfer does two crucial things: it gets rid of any hidden moisture and smooths out wrinkles, giving you a perfectly flat, dry canvas for the transfer.
Fixing Dull or Faded Colors
What happens when the colors that looked so brilliant on your screen end up looking flat and muted on the shirt? This issue usually starts long before the design even gets to the heat press. Your ink and curing process are the first places to investigate.
Start with the basics: check your ink levels and run a nozzle check on your printer. Clogged nozzles, especially for the white ink, mean you’re not getting a solid underbase. A weak underbase is a surefire way to get dull, washed-out colors.
A very common mistake is not curing the adhesive powder correctly. If you don't fully melt the powder until it has a slight "orange peel" texture, it won't bond properly and can mute the ink's vibrancy after pressing.
Double-check that your curing temperature and time are set correctly for your specific powder. A perfectly cured transfer should have a slightly glossy, almost rubbery feel to it—that’s the sign that your colors are locked in and ready to pop. Nailing these little details will save you a ton of wasted material and ensure your shirts look amazing every single time.
Common Questions About DTF Shirt Printing
As you start seriously thinking about getting into DTF shirt printing, you're bound to have some practical questions pop up. Let's tackle some of the most common ones we hear from people just like you, so you can feel confident about your next move.
How Durable Are DTF Prints, Really?
This is usually the first thing people ask, and for good reason—no one wants to sell a shirt that falls apart after one wash. The great news is that DTF prints are incredibly durable. When they're applied correctly, you can expect them to hold up for 50-100 washes before you see any major fading or cracking. In many cases, the print will actually outlast the shirt itself.
So, what's the secret? It comes down to the unique combination of the water-based inks and the polyurethane adhesive powder. Together, they create a bond that's not just strong but also flexible, allowing it to stretch and move with the fabric. A good DTF print doesn't feel like a stiff sticker sitting on top of the shirt; it feels like it’s part of the material, ready to handle whatever daily life throws at it.
Can I Just Use My Regular Printer for DTF?
I get this question a lot, and the simple answer is no, you can't. While a DTF printer is a type of inkjet printer, it’s a highly specialized piece of equipment. A standard desktop printer you'd use for documents just isn't built for the job.
Here’s why it won't work:
- White Ink Is a Must: Your office printer uses a CMYK (Cyan, Magenta, Yellow, Black) setup. DTF printing absolutely requires a dedicated channel for white ink to create that solid base layer, which is crucial for making colors pop on dark fabrics.
- The Ink Is Different: DTF uses special pigment inks that are much thicker and formulated specifically to bond with fabric. Your regular printer's ink just isn't designed for that.
- It Can't Handle the Film: The internal rollers and paper pathways in a standard printer are designed for thin paper, not the thick PET film used in DTF. Trying to force it through will lead to nothing but jams, smudges, and a whole lot of frustration.
Trying to rig a regular printer for DTF is a non-starter. You really do need a machine that was built from the ground up for this specific process.
What's a Realistic Cost Per Print?
Figuring out your cost per print is key to setting prices that actually make you money. While the market prices for supplies can change, you can generally expect a standard chest-sized print (think 10x12 inches) to cost you somewhere between $1.50 and $3.00.
That estimate covers your main consumables:
- The PET film
- The CMYK and white ink
- The adhesive powder
To put that into perspective, the cost to produce a DTF printed shirt is often about 50% lower than making the same shirt with a white toner laser printer. That kind of efficiency is what makes DTF such a powerful option for small and medium-sized businesses trying to protect their profit margins.
How Does DTF Stack Up Environmentally?
When it comes to being green in the world of custom apparel, DTF holds its own pretty well. The inks used are primarily water-based, meaning they have fewer volatile organic compounds (VOCs) than the plastisol inks that are the backbone of traditional screen printing.
What’s more, the print-on-demand nature of DTF shirt printing is a huge win for waste reduction. You print exactly what you need, when you need it. This cuts out the overproduction that's common with big screen printing jobs. And while the PET film is a plastic, the overall DTF process uses significantly less water than DTG printing, which needs a lot of pre-treatment and washing. It all adds up to a more balanced environmental footprint.
Ready to see the quality and versatility of DTF for yourself? Cobra DTF offers premium, American-made transfers that deliver vibrant colors and incredible durability, all with fast, reliable shipping. Explore our DTF transfer options and get started today!