Mastering Your First DTF Printing Shirt Design
When you're looking to print on shirts, the DTF process involves printing your design onto a special film, coating it with an adhesive powder, and then using a heat press to transfer it onto the fabric. The reason it’s caught on so quickly is its ability to produce incredibly vibrant, full-color designs on a massive range of materials—from cotton to polyester blends—all without the messy, complex setup of traditional screen printing.
Unpacking the Hype Behind DTF Printing
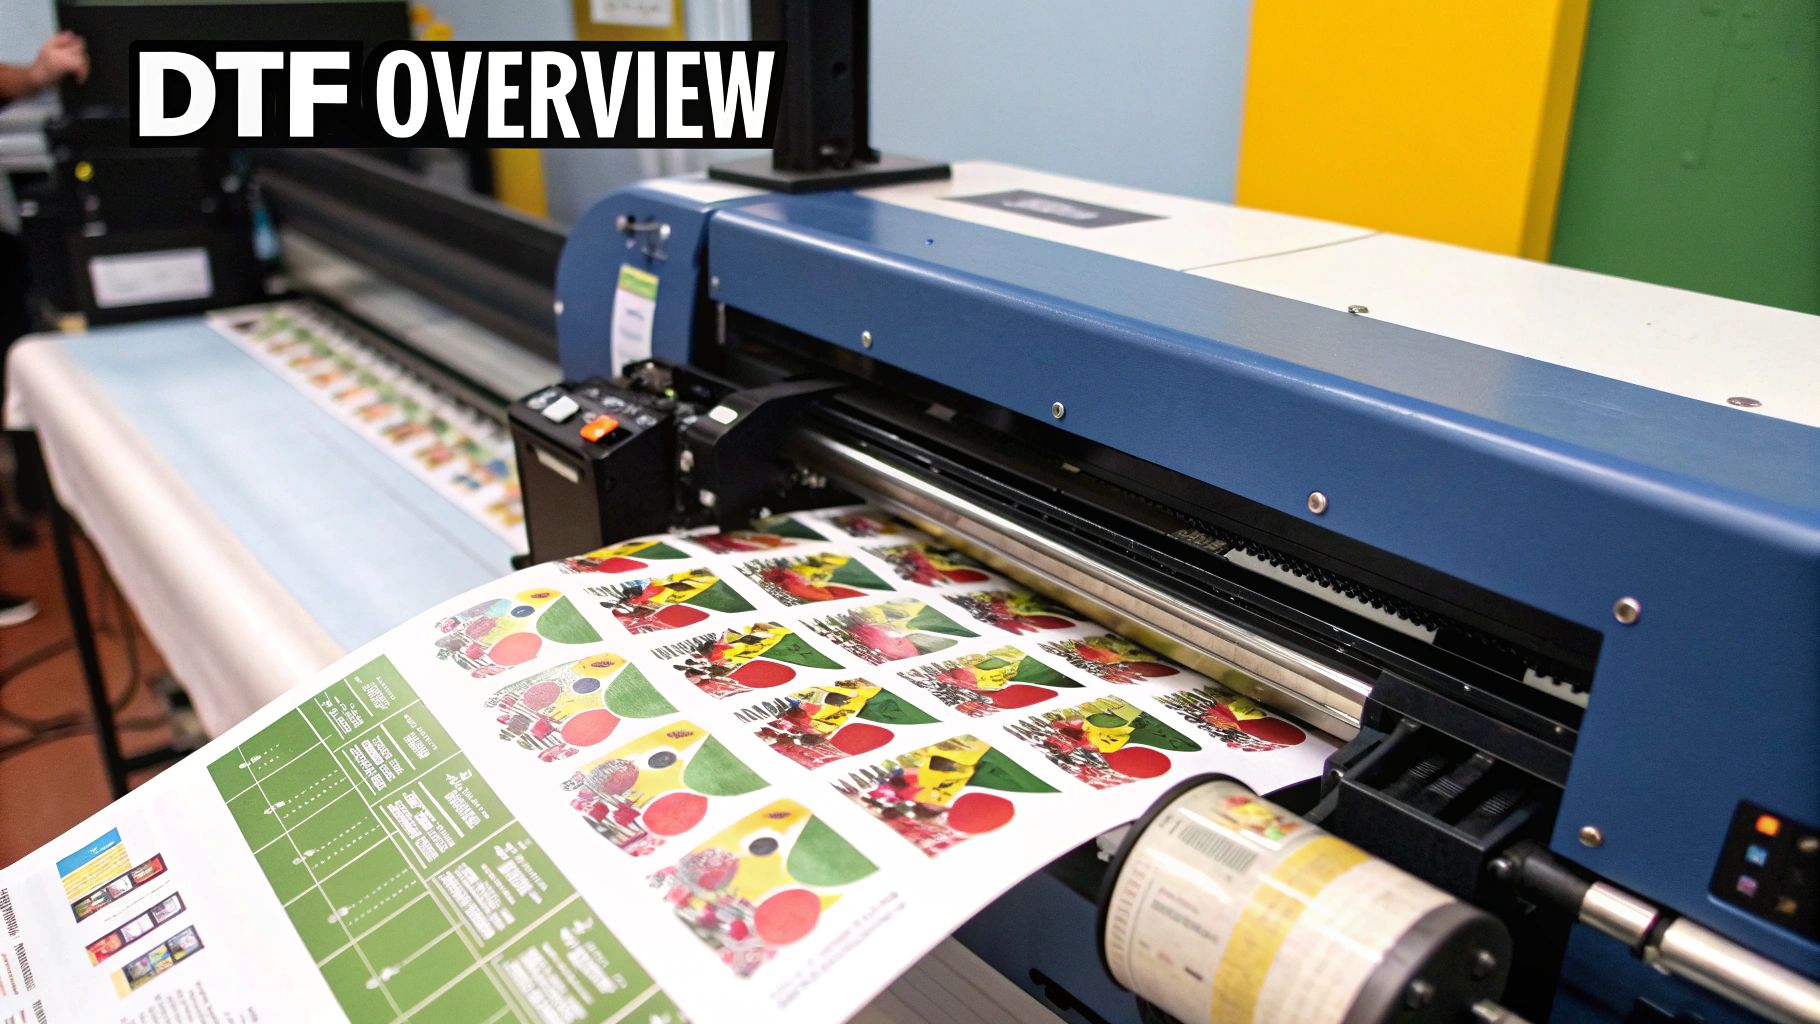
If you’ve been anywhere near the custom apparel world lately, you’ve heard the buzz around Direct-to-Film, or DTF. It seems like this technique has become a go-to for everyone, from side-hustlers in their garage to full-blown commercial print shops. So, what’s all the excitement about?
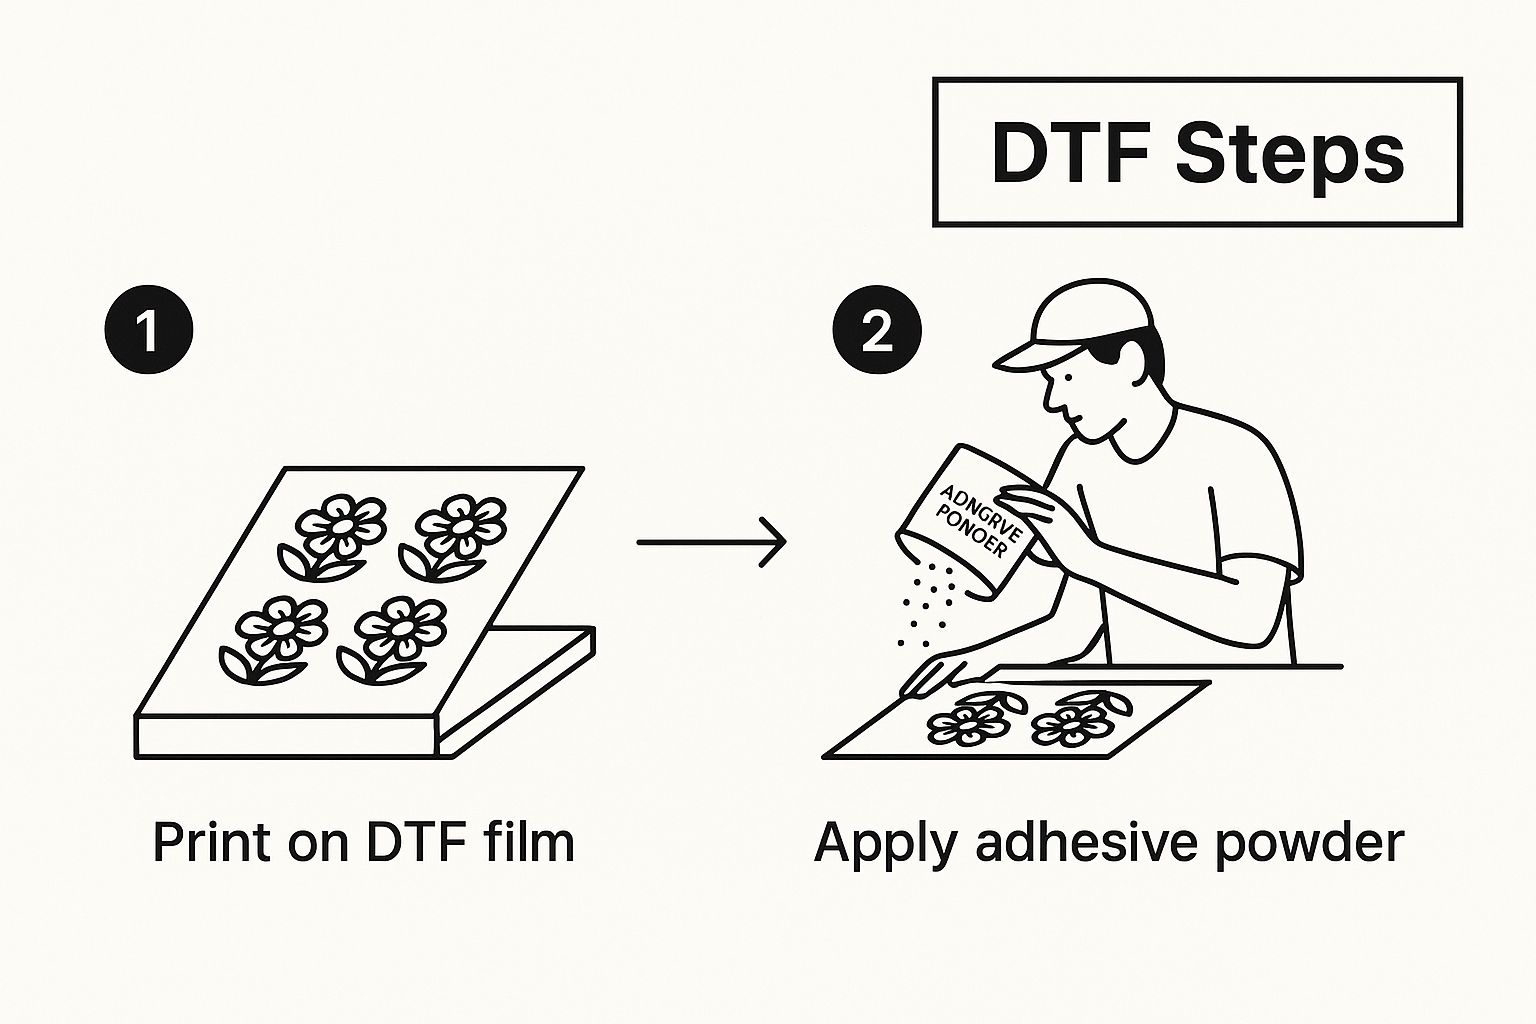
At its heart, the DTF process is a beautiful dance between a few key components. It all kicks off with a special inkjet printer that lays down a rich layer of DTF ink onto a PET film. While the ink is still wet, an adhesive powder is sprinkled over it. This powder is the secret sauce—once melted, it becomes the glue that bonds the design to the shirt during the final heat press stage.
Why It's a Game-Changer for Creators
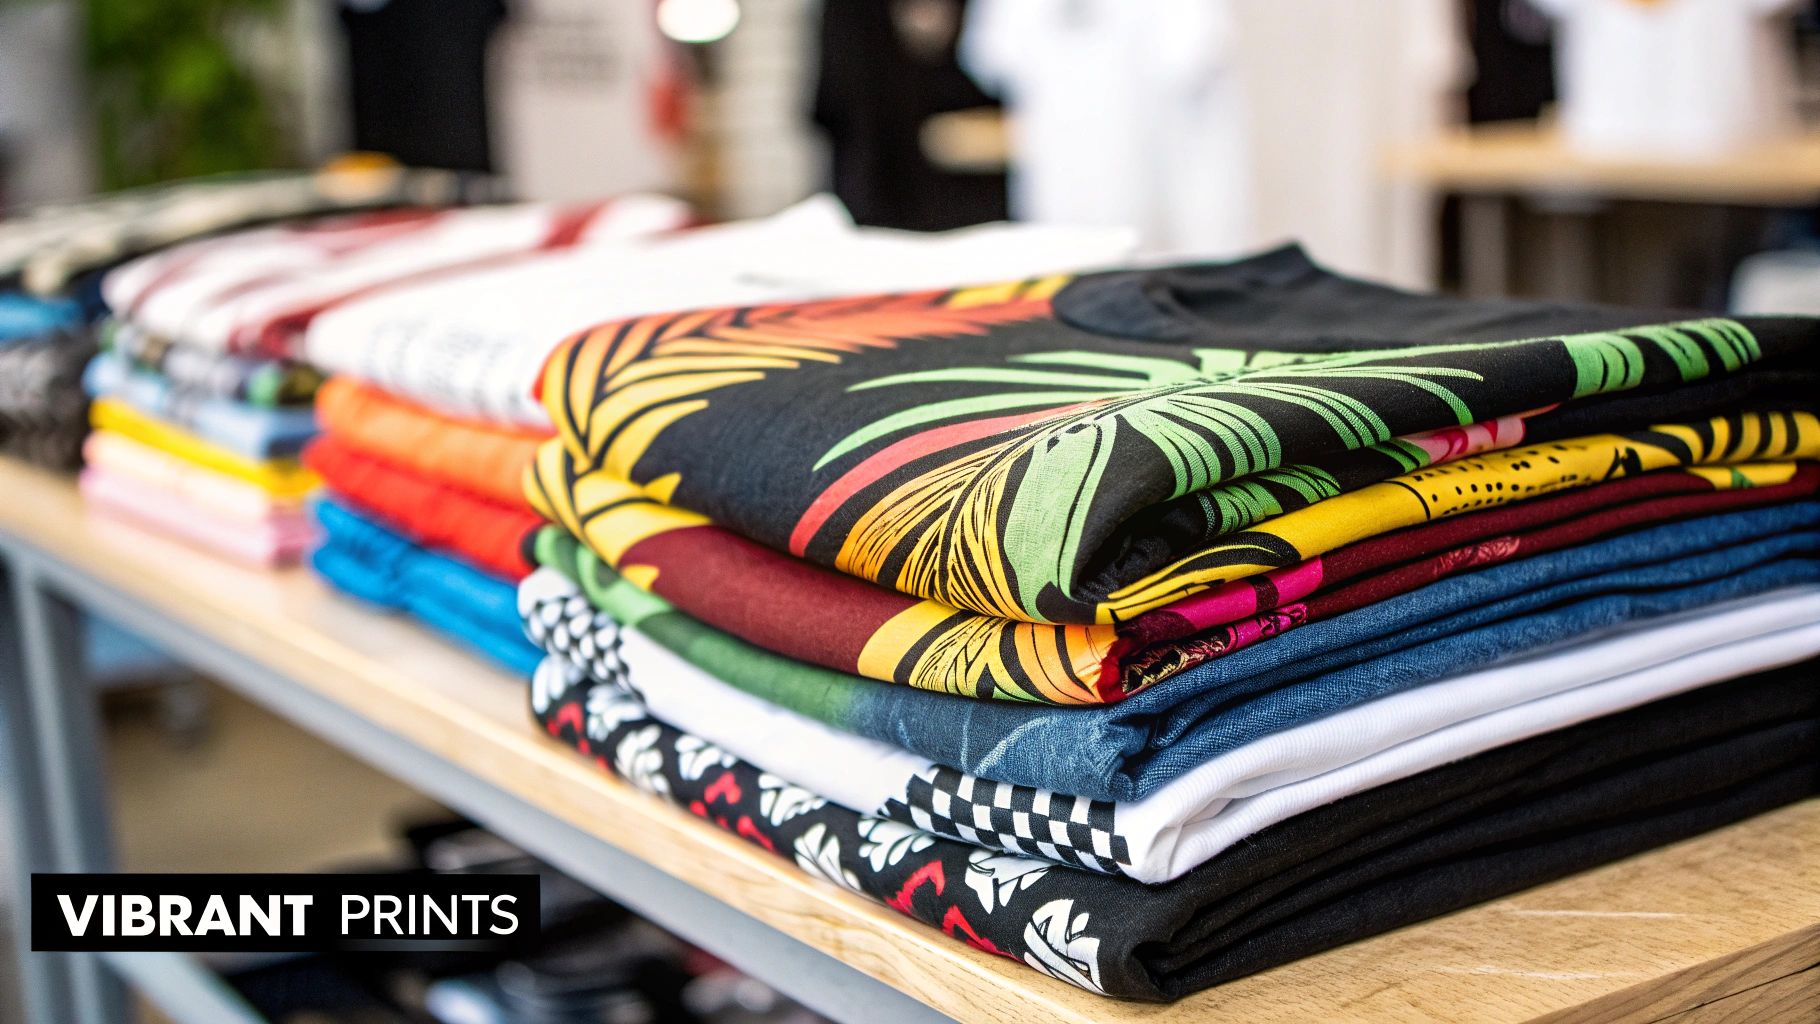
The real magic of using DTF printing for shirts is its sheer versatility and how easy it makes things. Other printing methods can be fussy about fabric types or colors, but DTF knocks down those walls. You can press a stunning, detailed graphic onto a black polyester hoodie just as easily as you can on a classic white 100% cotton tee.
This kind of freedom lets creators run wild with their ideas without getting bogged down by technical limitations. No more needing different setups for different fabrics. Plus, being able to pump out intricate, multi-color designs without the headache of screen printing setups is a huge win for small-batch runs or on-demand orders.
DTF printing really levels the playing field in the custom apparel game. It gives small businesses the power to create high-quality, full-color prints on almost any fabric, letting them compete with the big guys without a huge upfront investment.
The Growing Market Demand
The numbers don't lie. The market for Direct-to-Film printing was valued at around USD 2.72 billion in 2024 and is expected to shoot up to USD 3.92 billion by 2030. This boom is all thanks to the growing hunger for personalized clothing like t-shirts, hoodies, and sportswear—exactly what DTF excels at.
If you want to get into the nitty-gritty, our guide on https://cobradtf.com/blogs/guides/what-is-direct-to-film-printing is a great place to start. The takeaway is simple: DTF is a practical, high-quality solution that delivers professional results, making it a fantastic choice for your next shirt project.
Getting Your Artwork Ready for a Flawless Print
Here's a secret that every seasoned print pro knows: a stunning DTF shirt starts with the digital file. Long before any ink hits the film, your artwork's setup determines the final quality. A brilliant design can turn into a blurry, pixelated mess if the file settings are off, so getting this right is the foundation for everything that follows.
Think of it as giving your printer a perfect blueprint. To do that, we need to dial in three key things: the file format, resolution, and color space. When these are correct, you sidestep the most common print disasters and ensure what you see on your screen is what you get on the shirt.
File Format and Resolution: The Non-Negotiables
For Direct-to-Film, PNG (Portable Network Graphics) is the gold standard, and for one critical reason: transparency. Unlike a JPG, a PNG file lets you have a design with a see-through background. This is absolutely essential. It prevents that ugly white or black box from printing around your art, allowing your design to blend seamlessly with the fabric.
Just as important is the resolution, which we measure in DPI (Dots Per Inch). For a sharp, professional-looking print, 300 DPI is the absolute minimum. Many people design using the web standard of 72 DPI, but that will look fuzzy and cheap when it’s printed on a garment.
A crucial takeaway: Always start your design canvas at 300 DPI. You can’t magically add quality to a low-resolution image later on. It has to be built in from the very beginning.
Mastering Color and Transparency
This is where some designers get tripped up. If you're used to designing for paper, you probably work in a CMYK color profile. But for DTF, you’ll want to design in RGB (Red, Green, Blue). This color space gives you a much wider and more vibrant range of colors that better matches what DTF inks can actually produce. The RIP software—the program that sends the file to the printer—will handle the technical conversion to CMYK for you.
Lastly, double-check that your background is truly transparent. It's a simple step that's easy to forget.
- For Adobe Photoshop users: Make sure you've deleted or hidden the background layer. You should see that classic gray-and-white checkerboard pattern behind your design before you export it as a PNG.
- For Adobe Illustrator users: Ensure there's no colored shape on your artboard, and when you export, choose the "Transparent Background" option.
Taking a few extra minutes to nail these technical details is what separates an amateur-looking shirt from professional-grade apparel. It's a small time investment that saves a ton of frustration, money, and wasted materials down the line.
The Hands-On DTF Printing and Curing Process
Alright, your artwork is prepped and ready to go. Now for the fun part: turning that digital file into a real, tangible transfer you can press onto a shirt. This is where the DTF printing for shirts magic really happens. It’s a pretty straightforward process, but getting the details right is what separates a good print from a great one.
First things first, you've got to load the DTF film into your printer. Be careful to only handle it by the edges. Any fingerprints or smudges on the print surface can mess with how the ink lays down. The film has a specific side you need to print on—it's usually the one with a duller, slightly rougher texture. Make sure that side is facing up.
Next up is your RIP (Raster Image Processing) software. Think of this as the mission control for your printer. It takes your design and intelligently converts it into the CMYK and white ink layers needed for a perfect print. You’ll use the RIP software to dial in your ink levels. This is a bit of an art form; too little ink and your design will look washed out, but too much can cause the colors to bleed together.
Applying the Adhesive Powder
As soon as your design comes out of the printer, the ink will be wet. This is the perfect time to apply the DTF adhesive powder. The idea is to get a nice, even coating that covers all the wet ink without any clumps.
I find the easiest way to do this is in a shallow tray or bin. Just lay the printed film down, generously sprinkle the powder over the whole design, and then gently tilt the film back and forth to make sure every last bit of ink is covered.
Once you’re sure it's coated, pick up the film and give the back a few firm flicks with your finger. This is crucial—it knocks off all the loose powder, leaving only the adhesive that has stuck to the wet ink.
As you can see, powdering is that essential bridge between printing the design and curing it with heat. It’s what prepares the transfer to permanently bond with the fabric.
Curing the Transfer to Perfection
With the extra powder gone, it's time to cure the transfer. This step melts the adhesive, transforming it from a powder into a smooth, flexible layer of glue that will fuse your design to the garment. You’ve got a couple of options here:
- Heat Press Hover: You can place the transfer on your heat press, but instead of clamping it down, just let the top platen hover about an inch above the film. A temperature around 350-375°F (176-190°C) works well.
- Curing Oven: For those doing a higher volume of prints, a dedicated curing oven is a game-changer. It provides more consistent, even heat across the entire transfer.
The tell-tale sign of a perfectly cured transfer is what we call an "orange peel" texture. The shiny powder will melt down into a slightly glossy, bumpy surface. When you see that, you know the adhesive is fully melted and ready to go.
Once cured, your transfer is stable. You can press it right away or store it for later. Just keep them flat in a cool, dry place and they'll be ready when you are. If you want to skip these steps entirely, you can always order professionally made DTF custom transfers that show up at your door ready to press.
Bringing Your Design to Life: Applying the DTF Transfer
You've got your cured transfer ready to go. Now for the fun part—turning that digital design into a real, wearable piece of art. Getting a perfect, long-lasting application comes down to three things: heat, time, and pressure. Nail these, and you'll get a professional result every single time.
The Prep Step Everyone Skips (But Shouldn't)
Before you even think about placing the transfer on the shirt, you need to prepress it. This is a crucial step that a lot of newcomers miss.
Just lay the garment flat on your heat press and press it for about 5-7 seconds. This does two really important things: it zaps any moisture out of the fabric and smooths out all the wrinkles. You're left with a perfectly flat, dry canvas for your transfer, which is exactly what you want for maximum adhesion.
Pressing for a Perfect Bond
Alright, now you can position your DTF transfer on the shirt. Don't rush this part. A crooked design is a dead giveaway of an amateur job.
Pro Tip: For perfect centering, fold the shirt in half vertically and give it a quick, light press to create a faint centerline. Do the same with your transfer (fold it in half, print-side out, and pinch the top and bottom) to create a matching guide. Line them up, and you're golden.
Once you’re happy with the placement, it's time to press. Your settings might need a little tweaking depending on your specific film and powder, but these are solid starting points for most cotton and poly-blend fabrics:
- Temperature: 300-325°F (149-163°C)
- Time: 10-15 seconds
- Pressure: Medium to firm
After the press, what you do next depends on whether you have a "hot peel" or "cold peel" transfer. Hot peel means you rip that film off right away, while it's still steaming. For a cold peel, you have to be patient and let the entire thing cool down to room temperature. If you try to peel it and the design starts to lift, stop! It just needs more time to cool.
Always peel the film by pulling it back low against the shirt, almost rolling it off. Don't just yank it straight up. This simple technique is the secret to keeping the edges of your design perfectly crisp and flat.
The Final Touch for a Pro Finish
The film is off and the design looks great, but we're not quite done. For a truly professional, matte look and a much softer feel, you need to do a finishing press.
Throw a sheet of parchment paper or a Teflon sheet over the design and press it again for another 5-10 seconds. This final press does wonders. It embeds the ink deeper into the fabric's fibers, which not only gives it that retail-ready look but also seriously boosts its durability in the wash.
This whole process is incredibly efficient, which is a huge reason why DTF is a game-changer for small businesses and creators. You can skip the messy, expensive setup of screen printing and run small, profitable batches, perfect for an online store. It's a fantastic way to meet the huge demand for custom gear and get orders out the door fast, sometimes shipping custom shirts in less than 48 hours.
Choosing the Right Print Method for Your Project
So, you’ve got a killer design ready for a shirt. Now for the big question: which printing method is going to make it look its best? The answer really depends on what you're making. Think about your fabric, how complex the design is, and how many shirts you need.
Let's walk through how Direct-to-Film stacks up against the other big names in custom apparel. Knowing the pros and cons of each will help you nail the final product, whether that means sticking with DTF or picking a better tool for the job.
DTF vs. Direct to Garment (DTG)
People often mix up DTF and DTG printing, and for good reason—they’re like cousins. Both use inkjet technology to create stunning, full-color images. The main difference is how the ink gets on the shirt. DTG prints directly onto the fabric, which gives it a super soft feel, especially on 100% cotton.
The catch? DTG can be pretty finicky. It really prefers light-colored cotton and often struggles with polyester or dark garments unless you go through a heavy pre-treatment process.
DTF sidesteps all of that. By printing onto a film that's then pressed onto the garment, it works beautifully on almost anything—cotton, poly, blends, even nylon. This flexibility is its superpower. For a more detailed breakdown, check out our guide on DTF vs DTG printing.
The industry trends back this up, too. While both technologies are popular, the DTF market is growing at a much faster clip, mainly because it's just so much more versatile. You can see the data for yourself over at Grand View Research.
DTF vs. Screen Printing
When it comes to big jobs, screen printing is the old-school champ. If you need 500 shirts with a simple one- or two-color logo, nothing beats its cost-effectiveness and durability. The downside is the setup. It’s a whole process, requiring a separate screen for every single color in your design, which gets expensive and time-consuming fast.
This is exactly where DTF shines. It's perfect for small-to-medium batches and handles photorealistic, multi-color designs without any extra setup fees per color. If you're a small shop testing out new ideas or printing on demand, DTF is a no-brainer.
DTF vs. Heat Transfer Vinyl (HTV)
Think of HTV as the go-to for bold, simple graphics. It’s fantastic for things like names and numbers on the back of jerseys or single-color logos. The process involves cutting your design from a vinyl sheet and then "weeding" away all the extra bits you don't need before pressing it.
But when your design gets complicated—with fine lines, tiny text, or multiple colors—HTV quickly becomes a headache. Weeding intricate details is a slow, painstaking task. DTF completely eliminates that frustration, letting you press a complex, full-color design in one quick and easy step.
To help you visualize the differences, here’s a quick comparison of the features that matter most when choosing your printing method.
Printing Method Feature Comparison
| Feature | DTF Printing | DTG Printing | Screen Printing | HTV (Vinyl) |
|---|---|---|---|---|
| Best For | Full-color, detailed designs on any fabric. Small to medium runs. | Soft-feel prints on 100% light-colored cotton. | Large volume orders (50+) with simple graphics. | Simple text, numbers, and single-color shapes. |
| Fabric Versatility | Excellent (Cotton, poly, blends, nylon, leather) | Poor (Best on cotton, struggles with synthetics) | Good (Works on most fabrics, but ink may vary) | Good (Specific vinyls for different fabrics) |
| Feel on Shirt | Soft and flexible, sits on top of the fabric. | Very soft, ink soaks into the fibers. | Can be heavy, depending on ink layers. | Can feel thick or like a "sticker" on the shirt. |
| Durability | High (50+ washes with proper care) | Moderate (Can fade over time, especially without proper care) | Excellent (Extremely long-lasting) | Varies (Can crack or peel over time) |
| Color Complexity | Unlimited colors, gradients, and fine details. | Unlimited colors, great for photos. | Limited colors, each adds significant cost/setup. | Limited to available vinyl colors, layers needed for multi-color. |
| Setup Cost | Low (No per-color setup fees) | Low (No per-color setup fees) | High (Screens needed for each color) | Low (Requires a cutter and weeding tools) |
Ultimately, there's no single "best" method—just the best one for your specific project. By understanding these key differences, you can confidently choose the right technology to bring your design to life.
Got Questions About DTF Printing? Let's Talk.
Once you get a few DTF projects under your belt, you’ll naturally start running into some common questions. Sorting these out early on will save you a ton of frustration and help you dial in a process that delivers top-notch shirts every single time.
Let’s dive into a couple of the most frequent questions I hear from people just starting out.
How Do I Wash a DTF Shirt So It Lasts?
This is probably the number one question people ask. You've put in all that work—how do you make sure the design doesn't crack or fade after a few washes? The secret to a long-lasting print is all in the aftercare.
Proper washing is a game-changer. It’s not difficult, but a few simple habits can make a massive difference.
To get the most life out of your print, follow this simple routine:
- Turn it inside out. This is the easiest and most effective way to protect the transfer from rubbing against other clothes.
- Wash in cold water. Hot water is the enemy of DTF adhesive. Always stick to a cold, gentle cycle.
- Skip the harsh stuff. Bleach and aggressive detergents will break down the ink and glue. A mild detergent is all you need.
- Hang dry when possible. An air-dry is always your best bet. If you have to use a machine, tumble dry on the lowest heat setting you have.
And whatever you do, never iron directly on the print! If the shirt is wrinkly, flip it inside out, use low heat, and carefully iron around the design area.
A great DTF print is a partnership. It starts with a quality press, but it’s the aftercare that truly determines its lifespan. Follow these simple washing steps, and a well-made print can easily last for 50+ washes without any major issues.
Can I Just Use My Home Iron Instead of a Heat Press?
I get it, the temptation is real. But trying to apply a DTF transfer with a standard home iron is almost always a recipe for disaster. A household iron simply can’t deliver the two things a DTF transfer absolutely needs to survive: consistent temperature and even pressure.
Your iron has hot and cool spots all over its surface, and it's impossible to maintain the firm, even pressure required for the adhesive to properly bond to the fabric fibers.
This almost always leads to a weak transfer that looks okay at first, but will start peeling, cracking, or completely washing away after just one or two trips through the laundry. A quality heat press isn't just a nice-to-have; it's a non-negotiable tool for getting professional, durable results that you can be proud of.
Ready to create stunning, durable shirts without the guesswork? Cobra DTF offers premium, USA-made DTF transfers that arrive at your door ready to press. Get vibrant, professional results every time by visiting our official Cobra DTF website.