

Your Guide to DTF Film Rolls for Flawless Apparel Printing
At the heart of every great DTF print is the film roll itself. This isn't just any plastic sheet; it's a specially engineered film designed to be the temporary home for your design before it makes its way onto a garment.
Think of it as the carrier—the crucial middleman—that holds onto the ink and adhesive powder, keeping every detail sharp and every color vibrant until you're ready to press.
The Foundation of Your DTF Prints
DTF film rolls are the linchpin of the whole Direct-to-Film system. For custom apparel shops, small businesses, and e-commerce brands, this technology has been a game-changer because it delivers incredible versatility and stunning, high-quality results.
The film's job is straightforward but absolutely vital. It acts as a stable base for the printed design, ensuring everything stays perfectly aligned. This transferability is what makes the process so flexible and powerful, letting you print now and press later.
How the DTF Process Works
The beauty of DTF lies in its simple, repeatable workflow. Once you get the hang of it, you can turn digital designs into professional-quality apparel with ease.
It all breaks down into four main stages:
- Print: Your DTF printer lays down a mirror image of your design directly onto the film.
- Cure: While the ink is still wet, a special adhesive powder is applied and then melted. This creates a durable, flexible backing that will stick to the fabric.
- Press: Using a standard heat press, you apply heat and pressure to transfer the entire design from the film roll to your t-shirt, hoodie, or bag.
- Peel: After it cools (or while it's still warm, depending on the film type), you simply peel the film away. The design stays behind, permanently bonded to the fabric.
This method allows for a level of detail and color vibrancy that older transfer techniques just can't match. For a deeper dive, check out our complete guide on the Direct-to-Film process.
The real magic of DTF is how it separates the printing from the pressing. You can print dozens of different designs onto one continuous roll and press them onto various items whenever you get an order. This creates an incredibly flexible and efficient production system.
In the end, the quality of your finished products starts with the quality of your supplies. Choosing a reliable, high-performance film from a trusted supplier is the first and most important step to getting professional, wash-resistant results, print after print.
How the DTF Printing Process Works Step by Step
So, how do you get a digital design from your computer onto a t-shirt using DTF? It's a surprisingly straightforward process that breaks down into a few key stages. The real beauty of Direct-to-Film is how it separates the printing from the actual application, which gives you a ton of flexibility.
Let's walk through the journey from a simple dtf film roll to a finished, wearable piece of art. Forget the messy and complicated setups of screen printing; with DTF, you just send your file to the printer and let it do the heavy lifting.
Stage 1: Printing the Design
First things first, you print. Your design is printed as a mirror image directly onto the special coating of the DTF film. A specialized DTF printer gets this done in two passes. It starts by laying down all the colors of your design using CMYK inks. Right after that, it prints a solid layer of white ink directly on top.
That white ink layer is absolutely essential. It's the foundation that makes your colors pop, especially on dark fabrics like a black hoodie or a navy polo. Without it, the colors would just sink into the fabric and look dull and washed out.
Stage 2: Applying and Curing the Adhesive
While the ink is still wet, the printed film is coated with a fine, hot-melt adhesive powder. The powder sticks only to the wet ink, so after a good shake to remove the excess, you're left with a perfectly powdered design.
Next up is curing. The film gets a quick trip through a small curing oven or under a heat press that’s hovering just above the surface—no direct contact! The heat melts the powder and turns it into a smooth, even adhesive layer that's bonded to the ink. At this point, you have a finished, ready-to-press transfer.
This handy graphic breaks down the four core steps, from printing on the film to peeling it off the final garment.
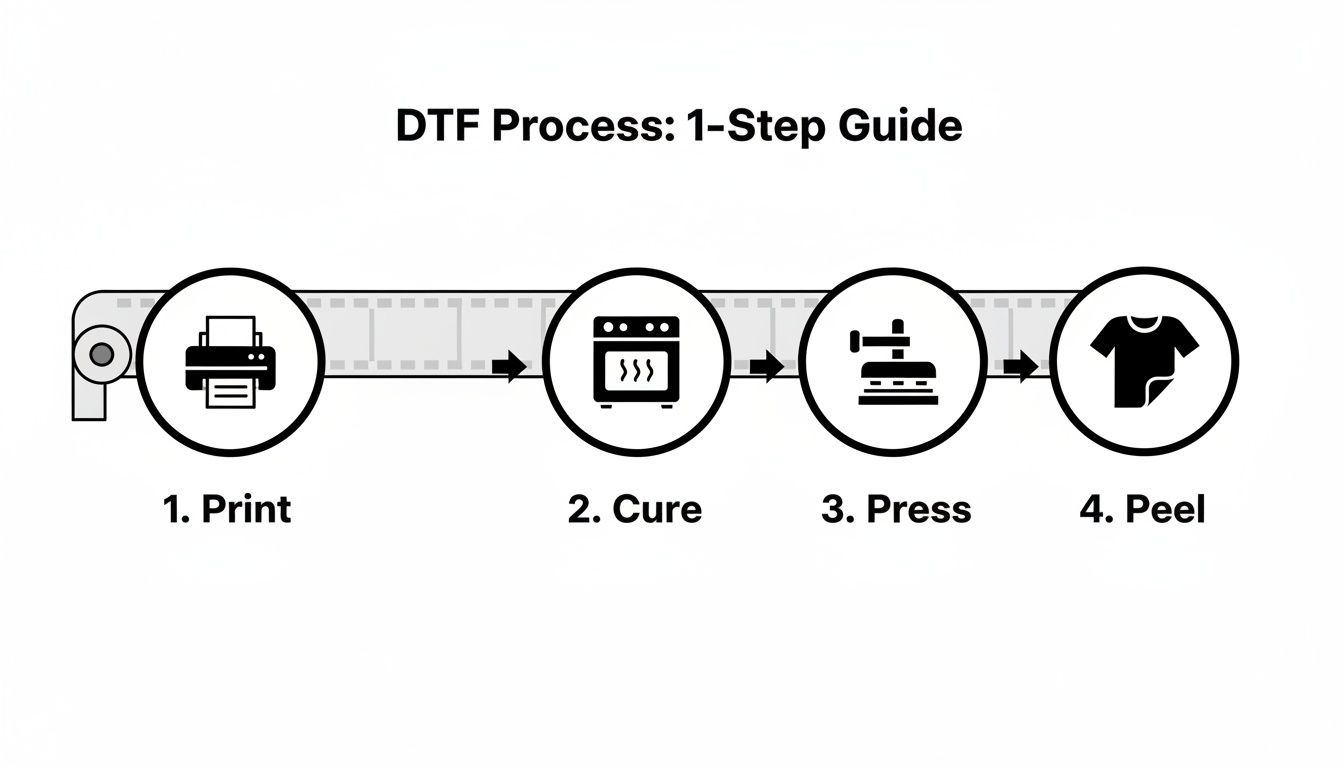
As you can see, each stage builds on the last, creating a durable transfer that holds your entire design, ready for the final step.
Stage 3: Pressing and Peeling
This is where the magic happens. Take your cured transfer, place it on the garment—cotton, polyester, blends, it doesn't matter—and press it with a heat press. The sweet spot is usually around 300-325°F for 10-15 seconds.
The heat and pressure work together to activate that adhesive, creating a permanent bond between the ink and the fabric fibers. It's a much stronger and more flexible bond than you'd get with something like traditional heat transfer vinyl.
Once the time is up, you peel the film away. Depending on the type of dtf film rolls you have, you'll either do this right away (a hot peel) or let it cool down for a bit first (a cold peel). The film goes in the trash, and you're left with a crisp, vibrant design on the apparel. It's now fully finished and ready to wear.
How to Choose the Right DTF Film Roll
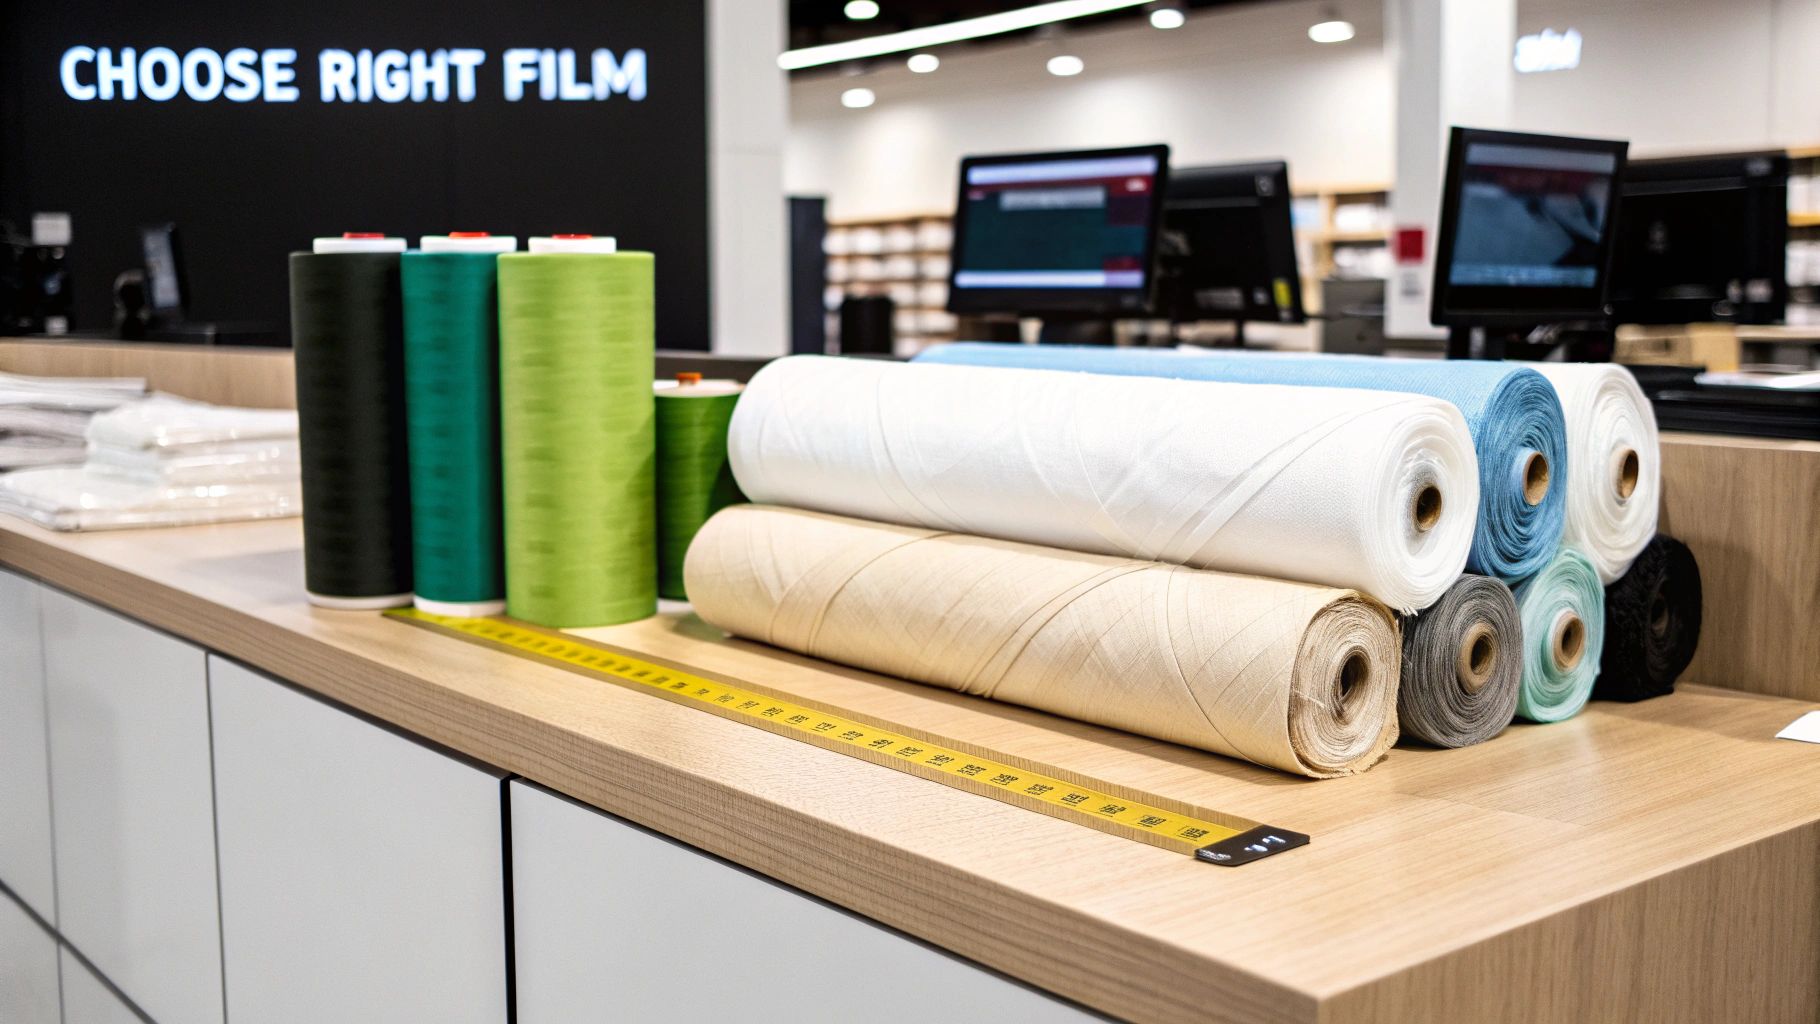
Picking the right DTF film roll isn't just about grabbing another supply off the shelf. Think of it as choosing the right canvas for a painting—it fundamentally changes your final product and how smoothly your day goes. The market is full of options, and knowing the difference between them is what separates the pros from the beginners.
It's easy to get lost in the technical specs, but those little details are what make or break a print. Things like film thickness, peel type, and finish control everything from the vibrancy of your colors to the feel of the final shirt. Nailing this choice from the start saves you time, money, and a lot of headaches from failed prints.
Cold Peel vs. Hot Peel: The Main Difference
The biggest fork in the road when choosing a film is deciding between cold peel and hot peel. The name tells you exactly what to do: you either peel the film off the shirt when it's cold or when it's still hot from the press.
- Cold Peel Film: This is the go-to for most shops, and for good reason. You press the transfer, then you let it cool down completely before peeling. That wait time gives the adhesive and ink a chance to properly bond with the fabric. The result? Sharper details, richer colors, and a beautifully smooth, durable finish that feels like part of the shirt.
- Hot Peel Film: This film is all about speed. As soon as your heat press pops open, you can peel the film away. It's great for rushing out a big order, but it can be a bit tricky. Sometimes the transfer comes out with a slightly glossier look, and you might lose some of the super-fine details you'd get with a cold peel.
For consistency and top-tier quality, almost everyone I know in the industry sticks with cold peel. A little bit of patience goes a long way, giving you that premium matte finish customers love.
Cold Peel Film isn't just a popular choice; it’s the market leader. It's projected to become a USD 2.15 billion industry by 2032. Why? Because it’s reliable, easy to use, and produces consistently amazing transfers on everything from cotton to polyester blends. You can dig into more stats on the Direct-to-Film printing market growth on kbvresearch.com.
Deciding between the two really comes down to balancing your need for speed with the quality you want to deliver. Here’s a quick breakdown to help you see the differences side-by-side.
DTF Film Roll Comparison Cold Peel vs Hot Peel
| Feature | Cold Peel Film | Hot Peel Film |
|---|---|---|
| Peel Time | Must cool completely (30-60 seconds) | Peel immediately while hot |
| Final Finish | Smooth, matte, soft-hand feel | Can be slightly glossy, more texture |
| Detail & Color | Excellent detail, vibrant colors | Good, but can lose fine lines |
| Ease of Use | Very forgiving, consistent results | Requires precise timing and technique |
| Best For | High-quality retail, complex designs | High-volume, simple logo jobs |
| Durability | Extremely durable and flexible | Good durability, but can be stiffer |
Ultimately, while hot peel has its place for quick, simple jobs, the superior finish and reliability of cold peel make it the workhorse for any shop serious about quality.
Other Key Factors to Consider
Beyond the peel, a couple of other specs matter. Film thickness, usually around 75 microns, gives you the perfect amount of stability. It’s sturdy enough to run through your printer without buckling but flexible enough to handle easily.
Also, pay attention to the film's finish. A quality cold peel film will have a matte printing side. This slightly rougher surface gives the ink something to grab onto, which helps create that soft, integrated look on the final garment.
And if you're looking to add some real flair, don't forget about specialty films. You can create some amazing effects with options like our glitter DTF film. Taking a moment to think through these factors ensures you get the perfect film for the job, every single time.
Best Practices for Printing and Curing
Getting a perfect DTF transfer isn't magic—it's all about nailing the details in your print and cure process. Once you get your settings dialed in, you'll be creating those vibrant, tough-as-nails products that make customers rave. Let's walk through how to solve the most common frustrations, from ink bleeds to spotty powder.
Think of your DTF setup—the printer, film, ink, and powder—as a finely tuned machine. For all the parts to work together, they need the right instructions. More often than not, wonky settings are the culprit behind bad transfers, costing you both time and materials.
Calibrating Your Printer for Perfect Ink Flow
The journey to a great print starts before a single drop of ink touches the DTF film roll. Your printer settings control exactly how much ink is laid down, which is everything when it comes to sharp details and accurate colors. Too much ink, and you get a blurry mess. Too little, and your design looks washed out.
A classic mistake is just running with the default settings for every single job. A simple text logo needs a totally different amount of ink than a complex, full-color photograph. Do yourself a favor and always run a small test print to check your ink levels before you start a big batch.
Here’s how to troubleshoot the most common ink issues:
- Ink Bleeding: This is a dead giveaway that you're putting down too much ink, causing the colors to seep into each other. Try dialing back the ink flow or color saturation in your RIP software by 5-10% and see how the next test print looks.
- Patchy or Faded Prints: The opposite problem—not enough ink. Bump up your ink flow settings in small steps until you get those rich, solid colors you're looking for.
- Poor White Ink Coverage: That white underbase is the hero that makes your colors pop on dark fabrics. Make sure your white ink channel is set to 100% or even a bit higher to build a solid, opaque foundation.
The goal is to find that perfect balance—just enough ink for a brilliant design without oversaturating the film. When your printer is calibrated correctly, every drop of ink works for you, not against you, creating a crisp, clean transfer every time.
Mastering the Curing Process
Alright, your design is printed and powdered. Now comes the crucial step: curing. This is where you melt that adhesive powder, fusing it with the ink to create one solid, flexible layer. If you get this part wrong, the transfer simply won't stick to the garment properly.
The biggest mistake people make here is getting the temperature wrong. Too low, and the powder doesn't melt all the way, leaving you with a grainy texture and a transfer that won't stick. Too high, and you can scorch the ink or even warp the film itself.
To get a perfect, even melt every time, keep these points in mind:
- Target Temperature: You're aiming for a sweet spot between 240-265°F (115-130°C).
- Curing Time: Let it bake for about 2-3 minutes. You'll know it's done when the powder goes from a grainy texture to a smooth, slightly glossy finish that looks a bit like an orange peel.
- Avoid Direct Contact: The heat source should never actually touch the powder or film. If you're using a heat press to cure, just let it hover about half an inch above the design.
Consistency is everything. Using a matched set of high-quality film, ink, and powder that are known to work together is a great way to keep results predictable. Once you've perfected the cure, you're ready for the final step. For a deeper dive, check out our complete guide on heat press settings for DTF.
Why USA-Made DTF Film Rolls Give You an Edge
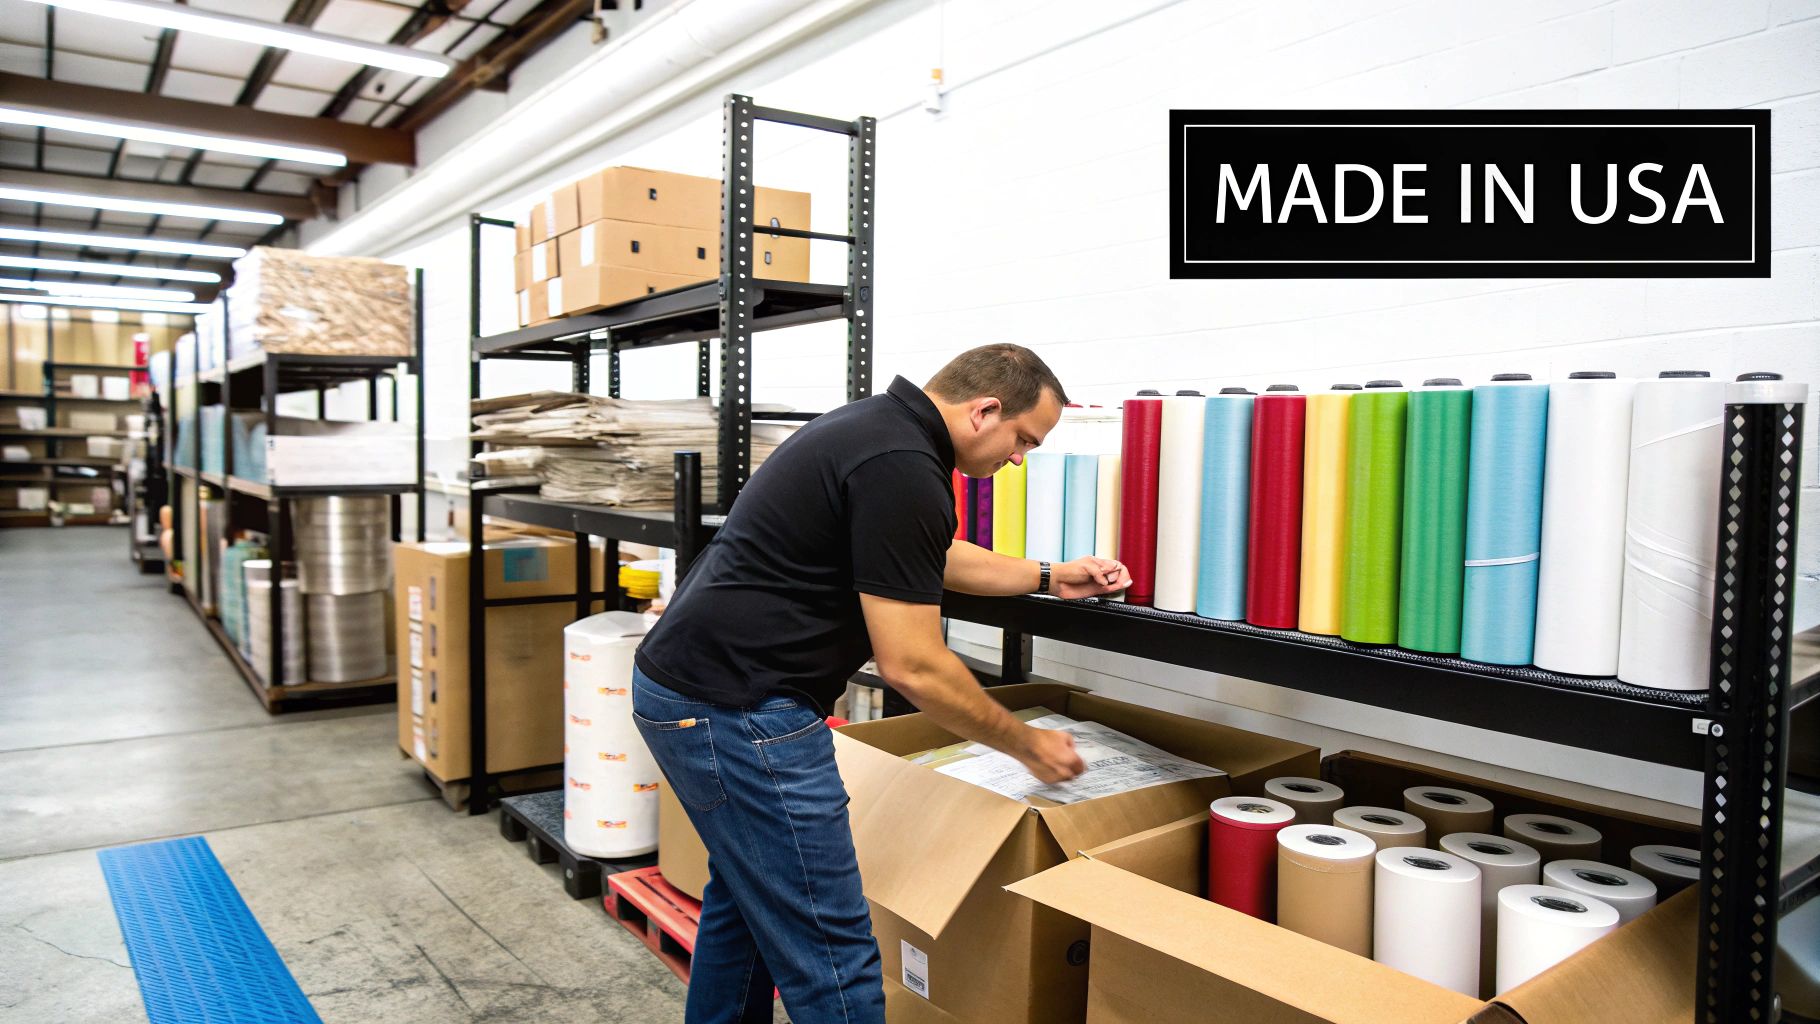
When you're running a custom apparel business, where your supplies come from matters more than you might think. Your supply chain can either be a secret weapon or a constant headache. Choosing where you source your DTF film rolls isn't just about price—it’s a strategic decision that can give you a real competitive advantage. Opting for a domestic supplier offers some serious perks that show up right on your bottom line.
For any print shop, especially small businesses, the delays and surprise fees that come with international shipping can be a killer. Relying on film from overseas means dealing with unpredictable delivery times, getting stuck in customs, and absorbing unexpected costs. Just the tariffs alone can tack on an extra 15-30% to your material costs, shrinking your profit margins before you’ve even turned on the heat press.
Build a More Reliable Business
Switching to a reliable domestic film supplier changes the entire game. Suddenly, your supply chain goes from a source of stress to a reliable asset. When your costs are predictable, you can price jobs for your customers with confidence, knowing a shipping container crisis on the other side of the world won't wreck your budget.
This stability lets you run a much smarter, leaner shop. Think about it: when you know you can get film delivered in just 1-3 days, you don’t have to sink a ton of cash into stockpiling inventory. You can order what you need, right when you need it. That frees up your money for marketing, new equipment, or anything else your business needs to grow.
When you cut out the guesswork of international shipping, you take back control of your production schedule. This is huge. It means you can say "yes" to those last-minute rush jobs that others have to turn down, turning a potential crisis into a profitable win and earning a reputation for being the go-to shop that always delivers.
The Everyday Impact of Sourcing Domestically
The choice to buy American isn't just a feel-good slogan; it has a direct impact on your day-to-day workflow and your shop's future. It’s about building a business that's nimble enough to handle whatever customers throw at it.
Here’s what that looks like in practical terms:
- Get Orders Out Faster: When a supplier offers same-day shipping for orders placed by 1 PM CST, you get your film in hand sooner. That means you can finish jobs faster and make your clients happier.
- Keep More of Your Money: No overseas freight fees or import tariffs means a lower cost per print. Every single shirt you press becomes more profitable.
- Trust Your Materials: Products made in the USA often have to meet tough quality standards. This gives you peace of mind that you’re getting consistent, high-quality DTF film rolls with every single order.
This local advantage is only becoming more important. We’re seeing roll-to-roll DTF systems gain serious traction, with over 25% adoption in high-volume shops across the Americas. These setups slash production downtime by up to 40% compared to feeding individual sheets. As the U.S. market matures, domestic film suppliers are proving their value with fast shipping that bypasses painful import tariffs. You can learn more about how the direct-to-film printing market is evolving at 360iresearch.com.
At the end of the day, choosing a domestic supplier is just good business. It gives you the speed, reliability, and cost control you need to not just compete, but to win.
Looking Ahead: Where DTF is Headed
The custom apparel world is on fire right now, and Direct-to-Film printing is the fuel. This isn't just another trend; it's a fundamental shift in how print shops, big and small, get things done. If you're looking to grow your business, understanding where this technology is going is crucial for making smart moves that will set you up for success down the road.
The market data paints a pretty clear picture. The global DTF printing market, which is all built around high-quality dtf film rolls, was already valued at USD 2.72 billion and is expected to hit USD 3.92 billion by 2030. That's not a sudden spike; it's a steady, reliable climb. For shops ready to jump in, this signals a massive and growing demand for what we do. You can dig into the specifics in the full market report from Grand View Research.
How to Get Your Slice of the Pie
Riding this wave of growth means getting the fundamentals right. As we've covered in this guide, there are a few core ideas that really separate the pros from the hobbyists in the DTF game.
Think of these as your non-negotiables for building a real business:
- Go Beyond the T-Shirt: DTF's magic is its versatility. It sticks to almost any fabric, which means you can expand your product line way beyond standard cotton tees. Think hats, bags, polyester sportswear—you name it.
- Quality In, Quality Out: This can't be stressed enough. Your final print will never be better than your starting materials. Consistent, top-tier film, ink, and powder are the bedrock of professional-grade results.
- Think Local for Supplies: Working with a USA-based supplier is a huge strategic advantage. It means no more long shipping waits from overseas, no surprise tariffs, and a whole lot less uncertainty in your workflow.
When you nail these three things, you stop being just someone who prints shirts and start running a smooth, profitable, and reliable operation. You're building a system that churns out incredible quality that your customers will come back for again and again.
At the end of the day, the future of custom apparel belongs to the shops that are prepared. By choosing dependable dtf film rolls and aligning with a supplier who gets that you need both speed and consistency, you're not just keeping up with the market—you're positioning yourself to lead it. The opportunity is massive, and there's never been a better time to level up your print business.
DTF Film Roll FAQs: Your Top Questions Answered
When you're working with DTF film rolls, a few questions always seem to pop up, especially when you're dialing in your process for that perfect print. Let's get straight to the answers for some of the most common things we hear from fellow printers.
Can I Use Any Ink With My DTF Film?
You absolutely have to use ink made specifically for DTF. Think of it like putting diesel in a gasoline engine—it just won't work.
DTF inks are engineered to work with the film's coating and the hot-melt powder. If you try to use standard inkjet or sublimation ink, you’ll get a mess. The colors will be off, the ink won't stick properly, and the design will likely wash out on the first go.
Why Is My Transfer Not Sticking Completely?
This is probably one of the most frustrating things that can happen, but it's almost always a simple fix. When a transfer doesn't stick properly, it usually boils down to one of these three culprits:
- Uneven Pressure: Your heat press needs to clamp down with consistent, firm pressure everywhere. If one corner is getting less pressure than another, that part of the transfer won't adhere.
- Wrong Temperature: The adhesive powder needs a specific temperature to melt and bond to the fabric, typically somewhere between 300-325°F. If your press is too cool, the glue won't activate correctly.
- Bad Film: It happens. A cheap or low-quality film might have a spotty coating. This means the ink and powder don't get a good, even grip on the film, leading to patchy transfers that peel off in pieces.
Does the Thickness of the Film Matter?
It sure does. The thickness, or gauge, of the film plays a big role in how easy it is to work with.
Most quality DTF film rolls are about 75 microns thick. This seems to be the sweet spot. It's sturdy enough to run through your printer without getting jammed up, but still flexible enough to peel away cleanly after you press it.
A film that's too thin can curl up under the heat, causing headaches. On the flip side, a film that’s too thick can be a pain to peel and might leave the design feeling stiff on the shirt.
How Should I Store My DTF Film Rolls?
How you store your film is just as important as how you use it. To keep your rolls in top condition, find a cool, dry spot for them, away from any direct sunlight or moisture.
Humidity is the enemy here. It can mess with the film's coating and cause all sorts of print problems. The best practice is to just keep the rolls in their original packaging until you're ready to use them. This protects them from dust and moisture, ensuring you get a clean print every time.
Ready to stop troubleshooting and start printing with confidence? Or skip the film, ink, and printer entirely: Cobra DTF prints custom, USA-made DTF transfers that are ready to press, with same-day shipping on orders placed by 1 PM CT.
Explore our custom DTF transfers and gang sheets at https://cobradtf.com.