

Childrens Custom Clothes: A Parent-Safe Ordering Guide
You've picked the birthday graphic, collected the team names, or found a hoodie your child will wear. Then the ordering questions start: which size, how big should the artwork be, and will the print survive the laundry?
Good children's custom clothes start with the garment, not the graphic. Measure the child, screen the blank before decorating it, and choose artwork that won't make an otherwise useful shirt impossible to pass on. Those decisions matter more than a polished mockup.
Kids Custom Clothes Sizing Chart by Height
Use this chart as an ordering worksheet, not a universal conversion table. Match your child's measured height in centimetres to the blank manufacturer's published height range, then use the corresponding size row below. There isn't a reliable centimetre range that applies to every brand.
| US Size | Approx. Age | Ordering Note |
|---|---|---|
| 2T | Use the brand's age guide only as a starting point | Match measured height to the manufacturer's range, not the age label |
| 3T | Confirm against the brand's chart | Check chest width against the print zone |
| 4T | Confirm the toddler fit designation | Check tee length and toddler proportions |
| 4 | Confirm the children's fit designation | Compare body room and sleeve length with the toddler cut |
| 6 | Use the manufacturer's age guidance | Confirm the actual blank's chest and length |
| 8 | Use the manufacturer's age guidance | Confirm body length for artwork near the hem |
| 10 | Use the manufacturer's age guidance | Check chest width for large graphics |
| 12 | Check youth and adult fit charts separately | Don't assume an adult-style cut has matching proportions |
Measure the child and the garment
Have the child stand barefoot, straight, with heels against a wall. Use a flat book to mark the top of the head, then measure from the floor with a tape measure and record the height in centimetres.
For a useful example of brand-specific measurements, consult the Luca & Charlize sizing chart. Use its measurements for that label, rather than transferring them to an unrelated blank.
Next, lay the child's favourite shirt flat without stretching it. Compare its underarm width and shoulder-to-hem length with the proposed blank, checking whether the supplier lists flat garment width or body circumference. Confusing those measurements can ruin an order.
Between sizes, favour extra room for relaxed outerwear only if the shoulders and sleeves remain manageable. For a fitted summer tee, choose the measured fit rather than buying excessive width.
Confirm the usable print area
Check chest width against artwork width, body length against artwork placement, and the proposed blank against the favourite shirt. Cobra DTF's sizing process guide helps connect garment measurements with transfer sizing.
Material documentation deserves a separate check: OEKO-TEX STANDARD 100 covers harmful-substance testing from textile components through finished articles, including products intended for children up to 36 months. Verify that the certificate covers the actual item, and retain the supplier record; certification doesn't establish print durability or complete legal compliance.
Send the shop the chosen size, measured chest information, and usable print-zone dimensions, not just the child's age.
Safety Rules to Check Before You Order Blanks
Reject children's upper outerwear with hood or neck drawstrings in the regulated size range before it reaches the press. The U.S. Consumer Product Safety Commission's drawstring guidance identifies these cords as a strangulation hazard and explains the ASTM F1816-97 requirements summarized below.
| Garment Feature | Sizes | Rule Before Decoration |
|---|---|---|
| Hood or neck drawstring | 2T-12 | Prohibited; reject the blank |
| Waist or bottom drawstring | 2T-16 | No more than 3 inches outside the channel when fully expanded |
| Drawstring end | 2T-16 | No toggles, knots or other end attachments |
| Continuous drawstring | 2T-16 | Must be bar-tacked to prevent pull-through |
Treat this as a receiving inspection, not a final packing check. Once you've decorated a nonconforming garment, you've added labour and materials to something you shouldn't release to the customer.
Inspect the construction, not the photograph
Lay the actual garment flat and inspect the hood, neckline, waistband and bottom edge. Expand the relevant channel before measuring an exposed waist or bottom cord; measuring a gathered garment doesn't establish compliance.
For continuous cords, locate the securing stitches that prevent pull-through. A product photograph or a general supplier description isn't a substitute for checking the garment in your hands.
- Reject nonconforming blanks. Don't improvise a production-line repair and assume the garment now complies.
- Retain documentation. Keep the supplier, style identification and relevant compliance records with the order.
- Keep inspection points visible. Decoration must not hide cord channels, attachment points or construction that needs examination.
Receiving rule: Approve the blank before you approve the artwork placement.
Drawstrings aren't the only safety consideration, and removing an obvious cord doesn't establish that the finished garment meets every applicable requirement. Ask for documentation appropriate to the product and selling market, especially when the order includes baby garments or unfamiliar imported styles.
For mixed-size teamwear, separate the inspection by size group. Matching colours and a shared style name don't prove that every garment has identical construction, and the same artwork file can end up on several differently regulated sizes.
Printing Methods That Hold Up on Kids Clothes
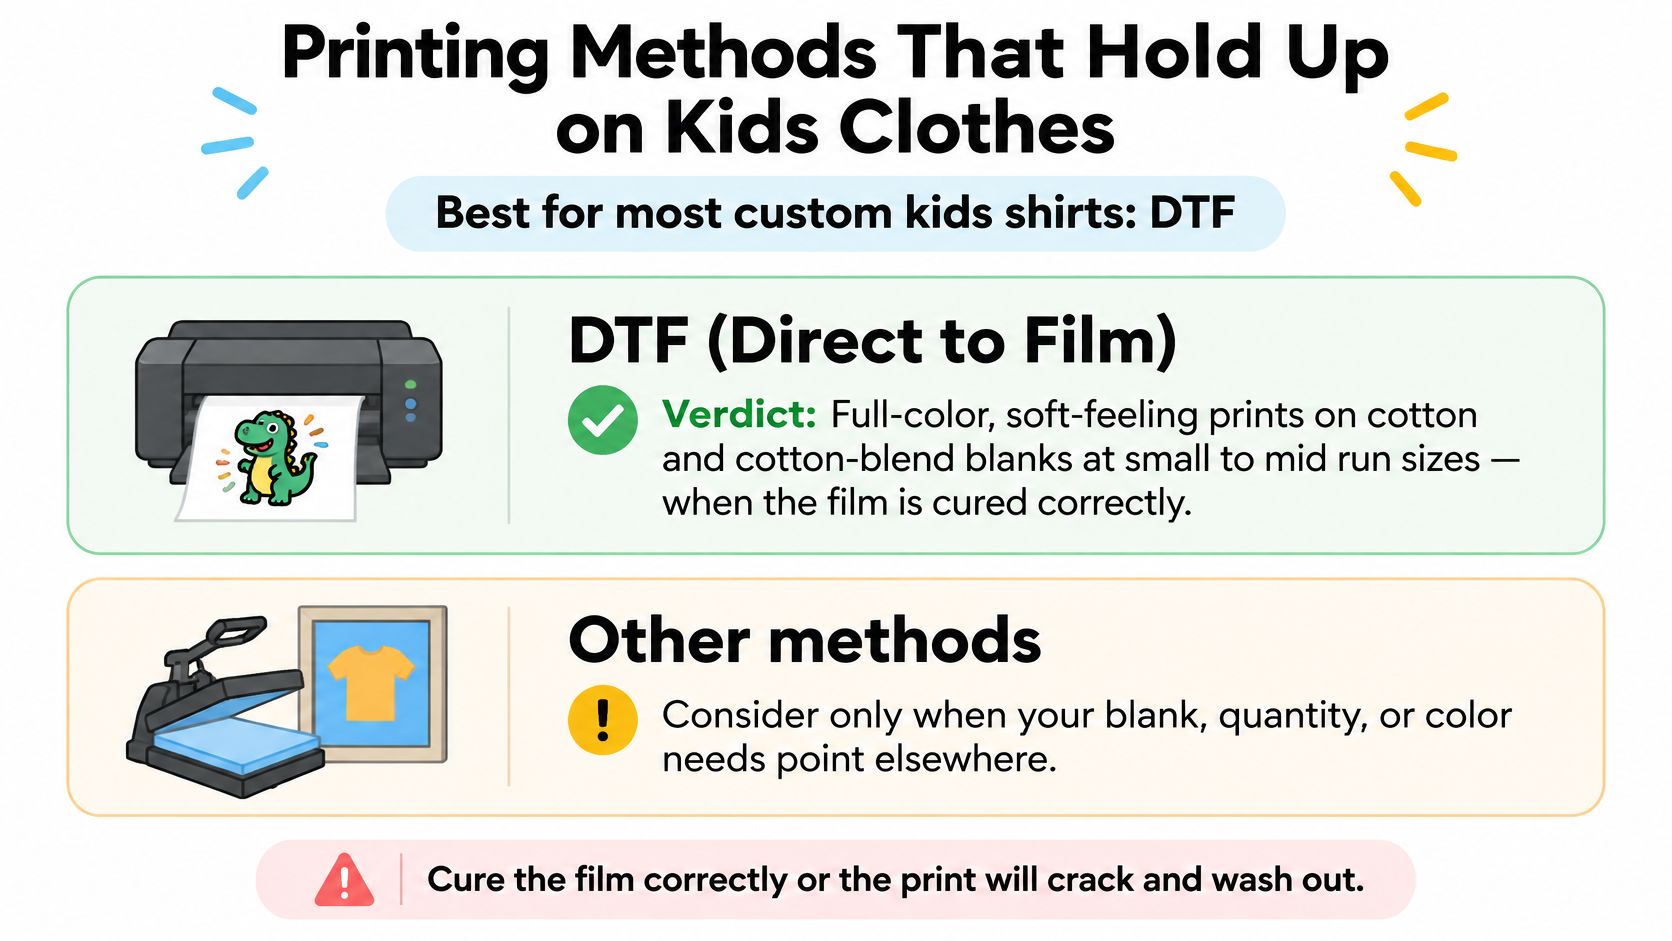
DTF is a practical starting point for full-colour custom kids' shirts in small to mid-sized runs, especially on compatible cotton and cotton-blend blanks. It isn't automatically the softest or most durable choice: artwork coverage, transfer construction and correct application all affect the result.
| Method | Wash Durability | Hand Feel | Best For |
|---|---|---|---|
| DTF transfer | High potential on compatible cotton and blends when correctly produced and applied | Thin and flexible, but solid coverage remains noticeable | Full-colour designs, small to mid-sized runs |
| Screen print | Durable when the ink system is correctly cured | Heavy ink deposits can feel stiff | Large runs with few colours |
| Heat transfer vinyl | Can crack or lift when material, application or care is unsuitable | Often thicker and more noticeable on small chests | Names and simple text |
| Sublimation | Durable on suitable polyester or polyester-coated surfaces | No raised transfer layer on suitable fabric | Polyester artwork, including all-over designs made before assembly |
Choose for the garment the child will wear
Screen printing makes sense when the same simple design repeats across a large order. Setup becomes less attractive when every shirt has different artwork, while thick ink coverage can feel excessive on a small chest.
Heat transfer vinyl is useful for straightforward lettering, but stacking layers adds bulk. Sublimation avoids an added film layer, though fabric composition and background colour restrict what you can achieve; it isn't a direct substitute for printing an opaque graphic on dark cotton.
With DTF, reduce large solid rectangles where the design allows it. Open space between graphic elements lets more fabric flex naturally and can make the shirt more comfortable.
Approve a washed sample
Judge the finished sample for adhesion, hand feel, edge integrity and colour change, not just how it looks straight off the press. Use the actual fabric blend and production settings, launder it repeatedly according to its care instructions, and compare it with an unwashed reference.
For another relevant method comparison, the DTF versus DTG printing guide explains the production choices. Once artwork dimensions are approved, DTF Transfers Upload Your Gang Sheet accepts print-ready layouts for production; it's intended for designers, shops and businesses that have already prepared their files.
Designing Kids Clothes to Grow With the Child
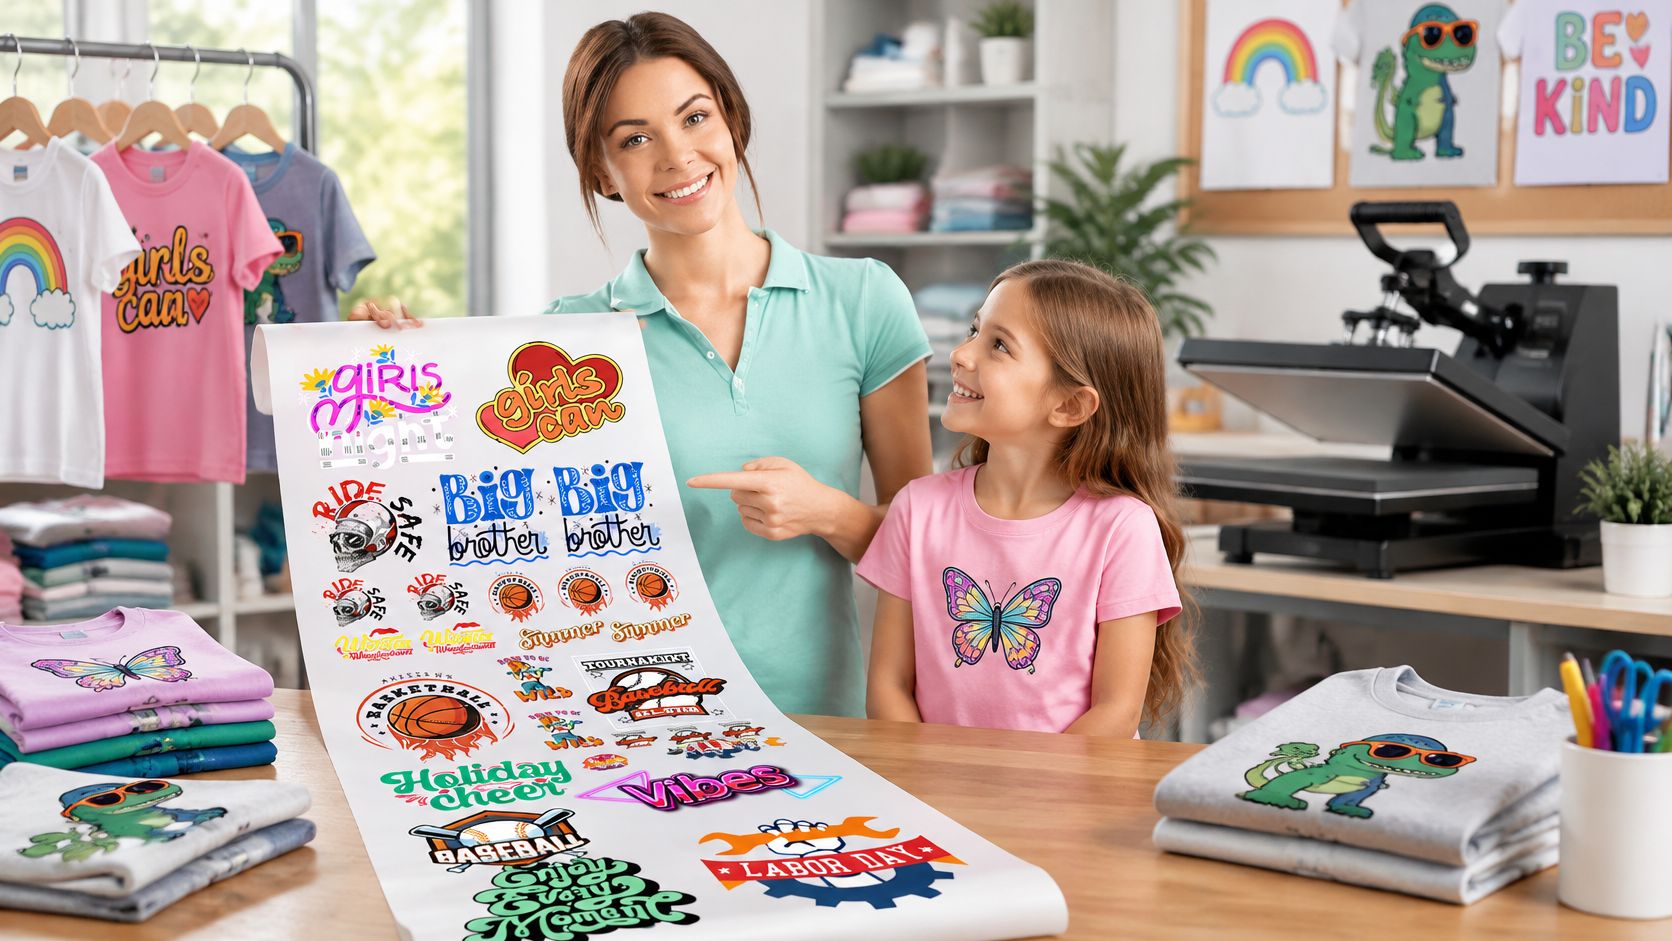
Place artwork within a stable upper-chest area, leaving room below the neckline and clear space from armholes, side seams and hems. As the garment becomes shorter on the child, a balanced chest graphic is generally more useful than artwork that relies on an exact hem position.
Don't solve growth by enlarging everything. An oversized print on an oversized shirt can leave a small child wearing a stiff panel with sleeves that interfere with play.
Add useful room rather than loose fabric
Choose construction that offers a practical adjustment: a longer relaxed silhouette, an adjustable hem, expandable panels, or a style that works over a base layer. Keep artwork off sections intended to expand or fold, because the decoration may restrict movement or disappear inside the adjustment.
Say you're choosing between a fitted dinosaur tee and a longer relaxed version. The relaxed shirt may offer more usable growth room, but only if its neckline, shoulders and sleeves fit safely now; no size label can promise a particular wearing lifespan.
A 2025 peer-reviewed paper in Tekstilec investigates permanent pleating in garment length and width as an approach to extending usability. That's a construction strategy to evaluate separately, not a feature to assume an ordinary blank provides.
Design for the next wearer
A large name, dated birthday message or school-specific graphic can narrow the pool of future users. For intended hand-me-downs, put the reusable motif in the main print position and keep identifying information small or on a replaceable label.
A 2025 report published by BirminghamWorld says 216 million children's clothing items are sent to UK landfill annually, with the average item worn 20 times. That's a reason to plan another use, not proof that any particular personalised garment will prevent waste.
A child can love a custom graphic without needing their name across the whole front.
Before approving artwork, confirm measured fit, artwork zone, usable hem allowance and a growth-friendly construction feature. Decide whether the garment's next role is sibling clothing, resale, playwear or a keepsake before adding permanent personal details.
How to Press a DTF Design onto Kids Clothes
Check orientation before heating anything. DTF artwork must be prepared in the correct mirrored orientation for transfer, but customers shouldn't automatically mirror an upload unless the printer's file instructions require it; mirroring twice creates another error.
For baby-garment design ideas, you can browse custom baby clothing transfers in Quote My Wall's guide. Use the instructions supplied with your actual transfer for application, rather than borrowing settings from a different product.
Follow the carrier film's actual sequence
The pressing overview below is a visual prompt, not a substitute for the transfer instructions. Keep the carrier attached during the initial press and peel only at the specified stage, regardless of how a simplified diagram presents the actions.
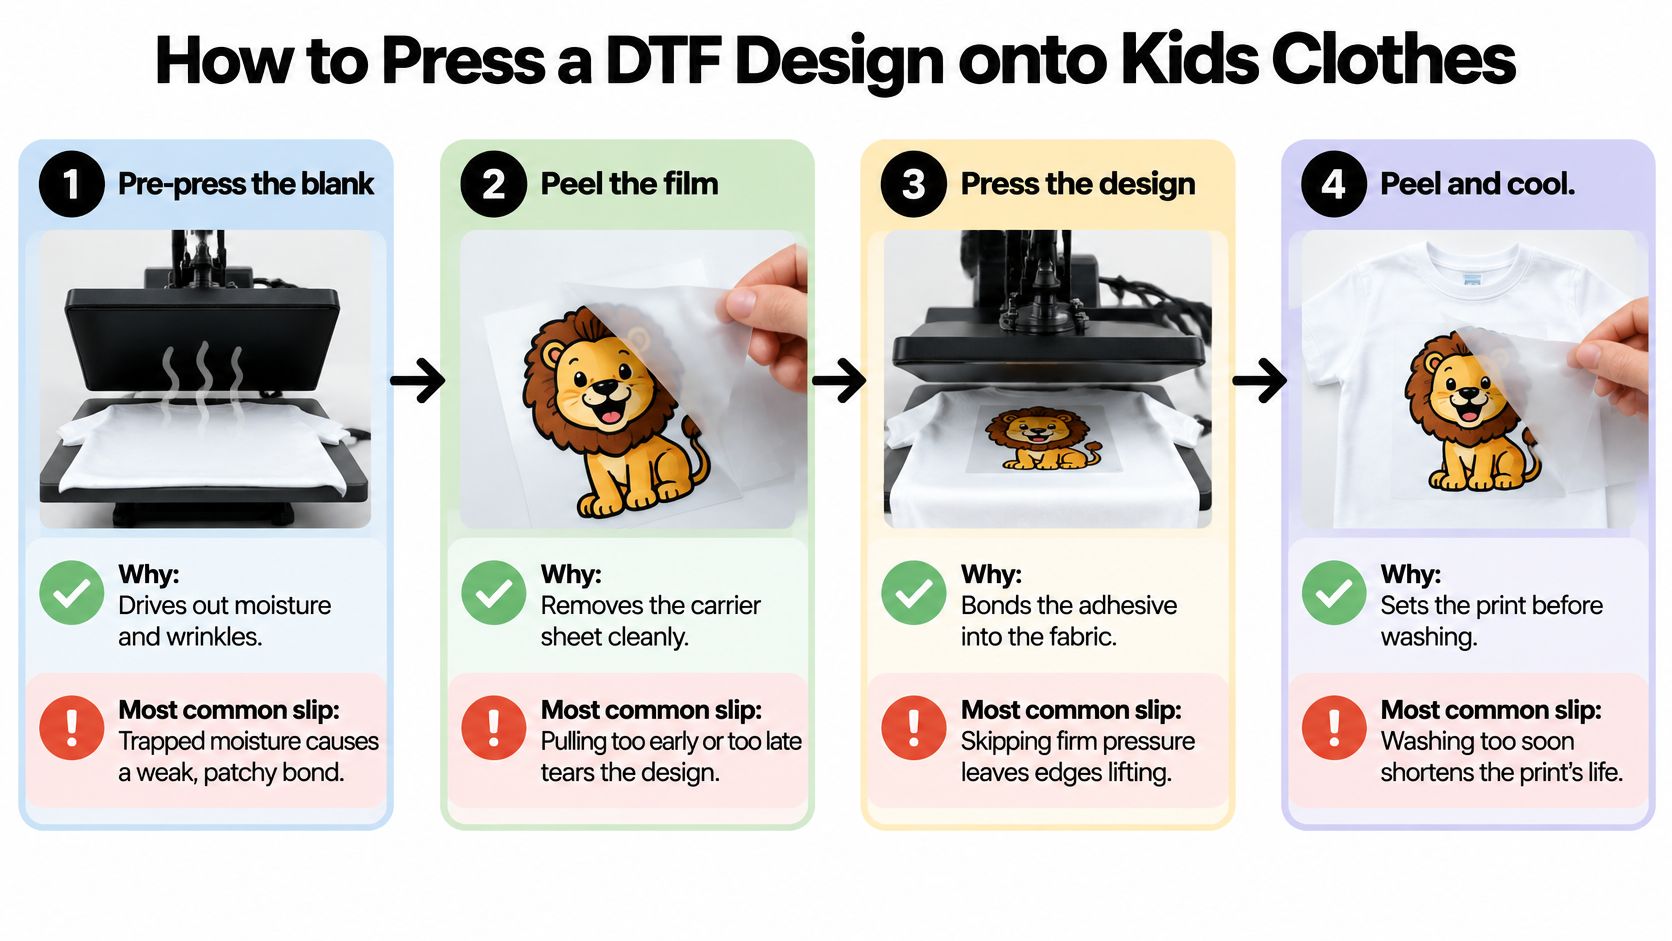
- Prepare the blank. Pre-press as appropriate for the fabric to remove wrinkles and moisture. Don't stretch the chest smooth, because it can contract around the finished print.
- Position the transfer inside the approved print zone using a ruler or alignment guide. Keep bulky seams, pockets and fasteners out of the pressure area so they don't hold the platen away from the design.
- Set and test the press. Use the transfer supplier's specified temperature, dwell time and pressure. We recommend testing settings on a piece first to find the right temperature and pressure for the particular garment.
- Place parchment paper or a suitable protective sheet between the heat plate and transfer to protect the garment. Keep it clean, since contamination can mark the fabric or print.
- Press without shifting. Close the press with even pressure for the specified cycle. Moving the transfer while the adhesive is bonding can blur detail or disturb registration.
- Peel at the instructed warm or cold stage, supporting the garment as you remove the carrier. Stop if edges lift; don't keep pulling and tear the graphic away.
- Complete any specified finishing press. Follow the transfer's instructions for its cover sheet and final application stage, then let the garment cool before folding.
The result should have sharp edges, an even surface and no unwanted pressure mark or scorching around the artwork. A matte or satin finish may be appropriate for the transfer, but gloss alone isn't a universal pass-or-fail test.
Wash Care That Keeps Transfers Intact
Machine wash transferred garments inside out in cold water, then tumble dry low or hang dry. That's our care recommendation, subject to any stricter limitations on the garment label.
Turning the shirt inside out reduces direct rubbing against the print. Cold washing and restrained drying temperatures avoid unnecessary thermal stress, while hang drying removes the dryer's tumbling action entirely.
Avoid the damaging shortcuts
- Hot wash cycles. Don't use extra heat as the default response to playground dirt.
- High-heat drying. Separate printed clothing from loads that need a hotter drying programme.
- Direct ironing. Keep the iron off the graphic; follow the garment and transfer instructions if pressing is necessary.
- Harsh chemicals. Avoid chlorine bleach and aggressive cleaners unless explicitly permitted.
- Abrasive treatment. Don't scrub a stain through the printed surface with a stiff brush.
Treat stains locally where the care instructions allow, without saturating or scouring the decoration. The graphic tee washing guide gives parents a practical routine to follow.
Diagnose before assigning blame
Early cracking doesn't prove the customer overheated the garment. A brittle transfer, unsuitable application, fabric movement or laundry treatment can produce similar symptoms.
Edge lifting also deserves investigation rather than an automatic under-curing diagnosis. Check the production record, pressure consistency, fabric compatibility and care history before deciding what failed.
Troubleshooting note: Record the symptom and process conditions before changing the settings.
Wash when the garment is soiled or needs freshening, dry it fully, and store it without stretching the neckline. Sellers should put the care instructions on a hangtag or in the order confirmation, so parents don't have to guess.
Selling Custom Kids Clothes to Parents and Retailers
Children's clothing is a substantial category: Wunderlabel's fashion statistics put estimated worldwide sales at €212.6 billion in 2022. That's the broader children's apparel market, not a measurement of custom-print demand, so build the offer around a defined buying occasion rather than treating every clothing purchase as a custom order.
Birthdays need a date and artwork approval. School merchandise needs consistent branding, sports teams need accurate rosters, and family matching outfits need layouts that work across different garment proportions.
Give parents a clear decision
Offer named and unnamed artwork options, identify the exact blank, and make the fit information available before checkout. A parent should understand what they're approving without knowing printing terminology.
For a family order, show how the design changes across small and large garments. Shrinking every detail proportionally may make lettering unreadable, while using identical artwork dimensions can overwhelm the smallest shirt.
Retailers and team buyers need a physical sample, a written size breakdown and an artwork proof with placement shown. Define what counts as a production defect separately from an approved design choice the buyer later dislikes.
Put the intended use and approvals in writing
Our purchases are intended for personal use or application onto apparel, garments or other merchandise the buyer produces for sale. Record which use applies, and confirm that the buyer has permission to reproduce supplied logos, photographs and artwork.
Our return policy doesn't cover change of mind, customer-side ordering errors or transfers already applied to a garment. That makes pre-production approval important, especially when someone submits a file on behalf of a school, club or retailer.
The order confirmation should capture:
- Sizing reference. Identify the blank style and chart used.
- Artwork approval. Record the file, spelling, dimensions and placement.
- Care instructions. Give the customer a routine they can retain.
- Return conditions. Separate eligible production issues from ordering mistakes.
Written approvals don't replace quality control. They establish what the shop agreed to make, so both parties can judge the delivered order against the same specification.
Order One Test Garment Before Your Full Batch
Order a test garment in the measured size before committing to the full batch. A screen proof can't tell you whether a child can move comfortably, whether a seam interrupts the press area, or whether the finished print feels too heavy.
Use the intended blank, artwork and application process. Substituting a different fabric for the test leaves the most important production questions unanswered.
Release the order only after these checks
- Fit approval. Compare the child's height and the garment's chest and length with the selected manufacturer's chart.
- Blank inspection. Check outerwear construction and obtain the relevant supplier documentation before decoration.
- Laundry approval. Wash the sample repeatedly using the intended routine, examining the surface and edges between cycles.
- Comfort approval. Let the child move, sit and reach while wearing it, then assess whether the print pulls or feels restrictive.
Keep the approved sample and a record of the settings as production references. If the garment fails, change the responsible variable and test again rather than adjusting temperature, pressure and blank style together.
Customers can request a free sample through our Free Sample page to evaluate a transfer on their own blank before committing to a larger order. A successful test gives you a concrete basis for approving the batch, not just confidence in the mockup.
Cobra DTF offers custom DTF transfers for shops and makers decorating children's garments, including production from print-ready gang sheets. Visit Cobra DTF to prepare your transfer order, and start with a sample on the blank you intend to use before approving the full run.