
How to Use Iron On Transfer Paper for Pro-Level Custom Apparel
Before you can bring your creative vision to life, you need to get your workspace and supplies in order. Honestly, this is where a project succeeds or fails. Having the right tools isn't just about convenience; it’s about setting yourself up for a flawless, professional-looking result from the get-go.
Gathering Your Essential Toolkit
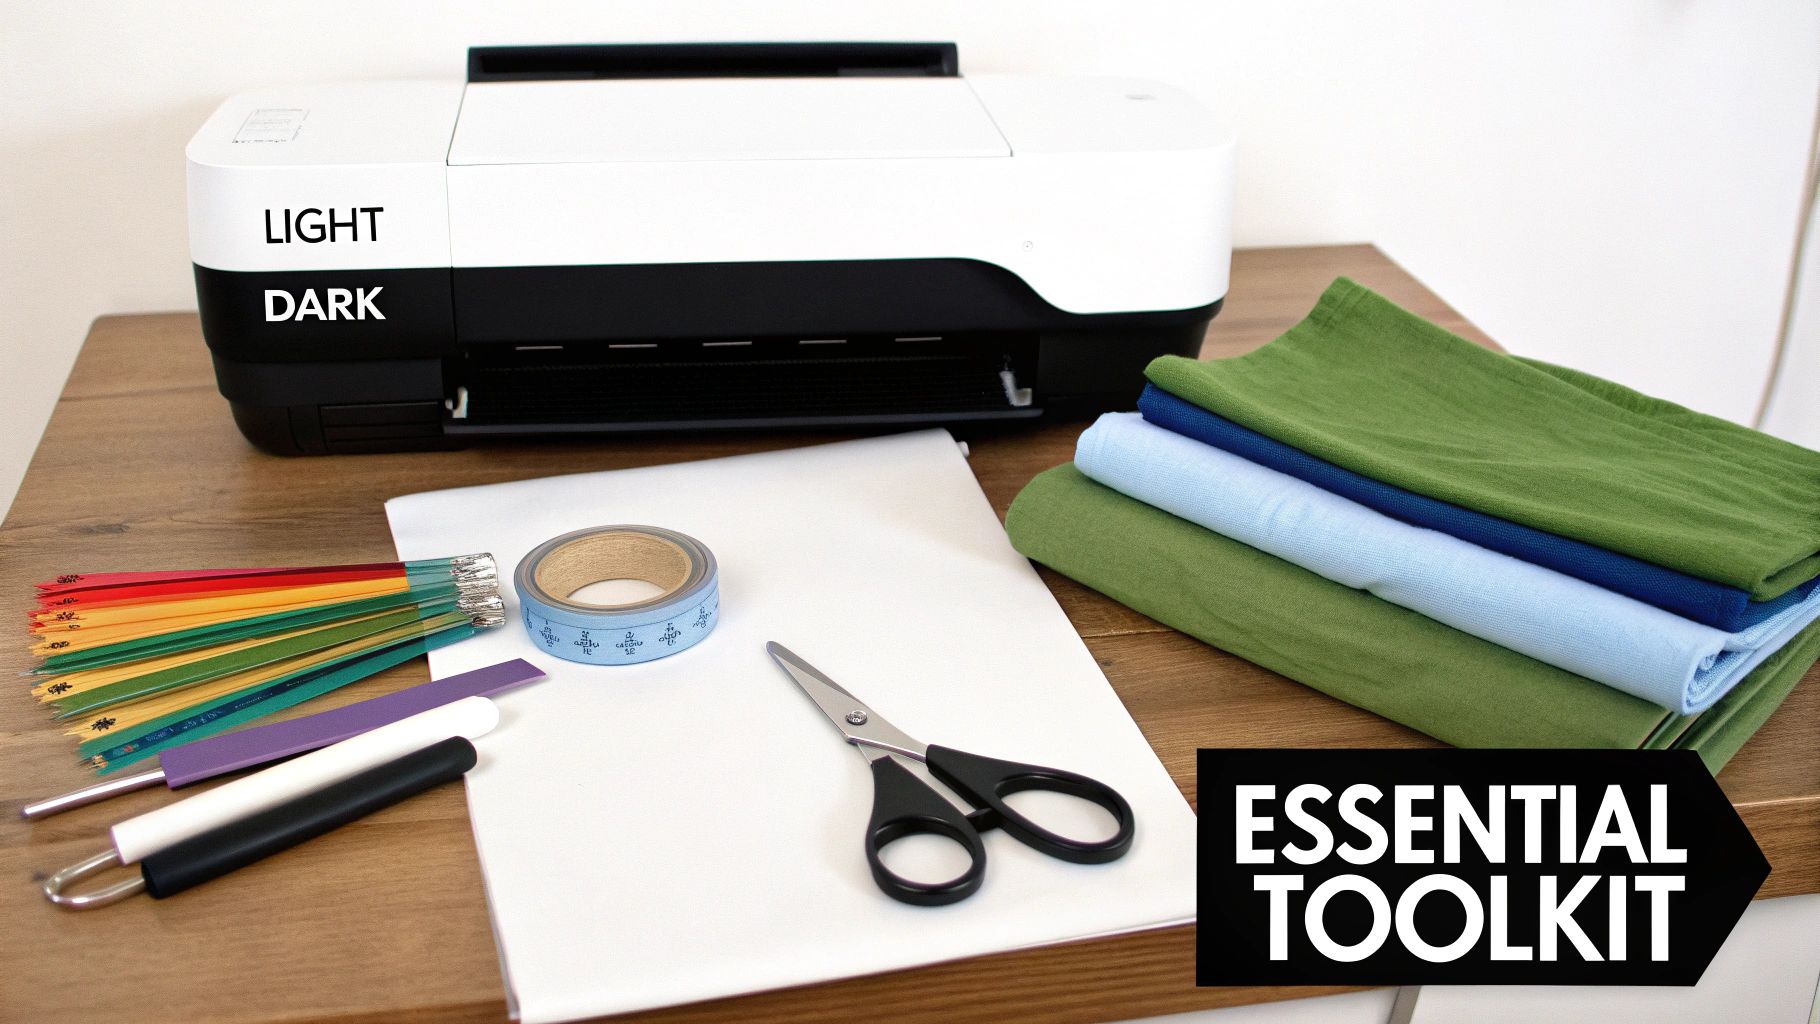
The real work of using iron-on transfer paper starts long before you ever plug in the iron. The quality of your materials directly translates to the final look, feel, and durability of whatever you're making. I’ve seen great designs turn into disappointments because of a poor choice in paper or fabric.
Choosing Your Core Supplies
Your first big decision is the iron on transfer paper itself. It seems simple, but it's critical. There are two main types: one for light-colored fabrics and one for darks. If you mix them up, your design will either look washed out or just won't show up at all.
Then there's your printer. You don't need anything fancy; a standard inkjet printer works perfectly. The key is to use good-quality ink and, most importantly, crank up your printer settings to the highest quality possible. This ensures your colors are rich and all the little details of your design come through cleanly.
This isn't just a niche hobby anymore. The global heat transfer paper market was valued at a whopping USD 656.62 million in 2024 and is expected to nearly double to USD 1,224.5 million by 2034. That huge growth is fueled by small businesses and crafters who've found a reliable way to create custom gear. The tech has been around since the 1970s, but it was the digital printing boom in the 2000s that really brought it into our homes. If you're curious, you can explore the market trends in more detail to see just how popular this has become.
To make sure you don't miss anything, here's a quick checklist of the essentials. Think of this as your recipe for success.
Essential Supplies Checklist for Iron On Projects
| Item | Key Consideration | Why It's Important |
|---|---|---|
| Iron On Transfer Paper | Match it to your fabric color (light vs. dark). | Using the wrong type results in a faded or invisible design. |
| Inkjet Printer | Use high-quality ink and the best print setting. | Ensures vibrant colors and sharp details in the final transfer. |
| Fabric Item | Choose 100% cotton or high-cotton blends. | These materials bond best with the transfer adhesive for durability. |
| Scissors or Cutter | A craft cutter (Cricut, Silhouette) for complex designs. | Clean cuts are essential for a professional, non-DIY look. |
| Protective Sheet | A Teflon sheet or parchment paper. | Prevents scorching the fabric and protects your iron from sticky residue. |
| Heat Source | A household iron or a dedicated heat press. | Provides the necessary heat and pressure to activate the adhesive. |
Getting these items ready before you start makes the entire process smoother and far more enjoyable.
Essential Tools for Precision
Once your design is printed, you'll need to cut it out. For a simple circle or square, a sharp pair of scissors works just fine. But if you’re working with anything intricate—like detailed lettering or complex shapes—a craft cutter is an absolute game-changer. It delivers those crisp, professional edges that are next to impossible to get by hand.
Here's a tip I learned the hard way: always use a protective layer. A Teflon sheet or even a plain piece of parchment paper between your iron and the transfer is your secret weapon. It distributes heat evenly, stops the fabric from scorching, and keeps any sticky residue off your iron.
Finally, let's talk about the fabric. You'll get the most vibrant and long-lasting results with:
- 100% Cotton: It’s a classic for a reason. Cotton handles the heat well and the ink bonds to it beautifully.
- High-Cotton Blends: A 50/50 cotton-polyester blend is another great option. It offers a nice balance of softness, durability, and a slightly different feel.
With all your supplies gathered, you're set up for success and ready for the fun part: printing your design and getting it ready to press.
Getting Your Design Printed and Prepped
Alright, your digital masterpiece is complete. Now for the fun part: bringing it to life. This is where the magic really starts, moving your design from the screen to a physical transfer sheet. A little attention to detail here goes a long way and is the secret to getting that crisp, professional look.
First things first, let's talk image quality. You can have the best printer and the fanciest paper, but if your source file is low-resolution, the final product will look fuzzy and pixelated. It's a classic case of garbage-in, garbage-out. Always, always start with an image that's at least 300 DPI (dots per inch). This is the gold standard for print quality and ensures your design comes out looking sharp, not blurry.
Don't Forget to Mirror Your Image!
We've all been there. You spend ages getting everything perfect, press your design, peel it back, and… the text is completely backward. It's a frustrating but common rookie mistake, and thankfully, it's super easy to avoid.
Before you even think about hitting that print button, dive into your printer's settings. You're looking for an option called "mirror image," "flip horizontal," or sometimes "t-shirt transfer setting." Make sure you check that box.
Flipping your design is non-negotiable for anything with:
- Text or any kind of lettering
- Logos that aren't perfectly symmetrical
- Any image where the direction actually matters
By printing a mirror image, you guarantee that when you flip it over to iron it on, it will appear exactly as you intended. While you can get away with skipping this for a simple circle or star, it's a fantastic habit to build so you never forget.
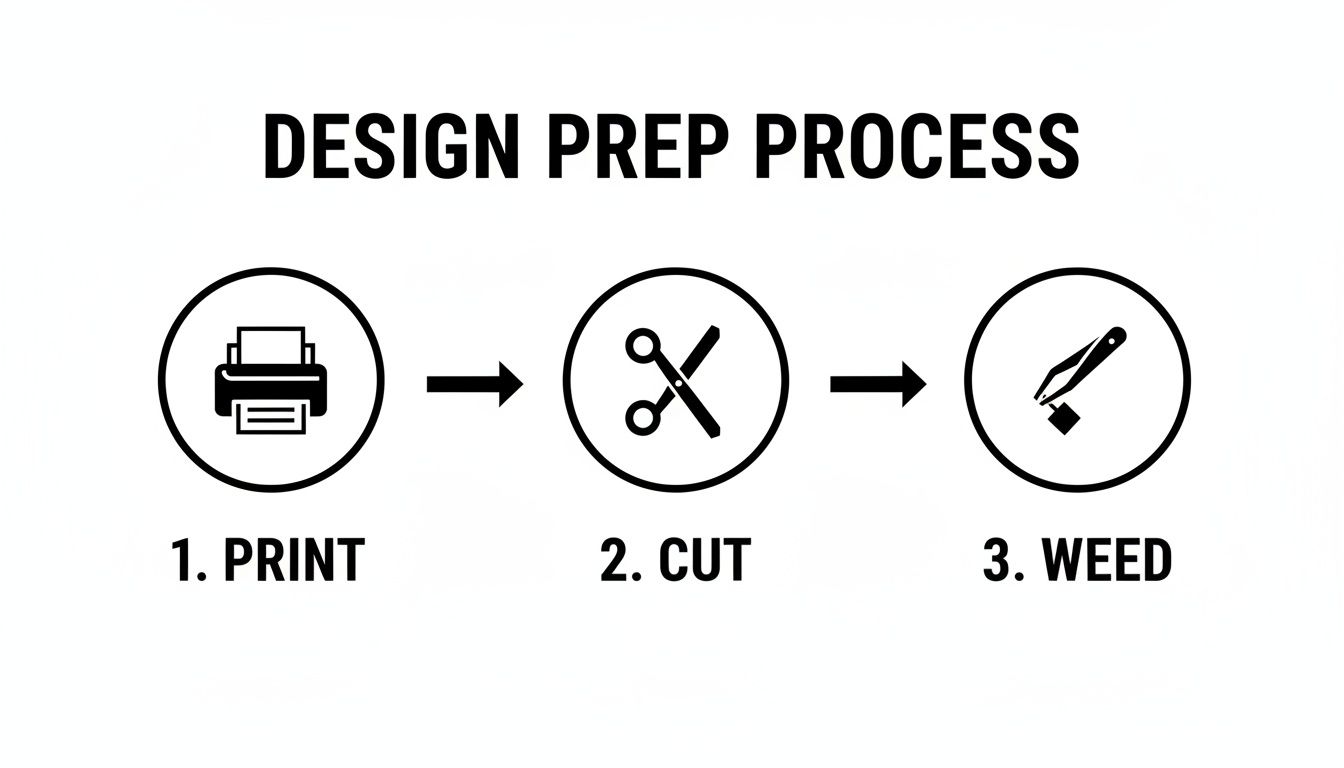
Cutting Out Your Design
Once your design is printed, it's time to trim away the excess paper. How you handle this step can make a big difference in the final look. If you're working with a simple shape—think bold text or a basic graphic—a sharp pair of scissors will do the trick. I like to leave a tiny, even border around the edge; it helps avoid that harsh, boxy outline you sometimes see on homemade shirts.
A quick note on paper: The right material is everything. You'll need a coated transfer paper made specifically for either light or dark fabrics. It's interesting to see that industry-wide, 72.7% of these papers are coated. Most people end up using a paper between 60-90 GSM, which holds a 42.1% market share because it's the sweet spot for flexibility and ink absorption. If you're curious, you can learn more about heat transfer paper market insights to geek out on the material science.
For more complex designs with lots of fine lines or intricate cutouts, hand-cutting just won't, well, cut it. This is where a machine like a Cricut or Silhouette is a total game-changer. They cut with incredible precision, giving you those clean, professional edges that are pretty much impossible to get by hand.
The Art of Weeding
"Weeding" is what we call the process of removing all the little bits of transfer material that aren't part of your design. Think about the inside of the letter 'O' or the tiny spaces between flower petals—those all need to be picked out.
A weeding tool, which looks a bit like a dentist's pick, is your best friend for this task. Go slow and be patient. If you rush, it's easy to accidentally lift a piece of your actual design or leave behind a stray speck of material. Good lighting and a steady hand will make this process much smoother.
Once your design is perfectly printed, cut, and weeded, you’re ready for the most satisfying step: applying the heat.
Applying Heat: Your Iron vs. a Heat Press
This is where the magic happens. You’ve got your design printed, cut, and ready to go, but how you get it onto the fabric is what really determines whether it looks professional and lasts wash after wash. The tool you use for heat application is probably the biggest single factor in your final result.
So, let's look at the two main players: the trusty household iron and a dedicated heat press.
Getting the print, cut, and weed right sets you up for a perfect transfer, but the final press is what seals the deal.
Using a Standard Household Iron
Most of us start here, and that's perfectly fine! You can absolutely get good results with a standard iron, but you have to know how to work around its limitations—namely, inconsistent heat and uneven pressure.
First things first, crank your iron up to the highest setting, which is usually for cotton or linen. And this is non-negotiable: make sure the steam is turned OFF. Steam introduces moisture, which is the mortal enemy of transfer paper adhesive. It will ruin the bond and lead to peeling later on.
When it's time to press, follow this method:
- Prep the Fabric: Run the hot iron over the spot where the design will go for about 5-10 seconds. This smooths out wrinkles and, more importantly, gets rid of any hidden moisture in the fabric.
- Use Serious Pressure: This isn't like ironing a dress shirt. You need to put your body weight into it and press down firmly. This consistent, heavy pressure is what forces the adhesive to melt deep into the fabric fibers.
- Stay in Motion: Don't just let the iron sit there. Keep it moving in a deliberate pattern—go up and down across the entire design, then side to side. Do this for the time specified on your transfer paper's instructions, usually between 60-90 seconds. This systematic movement helps compensate for the iron's hot and cold spots.
Upgrading to a Heat Press
If you find yourself making shirts regularly or you're starting to think about selling them, a heat press is one of the best investments you can make. It completely eliminates the guesswork. You get precise, consistent temperature across the entire platen and perfectly even pressure every single time.
For anyone thinking about making the jump, our guide to the best heat press for beginners is a great place to start looking.
The real game-changer with a heat press is repeatability. With digital temperature and time controls, you can churn out dozens of identical, high-quality items. That's a must-have for any small business.
The process is much more streamlined and reliable. You pre-press the garment, position your transfer, clamp the press down, and the timer does the rest. It’s that level of control that makes it the professional standard.
Household Iron vs Heat Press Comparison
To make the choice clearer, here’s a direct comparison of the two methods. Think about your goals, budget, and how often you'll be making items.
| Feature | Household Iron | Heat Press |
|---|---|---|
| Temperature Control | Inconsistent; has hot and cold spots. | Precise and even heat across the entire surface. |
| Pressure | Uneven; relies entirely on your manual effort. | Consistent and adjustable, applied evenly every time. |
| Cost | Low; you probably already own one. | Higher initial investment, from entry-level to pro. |
| Best For | Occasional projects, hobbyists, testing out ideas. | Small businesses, high-volume projects, professional quality. |
| Results | Can be good with practice, but risk of peeling/fading. | Professional, durable, and repeatable results. |
| Efficiency | Slower; requires careful, manual application for each item. | Fast and efficient, ideal for making multiple items. |
While a household iron is a fantastic starting point, a heat press is what truly elevates your craft, ensuring every piece you make is built to last.
From my experience, many transfer failures happen when people try to press onto fabric blends with over 50% polyester or when they forget to turn the steam off. A professional setup—preheating the fabric for 5-10 seconds at around 320°F and then pressing for 15-20 seconds with medium pressure—is something a heat press handles flawlessly. It's this precision that gives you a design that will last for dozens of washes.
Nailing the Peel and Making It Last

You’ve finished pressing the design, and the urge to immediately see your creation is powerful. But this is the moment where patience truly becomes a virtue. How you peel that backing paper is just as important as how you pressed it, and it's what separates an amateur-looking job from a professional one.
The type of transfer paper you're using is the single most important factor here. It will dictate whether you need to peel it hot, warm, or cold. This isn't just a friendly suggestion from the manufacturer—it's a critical instruction for getting the ink to set properly.
Hot, Warm, or Cold Peel?
Always, and I mean always, check the instructions that came with your paper. Getting this wrong is one of the quickest ways to ruin a perfectly good t-shirt.
- Hot Peel: Just as it sounds, you'll peel the backing away almost immediately after you lift your press or iron. This method tends to leave the design with a softer feel, as the ink really sinks into the fabric's weave.
- Warm Peel: This is a happy medium. You'll give it a moment to cool down, maybe 15-30 seconds, before peeling. The result is often a balance between a soft finish and a slightly glossier, more vibrant look.
- Cold Peel: This one tests your patience. You have to wait until the shirt and the transfer are completely cool to the touch. It's worth the wait, though, as cold peel papers usually deliver a super smooth, almost vinyl-like finish that feels a bit thicker on the shirt.
Peeling at the wrong temperature is a recipe for disaster. If you try to cold-peel a hot-peel paper, you’ll likely pull up chunks of your design right along with the backing. On the flip side, peeling a cold-peel paper while it's still hot can stretch and warp the ink, leaving you with a distorted mess.
Curing and Long-Term Care
Once the backing paper is off, your project isn't quite finished. Now, the design needs to "cure." This is the essential period where the ink and adhesive form a permanent bond with the fabric fibers.
You absolutely must wait at least 24 hours before that first wash. Throwing it in the laundry too soon is the number one reason transfers crack, fade, or peel prematurely. That 24-hour window gives the bond the time it needs to reach maximum strength.
When it's finally laundry day, a little care goes a long way. To keep your custom shirt looking sharp wash after wash, just follow these simple rules:
- Turn it inside-out. This simple step protects the design from rubbing against other clothes and the machine itself.
- Wash on a cold cycle. Hot water is the enemy of transfer adhesive; it can soften it and cause peeling over time.
- Stick to a mild detergent. Harsh chemicals, and especially bleach, will break down the inks and ruin the print.
- Say no to fabric softener. The chemicals in softeners are designed to coat fibers, but they can also attack the adhesive bond holding your design in place.
Air drying is your best friend here—either hang it up or lay it flat. If you're in a pinch and need to use a dryer, make sure it's on the lowest heat setting possible. Just like with the initial press, high heat can reactivate the adhesive and cause wrinkling or damage.
For a deeper dive into preserving your custom prints, our guide on how to wash graphic tees has even more pro tips. Follow this advice, and you’ll have a durable design that you can be proud of for years to come.
Troubleshooting When Transfers Go Wrong
Let's be honest—even when you follow the instructions to the letter, things can still go sideways. It happens to everyone. But don't get discouraged; most iron-on transfer problems are surprisingly easy to fix and are actually great learning moments. Here’s how to diagnose and solve the most common issues you'll run into.
Why Isn't My Design Sticking?
This is probably the number one frustration I hear about. You press the design, you peel back the paper, and the edges or corners are already lifting. It’s infuriating, but almost every single time, it comes down to one of three things: not enough heat, not enough pressure, or not enough time.
If your iron isn't hot enough, the adhesive on the paper never fully melts into the fabric's fibers. The same goes for pressure—you really need to lean into it with some serious, even force. Don't be shy!
And finally, time. Rushing the process, even by just 10-15 seconds, can be the difference between a permanent bond and a failed transfer. Always double-check the time recommended for your specific brand of paper and stick to it.
My Design is Cracking or Peeling After Washing
There's nothing worse than creating a perfect shirt, only to have the design crack and peel after its first trip through the laundry. This is a classic sign that the initial bond wasn't strong enough to handle the stress of a wash cycle.
To avoid this headache, make these habits non-negotiable:
- Always pre-press your garment. Seriously, don't skip this. Fabric holds more moisture than you think, and that steam will ruin your adhesive's ability to bond properly.
- Give it time to cure. Wait at least 24 hours before washing. The adhesive needs that time to fully set and harden into the fabric.
- Wash with care. Turn the shirt inside-out, use cold water, and stick to a gentle cycle. This reduces the friction and heat that can weaken the transfer over time.
How to Fix a Stiff, Plastic-Feeling Transfer
Sometimes a finished design feels thick and stiff on the shirt, almost like a plastic patch. This is what we call a heavy "hand," and it's most common with transfer papers made for dark fabrics, which need an opaque white base to make the colors pop.
Pro Tip: You can soften a stiff design right after pressing. While the fabric is still warm, give it a gentle stretch. Pull it lightly from side to side, then top to bottom. This helps break in the polymer, making it feel much more flexible and natural.
If you consistently dislike the feel of your transfers, it might be time to try a different brand. Premium papers often have a noticeably softer finish. Another trick is to trim your design as close to the printed edge as possible. Less unprinted film on the shirt means a much better feel. These small adjustments are key to making transfers that not only look great but are actually comfortable to wear.
Leveling Up From Iron-On to DTF Transfers
For anyone just dipping their toes into custom apparel, iron-on transfer paper is a fantastic starting point. It’s cheap, easy to find, and lets you turn cool ideas into reality with just a home iron. It's the perfect gateway.
But once you get the bug, you start to see the limitations. Maybe you're getting requests from friends, or you're even thinking about opening a little Etsy shop. When you need to make more than just a few one-offs, things like speed, durability, and a truly professional finish become way more important.
This is where you’ll want to look at the next step up: Direct-to-Film (DTF) transfers. Think of DTF as the pro-level evolution of the iron-on concept.
The Big Advantages of DTF
DTF technology pretty much solves every headache that comes with traditional iron-on paper. The process is different: a design is printed onto a special film, coated with a powdered adhesive, and then cured with heat. This prepared film can then be pressed onto almost any fabric to create a permanent, incredibly detailed print.
The single biggest game-changer? DTF requires absolutely no weeding. That’s right. All those complex, multi-colored designs with tiny, intricate details are just as simple to press as a solid square. If you've ever lost an hour of your life meticulously picking tiny bits of vinyl out of a design, you'll understand how huge this is.
A DTF transfer just feels different on a shirt. It doesn't have that stiff, papery feel you sometimes get with iron-ons. Instead, a DTF print is remarkably soft, light, and flexible. It actually stretches with the fabric, which makes it far more comfortable to wear and way less likely to crack over time.
Unmatched Durability and Versatility
Beyond just the feel and efficiency, DTF transfers are built to last. A really well-applied iron-on might make it through 20-30 washes before it starts showing its age. A professionally pressed DTF transfer, on the other hand, is rated to handle 50+ wash cycles without fading, peeling, or cracking. That's the kind of quality that keeps customers coming back.
DTF also blows the doors wide open when it comes to what you can print on. Iron-on paper really prefers cotton or high-cotton blends. But DTF is a true multi-tool. It sticks beautifully to all sorts of materials:
- 100% Cotton
- Polyester and Poly-blends
- Tri-blends
- Canvas
- Denim
- Even tricky stuff like leather and nylon
This kind of versatility means you’re not held back anymore. You can create custom athletic wear, branded hats, sturdy tote bags, and so much more.
You can learn more about what DTF transfers are and see how they can completely change your production game. Moving from iron-on to DTF is a natural step when you're ready to create truly professional products at scale, leaving the hobbyist limitations behind.