
how to make transfers for t shirts: Quick DTF Guide
Ready to turn your digital designs into wearable art? The basic idea is simple: you print a design onto a special film, add an adhesive powder, and then use a heat press to transfer it onto a shirt. This guide will walk you through exactly how to make transfers for T shirts using the popular Direct-to-Film (DTF) method.
Your Starting Point for Custom T Shirt Transfers
Learning how to make your own t-shirt transfers opens up a massive world of creative and business opportunities. The process we now call "heat transfer" has come a long way since the hand-drawn stencils of the mid-20th century. Today's tech gives us incredible precision and color that was unimaginable back then.
It's no surprise the custom T-shirt printing market is on track to hit $8.93 billion. People love custom apparel. Whether you're a hobbyist or looking to start a side hustle, like creating custom T-shirts with unique logos, getting your process right is key.
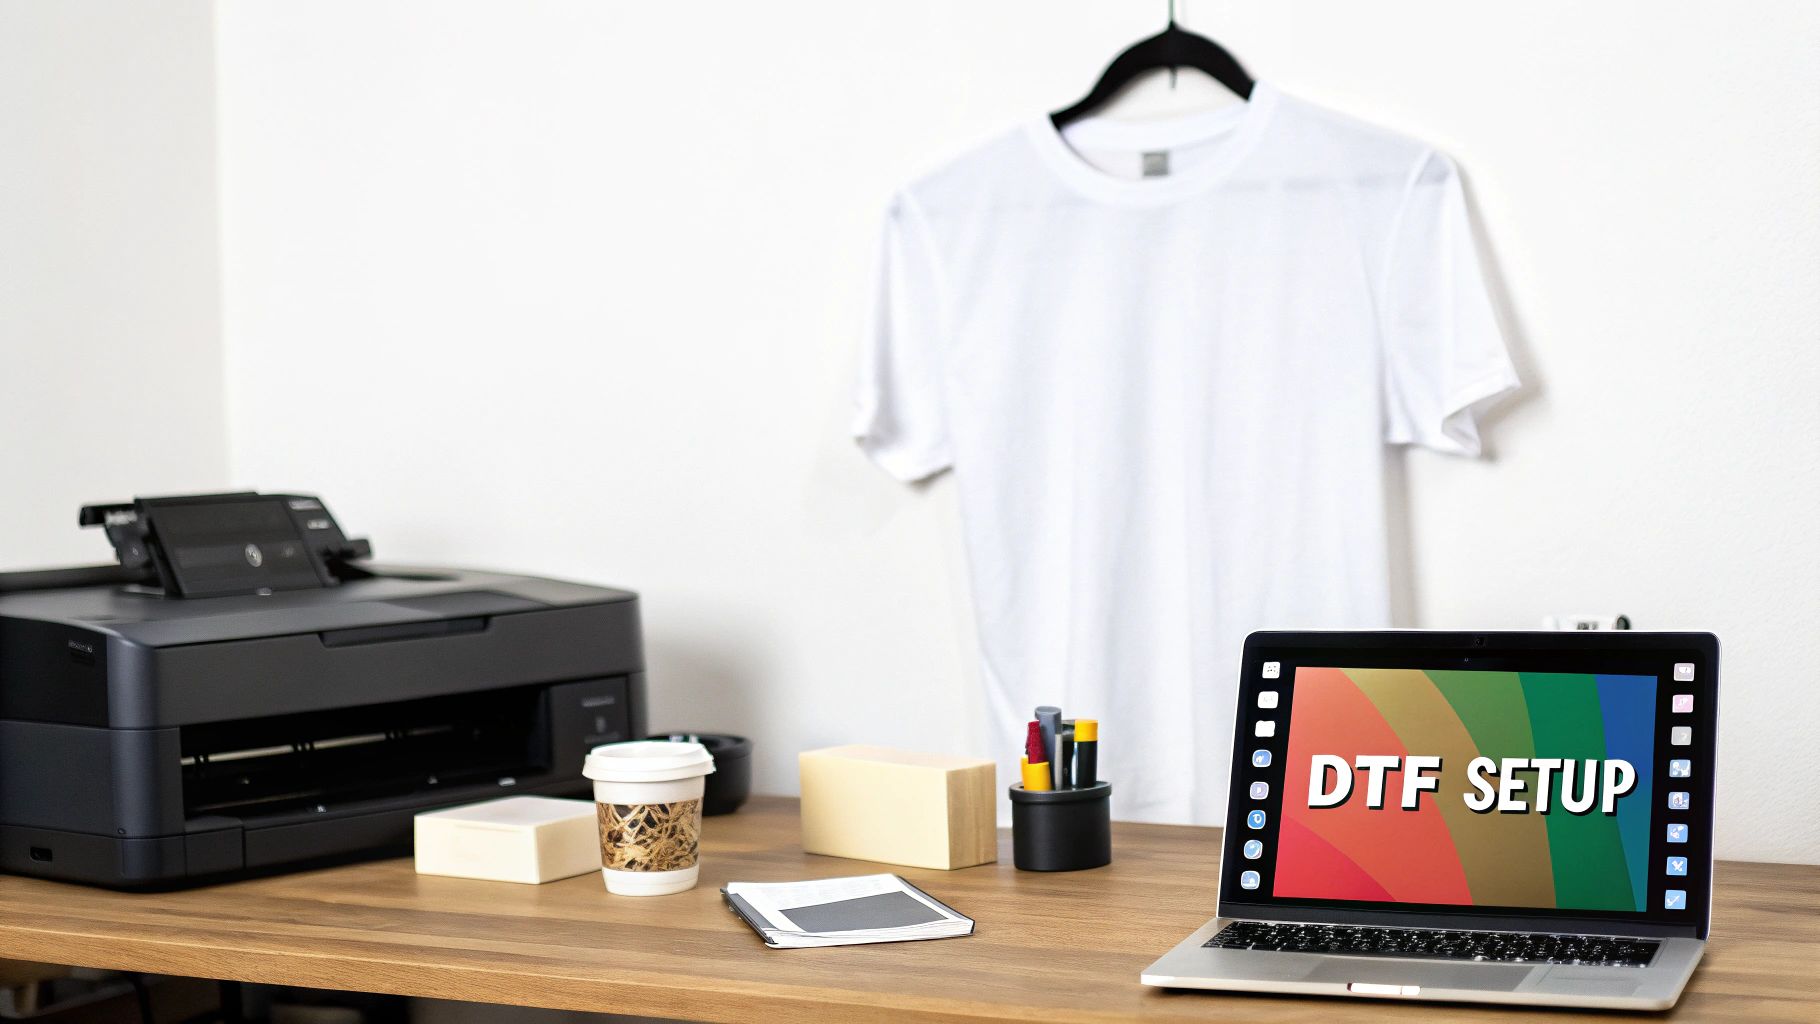
To get started, it's helpful to have a clear picture of the essential tools you'll need.
Essential DTF Transfer Supplies Overview
| Component | Primary Function | Key Consideration |
|---|---|---|
| DTF Printer | Prints your design onto the transfer film. | Look for a printer that handles DTF-specific inks and films reliably. |
| DTF Ink | Special pigment inks (CMYK + White) for vibrant colors. | White ink is crucial for printing on dark-colored garments. |
| DTF Film | The transfer medium that holds the ink. | Choose between hot peel or cold peel film based on your preference. |
| Adhesive Powder | A fine powder that melts to create the transfer's bond. | The quality of the powder directly impacts wash durability. |
| Heat Press | Applies heat and pressure to transfer the design. | Consistent temperature and even pressure are non-negotiable for good results. |
This table covers the core setup. As you get more experience, you might add other items like a curing oven, but these are the absolute must-haves.
Why Choose DTF for Your Transfers
So, why has DTF become such a go-to method for so many people? It really boils down to getting professional, high-quality results without the massive price tag or limitations of other techniques.
DTF works on almost any fabric you can think of—cotton, polyester, blends, you name it. And it doesn't matter if the shirt is black, white, or neon green.
The core advantage of DTF is its versatility. You can print complex, full-color designs with gradients and fine details without the complicated weeding process associated with vinyl.
The finished transfer feels great on the shirt—it’s flexible, not stiff—and holds up incredibly well in the wash. We're talking dozens of cycles without the cracking or fading you might see with other methods.
If you're brand new to this, our guide on what Direct-to-Film printing is is a great place to get a deeper understanding of the technology. From here on out, we’ll focus on the hands-on steps to get you creating professional-grade transfers right from your own workspace.
Getting Your Digital Design Ready for a Flawless Print
A stunning DTF transfer always starts with a top-notch digital file. I can't stress this enough: the quality of your artwork is directly tied to the quality of the final print. Nailing this first step is absolutely key to getting professional-looking results every single time.
Before you get anywhere near the printer, let’s talk resolution. The gold standard for crisp lines and rich, vibrant colors is 300 DPI (dots per inch). If you try to print with a lower resolution, you'll end up with a blurry, pixelated mess on your shirt, and it won't matter how great your printer is.
Fine-Tuning Your Artwork
Once you've got your resolution locked in, there are a couple of small but critical tweaks you need to make. These are the details that separate amateur prints from professional ones when you're learning how to make transfers for t shirts.
- Mirror the Image: This is a classic rookie mistake, but it's an easy one to fix. You have to flip your design horizontally before printing. If you skip this, any text or logos will be backward on the finished shirt.
- Create a White Underbase 'Choke': When printing on dark or colored shirts, a layer of white ink goes down first. By shrinking this white layer by just 1-2 pixels (this is called a "choke"), you guarantee no ugly white edges are peeking out from behind your design. It's a subtle trick that makes a huge difference.
If you're ever stuck for ideas or need to create a bunch of new designs quickly, you might want to check out a tool like an AI T-Shirt Design Generator to help spark some unique concepts.
Insider Tip: Always, and I mean always, save your final print file with a transparent background. A PNG file is perfect for this. It ensures you're only printing your design, not a big white box around it.
Taking a few extra minutes to get these prep steps right will save you a ton of frustration—not to mention wasted ink, film, and shirts. It's all about making sure what you see on the screen is exactly what you get on the fabric.
Bringing Your DTF Transfer to Life: Printing, Powdering, and Curing
This is where the magic really happens—turning your digital file into a physical transfer that's ready to press. Getting this part right is what separates a professional-looking, durable print from one that fails. It's a precise process, but once you get the hang of it, it becomes second nature.
Think about other decoration methods. With Heat Transfer Vinyl (HTV), for example, shops have seen efficiency jump by 40% just by using better cutters and presses. Those transfers can then handle 50+ wash cycles. While the DTF workflow is unique, that same principle applies: a solid, repeatable process is your key to fantastic results. If you're curious about the broader market, checking out some t-shirt industry statistics can be really eye-opening.
First Things First: Printing on the Film
Everything starts at the printer. Before you even think about hitting that "print" button, run a quick nozzle check. Seriously, this takes five seconds and can save you a world of headache. It makes sure all your printer heads are firing properly, so you don't end up with streaks or gaps in your print.
Once you’re clear, send the file. Your RIP software takes over, telling the printer to first lay down all the color (the CMYK layer) onto the matte side of the DTF film. Right after that, it comes back and puts down a perfectly registered layer of bright white ink over the entire design. This white underbase is the secret sauce that makes your colors pop, even on a black t-shirt.
This infographic breaks down the crucial design prep you should have already completed before you get to this printing stage.

As you can see, getting the resolution right, mirroring the image, and choking the base are the non-negotiable foundations for a great print.
Next Up: Applying the Adhesive Powder
While the ink is still wet from the printer, it's time to apply the adhesive powder. You need to be thorough here. A clean, even coat is what ensures the transfer sticks firmly to the fabric.
My favorite technique is what I call the "dunk and shake."
- Grab the film by the edges, with the freshly printed side facing up.
- Carefully lower it into a shallow bin or tray filled with your DTF powder.
- Gently rock the film from side to side, making sure the powder coats every single bit of wet ink.
- Lift it out and give the back a few good flicks with your finger. This knocks off all the excess, leaving powder only where the ink is.
A complete and even powder coating is essential. If you miss a spot, that part of your design simply won't stick to the garment. No shortcuts here!
The Final Step: Curing the Transfer
Now you just need to melt that powder. This transforms it from a grainy coating into a smooth, solid sheet of adhesive. You can do this by hovering your heat press about half an inch over the transfer, or by using a dedicated curing oven. Set your temperature somewhere between 350-375°F.
Keep a close eye on it. You’ll see the powder’s texture change from grainy and white to a glossy, slightly bumpy surface that looks a bit like an orange peel. This usually takes around two or three minutes.
And that’s it! Once it's cured, your transfer is officially done and ready to be pressed onto a shirt.
Nailing the Heat Press Application
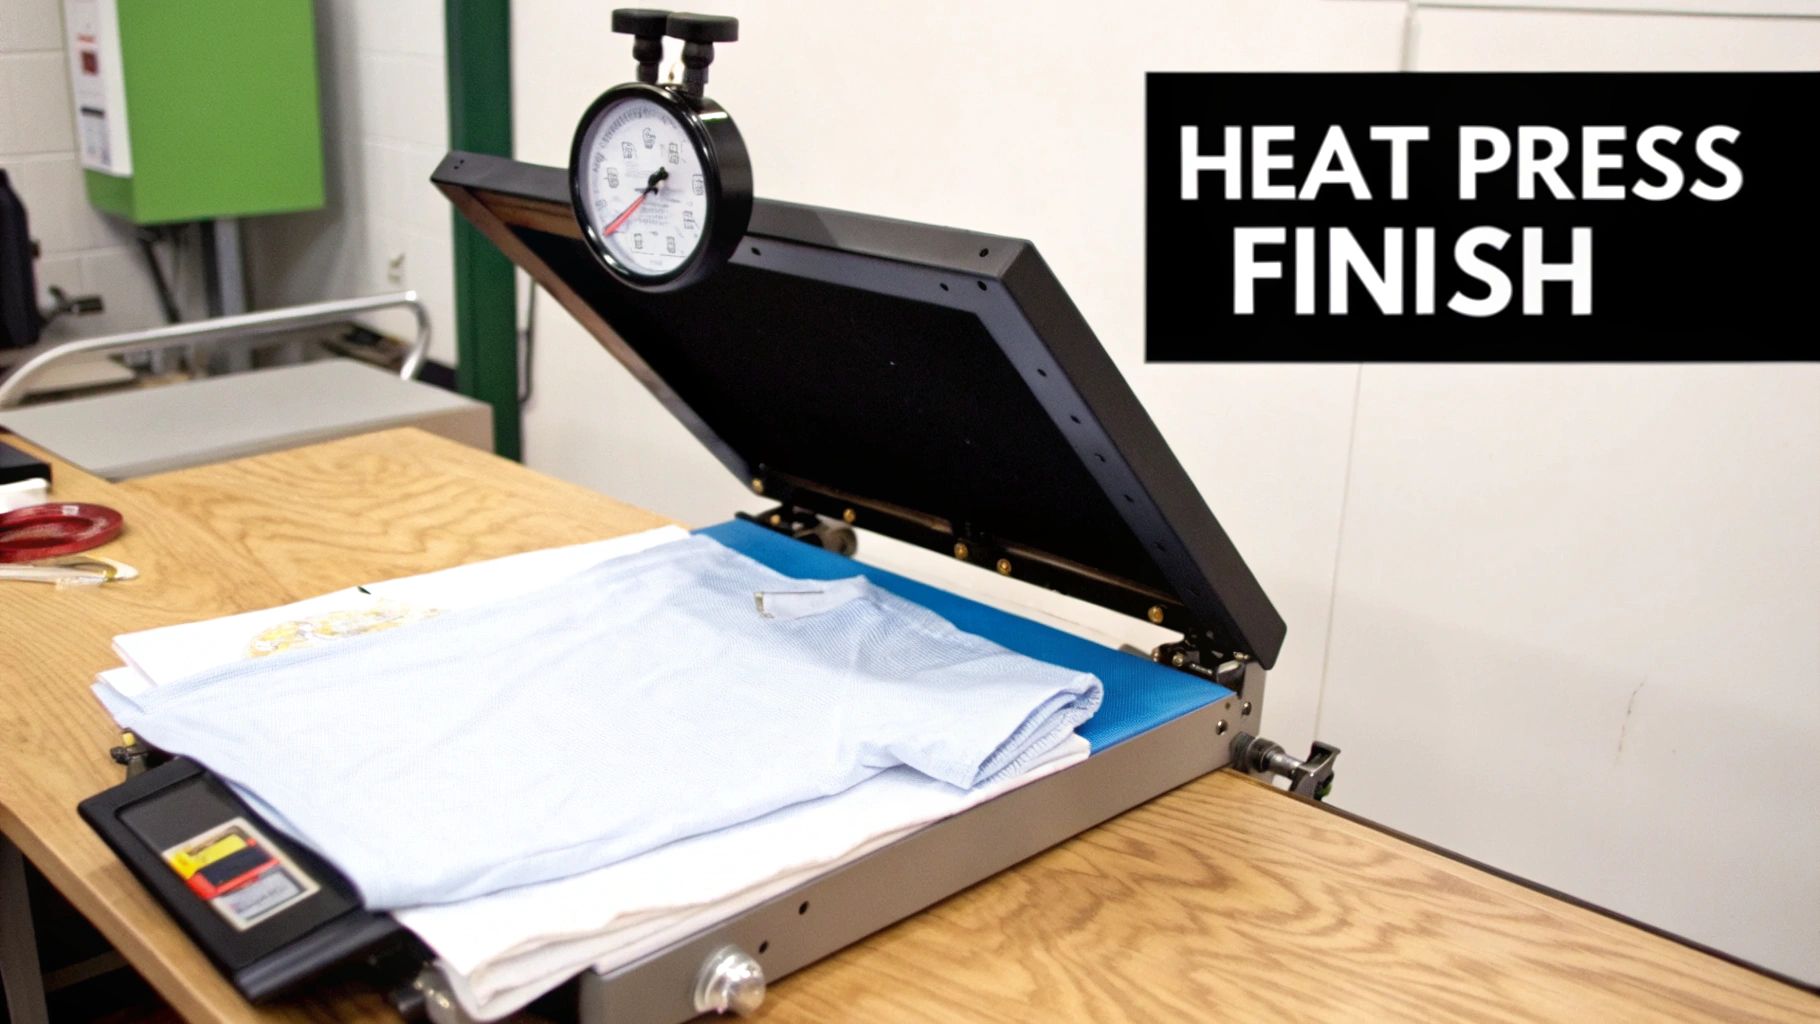
You’ve printed a flawless transfer, but the job isn't done yet. Mastering the heat press is what separates a professional-looking shirt that lasts from one that fades and peels after a few washes. This is where your design truly becomes part of the fabric.
Don't skip the pre-press! This is the most common mistake I see people make. Before you even think about placing your transfer, press the blank garment for 5-7 seconds. This quick step banishes any hidden moisture and smooths out wrinkles, both of which can ruin a perfectly good transfer.
Dialing in Temperature and Time
There's no magic number that works for every shirt. The right settings depend entirely on the fabric you're using. Getting this wrong can mean a scorched garment or a transfer that starts lifting immediately.
Here are my go-to starting points:
- 100% Cotton: I set my press between 300-325°F and press for about 10-15 seconds.
- Polyester & Blends: These fabrics are far more sensitive to heat. Drop the temperature to 275-300°F and shorten the press time to 7-10 seconds.
Always err on the side of caution. Start with the lower end of the recommended range. You can always press it again for a few more seconds, but you can't un-burn a shirt.
Your real goal here is consistent, even pressure across the entire design. If you notice the edges of your transfer peeling after a wash, uneven pressure is almost always the culprit. A quality press is your best defense against this common problem.
The Hot Peel vs. Cold Peel Decision
When do you peel the film off? It all comes down to the type of DTF film you're using. Hot peel films are meant to be peeled away the second the press opens while everything is still hot. In contrast, cold peel films require you to let the garment cool down completely before touching the film. Trying to hot peel a cold peel film (or vice-versa) is a recipe for disaster.
For a more detailed breakdown of application techniques, you can find more tips in our complete guide to heat transfer shirt printing.
Here's a pro tip: I always finish with one last press. After you've peeled the film, cover the design with parchment paper and press it for another 5-7 seconds. This little trick does wonders—it locks the ink into the fabric, boosts durability, and gives the design a much softer, matte finish that feels great.
Troubleshooting Common T-Shirt Transfer Issues
Sooner or later, every print shop runs into a transfer that just doesn't turn out right. It's part of the learning curve. Instead of panicking, let's walk through some of the most common hiccups and figure out exactly how to get you back to printing flawless shirts. This will save you a ton of frustration and money on wasted materials.
If you pull a shirt off the press and the design feels stiff, almost like a sheet of plastic, your heat press is probably running too hot. When you over-bake the adhesive, it loses its flexibility. The fix is simple: dial back your temperature by 10-15°F and press another one. You should notice an immediate improvement in the feel.
Diagnosing Peeling and Fading
Seeing the edges of your design lift or peel after the first wash is a classic sign of a pressure problem. It can also happen if you forgot to pre-press the shirt to remove moisture and wrinkles. If the pressure is uneven, the adhesive never gets a solid grip on the fabric fibers. Double-check that your press is delivering firm, consistent pressure across the entire platen.
What about colors that look dull or faded right after pressing? This usually points back to the curing stage. If the adhesive powder isn't melted completely and evenly, it can't create a strong bond to lock the ink into the fabric. The result is a weak-looking transfer that won't hold up.
Key Takeaway: The vast majority of transfer failures boil down to three things: temperature, pressure, or curing time. Get those three variables dialed in, and you'll eliminate over 90% of your problems.
Patchy or streaky white ink is another headache, but the culprit is often the printer itself, not the transfer process. Before you start questioning your settings, run a quick nozzle check. Clogged print heads are notorious for causing this, and a simple head-cleaning cycle from your printer's utility menu can often clear it right up.
Getting your troubleshooting down is crucial. The demand for custom apparel is growing fast, with the t-shirt market projected to hit $195.6 billion. High-quality, durable prints are what will set you apart. You can find more data on the custom apparel market on bestcolorfulsocks.com.
To make things even easier, here's a quick cheat sheet for diagnosing problems on the fly.
Common Transfer Problems and Solutions
| Symptom | Potential Cause | How to Fix It |
|---|---|---|
| Plasticky or Stiff Feel | Heat press temperature is too high. | Reduce the temperature by 10-15°F and try again. |
| Edges Peeling After Wash | Uneven or insufficient pressure; missed pre-press. | Ensure firm, even pressure. Always pre-press the garment for 5-7 seconds. |
| Dull or Faded Colors | Adhesive powder was not cured long enough or at the right temperature. | Increase curing time or temperature slightly until the powder has a glossy, "orange peel" texture. |
| Transfer Won't Stick at All | Cold peel was attempted too soon; insufficient pressure. | Let the transfer cool completely to room temperature before peeling. Verify press pressure. |
| Patchy or Streaky White Ink | Clogged printer nozzles. | Run a nozzle check and perform a head cleaning cycle on your DTF printer. |
| Dye Migration (Polyester) | Press temperature is too high, causing fabric dye to bleed into the ink. | Use a poly-blocking DTF film or lower your press temperature. Test on scrap fabric first. |
Keep this chart handy near your heat press. Consulting it at the first sign of trouble will help you solve issues quickly without having to guess what went wrong.
Keeping Your Custom T-Shirts Looking Great for the Long Haul
You’ve done the hard part—you've created a stunning DTF transfer that looks incredible. But the job isn't finished until you know how to keep it that way. The real secret to happy customers and repeat business is a design that lasts, and that all comes down to proper aftercare.
Think of it this way: heat and harsh chemicals are the natural enemies of your transfer. Your care instructions should be all about protecting the ink's vibrancy and the adhesive's bond from those two things. Giving your customers these simple tips is a small step that makes a huge professional impact.
Washing and Drying: The Do's and Don'ts
The single most important rule is to turn the shirt inside out and wash it in cold water. This simple trick protects the design from rubbing against other clothes in the wash, which is the main cause of friction and wear. Hot water is a definite no-go; it can soften the adhesive, risking damage to the transfer.
When you reach for detergent, stick to the basics. Harsh detergents, bleach, and even fabric softeners can be surprisingly aggressive, containing chemicals that break down the transfer's adhesive over time and cause the colors to fade. A simple, mild detergent is all you need.
Drying is where many great shirts meet their end. Your number one enemy? High heat.
The intense heat from a standard dryer cycle will absolutely wreck a DTF transfer. It can cause cracking, peeling, and warping by essentially trying to reverse the very heat press process you used to apply it.
The absolute best way to dry your shirt is to simply hang it up to dry. If you're in a pinch and need to use a machine, make sure it’s on a tumble dry low or, even better, a no-heat air-fluff setting.
Follow these instructions, and a quality DTF transfer will easily last for 50+ washes and still look amazing.
Got Questions About Making T-Shirt Transfers? Let's Get Them Answered.
When you're just starting to figure out how to make transfers for t-shirts, you're bound to have a bunch of questions. Getting the right answers from the get-go can save you a lot of wasted time and materials. Let’s dive into a couple of the most common ones we hear.
Can I Just Use My Home Iron Instead of a Heat Press?
It’s tempting, I know. But for DTF transfers, a standard home iron just won't cut it. To get that professional, durable finish, you absolutely need a quality heat press.
The reason is simple: a heat press provides consistent, even pressure and a stable temperature across the entire surface of your design. An iron, on the other hand, creates hot spots and applies uneven pressure. That's a surefire way to get transfers that start peeling off after the first wash.
The secret to a perfect DTF transfer lies in the trifecta of precise temperature, even pressure, and accurate timing. A home iron can't reliably deliver any of these, which is why a heat press is a non-negotiable piece of gear for results that last.
What Kind of Fabrics Can I Use with DTF Transfers?
This is where DTF really shines. The versatility is one of its biggest selling points, letting you print on a huge variety of materials and get fantastic results.
- Cotton and Cotton Blends: This is the bread and butter for most t-shirt printers, and DTF handles them flawlessly.
- Polyester: Forget the limitations of sublimation. DTF works perfectly on 100% polyester of any color, light or dark.
- Beyond the Basics: You're not just limited to tees. Think bigger! We've seen amazing results on canvas bags, denim jackets, and even some specially treated fabrics.
Because the DTF process lays down a layer of white ink first, your colors will pop with incredible vibrancy and full opacity, no matter what color the garment is. Yes, even on solid black.
Ready to create your own vibrant, long-lasting custom apparel? At Cobra DTF, we provide premium, USA-made DTF supplies with fast and reliable shipping. You get professional-grade results while supporting American jobs.
Check out our high-quality films and inks to get your next project started at cobradtf.com.