

How to Iron On Transfer Prints for Flawless Results
So, you're ready to create custom apparel that looks professional and actually lasts? Getting your iron-on transfers right really boils down to four things: temperature, time, pressure, and your choice of material. Nail these, and you'll get a flawless, durable finish every single time.
Your Guide to a Perfect Iron-On Transfer Every Time
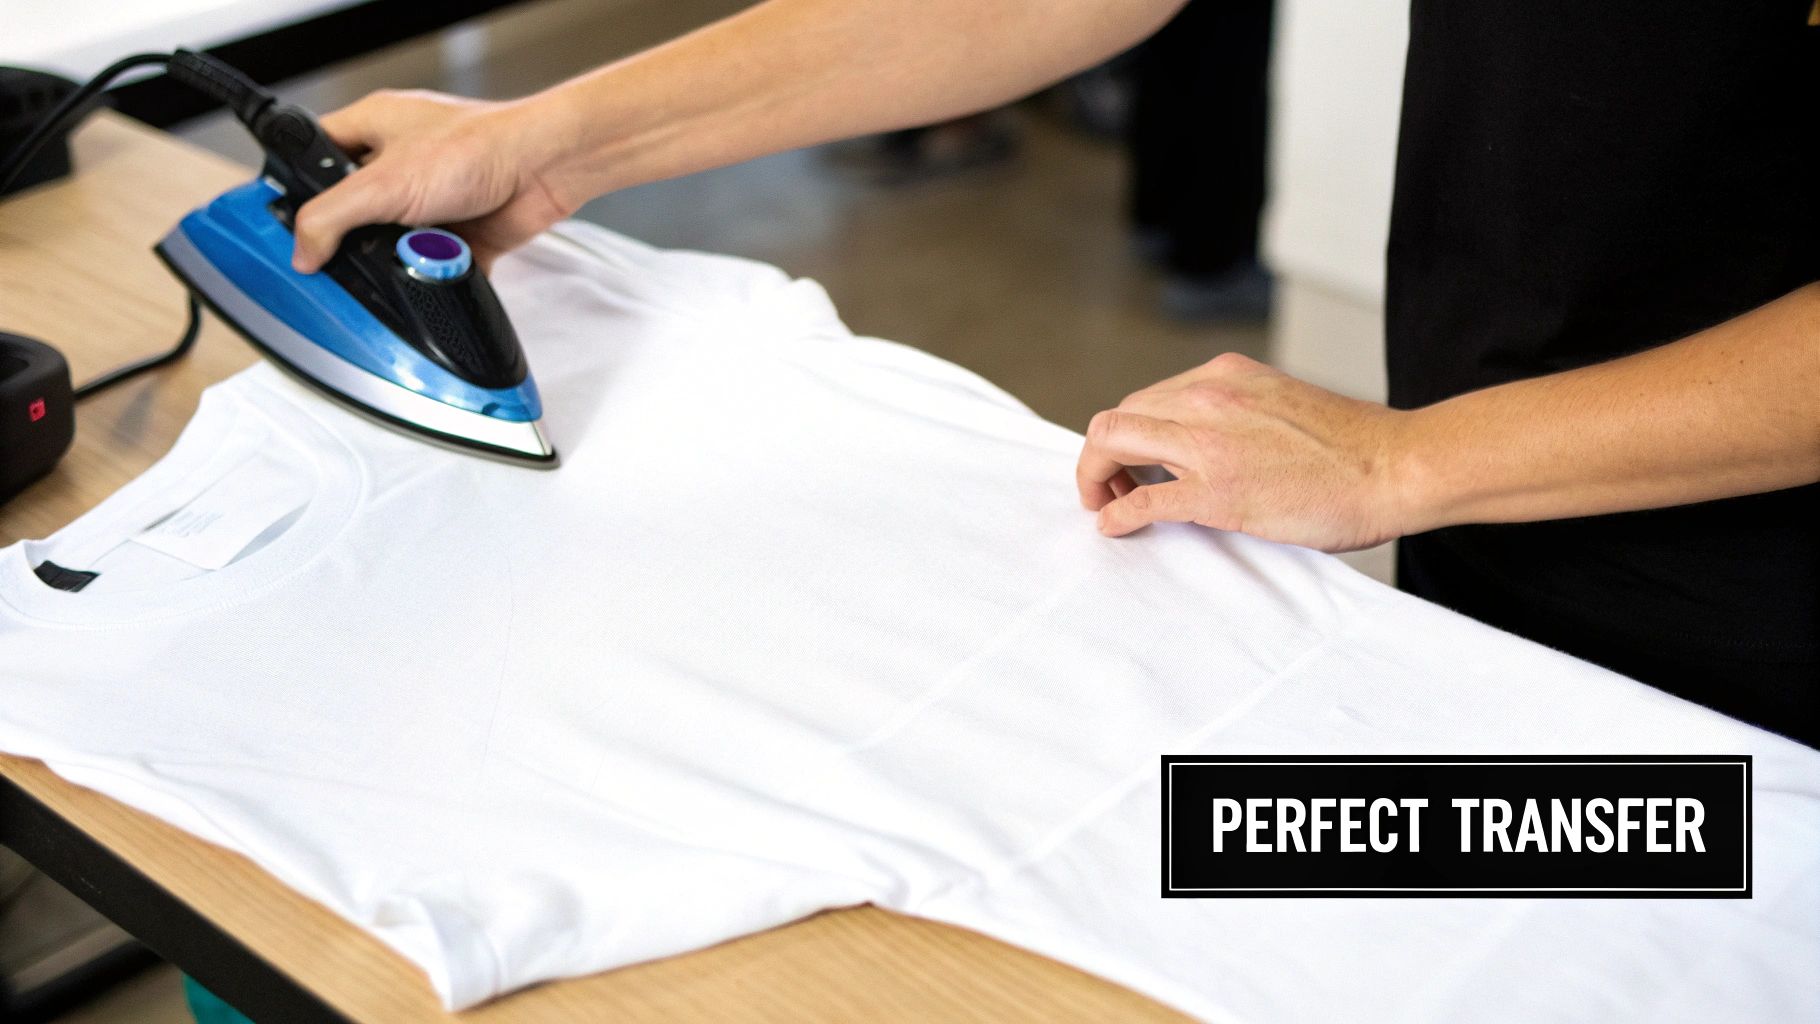
Making your own custom shirts, tote bags, or hats at home is an amazing feeling. It’s a fantastic outlet for creativity, whether you're kicking off a small business or just designing some truly personal gifts.
But let's be honest, the difference between a project that looks store-bought and one that peels after the first wash is all in the application details. This guide is here to take you beyond the basics and give you the practical, hands-on knowledge you need to get it right.
We're going to break down the whole process, focusing on real-world steps that help you dodge those common frustrations like cracked designs or prints that just won't stick right. The goal is simple: a transfer that not only looks incredible but also holds up to wear and tear.
Mastering the Core Variables
Getting great results consistently isn't about luck; it's about controlling the process. For most common materials, the manufacturer gives you a pretty specific window for the settings. For instance, a lot of heat transfer vinyl needs a temperature between 135–160°C (275–320°F) for about 8–20 seconds. Go even a little outside those recommendations, and you're rolling the dice on a failed transfer.
I always tell people to think of it like baking a cake. If the oven's too hot or you pull it out too soon, you know what happens. The exact same principle applies here.
The secret to a flawless finish is consistency. Consistent temperature across the entire design, consistent pressure during the whole press, and consistent timing are what separate amateur results from professional-quality custom apparel.
Beyond the Basics of Application
Think of this guide as your roadmap to skipping the most common mistakes. We'll walk through everything from the crucial prep work on your fabric to that final, satisfying peel.
While our focus here is on the super-accessible method of iron-on transfers, it's worth knowing about other options. If you're curious about different ways to decorate garments, you might want to check out this great guide on Screen Printing 101. By understanding the "why" behind each step, you'll be able to troubleshoot any issues and tweak your technique for different fabrics and transfer types, making sure every project you tackle is a winner.
Key Variables for a Perfect Transfer
To make this even easier, here's a quick reference table that breaks down the most important factors. Think of it as your cheat sheet for getting that perfect press.
| Variable | Household Iron Guideline | Heat Press Guideline | Why It Matters |
|---|---|---|---|
| Temperature | High setting (e.g., Cotton/Linen), NO steam. | 135–160°C (275–320°F) | Too low and the adhesive won't activate. Too high and you can scorch the fabric or ruin the transfer. |
| Time | 15–25 seconds per section. | 8–20 seconds (check manufacturer specs). | Not enough time leads to poor adhesion. Too much time can damage the adhesive and the garment. |
| Pressure | Firm, even body weight. Stand and press down hard. | Medium to firm (typically 40-60 PSI). | Even pressure is critical for ensuring the entire design adheres uniformly, especially on larger prints. |
This table highlights just how crucial it is to control each variable. While a household iron can get the job done for hobby projects, a heat press offers the precision needed for consistent, professional-grade results.
Getting Your Workspace Ready
A great-looking transfer starts well before you even plug in your heat press. Getting your workspace and tools in order isn't just a boring first step—it's the bedrock of a successful project. I've seen countless failed applications, and honestly, most of them could have been avoided by not rushing this setup phase.
So, let's talk about what you actually need. Beyond your transfer and the shirt itself, there are a few non-negotiable items that will make or break your results.
- Your Heat Source: This is either going to be a household iron or a proper heat press.
- A Protective Sheet: A Teflon sheet or even a simple piece of parchment paper is essential. Don't skip this.
- A Firm Pressing Surface: This is probably the most overlooked part of the process, but it's absolutely critical for getting the transfer to stick.
Heat Source Showdown: Iron vs. Heat Press
Your biggest decision here is whether to use a standard iron or a heat press. Look, a home iron is right there in your closet and it's fine for a quick, one-off project. The problem is, irons are terrible at providing consistent results. They have hot and cold spots (thanks to those steam holes) and you have no real way to measure if you're applying enough pressure.
A heat press, on the other hand, is a game-changer. It's an investment, but what you're really paying for is consistency. You get perfectly even heat from edge to edge and precise pressure control, which is exactly what you need for professional-grade DTF transfers. If you're planning to sell your work or you just want your designs to last, the heat press wins every time.
Pro Tip: If you're stuck using a household iron, you have to work around its flaws. Crank it up to the highest setting (usually Cotton/Linen) and make sure the steam is turned OFF. Be prepared to put some serious body weight into it to get firm, even pressure.
Why Your Pressing Surface Matters (A Lot)
Whatever you do, do not use a standard ironing board. That padding is designed to absorb pressure, which is the exact opposite of what you want. It will literally soak up the heat and pressure, preventing the transfer's adhesive from properly melting into the fabric. This is the #1 reason I see for transfers peeling off after the first wash.
What you need is a solid, flat, and heat-resistant surface. A sturdy kitchen counter, a solid wood table, or even a clean spot on the floor will do the trick. Just put a heat pressing mat or a folded towel down first to protect the surface and give your garment a firm foundation. This solid base is what allows you to apply the direct, downward pressure required for a permanent bond.
If you're new to all this, it can also be a huge help to understand the different types of transfer papers out there. We break it all down in our guide on how to use transfer paper.
Prepping Your Fabric for a Flawless Bond
Before that transfer gets anywhere near your garment, the fabric itself needs a little prep work. Skipping this is like trying to put a sticker on a dusty surface—it's just not going to stick for long. There are two things you absolutely must do for every single project.
First, pre-wash your garment. And do it without any fabric softener. Brand new clothes are often coated with sizing, starches, or other chemicals from the factory. These invisible residues create a barrier that stops the transfer's adhesive from grabbing onto the fabric fibers.
Second, pre-press the garment for 5-10 seconds. This quick step is a powerhouse. It irons out any wrinkles, giving you a perfectly smooth canvas to work on. More importantly, it zaps any moisture hiding in the fabric. Steam is the ultimate enemy of a good transfer application, and this quick press guarantees the area is bone-dry and ready for a vibrant, long-lasting design.
Bringing Your Design to Life: The Application Process
Alright, you’ve organized your space and prepped your garment. Now for the fun part—turning that digital design into something you can actually wear. This is where the magic happens, but it requires a bit of precision. Let's walk through getting the alignment just right, pressing it perfectly, and finishing with a flawless peel.
First, a quick reminder of why that prep work is so important.
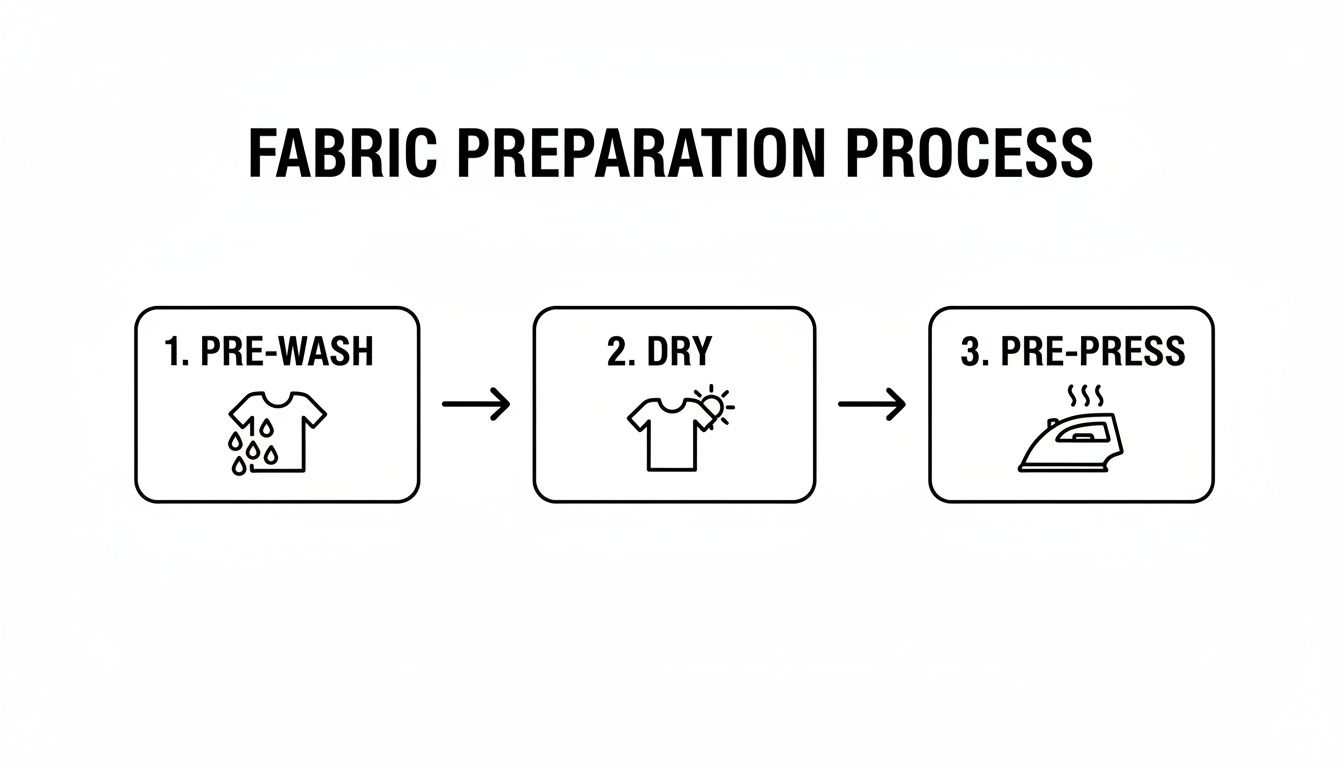
Running through this pre-wash, dry, and pre-press routine gets rid of any manufacturing residues and lingering moisture. Trust me, skipping this is the number one reason transfers fail to stick properly.
Nailing the Perfect Placement
Nothing screams "homemade" more than a crooked graphic. Getting your design centered and straight is what elevates your project from a craft to a professional-quality product. Luckily, there's a simple trick I've used for years to get it perfect every single time.
Start by folding your shirt in half vertically. Make sure you line up the shoulder seams perfectly, then give it a quick press with your iron or heat press. This creates a subtle crease right down the center of the garment—your new best friend for alignment.
Now, do the same thing with your transfer. Gently fold the film in half (with the image side facing out) and make tiny pinch marks at the top and bottom of the carrier sheet. All you have to do now is line up those pinch marks with the crease on your shirt. Bam, perfect centering. I always use a ruler to check the distance from the collar, just to be sure.
Using a Standard Household Iron
If you’re working with a regular iron, your success all comes down to one thing: consistent, heavy pressure. An iron doesn't heat evenly—it has hot and cold spots—so you have to make up for that with your technique.
Lay your transfer down, cover it with a Teflon sheet or parchment paper, and get ready to apply some serious muscle. Start in one corner and press down firmly for 15-25 seconds. Then, lift the iron and move it to an overlapping section. You have to systematically work your way across the entire design, making sure every last edge gets the same amount of heat and pressure.
A huge mistake I see people make is gliding the iron around like they’re just ironing a wrinkly shirt. That will not work. You have to plant the iron, press down hard, hold it, then lift and repeat.
Applying Transfers With a Heat Press
This is where investing in a heat press really shows its value. The whole process becomes incredibly consistent and far more reliable.
For DTF (Direct to Film) transfers, the game plan is similar to other methods but the settings are key. As a solid starting point, you’ll want your press set between 280-320°F (138-160°C) with medium pressure for about 10-15 seconds.
After the initial press, you need to let the garment cool down completely before you even think about peeling the film. This is what we call a 'cold peel'.
Once the film is off, I strongly recommend a quick 'finishing press' for 5-10 seconds with a protective sheet over the design. This final step is a game-changer; it pushes the ink deeper into the fabric fibers, softening the feel of the print and dramatically improving its durability.
To really get your settings dialed in for different fabrics, you should check out our comprehensive guide on heat press settings for DTF transfers.
Heat Settings for Common Fabric Types
Getting the temperature, pressure, and time right is non-negotiable for a professional, long-lasting print. Different materials react differently to heat, so what works for cotton will likely scorch polyester. Use this table as your starting point for some of the most common fabrics you'll encounter.
| Fabric Type | Recommended Temperature (°F/°C) | Pressure Level | Press Time (Seconds) | Peel Type (Hot/Cold) |
|---|---|---|---|---|
| 100% Cotton | 300-320°F / 149-160°C | Medium to Firm | 12-15 | Cold |
| 100% Polyester | 270-290°F / 132-143°C | Medium | 10-12 | Cold |
| 50/50 Cotton/Poly Blend | 280-300°F / 138-149°C | Medium | 10-12 | Cold |
| Tri-Blends | 260-280°F / 127-138°C | Light to Medium | 8-10 | Cold |
Always remember to test these settings on a scrap piece of fabric or an inconspicuous area if you're working with a new material. A few seconds of testing can save you from ruining a whole garment.
The Make-or-Break Moment: The Peel
This is it—the final step that determines whether you have a masterpiece or a mess. Every transfer is designed for a specific peel method, and getting it wrong is a recipe for disaster.
- Hot Peel: You peel the carrier sheet off immediately while the transfer is still scorching hot.
- Warm Peel: You wait just a few seconds (5-10) for things to cool down slightly, but not completely.
- Cold Peel: You absolutely must wait until both the garment and the transfer are cool to the touch. This is the standard for Cobra DTF transfers, and peeling too soon will rip the ink right off the shirt.
Patience is everything, especially with a cold peel. Once it's cool, start at a corner and peel the film back smoothly and at a low, sharp angle against the shirt. If you see any part of the design starting to lift with the film, stop immediately. Lay the film back down, cover it with your protective sheet, and press that specific spot again for another 5-10 seconds. This almost always fixes any minor adhesion issues and gives you that clean, vibrant finish you're looking for.
Working Through Common Iron-On Transfer Hiccups
Even when you follow all the rules, things can go sideways. You press a design, and the edges start to lift. Or maybe the whole thing just won't stick. Before you get frustrated, know that most of these issues are totally fixable and a great learning experience for your next project.
Let’s walk through the most common snags and how to get past them, turning a potential disaster into a perfectly finished piece.
When Your Design Lifts or Peels
This is the one I hear about most often. You go to pull back the carrier sheet, and a corner of your design decides to come with it. Or, it looks fantastic right after pressing, but starts peeling away after its first trip through the wash.
Nine times out of ten, the problem is one of three things:
- Not Enough Pressure: It's easy to underestimate what "firm pressure" really means. With an iron, you need to put some serious body weight into it. With a heat press, this means your pressure setting is too low.
- Not Enough Heat: If your iron or press isn’t hot enough, the transfer's adhesive never gets a chance to properly melt and grab onto the fabric fibers. This creates a weak bond that's just waiting to fail.
- An Unstable Surface: Pressing on a regular padded ironing board is a classic mistake. That soft padding is your enemy here—it eats up both the heat and the pressure you're trying to apply.
How to Fix It: Don't panic. If you see the design lifting right after you press it, just lay the carrier sheet (or a Teflon sheet) back over it. Hit that specific area again for another 10-15 seconds, but this time, really focus on applying solid, direct pressure. If a design is peeling after being washed, the issue was with that initial application, but this quick re-press trick will save your next one.
When the Transfer Won't Stick at All
It’s a heart-sinking moment: you finish pressing, you peel the film, and the entire transfer comes right off the shirt, still perfectly attached to its carrier sheet. A total failure to stick like this almost always points back to a problem with your setup or the garment itself.
A huge culprit here is the fabric. A lot of brand-new apparel has a chemical sizing or coating applied at the factory. This invisible layer acts like a shield, preventing the transfer's adhesive from ever touching the fabric.
Another possibility is simply using the wrong temperature for the material you’re working with. If you're using a low polyester setting for a transfer designed for cotton, there just won't be enough heat to activate the glue.
A Quick Insight: The great thing about modern transfers, especially DTF, is how versatile they are. You can press them onto cotton, polyester, blends, even leather. But that flexibility doesn't mean you can skip matching your settings to the specific fabric.
The best solution is all about the prep work. Always pre-wash your garments (without any fabric softener!) to remove those factory coatings. Then, double-check the recommended heat settings for both the transfer and your specific fabric before you even start.
Dealing with Scorched or Discolored Fabric
You lift the press and see it—a faint, yellowish box outlining your design. That’s scorching, a clear sign that your heat was too high for that particular fabric. Materials like polyester and certain blends are especially sensitive to high heat.
How to Fix It: The first thing to do is turn down your temperature. You can often get a perfect press at a slightly lower temp by just adding a few extra seconds to your press time. Also, always use a protective sheet, like Teflon or parchment paper. This helps spread the heat more evenly and acts as a buffer between the hot plate and your garment.
For minor scorching, the discoloration can sometimes fade out after the first wash. If it's a really bad scorch, the fabric fibers might be permanently damaged. It's a tough lesson, but it really shows why testing your settings on a scrap piece of fabric is so important when you're working with something new. The incredible durability of a well-applied DTF transfer—which can often last for 50 washes or more—comes from getting those settings right from the very beginning. You can learn more about the impressive durability of DTF transfers and their material versatility.
Aftercare Tips to Make Your Designs Last
You did it. You’ve pressed a flawless design, peeled away the film, and now you're looking at a killer custom garment. But hold on—the job isn't quite finished. What you do next is just as crucial as the application itself if you want that design to look amazing for the long haul.
Proper aftercare is the secret sauce that makes a design last for 50+ washes instead of just a handful. It's all about building a few simple habits to protect the transfer's bond with the fabric.
The Golden Rules of Washing
First things first: patience. You absolutely must wait at least 24 hours before that first wash. This isn't just a suggestion; it's a critical step that lets the adhesive fully cure and lock into the fabric fibers. Washing it too early is the number one reason I see for peeling and cracking down the road.
Once that waiting period is over, here’s how to handle every wash:
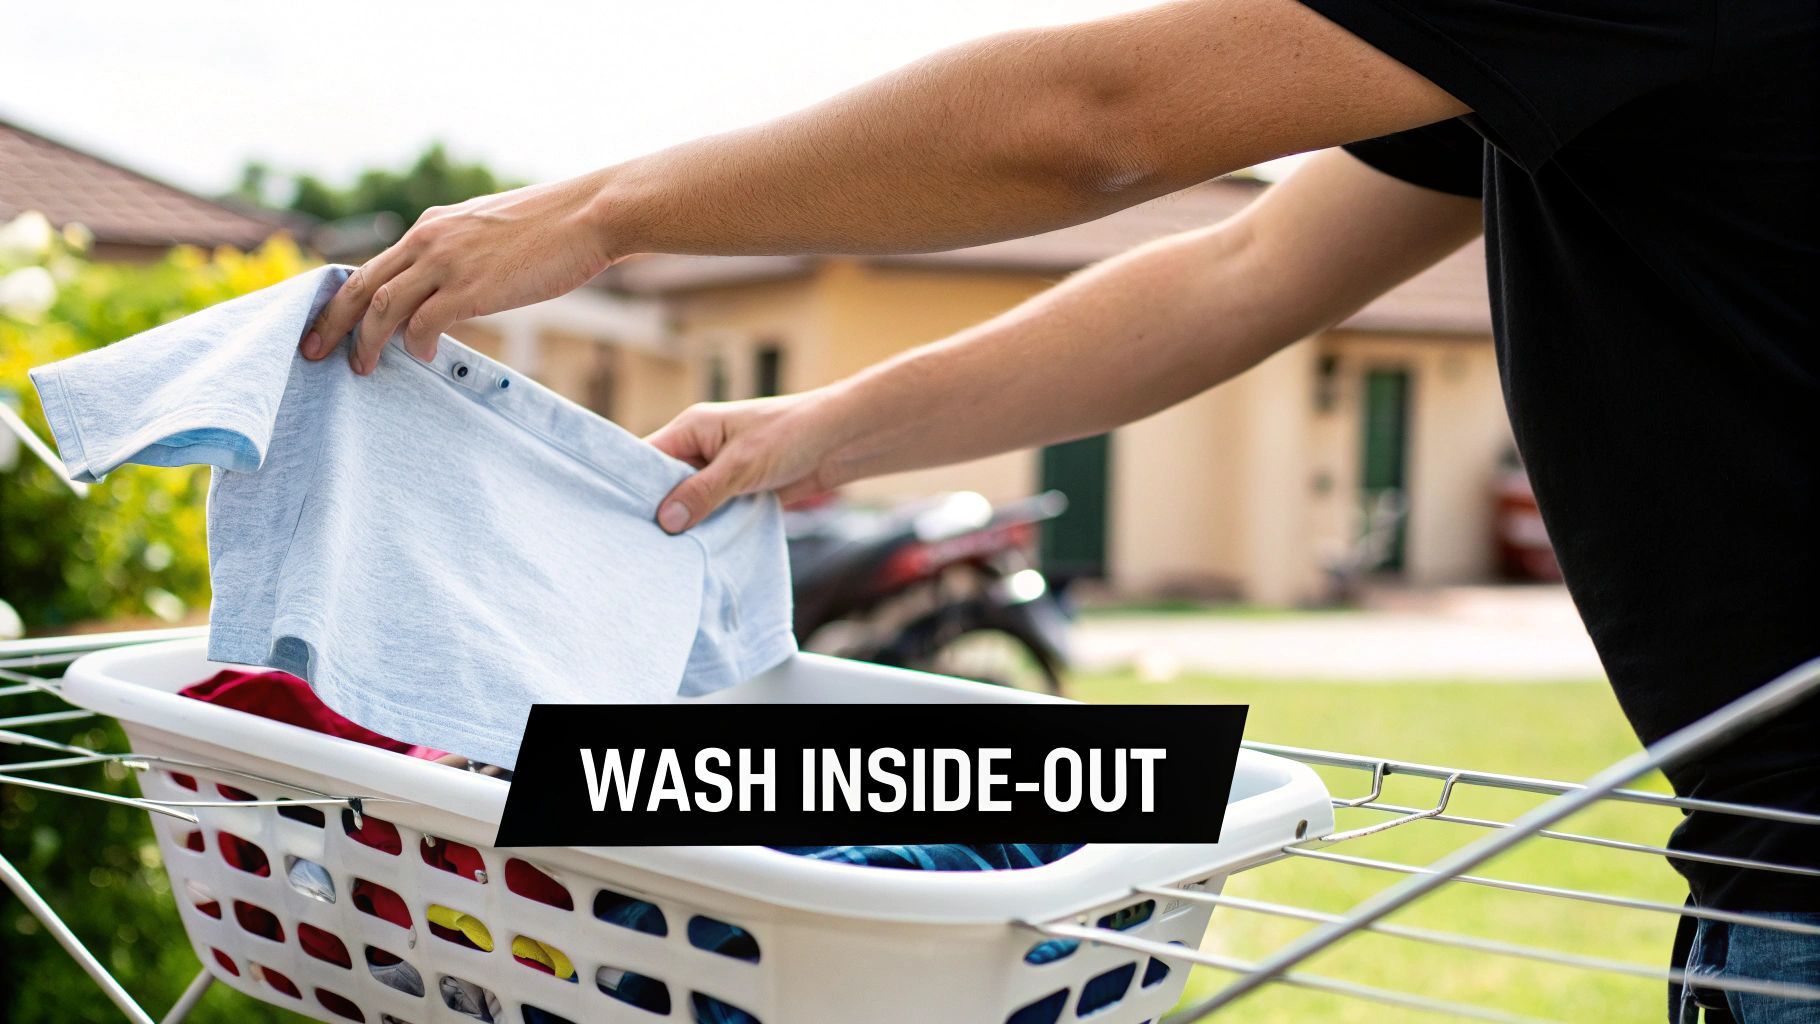
- Turn it Inside-Out: This is non-negotiable. Turning your garment inside-out shields the design from getting roughed up by other clothes, zippers, and the washing machine drum.
- Stick with Cold Water: Hot water is the enemy of transfer adhesives and can cause colors to fade prematurely. Always opt for a cold cycle to keep things looking sharp.
- Go with a Gentle Detergent: Stay away from harsh detergents, bleach, and especially fabric softeners. A simple, mild detergent is all you need to clean the garment without compromising the print.
Making these small tweaks to your laundry routine will pay off big time. Keep in mind that the garment's material matters, too. If you're curious how different fabrics hold up, you can dive deeper into the nuances of cotton vs polyester garment care in our guide.
Smart Drying for Maximum Durability
How you dry your custom gear is just as vital as how you wash it. That high heat from a machine dryer can do a lot of damage to an otherwise perfect print.
Honestly, the best method by far is to air-dry. Just lay the garment flat or hang it up. This simple act preserves the elasticity of the ink and the strength of the bond, keeping your design smooth and free of cracks for much longer.
We get it—air-drying isn't always practical. If you have to use a machine, make sure the garment stays inside-out and stick to the tumble dry low or no-heat setting. Never, ever use high heat.
One last thing: ironing. A hot iron directly on your design is a recipe for disaster. If you need to press the garment, keep it inside-out and iron the back of the fabric. Or, you can place a pressing cloth over the design as a protective barrier. Follow these straightforward tips, and you'll keep your custom creations looking as good as the day you made them.
Iron-On Transfer FAQs: Your Questions Answered
Even when you follow a guide to the letter, some questions always seem to pop up in the middle of a project. Let's dig into some of the most common issues people run into when they're getting the hang of iron-on transfers. Getting these details right is often what separates a project you love from one that just doesn't work out.
Think of this as your go-to troubleshooting guide. I'll give you clear, straight answers to those tricky situations so you can build your confidence and solve problems as they happen.
Can I Just Use a Towel on My Ironing Board?
I hear this one all the time, and the answer is a hard no. It’s a really bad idea to use a standard, padded ironing board or to lay a towel down on your work surface. Those soft surfaces are literally designed to absorb heat and pressure—exactly the opposite of what you need for a solid transfer.
For the adhesive to properly melt and grab onto the fabric fibers, it needs firm, direct pressure. A soft, squishy surface just can't provide that. It acts like a cushion, preventing that crucial bond from forming, and is one of the biggest reasons transfers fail and start peeling at the edges.
Key Takeaway: Always use a hard, flat, and heat-resistant surface. A wooden table (with a Teflon sheet to protect it), a countertop, or a proper heat press mat gives you the solid foundation you need to apply firm, even pressure.
Help! My Transfer Cracked After Just One Wash!
It’s incredibly frustrating to see your work crack after the first wash, but this almost always points back to an issue with the application itself, not a bad transfer.
When a transfer cracks, it’s usually because of one of three things:
- Not Enough Pressure: The adhesive never fully melted into the fabric's weave because you didn't press down hard and consistently enough.
- Heat Was Too Low: If your temperature setting was too cool, you only created a weak, superficial bond that was destined to fail in the washing machine.
- Washed It Too Soon: The adhesive needs time to cure. You have to wait at least 24-48 hours before washing the garment, or you'll interrupt this critical setting process.
Always go back and double-check the specific instructions for your transfer type. Nailing the pressure, temperature, and cure time is everything.
What's the Difference Between a Hot Peel and a Cold Peel?
This term is all about timing—it tells you when to remove the plastic carrier film from your design after you've pressed it. Getting this right is absolutely critical.
A hot peel means you rip that film off immediately after lifting your iron or heat press, while the whole thing is still blazing hot.
On the other hand, a cold peel—which is the standard for our Cobra DTF transfers—requires you to wait. You have to let both the garment and the transfer cool down completely before you touch that film.
If you mix them up, you'll ruin your project. Peeling a cold-peel design when it's hot will pull the ink right off with the film. Waiting for a hot-peel design to cool can make the carrier sheet a nightmare to remove and leave you with a ragged, incomplete transfer. Follow the manufacturer's instructions on this to the letter.
The demand for high-quality custom apparel is huge. In fact, the global revenue for heat-transfer printing was around $4,214.8 million in 2024 and is expected to keep growing. It just shows how popular durable methods like DTF transfers have become. You can dig into the numbers in this heat transfer paper market report.
Can I Put a New Iron-On Transfer Over an Old One?
Technically, yes, you can. But should you? I strongly advise against it if you want a result that looks good and actually lasts. Trying to apply a new transfer over an old, cracked, and uneven surface is like building a house on a shaky foundation.
The new transfer’s adhesive needs a clean, smooth fabric surface to grab onto. Layering it over an old design will give you a bumpy, unprofessional finish that’s almost guaranteed to peel off quickly. For the best result, you really need to remove the old transfer first. You can try using an iron and tweezers or a dedicated vinyl remover to clear the way for a fresh start.
Ready to make custom apparel that looks vibrant, feels great, and stands up to wear and tear? At Cobra DTF, we provide premium, American-made DTF transfers that are built to last. See the difference for yourself with our fade-resistant colors, quick turnaround, and satisfaction guarantee.
Explore our high-quality DTF transfers and elevate your projects today!