

How to Apply Transfers for Flawless DTF Prints
The press closes, the timer runs, and the transfer looks perfect until the carrier film lifts an edge of the design. Or the cotton shirt bonds cleanly while the polyester order comes out scorched and discolored. These failures usually don't begin with the artwork. They begin with a rushed setup, an unsuitable heat profile, or a peel method that doesn't match the film.
Learning how to apply transfers means treating DTF application as a controlled production process, not a single temperature-and-time recipe. The correct result depends on the garment, the transfer film, the pressure, and the way you finish the print.
Preparing the Garment and Workspace
A clean application can fail before the press closes if the shirt is damp, twisted, or resting over a bulky seam. Start by laying the garment squarely on the lower platen. Smooth the print area by hand, then check for seams, folds, buttons, zippers, lint, and loose fibers. A thick seam can hold part of the garment above the platen, leaving the transfer with uneven contact and pressure.
Pre-press before positioning
Pre-press the garment for 3 to 5 seconds to remove surface moisture and wrinkles, following the foundational guidance in this DTF transfer application guide. Moisture can interfere with adhesive bonding, while wrinkles can shift the design or prevent parts of it from contacting the fabric.
Use the same brief pre-press step for cotton, blends, and synthetics, but keep the final heat profile specific to the fabric. Pre-pressing removes moisture and smooths the surface. It does not determine the temperature, dwell time, pressure, or peel method required for the transfer.
Practical rule: A flat garment is part of the press setting. If the fabric isn't supported evenly, changing the temperature won't fix the underlying contact issue.
Let the garment settle flat after pre-pressing. Place the transfer with the printed side facing up and the carrier film against the fabric. Align the design with a ruler, T-square, center crease, or laser guide. Heat-resistant tape helps secure the transfer on curved areas and garments that tend to move during positioning.
Control the station, not just the press
Keep the lower platen clean and stable. Set the garment, transfer, protective sheet, and finished-garment area within easy reach, so the shirt does not drag across the transfer after pressing. Dust, stray adhesive, and loose fibers can become permanent defects under heat and pressure.
A short setup check prevents avoidable reprints. Confirm that the platen is level, the garment lies flat, and the transfer is aligned before closing the press.
Before a production run, test the exact garment and transfer combination. Record the fabric composition, press temperature, dwell time, pressure, and peel instruction. Fabric-specific profiles matter because a setting that bonds well to cotton can discolor polyester, while insufficient contact can leave any substrate partly loose. Recording a successful sample turns it into a repeatable process instead of relying on memory during a busy shift.
Dialing in Heat Press Settings by Fabric
There isn't one magic temperature for every DTF transfer. The practical range across independent application guidance is roughly 285 to 325°F, or 140 to 163°C, with press times commonly between 10 and 20 seconds and pressure ranging from medium-firm to heavy, as summarized in these DTF application instructions.
Fabric composition determines how much heat the garment can tolerate and how readily the adhesive bonds. Cotton generally accepts a hotter profile. Polyester and performance fabrics need more caution because excess heat can scorch the surface or contribute to dye migration. Blends require judgment because the cotton content may accept heat that the synthetic portion doesn't.
Build presets by substrate
| Fabric type | Temperature | Press time | Pressure |
|---|---|---|---|
| Cotton | 300 to 325°F, 149 to 163°C | 10 to 15 seconds | Medium-firm |
| Polyester | 255 to 300°F, 124 to 149°C | About 10 to 15 seconds | Medium |
| Performance fabric | 265 to 285°F, 129 to 141°C | About 10 to 12 seconds | Medium |
For cotton, a common operating profile is 300 to 325°F, or 149 to 163°C, for 10 to 15 seconds, with medium-firm pressure and a short post-press. This gives the adhesive enough heat and compression to flow into the fabric structure without requiring an unnecessarily long dwell. The Cobra DTF heat press settings guide can serve as an additional reference when creating shop presets.
Polyester calls for a lower starting point. Independent guidance places polyester around 255 to 285°F, or 124 to 141°C, because higher temperatures can increase scorching and dye migration risk, while another practical window places polyester around 270 to 300°F, or 132 to 149°C. Those ranges aren't contradictory. They show why the garment finish, fabric weight, transfer chemistry, and supplier instructions matter.
Performance fabrics and technical blends often need the gentlest profile. Start lower, use medium pressure, and avoid extending the dwell just because the first test looks less glossy than expected. A synthetic garment may show heat damage before you see an adhesion problem.
Temperature alone doesn't create a durable bond. Pressure matters because it brings the adhesive into consistent contact with the garment. Too little pressure can leave the edges under-bonded, while excessive pressure can flatten fabric texture or create an unwanted surface impression.
A reliable preset is a starting point, not a promise. Test the transfer on the actual blank, then adjust one variable at a time.
Don't change temperature, time, pressure, and peel timing simultaneously. If the design lifts, first confirm the garment was flat and the pressure was even. If polyester shows scorching, reduce heat before increasing time. If a large graphic bonds unevenly, inspect platen contact and pressure distribution rather than just turning up the temperature.
Executing the Press and Peel Technique
The first press should be deliberate. With the transfer aligned and the carrier film smooth, close the press using the pressure required by the supplier's instructions. For many DTF applications, medium-firm pressure is the practical starting point, but a thick sweatshirt and a lightweight shirt won't compress in exactly the same way.
Start the timer only after the press has fully closed. A partially closed press can create a different result from the displayed setting because the garment isn't receiving consistent pressure across the design. Keep the transfer stationary while the press opens. Sliding the garment or carrier film while the adhesive is soft can distort fine details.
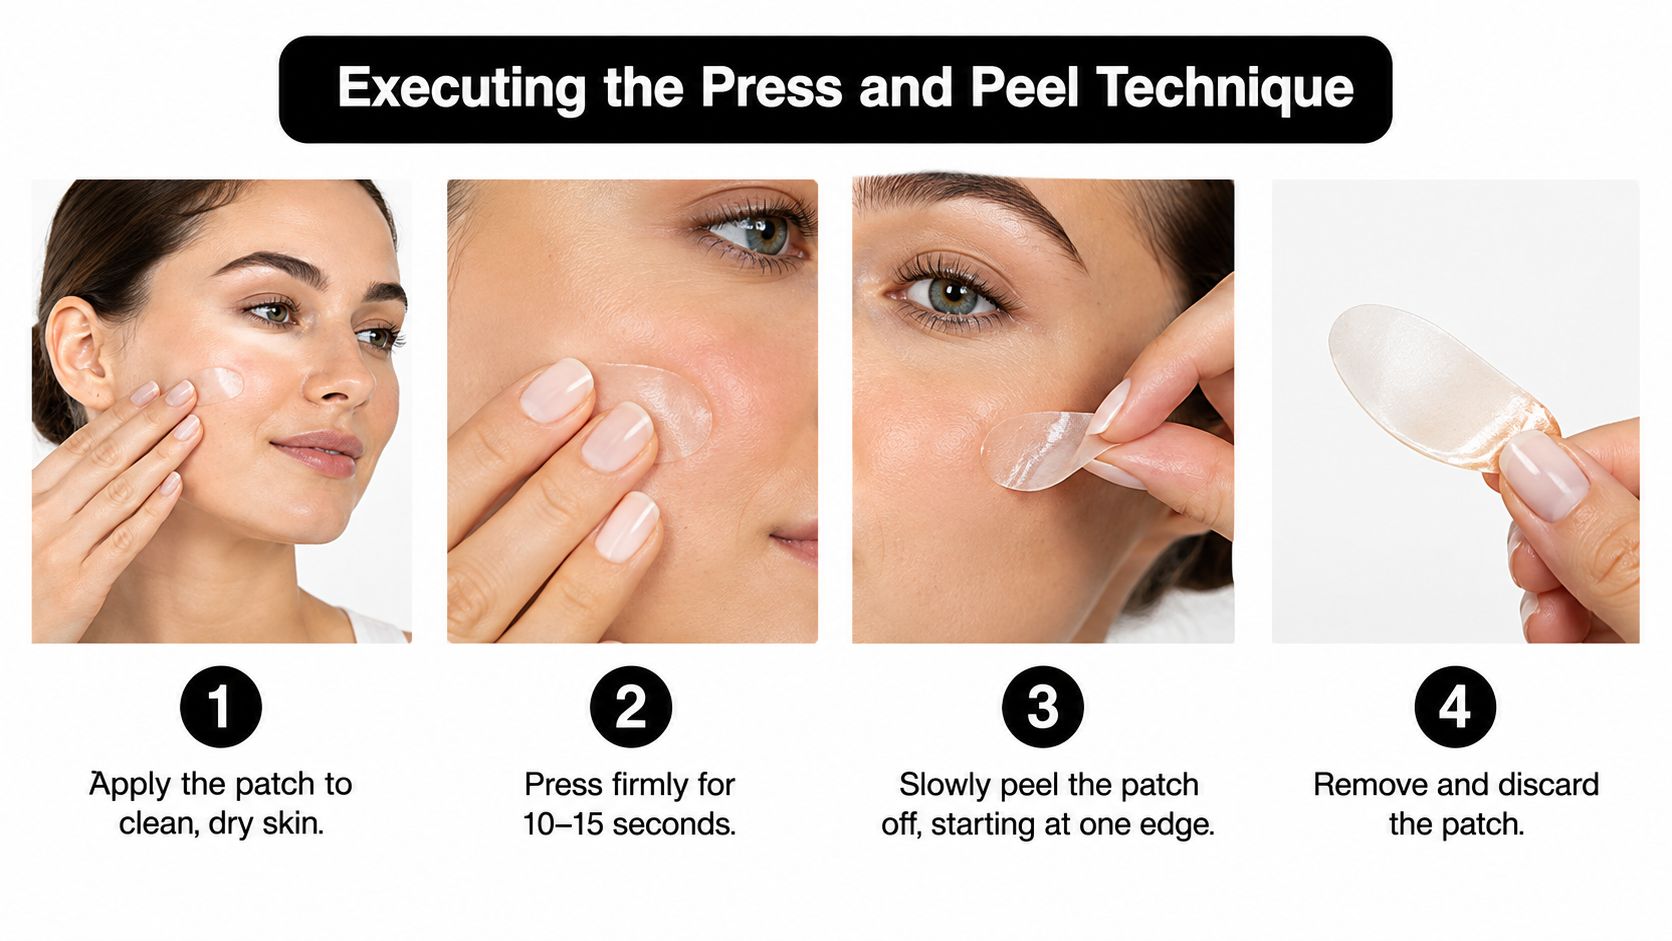
Hot peel and cold peel are not interchangeable
Peel timing causes more confusion than almost any other part of DTF application. Some films are designed for hot peeling, some require cooling, and supplier guidance can differ because film chemistry differs. DTF Plus guidelines reflect this broader issue, with current instructions moving toward more explicit supplier-specific directions rather than one universal peel rule.
A hot-peel film is removed while the transfer is still warm. Open the press, hold the garment steady, and pull the carrier sheet smoothly at the angle specified by the supplier. Don't yank upward. A controlled, low-angle motion reduces the chance of lifting fine lines or stretching a warm graphic. For more detail on this workflow, see this guide to hot-peel DTF transfers.
A cold-peel film must cool before removal. Moving too quickly can pull adhesive and ink away from the fabric because the bond hasn't stabilized enough for the carrier to release cleanly. Let the garment cool on a flat surface, then peel slowly while watching the design rather than relying on a fixed waiting habit.
The tactile cue is simple. The film should release without taking the printed layer with it. If an edge or small detail remains attached to the carrier, stop pulling, lay the film back down, and repress that area according to the supplier's instructions. Never force a partial release.
Peel according to the film, not according to habit. The same press profile can require different handling when the carrier chemistry changes.
Curing and Post-Press Finishing
A transfer can look secure when the carrier comes off and still have a weak perimeter. Post-press finishing gives the adhesive another controlled heat-and-compression cycle, helping it settle into the garment after peeling. Use the supplier's profile because film chemistry and fabric response can change the required finish.
Cover the design with the material specified by the supplier, such as a Teflon sheet, parchment paper, or purpose-made finishing cover. This barrier prevents the exposed print from touching the upper platen directly and helps maintain a consistent surface. Do not place the platen on an uncovered DTF print unless the product instructions explicitly permit it. Direct contact can leave residue, change the texture, or create unwanted shine.
Re-press with control
Set the post-press time and temperature according to the transfer instructions. A supplier may provide a separate finishing profile, so do not automatically repeat the original press settings. The goal is controlled bonding, not prolonged exposure to heat.
Pressure matters as much as temperature. A garment with a pocket, seam, ribbed panel, or uneven surface may leave thin lines, corners, or outer edges with less contact than the center. Support the application area on a flat pressing surface, smooth the garment, and ensure the finishing cover reaches the full design.
Inspect the graphic while it is still accessible. Look closely at narrow strokes, sharp corners, and large solid sections. If the finish appears unusually glossy, raised around the edge, or uneven across the design, stop and review the cover, platen contact, and supplier profile before pressing again.
The finishing pass should reinforce the bond without flattening the print or damaging the fabric. Excessive heat can affect synthetic garments, while insufficient contact may leave an edge vulnerable during handling and washing. Fabric-specific heat profiles matter here, even when the same transfer film is used across different garments.
Let the garment cool flat before packaging. Folding it while the adhesive remains warm can create creases or press a partially stabilized edge into the fabric. Cooling also gives the operator a clear chance to inspect the completed design under normal light and remove any garment from production before it reaches packing.
Troubleshooting Common Application Failures
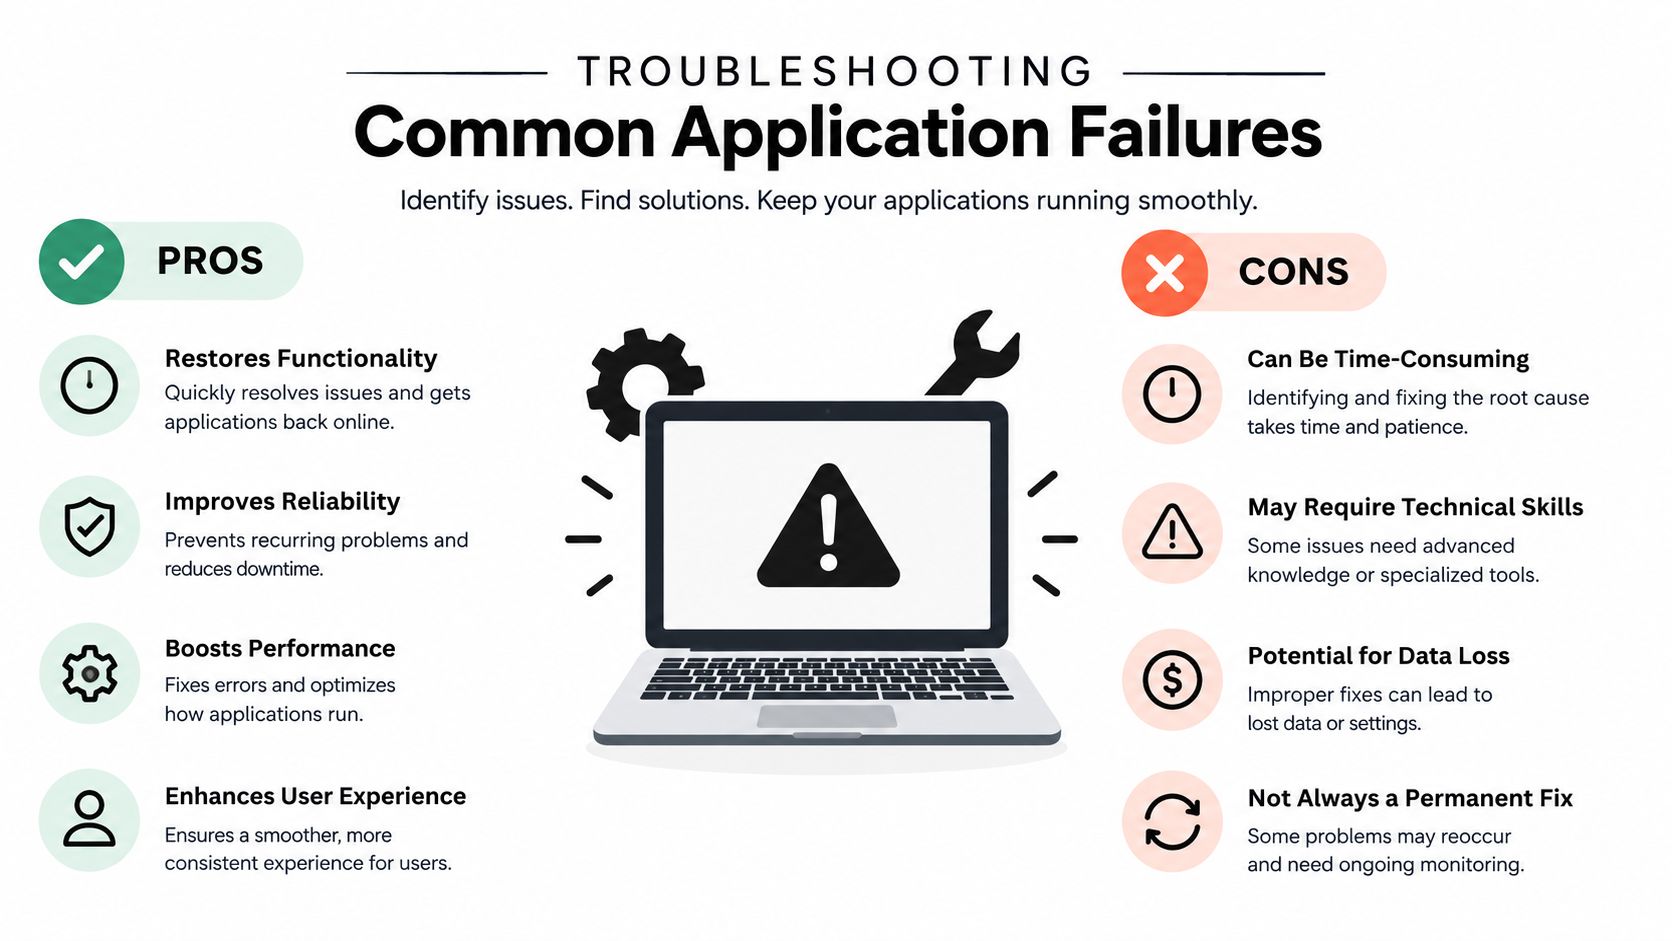
A failed transfer doesn't automatically mean the temperature was wrong. Production defects often come from a mismatch between heat, pressure, fabric structure, and peel timing. The fastest correction comes from identifying the failure pattern before changing the press profile.
| Failure | Likely cause | Immediate correction |
|---|---|---|
| Edge lift | Insufficient heat, pressure, or contact | Check platen support, then verify the supplier profile |
| Patchy adhesion | Uneven pressure or a raised seam | Reposition the garment and test platen contact |
| Scorching | Excessive heat on synthetic fabric | Lower the temperature and retest |
| Dye migration | Heat-sensitive polyester or blend | Use a lower profile and follow transfer-specific guidance |
| Ink lifting during peel | Incorrect peel timing or aggressive removal | Confirm hot-peel or cold-peel requirements |
This DTF temperature guide identifies the central production trade-off clearly. Too much heat can scorch synthetics, too little can cause edge lift or incomplete bonding, and inconsistent pressure can create patchy adhesion across large graphics.
Fix the physical cause first
Edge lift often gets blamed on weak transfer quality, but inspect the garment before changing materials. A seam, pocket, ribbed area, or wrinkled panel may have prevented full contact. Flatten the application area, support the garment evenly, and apply a controlled re-press if the supplier permits it.
Patchy adhesion points to pressure distribution more often than a simple temperature shortage. Check whether the lower platen is level and whether the garment is sitting over a bulky seam. Large graphics expose pressure inconsistencies because a small unsupported area can affect a visible section of the design.
Scorch marks on polyester require restraint. Increasing heat to force adhesion usually makes the defect worse. Move to the lower end of the appropriate synthetic-fabric range, reduce exposure if the supplier allows it, and verify that the press temperature is accurate rather than trusting the display alone.
Don't cure a pressure problem with more heat. Heat changes the adhesive, but pressure determines whether the adhesive reaches the fabric evenly.
If the print lifts during peeling, stop and identify the film type. A hot-peel carrier removed after cooling may behave poorly, while a cold-peel carrier removed immediately can pull up the design. Repeating the same press and peel motion without confirming the film instruction only reproduces the failure.
Washing advice belongs in quality control as well as customer care. After a successful application, follow the supplier's recommendations and share appropriate care guidance, such as the instructions in this DTF washing guide.
Scaling Your DTF Production Workflow
A shop scales DTF production by standardizing decisions, not by asking every operator to remember a favorite setting. Create a press sheet for each major substrate category, including the starting temperature, dwell time, pressure, peel type, cover material, and post-press instruction.
Keep one approved sample beside the press. It gives operators a visual reference for placement, color, edge bonding, and surface finish. If a new garment differs in weight, coating, texture, or fiber content, treat it as a new test rather than assuming the nearest preset will work.
Use a simple production sequence
- Inspect and flatten: Check the blank, remove lint, and position it evenly on the platen.
- Pre-press: Remove surface moisture and wrinkles before placing the transfer.
- Align and secure: Use a ruler, guide, or heat-resistant tape where movement is likely.
- Press by fabric: Apply the documented profile for that substrate.
- Peel by film: Follow hot-peel or cold-peel instructions from the transfer supplier.
- Finish and inspect: Re-press with the approved cover, allow the garment to cool, and check every edge.
Assign one person to maintain the preset sheet and update it after a controlled test. Operators should change one variable at a time, record the result, and quarantine questionable garments instead of sending them into packing. That discipline prevents a small process drift from becoming a full batch problem.
For shops that buy ready-to-press materials, Cobra DTF provides DTF transfers intended for garment application, so the same fabric-specific testing and documented press workflow can be applied to incoming orders. The supplier's instructions should remain the controlling reference for its particular transfer film and adhesive.
A reliable workflow protects more than print quality. It reduces rework, makes training easier, and gives customers a consistent result across cotton shirts, polyester garments, blends, denim, and technical fabrics. The objective isn't one universal setting. It's a repeatable method that tells the operator what to do when the garment or film changes.
Build your own fabric-specific press sheet, test each new blank before production, and follow the supplier's peel instructions instead of guessing. For ready-to-press DTF transfers that fit a controlled shop workflow, visit Cobra DTF and choose the transfer option that matches your next garment project.