
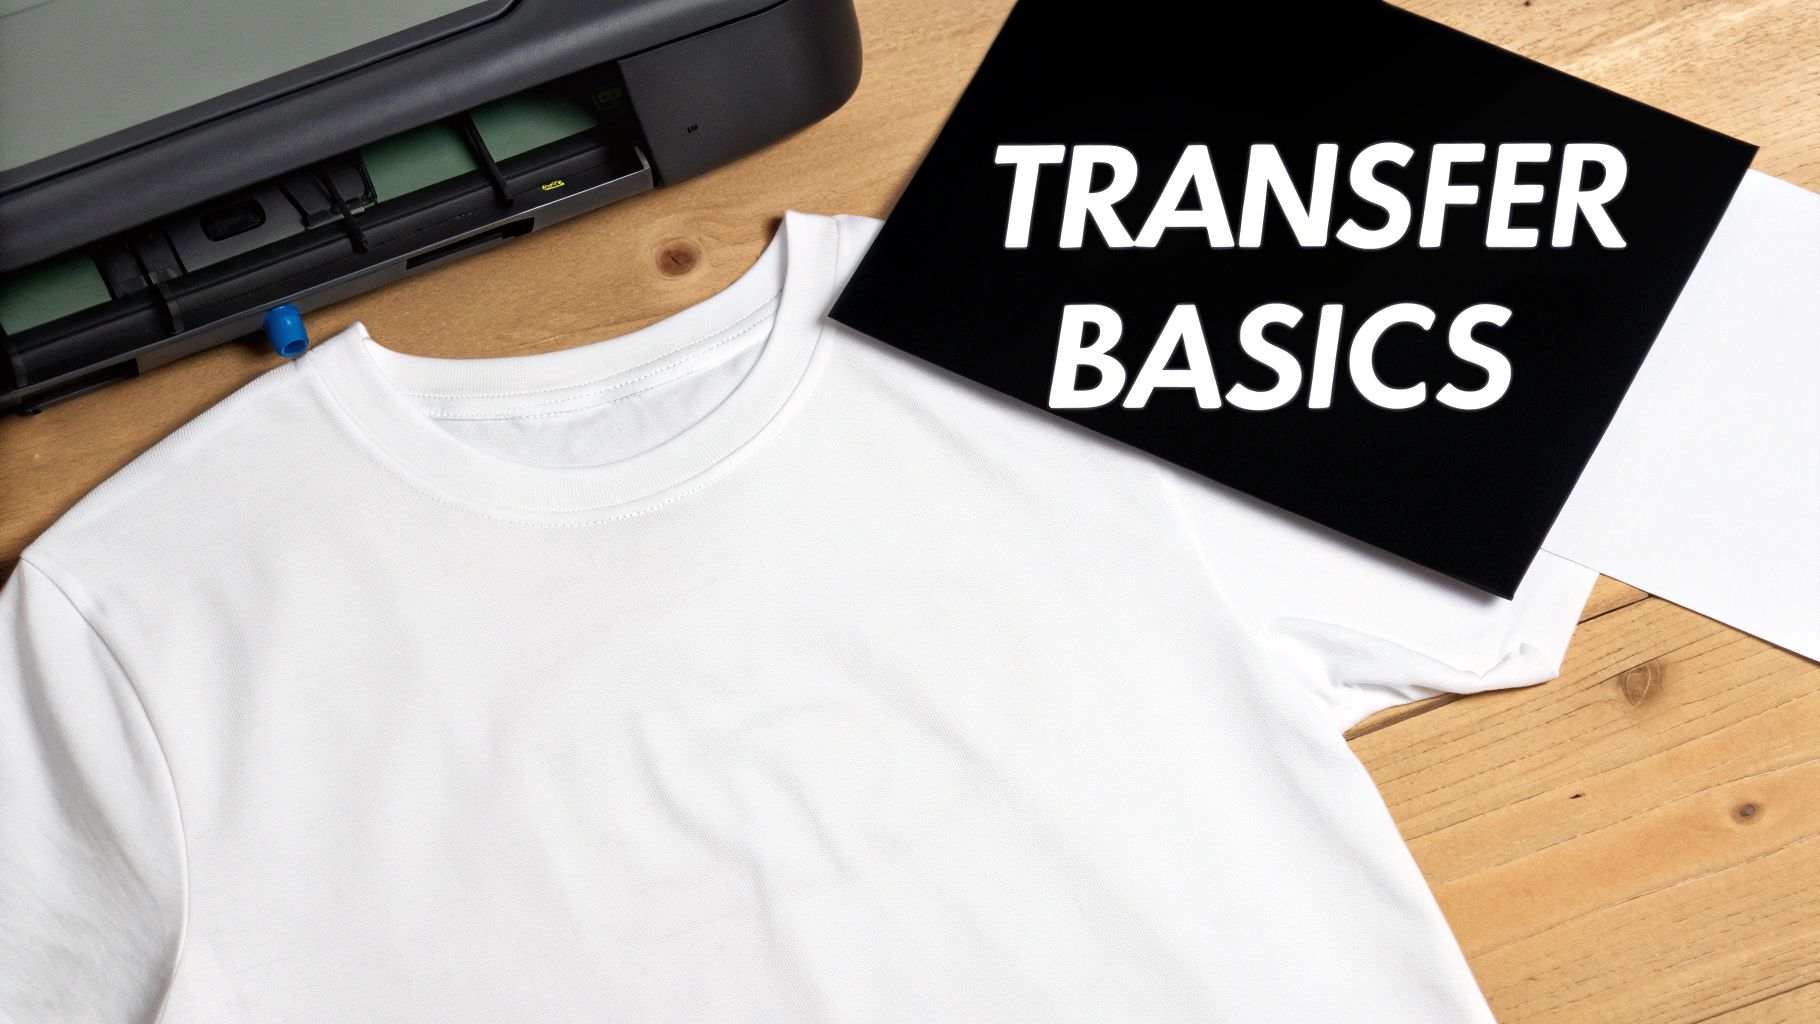
How do i print on transfer paper: Your Quick, Flawless DIY Guide
Printing on transfer paper is a pretty simple idea at its core: you just print a mirrored image onto a special sheet with your regular home printer, then use heat to press it onto a piece of fabric. It’s one of the most popular ways to turn your digital designs into actual custom apparel, making it a go-to for hobbyists and small business owners alike.
The Essentials of Printing on Transfer Paper
Before you fire up the printer, a few key details will make or break your project. Think of transfer paper as a temporary carrier for your ink. It holds onto your design just long enough to release it onto a t-shirt, tote bag, or another fabric item when you apply heat.
This method is a huge part of the custom apparel world, a global market that hit a value of approximately USD 3.1 billion in 2024 and is still climbing. It's clear that the demand for personalized gear isn't slowing down.
The Most Important First Step
The very first thing you need to decide is what color fabric you're printing on. This single choice determines the exact type of paper you’ll need, and honestly, it's where most beginners trip up.
-
Paper for Light Fabrics: This paper is made with a transparent polymer film. When you heat-press the design, only the ink transfers over. Any unprinted areas stay clear, letting the fabric's natural light color show through. This is why you must mirror your image before printing—you'll be applying it face-down on the garment.
-
Paper for Dark Fabrics: This version comes with a solid, opaque white background. You print your design right-side-up (no mirroring needed!), peel it off the backing like a sticker, and then place it face-up on the shirt to press. That white layer is crucial for making your colors pop on dark or brightly colored fabrics.
Your Printer Matters More Than You Think
Your next big decision is the printer itself. There are specific transfer papers made for inkjet printers and others made for laser printers. You can't mix and match them. Trust me on this—putting inkjet paper in a laser printer can cause the coating to melt all over the inside, leading to a very expensive repair.
An inkjet printer is usually the top pick for anyone starting out. The prints tend to have more vibrant, rich colors and a softer feel once pressed, which is great for photos. On the flip side, laser transfers are known for being incredibly durable and producing super-sharp lines, making them perfect for logos and text-based designs.
Nailing these fundamentals sets you up for success from the get-go. If you want to get into the nitty-gritty, take a look at our guide that explains in more detail what is transfer paper and how it all works. Making the right choices here saves you from wasting ink and paper and helps you create a final product that looks professional and holds up in the wash.
Choosing Your Tools: Paper, Printer, and Ink
Your final product is only as good as the materials you start with. That’s a cliché for a reason—it’s true. Before you even think about hitting ‘print,’ you need to assemble the right toolkit. This is way more than just grabbing paper for light or dark fabrics; it's about creating a perfect match between your paper, printer, and ink to get the exact look and feel you're after.
Think of it like being a chef. You can't make a five-star meal with just salt and pepper. You need a whole spice rack to create different flavors. The same goes for custom apparel—you need a variety of transfer papers in your arsenal.
The World of Specialty Transfer Paper
Beyond the basics, there's a huge range of specialty papers that can give your projects a unique edge. The market for heat transfer paper was valued at around USD 657 million in 2024 and is booming, largely because of all the incredible options now available. You can dig into the specifics of the growth of the transfer paper market if you're curious.
Here are a few options to consider adding to your supply closet:
- Glossy vs. Matte Finish: This choice directly impacts the final vibe. A glossy finish gives you a vibrant, almost photo-like pop, while a matte finish creates a softer, more subtle effect that really feels like it’s part of the fabric.
- Stretchable Paper: Printing on anything with spandex or lycra, like athletic wear or ribbed tanks? Standard paper will crack on the first stretch. Stretchable transfer paper is built to flex right along with the fabric, so your design stays perfectly intact.
- Glitter or Metallic Papers: These are your secret weapon for adding serious sparkle or shine. The paper itself has a glitter or metallic base, so any design you print automatically gets that flashy effect when pressed.
The Great Debate: Inkjet vs. Laser
The printer you choose is a massive decision. While you can make both inkjet and laser printers work, one of them is the clear winner for most apparel decoration projects.
For most hobbyists and small shops, inkjet printers are the way to go. They’re fantastic at printing brilliant colors and smooth gradients, which makes them perfect for photos or designs with complex color blends. The ink actually soaks into the paper's coating, which usually results in a transfer with a softer feel—or "hand"—once it's on the garment.
Laser printers, on the other hand, use toner, which is a super fine powder that gets fused onto the paper with heat. This process creates incredibly durable transfers with razor-sharp lines, making them a great choice for crisp logos and text. The trade-off? The final transfer can feel thicker, almost like a plastic layer sitting on top of the shirt.
Pro Tip: If you're just getting your feet wet, an inkjet printer is your best bet. It offers more versatility and costs less to get started. Plus, you’ll find a much wider variety of specialty transfer papers made for inkjets, and they generally produce that soft-hand feel everyone wants for custom t-shirts.
Inkjet vs. Laser Printers for Transfer Paper
Deciding between an inkjet and a laser printer can feel like a big commitment. Each has its strengths, and the "best" one really depends on what you're making. This table breaks down the key differences to help you figure out which printer aligns with your projects and your budget.
| Feature | Inkjet Printer | Laser Printer |
|---|---|---|
| Print Quality | Excellent for photos and gradients, with vibrant colors. | Superior for sharp text and crisp vector logos. |
| Feel on Fabric | Generally softer and more flexible, especially with premium paper. | Can feel thicker and stiffer, like a vinyl layer. |
| Durability | Good, but can be prone to fading without quality ink and paper. | Excellent durability and wash-resistance; less prone to fading. |
| Initial Cost | Lower upfront cost for the printer. | Higher upfront cost for the printer. |
| Cost Per Print | Ink cartridges can be expensive and need frequent replacement. | Toner is more expensive but lasts for many more prints. |
Ultimately, for t-shirts and most apparel, the superior feel and color blending of an inkjet often make it the preferred choice, despite the higher ongoing ink costs.
Why Quality Ink Is Non-Negotiable
Alright, let's talk ink. Seriously, this is not the place to skimp. Using cheap, third-party ink might save you a few bucks today, but it’ll cost you big time in the long run with faded colors, poor washability, and even clogged print heads.
For inkjet printers, you’ll mainly encounter two types of ink:
- Dye-Based Ink: This is the standard stuff you find in most home office printers. It produces really brilliant colors, but it’s not water-resistant and will fade noticeably after just a few washes.
- Pigment-Based Ink: This is the professional's choice for apparel. Pigment particles are designed to sit on top of the paper instead of soaking in. This creates a water-resistant and UV-stable print that stands up to wash after wash.
Investing in a printer that uses pigment ink from the start—or at least buying high-quality pigment ink cartridges for your current printer—is the single best upgrade you can make for lasting results. It’s the difference between a shirt that looks great for one night and one that becomes a go-to favorite for years.
Preparing Your Design for a Perfect Print
A great transfer doesn't start at the printer. It starts with your digital file. Getting your design prepped correctly is probably the most critical part of the whole process, because it directly determines whether your final product looks sharp and professional or blurry and disappointing.
The bedrock of any quality print is resolution. For any transfer work, you should be working with a file that is 300 DPI (dots per inch). This is the industry standard for a reason—it ensures your lines are clean and your images are crisp, not pixelated.
You might be tempted to grab a small image from the web, but that's a recipe for a fuzzy disaster. Trying to enlarge a low-resolution graphic just stretches the pixels, making the flaws more obvious. Always, always start with the highest quality source file you can get your hands on.
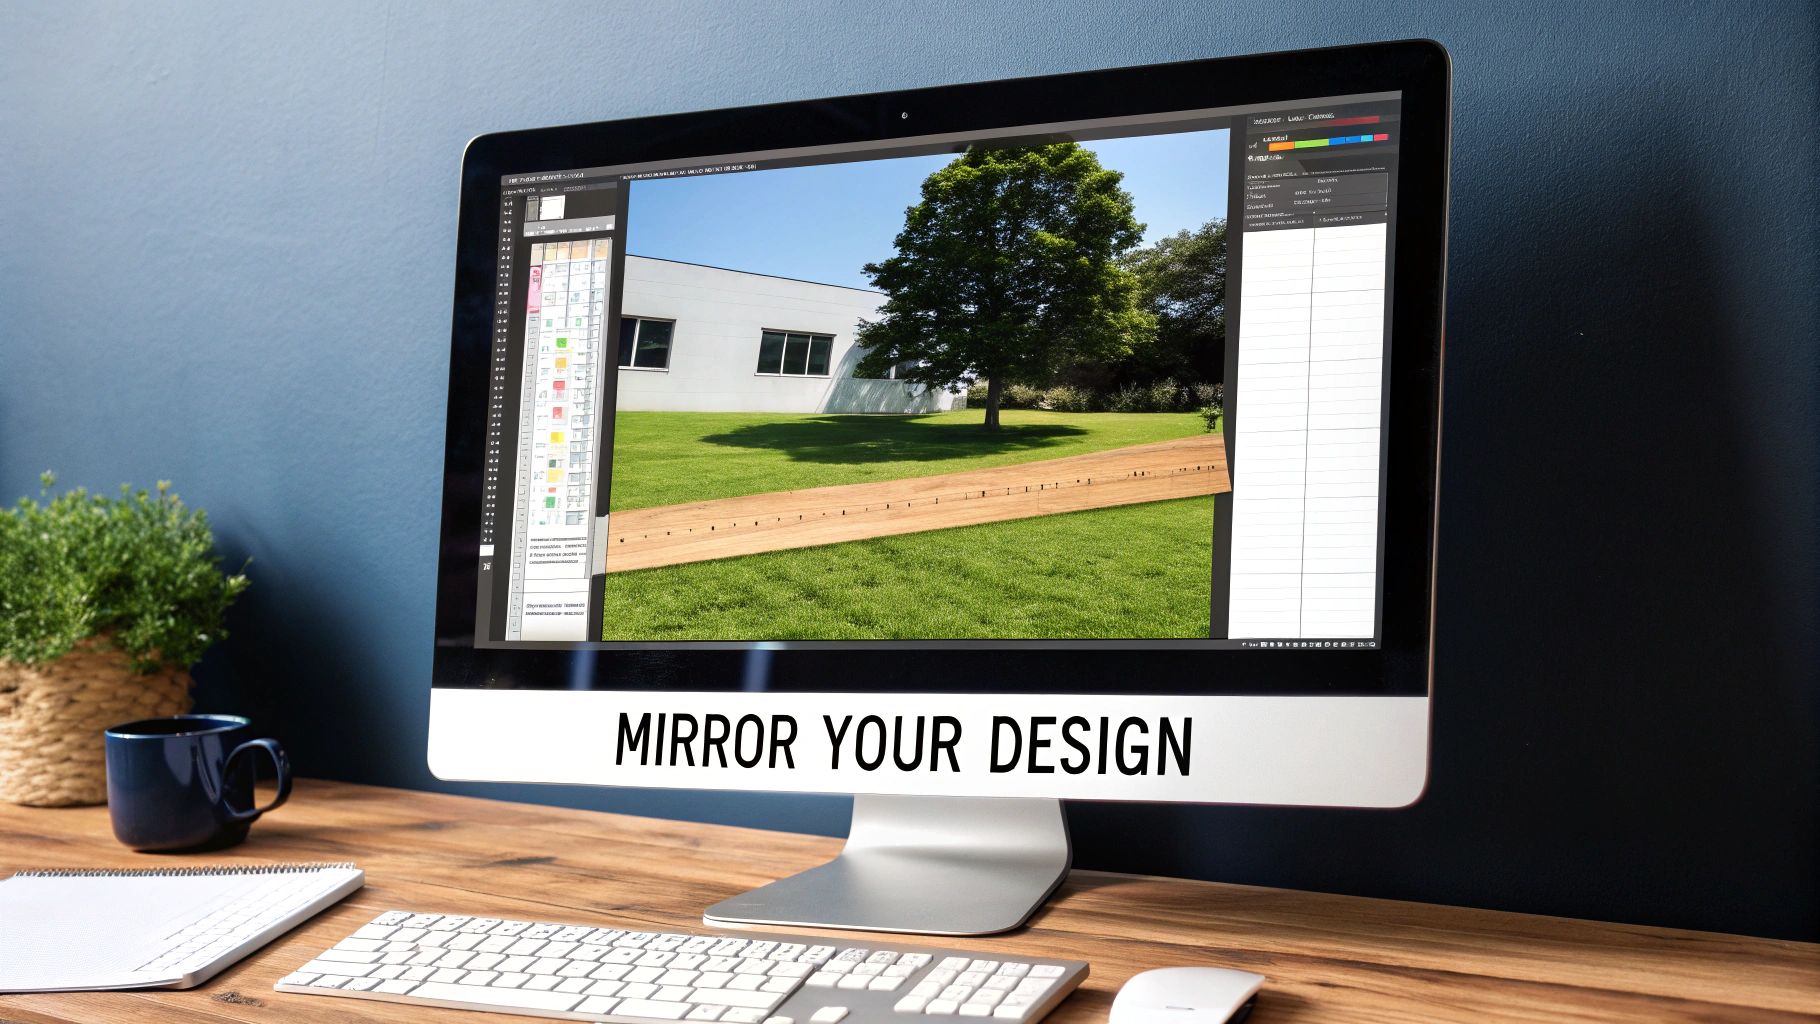
The All-Important Mirror Image Flip
This is where so many beginners get tripped up. Forgetting to mirror your design is a classic mistake, but the rule is actually pretty simple once you know it.
You must mirror your image when using transfer paper for light fabrics. The paper itself is transparent, so you place it face-down onto the shirt to press it. If you don't flip the design in your software first, everything will be backward when you peel it off.
On the other hand, when you're working with transfer paper for dark fabrics, you do not mirror the image. This type of paper has a solid white backing. You'll print the design normally, peel it off the backing like a sticker, and place it face-up on the garment.
A simple way to remember: If you apply the transfer face-down, you mirror it. If you apply it face-up, you leave it as is. Double-checking this one setting will save you a ton of frustration, ink, and expensive paper.
How to Mirror Your Design in Popular Software
Flipping your artwork is usually just a one-click job in most design programs. Here’s a quick rundown for a few common ones:
- Canva: Just select your design, click the “Flip” button in the top menu, and select “Flip Horizontal.”
-
Adobe Photoshop: Head up to the main menu and follow this path:
Image>Image Rotation>Flip Canvas Horizontal. - Silhouette Studio: Simply right-click on your selected design and choose “Flip Horizontally” from the context menu.
Before hitting print, you also need to make sure the dimensions are right for your t-shirt or substrate. Using a tool for proper image sizing helps you scale your artwork correctly so it doesn't look too small or run off the edges.
Understanding Color Profiles: RGB vs. CMYK
Finally, a quick word on color. Your monitor creates color with light using the RGB (Red, Green, Blue) profile. Your printer creates color with ink using the CMYK (Cyan, Magenta, Yellow, Black) profile. Because of this fundamental difference, the super-bright colors on your screen can sometimes look a bit different, often a little duller, when printed on paper.
If you have the option in your design software, switch your document's color mode to CMYK. This will give you a much more accurate on-screen preview of the final printed colors. If you're stuck working in RGB, just be aware that some color shift is normal. It’s always a good idea to run a quick test on cheap copy paper to see how the colors translate before you use a real transfer sheet. Mastering these prep stages is what separates the pros from the hobbyists.
Bringing Your Design to Life: The Printing Process
This is where the magic happens—your digital file becomes a physical transfer, ready for pressing. Getting this step right is non-negotiable. Think of it less like printing a document and more like calibrating an instrument; your settings directly control the vibrancy and longevity of the final product.
Getting your printer settings dialed in tells the machine exactly how to handle the special coating on the transfer paper and how much ink to lay down. It’s about a conversation between you and your printer to get that perfect, ink-rich sheet.
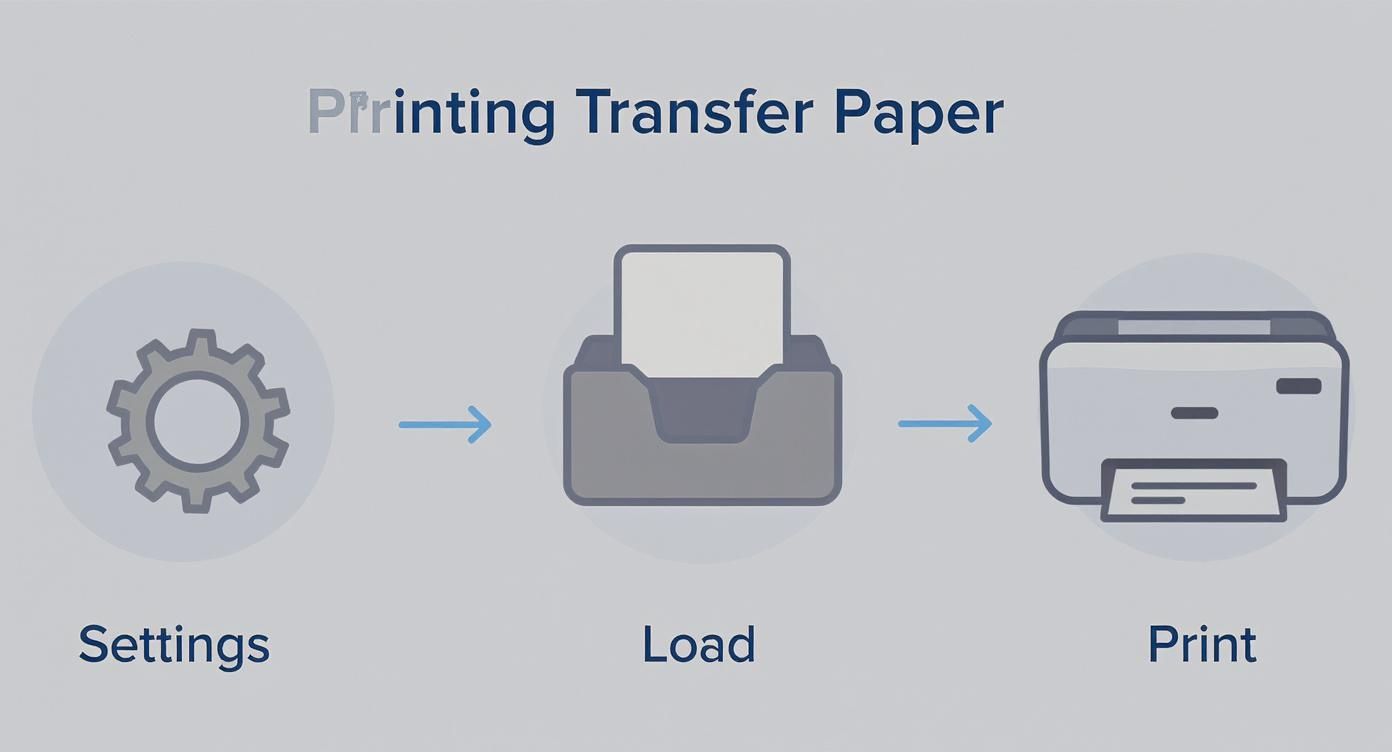
Dialing In Your Printer Settings
First things first, you need to get into your printer’s settings menu. After you hit Print (or Ctrl+P/Cmd+P), look for Properties, Preferences, or Print Settings. The exact wording varies between brands like Epson, HP, and Canon, but the critical controls are always there.
You’re looking for two main settings: Paper Type and Print Quality.
- Paper Type: If you see an option for "T-Shirt Transfer," that's your golden ticket. If not, don't sweat it. The next best thing is a photo paper setting. I usually go with "Premium Matte" or "Matte Photo Paper." These tell the printer to expect a thicker, coated sheet and to adjust the ink flow accordingly.
- Print Quality: This one's simple: crank it to the highest setting available. Whether it’s called "High," "Best," or "Photo," this ensures the printer lays down the maximum amount of ink. You need that heavy saturation for colors that really pop after pressing.
Expert Tip: Whatever you do, never use the "Plain Paper" setting. It’s a recipe for disaster. The printer will barely use any ink, and you'll end up with a faded, washed-out design that looks terrible on the shirt.
Loading the Transfer Paper the Right Way
This seems basic, but it’s a classic rookie mistake. Your standard office printer isn't built to handle a thick stack of transfer paper—it’ll jam almost every time. The only reliable method is to load one single sheet at a time.
Figuring out which side to print on is just as important. One side is the printable surface (usually bright white and slightly matte), and the other is the backing (which might have a logo, grid, or a slicker feel). Make sure the sheet is loaded so the ink hits that printable side. When in doubt, the instructions that came with your paper will show you which is which.
This single-sheet workflow is a major point of contrast with newer methods like Direct-to-Film (DTF). A Cobra DTF printer, for example, prints onto a continuous roll, letting you churn out dozens of transfers without ever stopping to reload. It’s built for production, whereas the single-sheet method is more for one-offs or small batches.
Hitting 'Print' and Handling the Result
With your settings locked in and your paper loaded correctly, you're ready to print. Go ahead and click that button. Just be prepared to wait a bit—printing at the highest quality setting is a marathon, not a sprint.
Once the sheet emerges from the printer, handle it carefully by the edges. The ink is still wet and can easily smudge. I recommend letting it sit for at least 5-10 minutes to air dry completely. Don't rush this part! A fully cured print is essential before you even think about heading to the heat press.
The accessibility of this process is a huge reason why the custom apparel world has exploded. It’s part of a massive global paper printing market that’s projected to reach USD 331.54 billion by 2025. Simple inkjet technology has given countless creators the power to launch their own brands from a desktop. You can dig into the growth drivers in the printing industry to see the bigger picture. By following these steps, you ensure your piece of that pie is a perfectly printed, press-ready transfer.
Mastering the Heat Press Application
Getting your design printed is only half the battle. The real magic—or mishap—happens at the heat press. This is the make-or-break moment where your printed sheet becomes a durable, wearable piece of art. How well you handle this step directly impacts the vibrancy, feel, and longevity of the final product.
Think of the transfer paper's coating as a temporary glue holding the ink. The heat and pressure from your press act as the catalyst, releasing that ink from the paper and permanently fusing it into the fabric's fibers. If you don't get that combination just right, you’ll end up with a design that cracks, fades, or peels off after the first wash.
Nailing Your Heat Press Settings
For professional results, a dedicated heat press is a non-negotiable tool. Unlike a home iron, it delivers consistent, even heat and pressure across the entire design, which is absolutely critical. Investing in a solid machine is one of the smartest moves you can make. If you're just starting, our guide on the best heat press for beginners can point you in the right direction.
Every fabric and transfer paper has its own "sweet spot." Finding it is key.
Recommended Heat Press Settings by Fabric Type
This table gives you a great starting point for the most common materials you'll work with. But remember, these are just guidelines.
| Fabric Type | Temperature Range (°F/°C) | Press Time (Seconds) | Pressure Level |
|---|---|---|---|
| 100% Cotton | 350-375°F / 177-190°C | 15-25 | Medium to Firm |
| Polyester | 270-300°F / 132-149°C | 10-15 | Light to Medium |
| 50/50 Blends | 320-350°F / 160-177°C | 12-20 | Medium |
Always, always do a test press on a scrap piece of fabric when you're using a new paper or garment for the first time. It can save you from ruining a perfectly good shirt.
What If I Only Have a Home Iron?
Don't have a heat press yet? You can still get by with a standard home iron, but it demands a lot more patience and muscle. The biggest challenge is applying completely even pressure, which irons just aren't built for.
First, turn off the steam setting—moisture is the enemy here. Crank the iron to its highest setting (usually "Cotton" or "Linen") and let it get fully hot. Skip the wobbly ironing board and work on a hard, heat-resistant surface, like a wooden table with a pillowcase down for protection.
Now for the hard part. You need to press down with firm, consistent body weight, moving the iron in slow, circular motions for about 2-3 minutes. Give extra attention to the edges and corners of the design; that's where transfers applied with an iron fail most often.
The printing workflow is the first critical phase before you even think about heat application.
As this shows, getting the settings and printing right is the foundation for a successful press.
The Peel: Timing is Everything
When and how you peel the backing paper away is just as crucial as the press itself. The timing dramatically changes the final texture and finish of your design. You'll encounter three main peel methods:
- Hot Peel: You rip the backing paper off the moment the press opens. This usually leaves a softer, more flexible design with a matte finish that feels like it’s part of the fabric.
- Warm Peel: You wait around 5-10 seconds before peeling. This can be a nice middle-ground, balancing softness with durability.
- Cold Peel: You let the shirt and transfer cool down completely before touching the backing. This method often produces a glossier, slightly thicker finish and is known for creating exceptionally vibrant colors.
The most important rule? Always check the instructions for your specific transfer paper. The manufacturer knows their product best and will tell you exactly which peel method to use. Ignoring their recommendation is a fast track to a ruined transfer.
Fixing Common Application Problems
Even seasoned pros run into issues. If your transfer isn't coming out right, one of these common culprits is likely to blame.
- Design is Cracking or Peeling After a Wash: This almost always means not enough pressure or time. The ink simply didn't bond properly with the fabric. Try adding 5-10 seconds to your press time and increasing the pressure.
- Colors Look Faded or Dull: This usually points to a temperature that's too low or, again, not enough pressure. The ink wasn't fully activated and pushed into the garment. Double-check your heat settings and make sure your press is clamping down firmly.
- Fabric is Scorched or Yellowed: The heat is too high. This is a very common issue with polyester and poly-blends, which are sensitive to heat. Lower your temperature by 15-20°F and always use a Teflon sheet or piece of parchment paper as a protective barrier.
A Few Common Questions About Transfer Paper
Even with the best instructions, you're bound to have questions once you start working. Getting the hang of transfer paper printing definitely involves a bit of trial and error. Let's walk through some of the most common issues people run into and get you some clear answers.
How Long Does a Transfer Paper Shirt Last?
This is the big one, and the honest answer is: it depends entirely on your materials and process.
When you use high-quality pigment ink, premium transfer paper, and a proper heat press with the right settings, you can expect a shirt to last 30-50 washes. You'll see some fading over time, but it won't crack or peel prematurely.
Now, if you're using the standard dye-based ink that comes with most home printers and you apply it with an iron, you're looking at a much shorter lifespan—maybe 5-10 washes before it starts to look rough.
The key factors are pretty straightforward:
- Ink Type: Pigment ink is built for durability and water resistance. Dye ink just isn't.
- Paper Quality: Professional-grade papers have a much better polymer coating that bonds deep into the fabric fibers.
- Application Method: A heat press delivers perfectly even heat and pressure, something an iron simply can't do. That bond is everything.
- Washing Care: Treat the shirt right! Wash it inside out in cold water and let it air dry. This alone can double the life of your print.
Can You Use an Iron for Transfer Paper?
Yes, you can, and it's how most of us get started. But let's be realistic about the challenges. The main problem is getting even and consistent pressure across the entire design. An iron's heat plate has hot spots, and it’s surprisingly difficult to apply enough body weight evenly.
If an iron is your only option, follow these tips to get the best possible result:
- Ditch the ironing board. Use a hard, heat-resistant surface like a wooden table (with a protective layer, of course).
- Turn off the steam and crank the heat to the highest setting your iron has.
- Lean into it! You need to press down with your body weight for a solid 2-3 minutes, constantly moving the iron to cover every inch, especially the edges.
An iron is fine for one-off projects or just having fun. But if you’re thinking about selling your shirts or want results that last, upgrading to a heat press is a non-negotiable next step.
For anyone serious about custom apparel, a heat press is a game-changer. It eliminates the guesswork and ensures every single transfer is applied with the perfect combination of heat, time, and pressure for maximum durability.
What Kind of Fabric Can I Use?
Most heat transfer papers are made for 100% cotton or cotton/polyester blends (like a 50/50 tee). These fibers give the transfer's polymer coating something to grab onto and melt into when heated.
Things get tricky with performance fabrics. A 100% polyester shirt is very sensitive to heat and can scorch or even melt if your temperature is a little too high. For stretchy materials like spandex or Lycra, you absolutely need a specialty stretchable transfer paper. A standard transfer will crack and flake apart the moment you stretch the shirt.
Always, always check the paper’s packaging for its recommended fabric compatibility before you press.
This is just one of many ways to get a design on a shirt. To see how it stacks up against other popular techniques, you can explore our detailed guide on different t-shirt printing methods.
Why Is My Transfer Cracking or Peeling?
This is the most frustrating problem, and it's almost always a sign of a bad bond between the transfer and the fabric. The issue typically comes down to one of three things: not enough pressure, not enough time, or not enough heat.
- For Heat Press Users: The fix is usually easy. First, increase your pressure to a medium-firm or firm setting. Then, add another 5-10 seconds to your press time. It’s also worth double-checking that your press's temperature reading is accurate.
- For Iron Users: This is the classic iron-on problem. You almost certainly didn't apply enough consistent pressure for long enough. You can try pressing it again, really focusing on putting your weight into it and giving extra attention to the edges.
This issue really highlights where traditional transfer paper falls short, especially when compared to newer tech. Direct-to-Film (DTF) transfers, for instance, are known for their incredible durability and stretch, which virtually eliminates cracking and peeling on all sorts of fabrics.
At Cobra DTF, we specialize in providing premium, USA-made DTF transfers that offer superior durability and vibrancy for your custom apparel business. Ready to upgrade from transfer paper and see the difference? Explore our high-quality DTF solutions at https://cobradtf.com.