
A Practical Guide to Heat Transfer on Hats
Applying a design to the curved surface of a hat might seem tricky, but getting a professional, long-lasting finish is actually pretty straightforward once you get the hang of it. For custom headwear, Direct-to-Film (DTF) is the best tool for the job, hands down. It's flexible, the colors pop, and it's durable. Success really just comes down to having the right gear and nailing your technique.
Why Heat Transfer on Hats Is a Game Changer
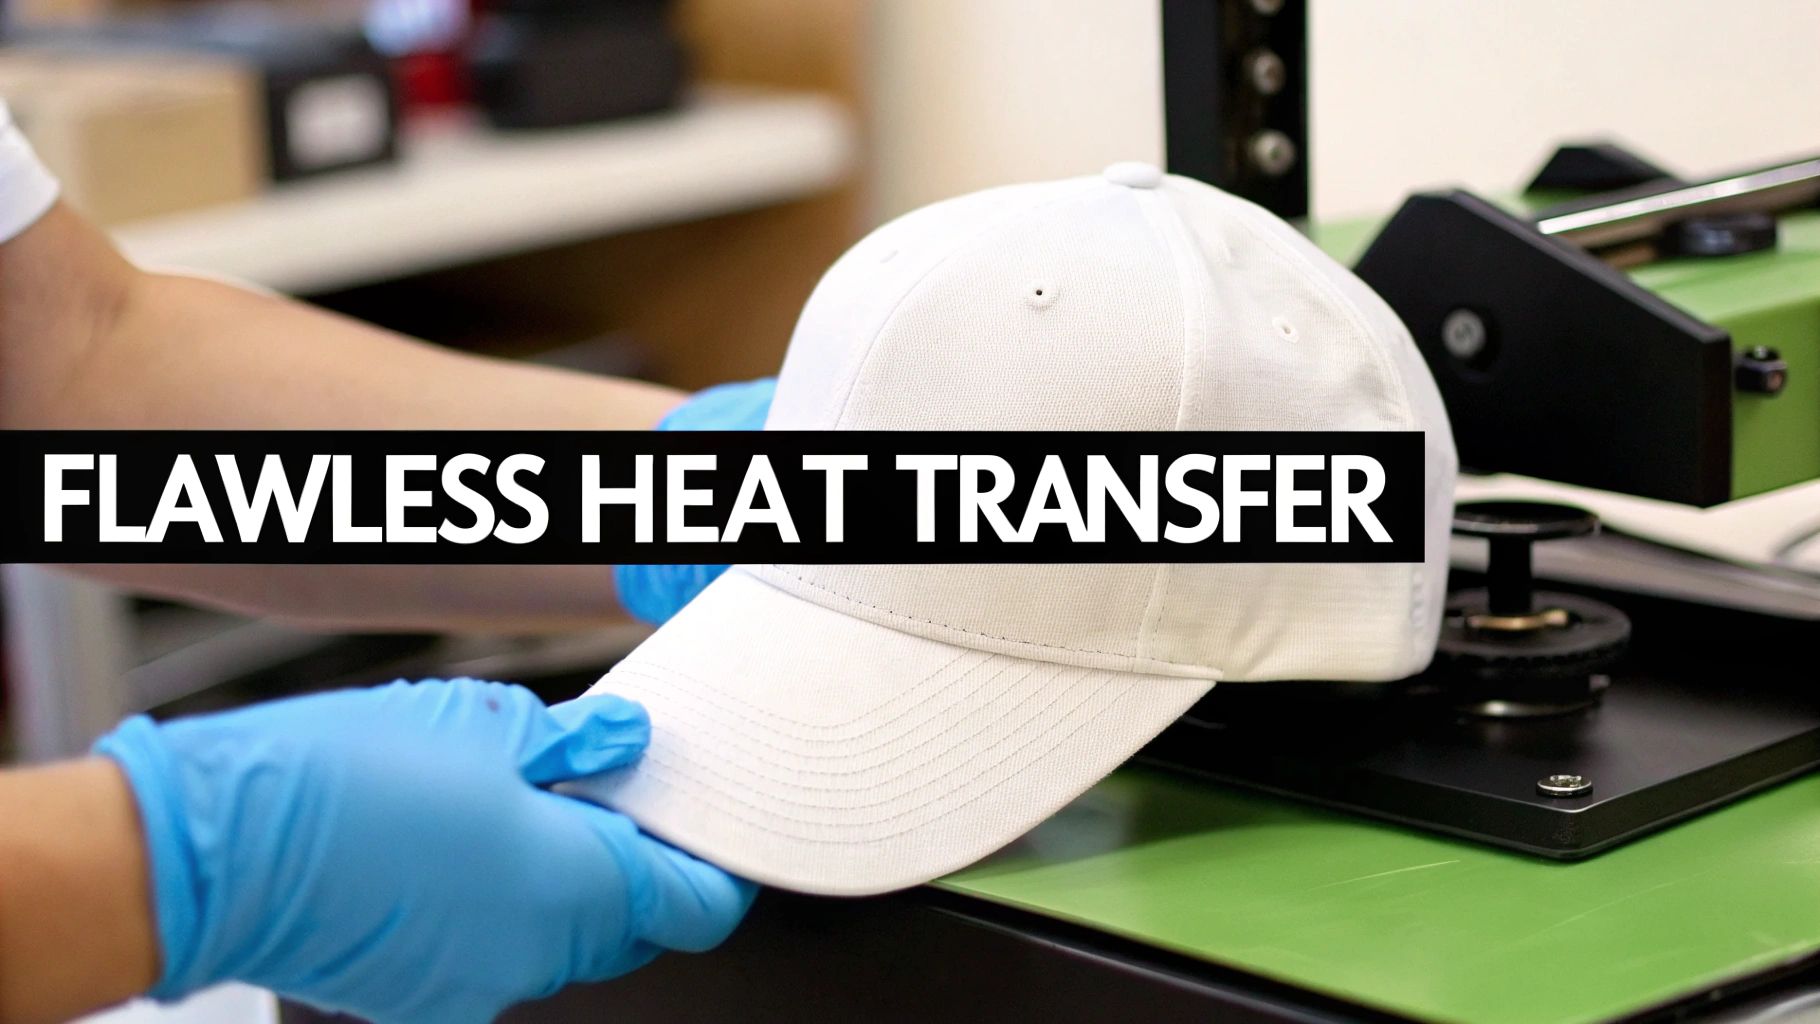
A heat transfer on hats can turn a basic accessory into a walking billboard for a brand or a unique piece of personal art. But unlike a t-shirt, a hat's unique shape—from a stiff front panel to a soft, rounded crown—demands a special touch. You need even pressure and consistent heat across those curves to get a flawless application, and that's where many people stumble.
This is exactly why DTF is so well-suited for headwear. It’s incredibly versatile and works with almost any material you can throw at it, from classic cotton and polyester to tricky blends. This guide will cover everything you need to know to master the process from start to finish.
Understanding the Core Principles
Putting designs on things with heat is a concept that’s been around for a long time. Early versions of heat printing even existed back in the late 18th century, using heated metal plates to transfer ink. It wasn't until the 1950s and 60s that the technology, through iron-on decals, became something you could do on a smaller scale.
Today's DTF transfers are a massive leap forward from those early methods, offering some key benefits, especially for hats:
- Adaptability: The film is incredibly flexible and molds perfectly to the curves of a hat. This means no more cracks or awkward gaps in your design.
- Vibrant Detail: DTF is a beast when it comes to detail. It can handle complex logos and even photo-quality images with sharp clarity and true-to-life color.
- Durability: When you press it right, the transfer actually fuses with the fabric. The design won't peel or fade, even after tons of wear and washing.
A common mistake I see is people treating all hats the same. You just can't. A structured 6-panel cap needs a totally different platen and pressure setting than a soft, unstructured "dad hat." Getting these little details right is the first real step toward getting consistent, pro-level results.
Critical Variables for Success
If you want a perfect press every single time, you have to master four things: temperature, time, pressure, and the hat's material. Dialing these in is how you avoid common disasters like scorching a polyester hat or having your transfer not stick to a thick canvas cap. For a much deeper look at this, our complete guide on heat press settings for DTF is a great resource.
To get you started, here’s a quick-reference table for the most common hat materials. Think of these as your baseline—a starting point. I always recommend doing a quick test press on a scrap piece or a hidden area first. That one small step can save you from ruining an entire batch of hats.
Quick Reference Guide for Pressing Hats
This table offers some solid starting points for applying heat transfers to different types of hats. Always adjust based on your specific press and the hat itself.
| Hat Material | Temperature Range (°F) | Time (Seconds) | Pressure Level |
|---|---|---|---|
| Cotton & Cotton Blends | 300-320°F | 10-15 | Medium-Firm |
| Polyester & Synthetics | 270-290°F | 8-12 | Medium |
| Canvas | 310-330°F | 12-15 | Firm |
| Trucker Hats (Foam Front) | 280-300°F | 8-10 | Light-Medium |
Remember, these settings are guidelines. The thickness of the material, the type of hat press you're using, and even the humidity in your shop can play a role. Don't be afraid to tweak them slightly to get that perfect application.
Setting Up Your Hat Pressing Workspace
Getting a perfect DTF transfer on a hat starts way before you even turn the press on. A clean, organized workspace equipped with the right gear isn't just about efficiency—it's about making sure your final products look consistently professional. Think of it as mise en place for apparel decorators; having everything ready makes the entire process smoother.
The heart of your setup is obviously the heat press. While you might be tempted to rig something with a flat press, I can tell you from experience that a dedicated hat press with a curved platen is absolutely essential for professional results. That curve is what gives you the firm, even pressure needed to make a DTF transfer properly bond to the contours of a hat's crown.
Choosing the Right Hat Press
Not all hat presses are built the same, and your best bet really depends on your production volume and how much space you're working with. For smaller shops or if you're just dipping your toes in, a clamshell-style hat press is a solid starting point. They don't take up much room, they're easier on the wallet, and they get the job done for lower-volume orders.
If you're cranking out hats day in and day out, a swing-away press is worth its weight in gold. The top platen swings completely out of the way, giving you a clear, open workspace. This makes it so much easier to line up the hat and transfer without constantly worrying about singeing your hands. If you need a deeper dive, we've put together a full breakdown of the best heat press options for beginners that can help you decide.
Here's a pro tip: the single most important feature you should look for in a hat press is interchangeable lower platens. A standard platen might be fine for a generic baseball cap, but it's going to give you headaches with a low-profile 5-panel or a stiff, structured trucker hat. Having platens of different sizes lets you match the tool to the specific hat, guaranteeing perfect pressure every single time.
Essential Tools and Materials
Besides the press itself, a handful of accessories will quickly become your best friends. These aren't just optional extras; they're the tools that prevent frustrating mistakes and elevate your work from hobbyist to pro.
- Cobra DTF Transfers: Your final product is only as good as the transfer you use. Cobra DTF transfers are engineered to be incredibly flexible, so they can hug those curved surfaces without cracking. The colors stay bright and the lines sharp, even on tricky hat fabrics.
- Heat-Resistant Tape: This is your best defense against shifting and "ghosting." Just a few small pieces are all you need to tack the transfer down and make sure it stays put when you close the press.
- Teflon Sheets: Always place a protective Teflon sheet over your transfer before pressing. It’s a simple step that helps distribute the heat evenly while protecting both your hat and your heat platen from scorch marks or ink residue.
- Laser Alignment Guide: If you're aiming for dead-on, repeatable placement across a large order, a laser alignment system is a game-changer. It projects a grid right onto the hat, letting you nail the center placement quickly and move on to the next one.
It’s easy to take this specialized gear for granted. Hat-making was once a highly exclusive craft, but the Industrial Revolution introduced machinery that made quality hats available to everyone, not just the elite. You can read more about how industrialization changed the game in this overview of hatmaking's history on Wikipedia. Today, tools like specialized presses continue that evolution, empowering makers to create incredible custom headwear. Getting these core components set up in your own workspace means you're ready for whatever hat style a client throws at you.
The Hat Pressing Process From Start to Finish
Alright, you've got your workspace set up and your tools are ready to go. Now for the fun part. This is where a little bit of practice and a steady hand come together to create a flawless heat transfer on hats. Let's walk through it, from prepping the hat to that final, satisfying peel. I'll share some tips I've picked up from countless presses along the way.
The whole workflow is pretty straightforward once you get the hang of it. Keeping your station organized is half the battle.
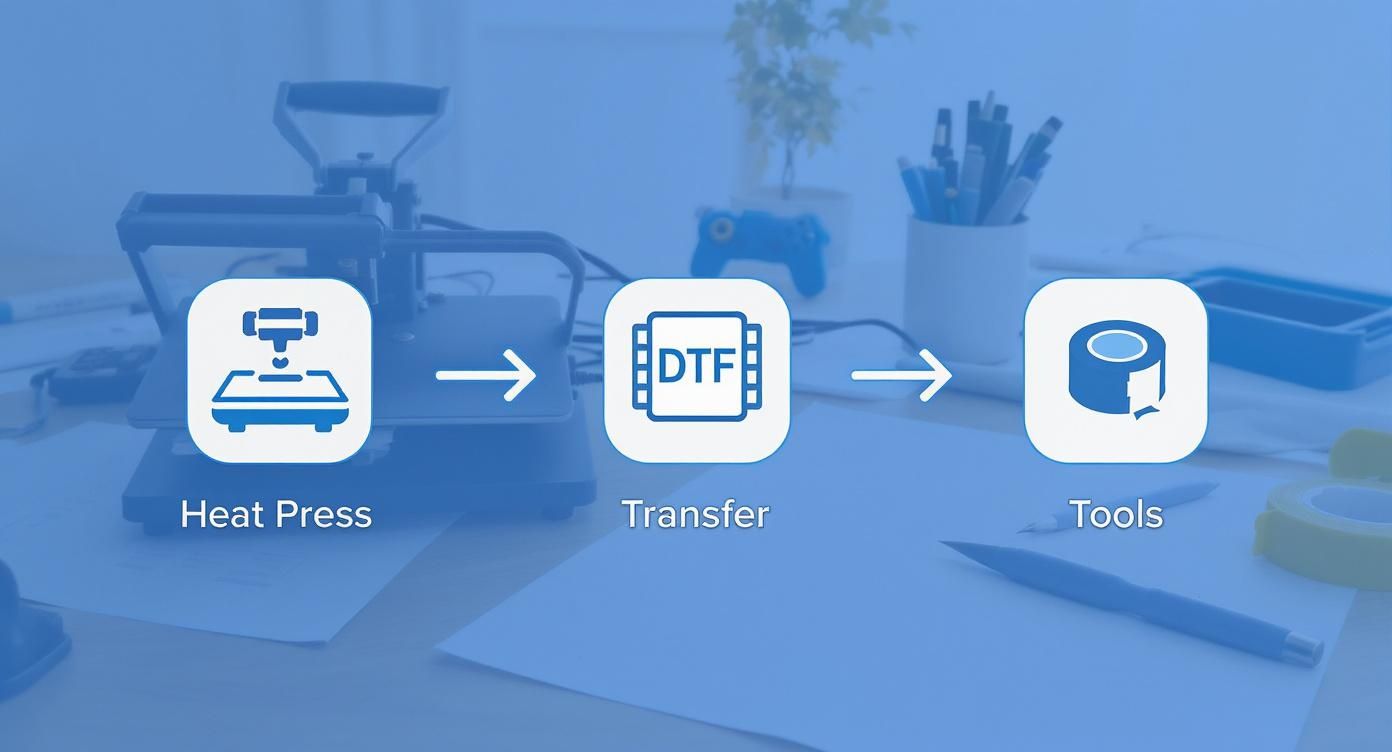
As you can see, having your press, transfers, and tools within easy reach is the foundation for an efficient process and helps cut down on simple mistakes.
Prepping the Hat for a Perfect Press
Think of it like this: you wouldn't paint a dirty wall. The same idea applies here. Any stray lint, dust, or even a single hair on the hat's surface can mess with the transfer's adhesion. This creates weak spots that are guaranteed to peel later.
First things first, give the hat a good once-over with a lint roller. Really focus on the area where your design will go. Trust me, even tiny bits of debris you can't see can cause big problems.
Once it's clean, there’s a step you absolutely cannot skip: the pre-press. Get the hat secured onto the lower platen of your press, making sure it’s snug and the fabric is smooth. Now, close the press for about 5-7 seconds at the same temperature you'll be using for the transfer.
This quick press is a game-changer for two reasons:
- It Zaps Moisture: All fabric holds a bit of moisture. When that moisture hits high heat, it turns to steam and can completely ruin the transfer's bond. A pre-press forces it all out.
- It Smooths Everything Out: This step creates a perfectly flat, wrinkle-free canvas for your design, which is critical for getting even pressure and solid adhesion.
Skipping the pre-press is probably the most common mistake I see beginners make. It’s almost always the culprit behind a failed application.
Nailing the Transfer Placement and Alignment
Getting the alignment just right is what separates an amateur-looking hat from a professional one. Centering a design on a curved surface feels tricky at first, but a couple of simple techniques make it way easier.
A great trick is to lightly fold your DTF transfer in half to create a faint crease down the vertical center. Do the same with the hat itself—just line up the front seam with the tag or seam in the back to find its true center. Use those two creases to line up your design perfectly.
If you're working with a 5-panel hat or any style with a prominent front seam, pay close attention. Make sure your transfer is positioned so the entire design sits on a flat plane, not directly over that thick seam. Pressing over a seam creates uneven pressure and is a recipe for poor adhesion along that edge.
Once you have the transfer exactly where you want it, lock it down. Use at least two or three small pieces of heat-resistant tape—one at the top and one on each side is a good rule of thumb. This stops the transfer from shifting when you close the press. Even a tiny wiggle can cause a blurry or "ghosted" image.
Dialing In Your Press Settings
Now it's time to bring the heat. The perfect settings for temperature, time, and pressure really depend on the hat's material. Cotton blends can typically handle higher heat, somewhere around 300-320°F. More sensitive fabrics like polyester or nylon need a gentler touch, so you'll want to lower that to around 270-290°F to avoid scorching the material.
Set your press to the right temperature and time for the hat you're working with. Before you press, place a protective Teflon sheet over the transfer. This acts as a buffer, shielding the hat from direct contact with the hot upper platen.
Close the press firmly and start the countdown. Consistent, even pressure is everything. If your press isn't applying uniform pressure across the whole design, you’ll end up with edges that start peeling up almost immediately.
The Post-Press Routine: Cool Peel and Finishing
As soon as that timer beeps, open the press and carefully move the hat to a heat-resistant surface to cool down. This next part is crucial: let it cool down completely. Cobra DTF transfers are cold peel, which means you have to wait for the adhesive to fully cure and bond to the fabric before you even think about removing the film.
Peeling the film while it's still warm is a guaranteed way to pull the entire design right off with it. Be patient here. Wait until the transfer is cool to the touch. Once it is, start at one corner and peel the film back smoothly, slowly, and at a low angle against the hat.
Want to add an extra layer of durability and give the design a softer, more integrated feel? Do a second press. Just place your Teflon sheet back over the now-exposed design and press it again for another 5-7 seconds. This second hit helps lock the ink into the fabric's fibers, which dramatically improves washability and gives it that professional, screen-printed look and feel. You can explore our other guides to learn more about preparing custom DTF transfers that are ready to press for all kinds of different garments.
Troubleshooting Common Hat Transfer Issues
Even with the best preparation, things can sometimes go sideways. Don't worry, it happens to everyone. Most issues are easy to fix once you know what to look for. Here's a quick guide to diagnosing and solving the most common problems you might run into.
| Problem | Likely Cause | How to Fix It |
|---|---|---|
| Transfer Isn't Sticking | Insufficient pressure, temperature is too low, or you skipped the pre-press. | Increase your press pressure to medium-firm. Verify the temperature with a heat gun. Always pre-press for 5-7 seconds to remove moisture. |
| Edges Are Peeling Up | Uneven pressure (often due to seams) or the hat wasn't secured properly. | Use a foam pillow or a smaller platen to lift the application area. Ensure the hat is clamped tightly so the surface is flat and firm. |
| Design Looks Faded/Dull | Temperature is too high for the fabric, or press time was too long. | Lower the temperature by 10-15°F and try again. For polyester, stay below 290°F. Shorten the press time slightly if needed. |
| "Ghosting" or Blurry Image | The transfer shifted when the press was opened or closed. | Always secure the transfer with heat-resistant tape on at least two sides before pressing. Open the press slowly and smoothly. |
| Discoloration on Fabric | The fabric is heat-sensitive (like polyester) and is being scorched by high heat. | Use a lower temperature (270-280°F) and shorter press time. A Teflon sheet is a must to help diffuse the heat. |
| Film is Hard to Peel Off | The transfer is not fully cooled, or the press time was too short. | Let the hat cool completely to room temperature. Cobra DTF is a cold peel. If it still resists, try increasing your press time by 3-5 seconds. |
Think of this table as your first line of defense. By methodically checking your temperature, pressure, and time, you can solve nearly any issue you encounter and get back to producing perfect hats.
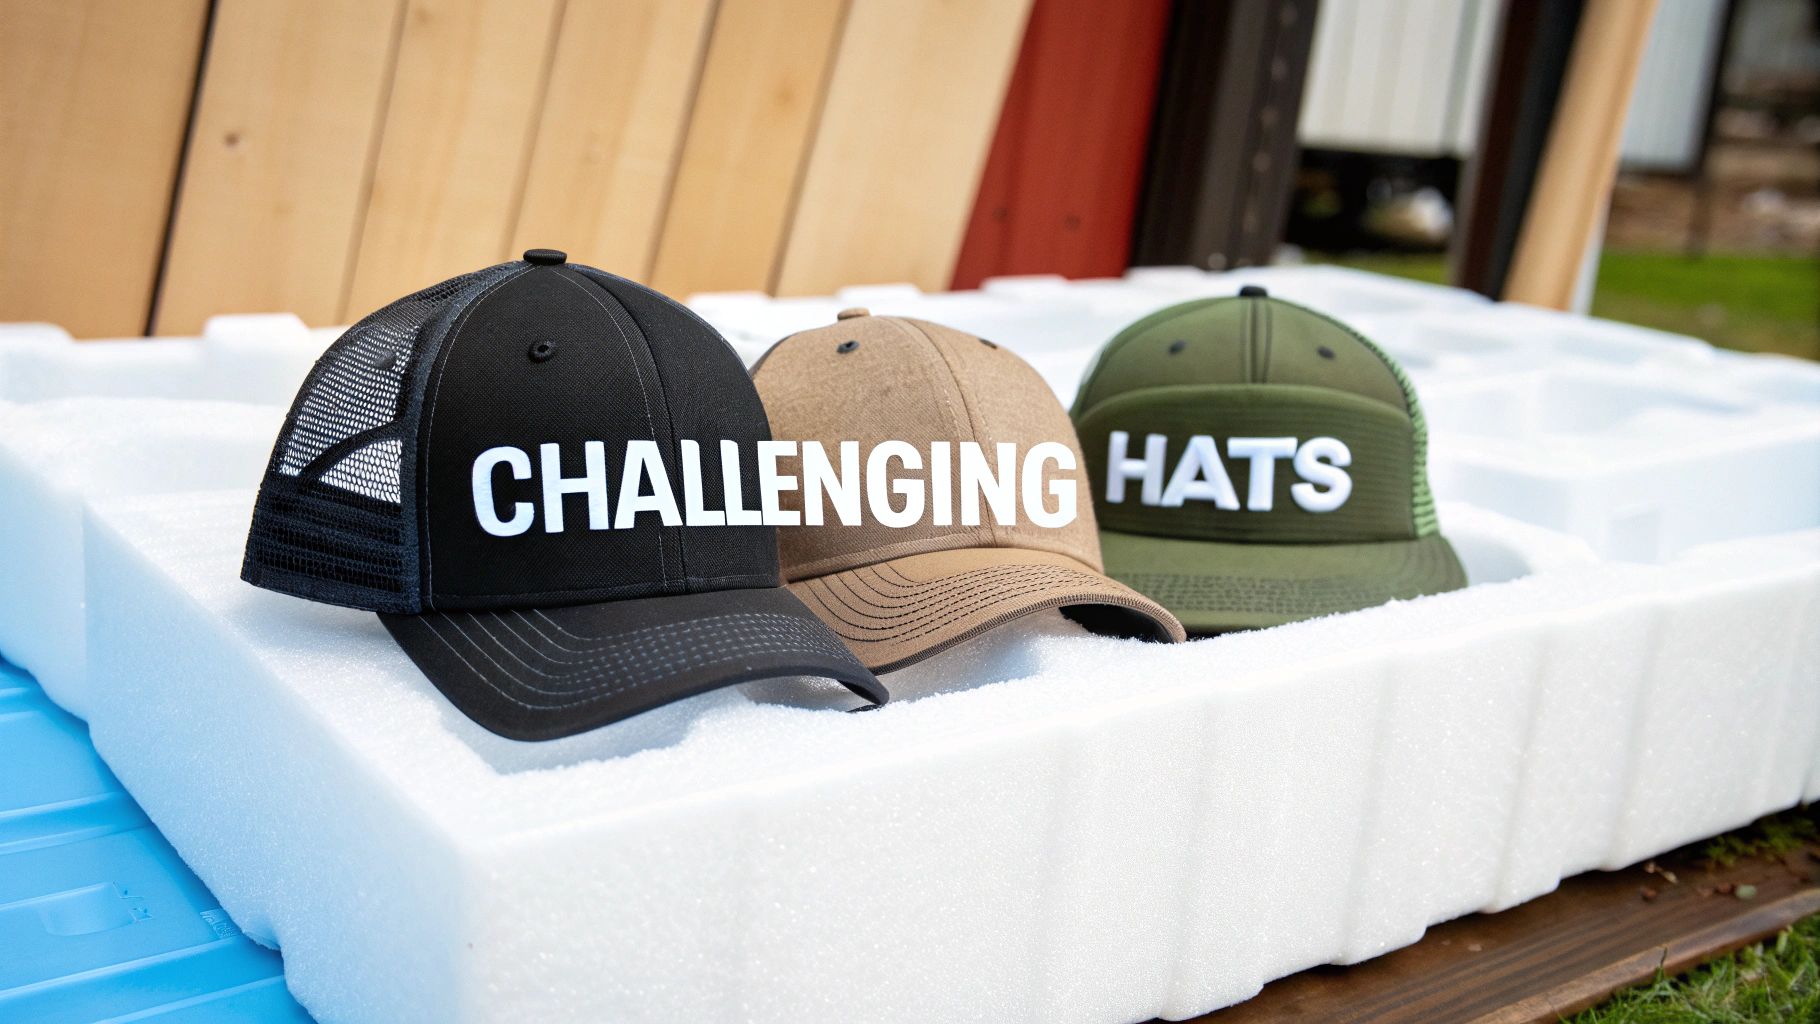
Pressing on Challenging Hat Styles
Sooner or later, after you've nailed the standard structured caps, you're going to get an order for something tricky. These are the hats that give decorators headaches: the floppy, unstructured "dad hats" that won't hold their shape, or the mesh-back truckers that feel like they'll melt if you just look at them wrong. Getting these right is all about adapting your approach and using a few smart tools to create a solid pressing surface.
The secret to a great heat transfer on hats—any hat, really—is getting firm, even pressure. With these more difficult styles, the hat itself won't cooperate, so it's up to you to create that stability. This is where you graduate from simply pressing to actively problem-solving.
Managing Unstructured and Soft Caps
Unstructured caps are notorious for being difficult. Their soft crowns just collapse on a press, and trying to apply a transfer to that floppy surface is asking for trouble. You'll get uneven adhesion, wrinkles, and a totally unprofessional look. The whole game is to make that soft hat act like a structured one, just for the few seconds it's under the heat.
To pull this off, you need to support the crown from the inside.
- Foam Inserts or Pillows: These are a lifesaver. Get yourself some heat-resistant foam pads or pillows made for this purpose. You just slide one inside the hat before clamping it down, and it creates a firm, smooth dome—the perfect backing for even pressure.
- Hat Stretchers or Forms: For an even more rigid surface, some pros use a metal hat form (sometimes called a buckram stretcher) inside the cap. This completely eliminates any chance of wrinkles or movement during the press.
Once the hat's shape is supported, you can clamp it down and press just like you normally would. It’s a simple trick that turns a nightmare job into a smooth process.
The Unique Case of Trucker Hats
Trucker hats bring their own special set of problems. First, the foam front is soft and needs support, just like an unstructured cap. But the real danger is the plastic mesh back, which is incredibly sensitive to heat. Too much heat or time, and you'll melt or warp the mesh, ruining the whole hat.
You have to be precise here. Use a foam insert to give the front panel a solid foundation. Then, dial back your settings. I recommend lowering the temperature to the 270-280°F range and shortening your press time to just 8-10 seconds. It's always better to start low and do a quick second press if you need to, rather than melting the hat on your first attempt.
Here’s a critical tip for trucker hats: make sure only the foam panel is under the heat. You have to position the hat so the mesh back hangs completely off the platen. This keeps the hot upper platen from ever touching that delicate mesh.
Adapting to Visors and Beanies
Visors and beanies won't even fit on a standard hat press, so you have to think differently. For visors, you're just printing on the flat front band. You can usually press these using a small, flat platen attachment on your heat press—treat it more like a t-shirt sleeve than a hat. A flexible finishing sheet can help the transfer mold to any slight curve in the band.
Beanies are a different beast altogether. The stretchy, knitted fabric can get distorted in a heartbeat. The best method is to use a smaller interchangeable platen that fits right inside the beanie. Stretch the fabric over the platen just enough to get a flat surface, but don't overdo it. You'll also want to use a lower pressure setting to avoid permanently flattening the texture of the knit. This technique ensures the transfer bonds perfectly without damaging the material, which is key for a quality heat transfer on hats of this type.
Final Touches and Quality Control
Once the press opens, the real work begins. Don't be too quick to pull that hat off the platen and call it a day. This is the stage where a good press becomes a great finished product, and it all comes down to a few final steps and a sharp eye.
After you've done your cool peel, the first thing I always do is a quick touch test. Run your fingers across the entire design. You're feeling for any little edges that might have lifted or any bubbling. A transfer that isn't perfectly bonded will start to peel after the first wear, and that’s a customer complaint you just don't need.
The Quick QC Checkup
Get in the habit of running every single hat through a quick quality control checklist. It’s a simple routine that catches mistakes before they get out the door, saving you headaches and reprint costs down the line.
- The Fingernail Test: This is my go-to. Gently try to pick at a few corners of the transfer. If it’s properly fused, it won’t budge. If you feel any give at all, it needs to go back on the press.
- Check for Ghosting: Hold the hat under a good light and look for faint, blurry outlines around the edges of your design. This is "ghosting," and it happens when the transfer shifts even a millimeter during the press. It’s a dead giveaway that you need to be more aggressive with your heat tape on the next one.
- Look for Press Marks: Scan the fabric around the design for shiny spots or indentations from the heat platen. On some delicate fabrics, this is tough to avoid completely, but using a flexible printing pillow or a Teflon sheet can make a huge difference.
This whole inspection only takes about 15-20 seconds a hat, but it’s the most valuable time you’ll spend ensuring your work is top-notch.
The Pro Move: The Finishing Press
Here’s a trick that separates the amateurs from the pros: the second press. This single step takes your heat transfer on hats to another level, boosting both durability and the final look and feel.
Once the film is peeled, lay a Teflon sheet or a piece of parchment paper over the design. Now, press it again for just 5-7 seconds. Keep the temperature the same, but you can back off the pressure just a bit.
This quick second hit does two fantastic things:
- It drives the ink deeper into the hat's fibers, locking it in for incredible wash durability.
- It knocks the shine off the adhesive, giving the transfer a softer, matte finish that looks and feels like it’s part of the fabric, not just sitting on top of it.
Seriously, this is a signature move for high-end custom hats. It’s worth every extra second.
A great-looking hat deserves great care. Always give your customers simple care instructions. Tell them to wash it in cold water on a gentle cycle and let it air dry. This small piece of advice helps their custom design look great for years.
Packaging Like a Professional
How your hat shows up matters. You've spent all this time creating a flawless product, so don't let it get flattened and ruined in a flimsy mailer.
Invest in proper boxes that give the hat room to breathe without getting banged around. I often use simple hat inserts or even just some crumpled tissue paper inside the crown to help it hold its shape during shipping. It shows you care.
To ensure your perfected hats captivate customers and drive sales, exploring effective hat display strategies for retail success is a great next step, helping your products look their best from production to point-of-sale.
Your Top Hat Pressing Questions, Answered
Even after you get the hang of it, pressing hats can throw some curveballs. Their unique shape and the sheer variety of fabrics create challenges you just don't see with a standard t-shirt. Let's walk through some of the most common questions we get, so you have the answers ready before a problem even starts.
Think of this as your field guide for those moments that make you scratch your head.
Why Is My DTF Transfer Peeling Off the Hat?
This is easily the number one headache people run into, but the fix is almost always simple. When a transfer starts to lift or peel, it’s a classic case of the big three: pressure, temperature, or time. On a curved hat, nine times out of ten, the culprit is a lack of even, firm pressure.
If the hat isn’t pulled taut over the lower platen, you're left with tiny air pockets where the press can't make solid contact. No contact, no bond. It's that simple.
To fix this, make sure the hat is clamped down tight, creating a firm and smooth surface for the transfer. It's also a great idea to double-check your press's temperature with a laser heat gun; the built-in thermostat can sometimes be off by a few crucial degrees. And whatever you do, don't skip the pre-press! That quick step zaps any hidden moisture that can turn into steam and kill your adhesion.
Can I Get Away With Using a Flat Heat Press for Hats?
I get why people ask this—it seems like a clever way to save some cash. But trust me, using a flat press for a curved hat is a recipe for frustration and wasted product. A dedicated hat press isn't a luxury; it's the right tool for the job. Its curved upper platen and matching lower form are designed to do one thing perfectly: deliver consistent, even pressure across the entire crown.
A flat press just can't wrap its head around that curve.
When you try it, the outer edges of the platen will clamp down with immense force, while the center of your design gets almost no pressure at all. This is what causes those peeling edges, gaps in the print, and a generally unprofessional look you can't sell. Investing in a proper hat press is a non-negotiable step for producing headwear you can be proud of.
How Do I Stop Scorch Marks on Polyester Hats?
Polyester and other synthetic blends are perfect for modern athletic hats, but they are incredibly sensitive to heat. That shiny, sometimes discolored scorch mark left by the press is a common fear, but it's totally preventable.
Your first move should always be to turn down the heat. For most polyester fabrics, you want to be in the 270-290°F range. Next, always use a protective cover, like a Teflon sheet or a piece of parchment paper, as a barrier between the hot platen and the hat. This simple sheet helps diffuse the direct heat just enough to make a difference.
Here's a pro tip we swear by: slide a flexible heat printing pillow inside the hat. It not only helps achieve even pressure on those floppy, unstructured caps but also softens the hard edge of the platen, drastically reducing the chance of leaving those dreaded press lines.
What's the Difference Between Hot Peel and Cold Peel?
This detail is absolutely critical, and it all comes down to the specific transfers you're using. "Hot peel" and "cold peel" tell you exactly when to remove the clear film carrier after you open the press.
- Hot Peel: The film needs to come off immediately while the transfer is still piping hot.
- Cold Peel: You have to let the hat and the transfer cool all the way down to room temperature before even thinking about peeling the film.
Cobra DTF transfers are a cold peel product. If you try to peel our transfers while they're still warm, the whole design will lift right off with the film. The adhesive needs that cooling time to set up and create a permanent bond with the fabric. Always follow the instructions from your transfer supplier—it’s the key to avoiding failed prints and wasted money.
Ready to create stunning, professional-quality custom hats without the guesswork? Cobra DTF provides premium, USA-made DTF transfers that are engineered for vibrant color and incredible durability, even on the most challenging hat styles. Experience faster turnaround times and superior results by ordering your custom transfers today.