
Mastering Heat Resistant Tape for Heat Press Perfection
Heat-resistant tape is a special kind of adhesive built to handle serious heat without melting, shriveling up, or leaving a gunky mess behind. It's usually made from a polyimide film with a silicone adhesive, which is just a technical way of saying it's the perfect sidekick for locking down your DTF or sublimation transfers onto fabric. It’s your first line of defense against costly mistakes.
Think of it this way: using this tape ensures your designs don't budge an inch during the pressing process, saving you from the all-too-common headaches of ghosting and misalignment.
The Unsung Hero of Flawless Heat Pressing
Let's be real—there's nothing worse than peeling back a transfer to find it's a blurry, crooked mess. All that design work, wasted. This is precisely where heat-resistant tape for heat press proves its worth, acting as a simple insurance policy for your hard work. It’s not just an accessory; it's a non-negotiable part of a professional setup.
Its main job is to hold your designs steady under the intense heat and pressure from your press. Your standard desk tape would turn into a sticky, melted disaster, but this specialized tape is engineered to perform perfectly at temperatures that can soar past 400°F (204°C). That durability is what gives you those crisp, professional-grade results every single time.
Why Every Small Apparel Business Needs It
If you're running a small apparel business, you know that every penny and every minute counts. Every misaligned shirt or ghosted design isn't just frustrating—it's a direct hit to your bottom line. You're losing materials, time, and potentially the trust of a customer. Heat tape is the simple fix for these common issues that even seasoned pros run into.
By preventing transfers from shifting, even by a millimeter, heat-resistant tape ensures design integrity and dramatically reduces the number of failed prints. This simple tool safeguards both your profits and the professional quality your customers expect.
It’s a tiny investment that pays for itself over and over again. The demand for these kinds of reliable tools is climbing, which just goes to show how important they are. The specialty tapes market, which includes heat-resistant tape, was valued at around USD 58.7 billion globally in 2024 and is projected to keep growing. This trend underscores how essential these materials are, not just in apparel but across many industries. You can learn more about these specialty tapes market trends on grandviewresearch.com.
Solving Your Biggest Pressing Problems
The right tape acts as a problem-solver for some of the most annoying issues you'll face with heat transfer applications. Getting comfortable with it is a key skill for professional heat transfer shirt printing.
Here's a quick look at the frequent frustrations in heat pressing and how the right tape provides a direct, simple solution.
Common Heat Press Problems Solved by Heat Resistant Tape
| The Problem | How Heat Resistant Tape Helps | Result |
|---|---|---|
| Ghosting or Shadowing | The tape anchors the transfer paper firmly to the garment, preventing any movement when the press lifts. | A crisp, single image with no blurry edges. |
| Misalignment | It locks intricate or multi-layer designs in their exact position, guaranteeing perfect registration. | Flawless placement and professional-looking results. |
| Sliding on Awkward Items | It secures transfers on non-flat surfaces like hats, mugs, or seams where they tend to slide around. | The design stays put, right where you wanted it. |
| Sticky Residue | High-quality heat tape is designed to peel off without leaving any adhesive behind on the fabric. | A clean, stain-free finished product. |
In short, a small roll of tape can save you from big headaches. It’s one of the easiest ways to elevate the quality and consistency of your work.
Choosing the Right Tape for Your Projects
When you’re staring at a wall of heat-resistant tape options, it's easy to get overwhelmed. But honestly, not all tape is created equal, and picking the right one is a small step that makes a massive difference in your final prints.
You’ll mostly see that classic, amber-colored polyimide tape. It's the go-to for a reason—it’s tough, peels off clean, and can take the heat without breaking a sweat. You might also spot some blue or green tapes. The secret? As long as the temperature rating is the same, a quality blue tape will perform just like a quality amber one. The color is mostly for branding or to help you see the tape more clearly against certain fabrics, which can be a lifesaver.
Key Factors to Consider
Instead of getting hung up on the color, let’s focus on what actually matters for getting a perfect press every time. I always check these three things before buying a new roll:
- Temperature Rating: This is non-negotiable. Your tape needs to handle more heat than your press dishes out. Look for something rated for at least 500°F (260°C). That covers pretty much all your DTF, sublimation, and vinyl needs.
- Adhesive Strength: You're looking for that "just right" stickiness. It needs to be strong enough to lock your transfer in place, but not so aggressive that it leaves a gooey residue or, even worse, damages the garment. A silicone-based adhesive is what you want—it’s the industry standard for a clean release.
- Width: Think about what you're pressing. A skinny 1/4-inch roll is perfect for navigating the curves of a tumbler or hat. For a big, stretchy hoodie, a wider 1-inch tape gives you the stability you need to stop that design from shifting an inch.
The demand for good adhesives isn't just something we see in our own shops; it's a huge industry. The market for hot melt adhesive tapes, which shares similar heat-resistant properties, hit a value of USD 17.79 billion in 2023 and is only getting bigger. Materials like polypropylene are popular because they’re strong and heat-resistant, which just goes to show how critical durable supplies are. You can dig deeper into these hot melt adhesive tape market insights on gminsights.com.
This little decision tree can help you diagnose some of those frustrating print flaws that tape can solve.
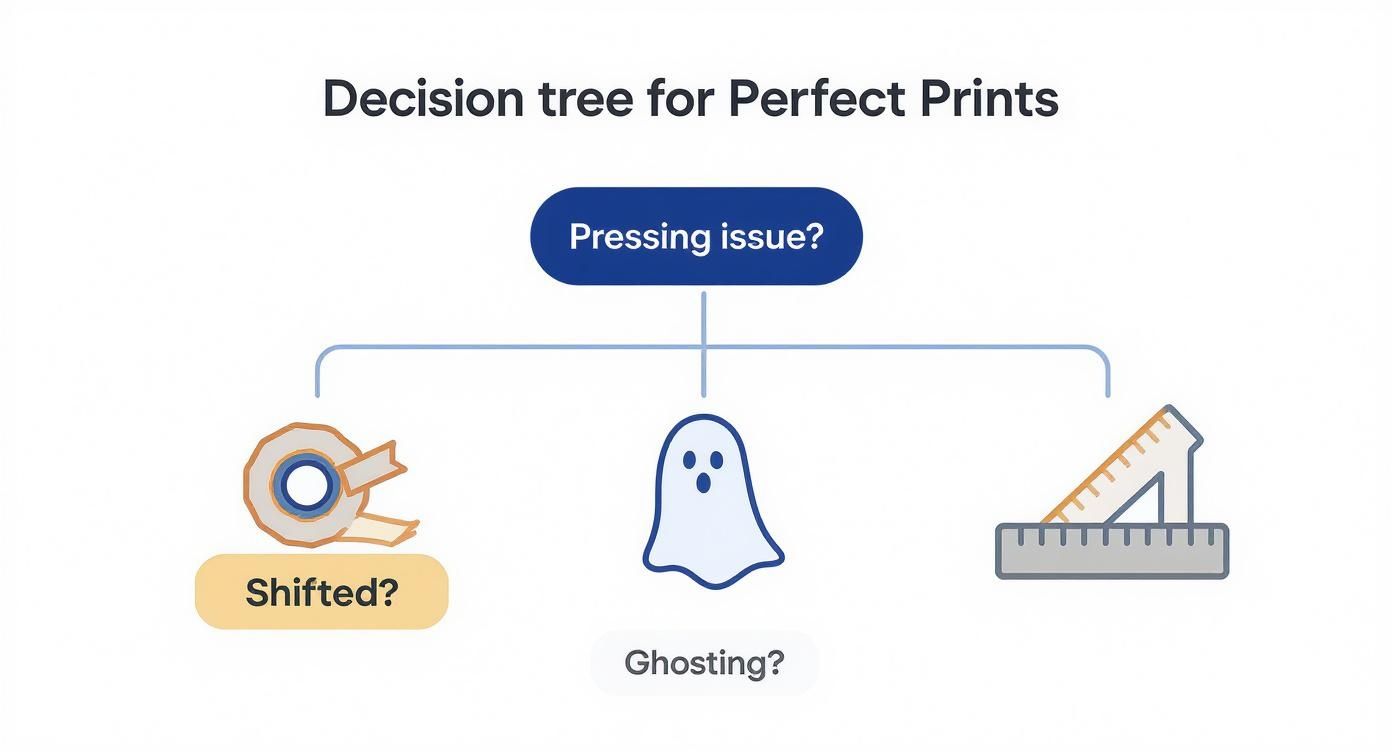
As you can see, issues like ghosting or shifted designs often come right back to the transfer not being secured properly. Think of your tape as the first line of defense.
To make it even simpler, I've put together a quick comparison to help you match the right tape to your specific projects.
Heat Resistant Tape Comparison for Different Applications
| Tape Type | Best For | Typical Temp Rating | Key Feature |
|---|---|---|---|
| Polyimide (Amber) | General-purpose DTF, sublimation, and heat vinyl. | 500°F (260°C) | Strong, minimal residue, excellent heat stability. |
| PET (Blue/Green) | Sublimation on light-colored or hard surfaces. | 425°F (218°C) | High contrast for easy placement and removal. |
| Fiberglass | Extreme high-heat or long-duration pressing. | 550°F+ (288°C+) | Unmatched thermal resistance and durability. |
| Silicone | Delicate fabrics; bonds to itself. | 400°F (204°C) | Very gentle adhesive, leaves no impression marks. |
Ultimately, having a couple of different tapes in your toolkit is the smartest way to go. You'll be ready for whatever job comes your way.
Matching the Tape to the Task
The project itself should always dictate your tape choice. Keeping a few different widths on hand has saved me more times than I can count.
For example, if I'm pressing a big DTF transfer on a standard t-shirt, I’ll grab a medium-width tape to tack down the corners. But if I’m working on a tricky six-panel hat made from a synthetic blend, I switch to a much thinner tape. This helps me avoid leaving any pressure marks from the tape’s edge on the fabric.
Pro Tip: Don't bother with scissors—just tear the tape. A torn, feathered edge is much softer than a sharp, cut one. It’s far less likely to leave a faint outline on your garment, especially when you're using firm pressure.
When you start thinking strategically about the tape's properties and not just its color, you can buy with confidence. You'll be setting yourself up for a clean, sharp, and perfectly placed press every single time.
A Practical Guide to Flawless Tape Application
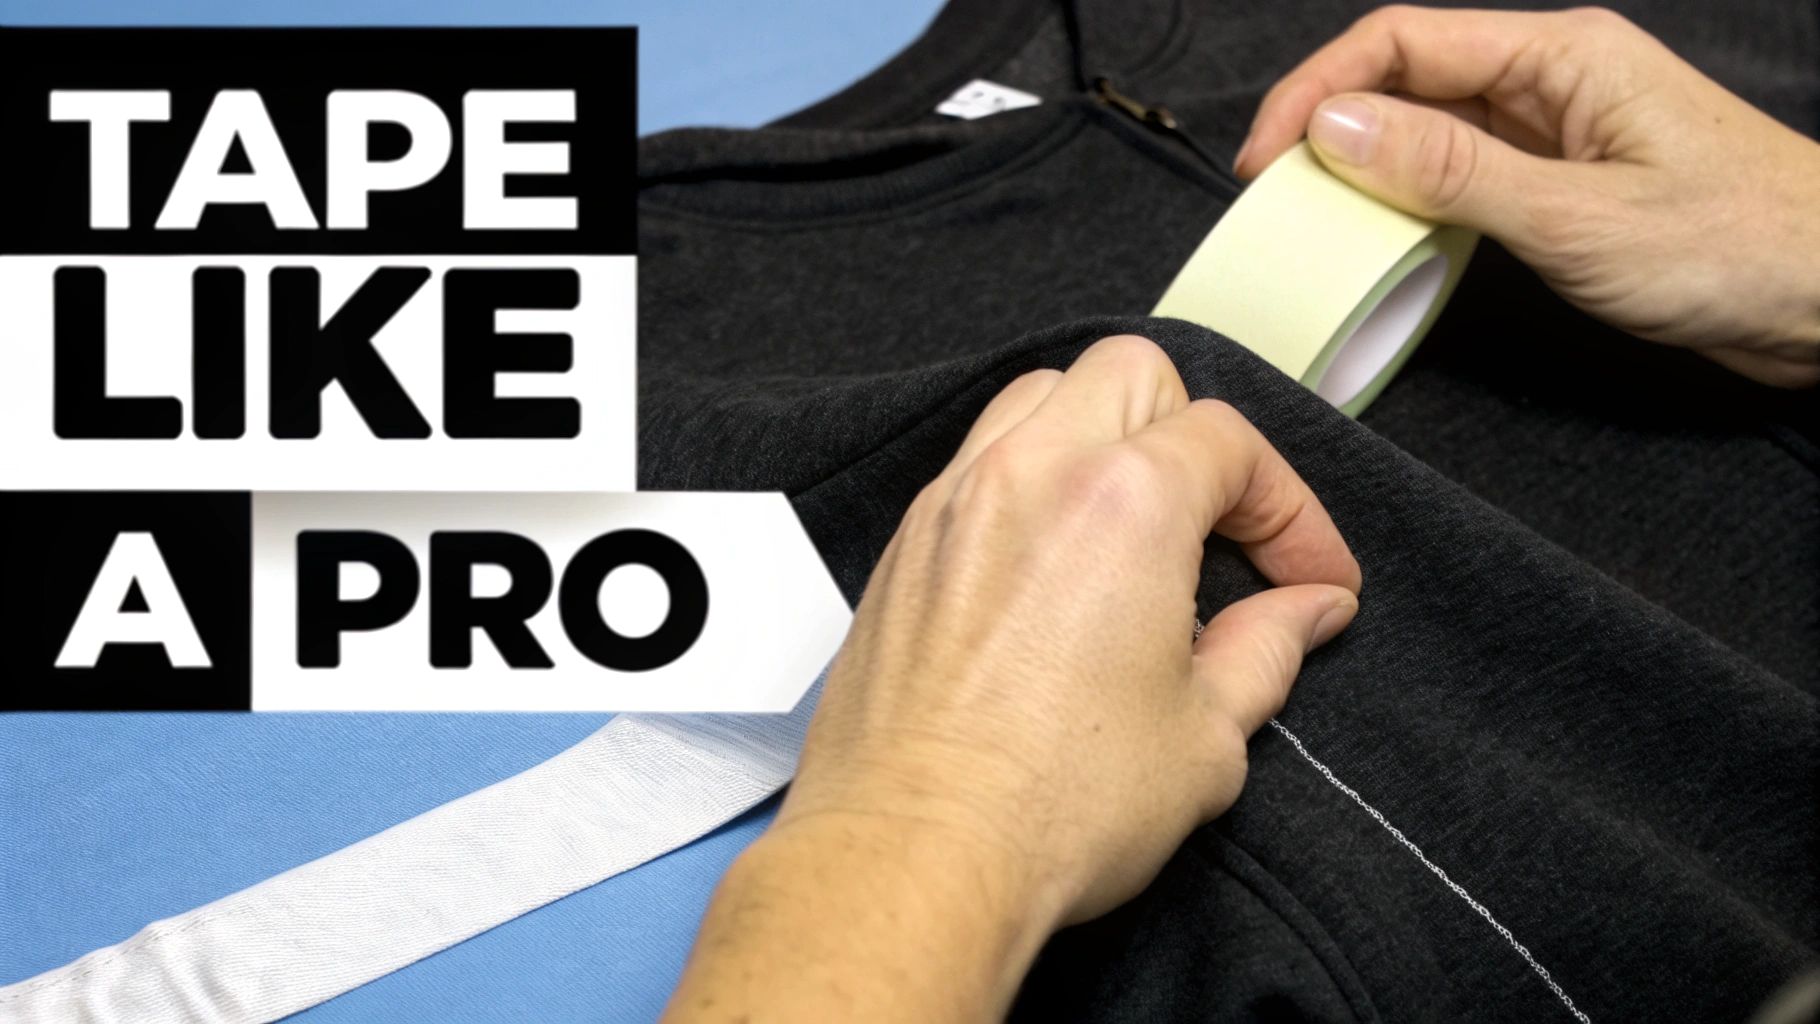
Learning how to properly use heat resistant tape for heat press projects is one of those skills that genuinely separates beginners from the pros. It's not about just sticking it on there; it's a careful technique that guarantees your final product looks sharp, clean, and perfectly placed. The real trick is using just enough tape to hold everything steady without leaving any evidence it was ever there.
Before any tape even gets near your garment, prep is everything. Start by giving the fabric a good once-over with a lint roller. You'd be surprised how even the tiniest, almost invisible fibers can get trapped under a transfer and mess up your final print. Always start with a clean slate.
Strategic Tape Placement for Tricky Items
Taping a flat t-shirt is straightforward. But what about a hat with a curve or a slippery polyester sleeve? This is where your taping strategy really comes into play. You need to secure the transfer without accidentally stretching the fabric, which will cause the design to warp the moment you release the press.
For these more challenging items, I always tear off small pieces of tape and place them at key anchor points.
- Hats: I use little strips along the top and bottom of the transfer, making sure to follow the natural curve of the hat. A single long piece will just create tension and wrinkles.
- Sleeves: Lay the sleeve out flat, but don't pull it tight. A couple of small tape pieces on the sides of the transfer are usually enough to stop it from sliding around on that narrow surface.
- Stretchy Hoodies: When you're working with a big design on something like a fleece hoodie, it’s a good idea to anchor all four corners. This keeps the center of the transfer from bubbling up or shifting as the fabric relaxes under the heat.
The adhesive technology in this tape is more advanced than you might think, and it’s a huge player in the global thermal release tape market. That market was valued at around USD 2.44 billion in 2024 and is projected to nearly double by 2035. This growth is all about the demand for precision in industries from electronics to apparel, highlighting just how essential these little rolls of tape are for getting professional-quality results.
The Fine Art of Using Just Enough
One of the most common mistakes I see people make is going overboard with the tape or putting it in the wrong place. This is a fast track to getting those dreaded pressure marks—faint outlines of the tape that get pressed into the garment.
Here's a rule I absolutely live by: always tape the edges of the transfer paper, never the ink itself. Taping over the actual printed area can lift the ink or mess with the transfer process, leaving you with a splotchy, incomplete design.
Aim to place the tape so about half of it is on the transfer film and the other half is on the garment. This gives you a strong hold with minimal contact on the fabric. Knowing your heat press settings for DTF is also crucial here, because too much pressure is the number one cause of tape marks.
Mastering the Removal
Once the heat press timer goes off, you're not done just yet. How you take the tape off is just as important as how you put it on. Let the item cool down as required by your specific transfers—whether it’s a hot or cold peel makes a difference.
When you're ready, peel the tape away from the garment slowly and at a low angle. If you pull straight up, you risk lifting the fibers of the fabric, especially on soft materials like fleece. A slow, steady peel ensures a clean release, leaving behind a perfect print with no sticky residue. That careful final touch is the signature of a job well done.
Troubleshooting Common Heat Tape Headaches
Even with the best tools, things can go sideways. We've all been there: you open the press, expecting perfection, only to find a faint yellow stain, a sticky mess, or a design that shifted even though you taped it down. Don't sweat it—every one of these issues is fixable and, more importantly, preventable with a bit of know-how.
The most common headache is that dreaded yellow stain or faint box outline left by the tape. This almost always points to one of two culprits: excessive pressure or low-quality tape. Cheaper tapes often use adhesives that literally "bake" into the fabric, leaving a discolored mark that’s tough to remove.
Fixing Pesky Yellow Stains and Residue
If you spot a yellowish stain, don't panic. Sometimes, this is just a temporary discoloration that fades as the garment cools down. If it sticks around after a few minutes, it’s likely the adhesive reacting with the fabric dye under the intense heat.
For a quick fix, you can gently dab the spot with a little isopropyl alcohol on a clean, white cloth. Just be sure to test it on a hidden area of the garment first! The real long-term solution, though, is to invest in a quality polyimide tape and ease up on your pressure. You just need enough pressure for solid contact, not enough to permanently emboss the tape's outline into the shirt.
Here’s a little trick I picked up over the years: tear your tape pieces instead of cutting them. That soft, feathered edge creates a much gentler pressure gradient, making it far less likely to leave a visible mark on your finished product.
When Your Design Still Ghosts or Shifts
You used heat resistant tape for heat press security, but your design still came out with that frustrating blurry "ghost" effect. What gives? This typically happens when the transfer is still able to lift or slide just a tiny bit as you open the press. That sudden change in pressure can make the paper jump a millimeter, and that's all it takes.
To lock it down for good, make sure you're anchoring the transfer securely. I always use at least two pieces of tape on opposite sides. For bigger designs, don't be shy about taping all four corners. It also helps to open your press with a smooth, steady motion instead of letting it pop open. This minimizes the sudden whoosh of air that can make the paper shift.
For a deeper dive into the mechanics of transfers, check out our guide on how to use transfer paper the right way.
Dealing with Stubborn Tape Removal
What about when the tape itself is the problem, refusing to peel off without a fight? If your tape is tearing into tiny pieces or leaving behind a sticky film, that’s a dead giveaway it's not up to the job. This is common with tapes that have a low temperature rating or a cheap silicone adhesive that breaks down under pressure.
Honestly, there’s no great fix for this on a finished shirt, since trying to scrape off the gunk can easily damage the fabric. The only real solution is prevention. Always use tape rated for at least 500°F (260°C) and stick to brands you trust. When you're ready to peel, do it while the garment is still warm (not scorching hot) and pull back slowly at a low angle. This gives the adhesive the best chance to release cleanly.
Pro Tips for Next-Level Heat Pressing

Alright, you've got the basics down. Now it's time to talk about the little tricks that separate the pros from the beginners. Once you're comfortable using heat resistant tape for heat press work, you can start using it to work smarter, not just harder.
One of my go-to techniques, especially for anything with multiple layers, is the "hinge method." It sounds simple, but it’s incredibly effective. Just place one strip of tape along the top edge of your transfer. This creates a little hinge, letting you press a layer, lift the press, peel the carrier, and then lay down the next piece without ever losing your alignment. It's a lifesaver for complex designs.
Creating Jigs for Oddly Shaped Items
When you're running a batch order, consistency is everything. This is where you can get creative and use your heat tape to build simple jigs for those awkward items—think baby onesies with their weird snaps or tote bags with thick seams.
Let's use a tote bag with a bulky bottom seam as an example:
- First, lay a single tote on your press platen, positioned exactly where you want the design.
- Next, use small pieces of heat-resistant tape to mark the corners right on your platen's protective cover.
- Now you can press that first bag.
- For every bag after that, you just line it up with your tape markers. No more measuring or eyeballing.
This low-tech trick is a huge time-saver and ensures every single item in the order looks identical. It's about getting repeatable, professional results without any fancy equipment.
The Overlooked Importance of Proper Storage
This is one of those things that seems obvious until it causes a problem. How you store your heat tape really matters. I’ve seen so many people just toss their rolls in a dusty drawer, which kills the adhesive.
Storing your heat tape in a sealed bag or a dedicated container is crucial. This protects the adhesive from debris and humidity, ensuring every piece you use has the reliable stickiness you need for a secure press.
When dust and lint get on that adhesive, the tape is far more likely to fail under pressure. You’ll end up with the exact ghosting and shifting you were trying to avoid in the first place. Treat your tape like any other important tool in your shop. These small habits—making a hinge, building a jig, storing your tape correctly—are what truly elevate your work and streamline your entire process.
Your Heat Press Tape Questions, Answered
Let's wrap up by tackling some of the most common questions people have when they're working with heat-resistant tape. I get asked these all the time, so think of this as your go-to cheat sheet for solving those little nagging issues that can make a big difference in your final product.
We'll cover everything from whether you can get a second use out of your tape (spoiler alert: it’s a bad idea) to what really separates those different colored rolls you see online. Getting these details right is how you get that clean, professional finish every single time.
Can I Reuse Heat Resistant Tape for Another Press?
I'm going to give you a hard "no" on this one, and for good reason. The silicone adhesive on heat resistant tape for heat press work is only designed to withstand one heat cycle. The first time you press it, the combination of heat and pressure changes the adhesive's chemical makeup, dramatically weakening its grip.
If you try to use it again, you're gambling with a weak bond that will probably let your transfer shift or ghost. Even worse, it can leave behind sticky residue from the first press, which can completely ruin a perfectly good blank. For the sake of your inventory and your sanity, always start with a fresh piece of tape. It’s just not worth the risk.
Is Blue Heat Tape Better Than the Amber-Colored Tape?
Honestly, when it comes to performance, there’s virtually no difference between high-quality blue, green, or the classic amber-colored tapes. As long as they have a similar temperature rating—you should be looking for at least 500°F or 260°C—the color is mostly just for branding.
That said, some people do have a preference. Many find that a bright blue or green tape is easier to see on certain colored fabrics. This little bit of contrast can make it much easier to place your tape accurately and, more importantly, to find and remove it once you're done pressing.
The most critical factor here isn't the color—it's the quality of the polyimide film and the silicone adhesive. A cheap, no-name blue tape will give you more headaches than a high-quality amber one. Always prioritize the temperature rating and brand reputation over the color on the roll.
My Tape Left a Faint Box Outline on My Shirt. How Do I Fix This?
Ah, the dreaded pressure mark! That faint outline is almost always caused by having too much pressure on your heat press. The hard, straight edge of the tape literally gets embossed into the fabric's fibers. The first thing to do is check your pressure settings and make sure they’re right for the material you’re working with—thinner, more delicate fabrics are especially susceptible to this.
To stop it from happening in the future, here are a few tricks I've picked up over the years:
- Rethink Your Placement: Try to keep as much of the tape on the transfer paper as possible, letting just a tiny edge overlap onto the garment itself.
- Tear, Don't Cut: This is my favorite tip. Instead of cutting the tape with scissors, tear it. The soft, feathered edge you get from tearing is much less likely to leave a hard pressure line.
- Use a Protective Sheet: Always place a Teflon sheet or a piece of parchment paper over your entire design. This helps distribute the heat and pressure more evenly across the board, softening the impact of the tape edges.
Ready to stop worrying about shifting transfers and start producing flawless prints every time? Cobra DTF offers premium, USA-made DTF transfers that pair perfectly with the right techniques. Experience vibrant colors and unmatched durability for your apparel business.
Explore our top-quality transfers at https://cobradtf.com and see the difference for yourself.