
Your Guide to DTF Transfer Heat Press Settings for Flawless Prints
Getting a perfect DTF print comes down to dialing in your heat press. While the sweet spot is generally somewhere between 280-350°F for 10-15 seconds at a medium-to-firm pressure, mastering this combination is what makes the difference. When you get it right, the transfer's adhesive activates perfectly, locking the design into the fabric for a vibrant, durable finish that looks great wash after wash.
The Core Elements of DTF Heat Pressing
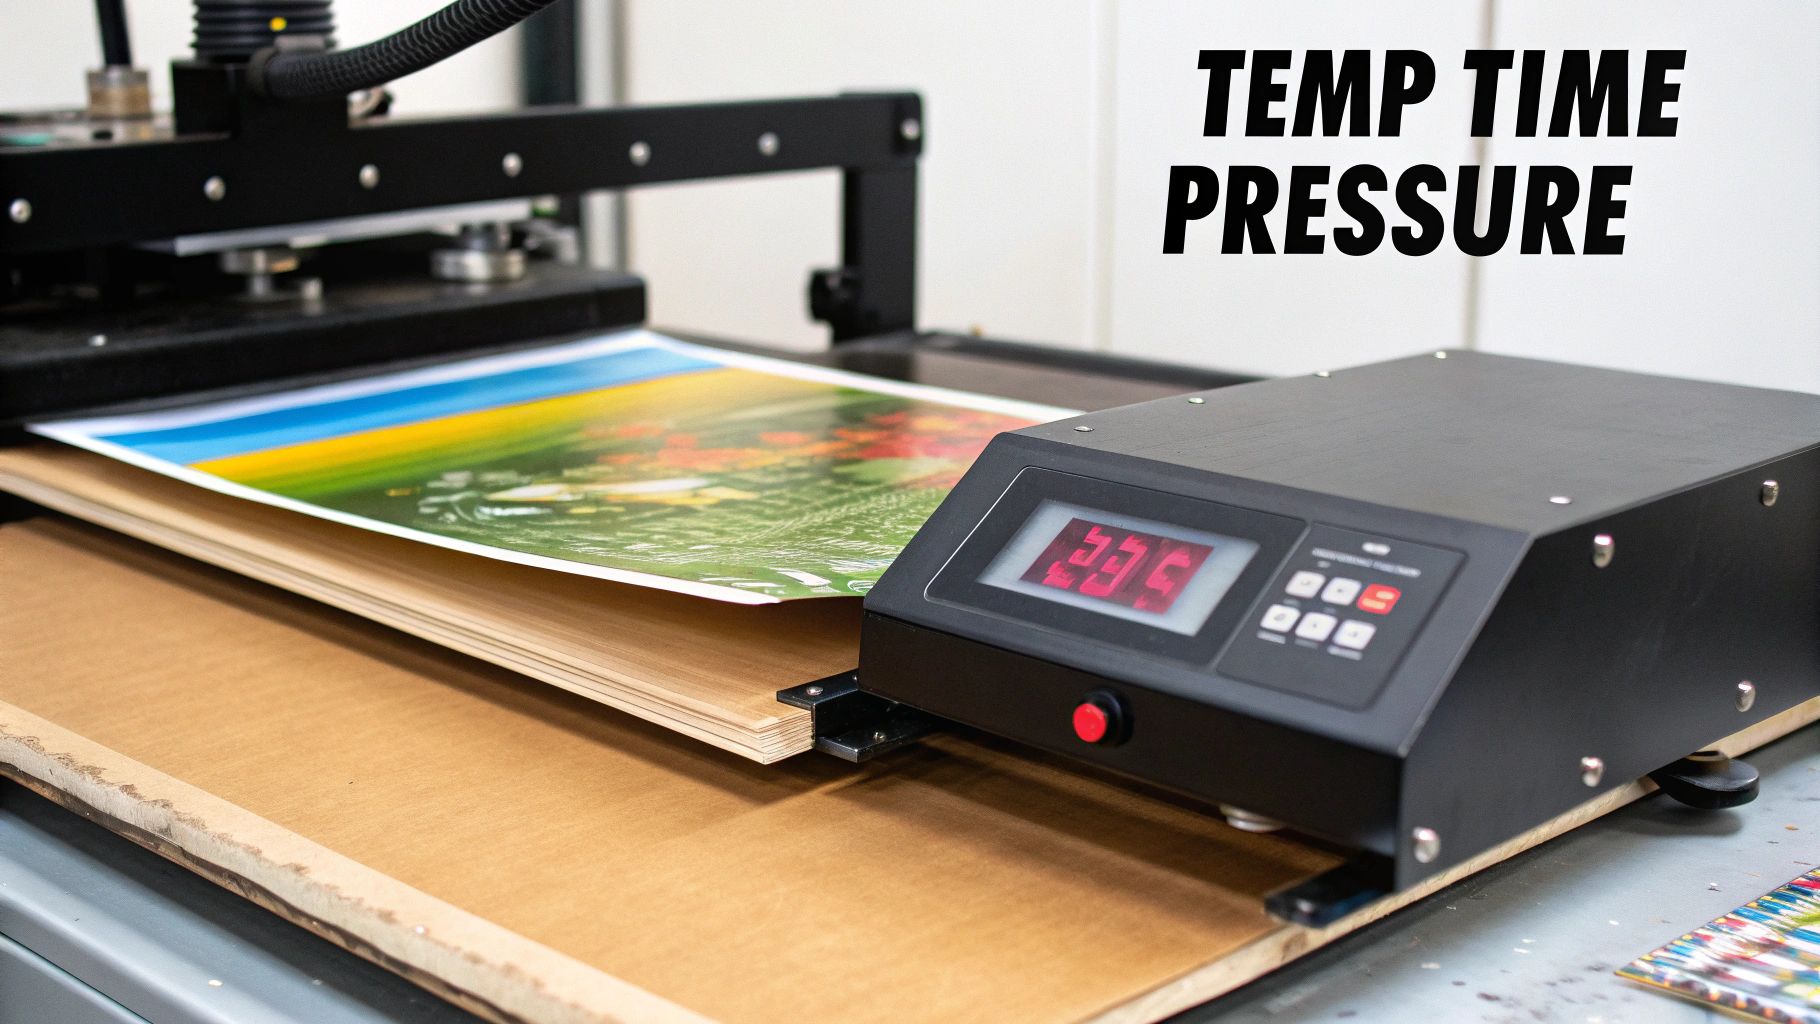
Before we jump into specific settings for different fabrics, it’s really important to understand why these settings matter. It’s not just about blasting your shirt with heat; it's a careful balance of three key variables. Think of them as the three legs of a stool—if one is off, the whole thing wobbles.
These core elements are:
- Temperature: This is what melts the adhesive powder on the back of your DTF transfer. If it’s too low, the glue won’t bond correctly, and your design will start peeling. Too high, and you can scorch delicate fabrics like polyester or cause the dreaded dye migration.
- Time: This is how long the heat has to work its magic. Not enough time means a weak bond. Too much time can damage the fabric or make your inks look dull and faded.
- Pressure: This is what ensures every square inch of the transfer makes solid contact with the garment. Uneven pressure is probably the number one reason for failed prints, where one part of the design sticks beautifully while another part lifts right off.
Once you get a feel for how these three factors play together, you’ll move from guessing to getting consistent, professional-quality results every single time.
Why Every Setting Matters
It’s easy enough to find a generic settings chart online, but real expertise comes from knowing how and when to tweak those recommendations. For instance, a thick, 100% cotton hoodie needs more heat and a longer press time to really penetrate those dense fibers compared to a thin, synthetic performance tee.
The type of DTF film you're using also plays a huge part. Hot peel films are made to be ripped off immediately after pressing, which often requires slightly different settings than cold peel films that need to cool down completely before you touch them. Ignoring these little details is a recipe for frustration and wasted materials.
The Science Behind the Press
So, what’s actually happening when you clamp down that press? The heat from the top platen goes through the film and melts the thermoplastic polyurethane (TPU) adhesive powder. This melted adhesive basically becomes a super-strong glue that sinks right into the fibers of the fabric.
The pressure you apply forces this bond, making sure the design sticks uniformly across the entire surface. This is why you can't skimp on a quality heat press; a regular home iron just can't provide the consistent, even pressure needed for a DTF transfer that will last. If you want a deeper dive into the mechanics, you can learn more by exploring our guide on what is Direct-to-Film printing.
Key Takeaway: Your heat press settings aren't just numbers on a screen. They're a precise formula for melting adhesive, bonding ink to fabric, and ensuring your final product is built to last.
The entire Direct to Film (DTF) printing market, which hit a value of USD 2,720.0 million in 2024, is built on the reliability of this process. Industry-wide, the standard recommendation is to use medium pressure (8-10 PSI) on hot peel films to get 99% adhesion on common fabrics like cotton and poly blends.
With this foundation, you're much better equipped to troubleshoot problems and make smart adjustments on the fly. Let’s get into some solid starting points.
Quick Reference DTF Heat Press Settings by Fabric
Use these settings as a solid starting point for the most common materials you'll encounter.
| Fabric Type | Recommended Temperature (°F) | Press Time (Seconds) | Pressure Level |
|---|---|---|---|
| 100% Cotton | 300-325°F | 10-15 | Medium to Firm |
| Polyester | 280-300°F | 8-12 | Medium |
| 50/50 Blends | 290-310°F | 10-12 | Medium |
| Tri-Blends | 280-300°F | 8-12 | Medium |
Remember, every heat press can have slight variations, and different brands of transfers might have their own unique needs. Always test a small, inconspicuous area first if you're working with a new garment or transfer type.
Dialing in Settings for Different Fabric Types
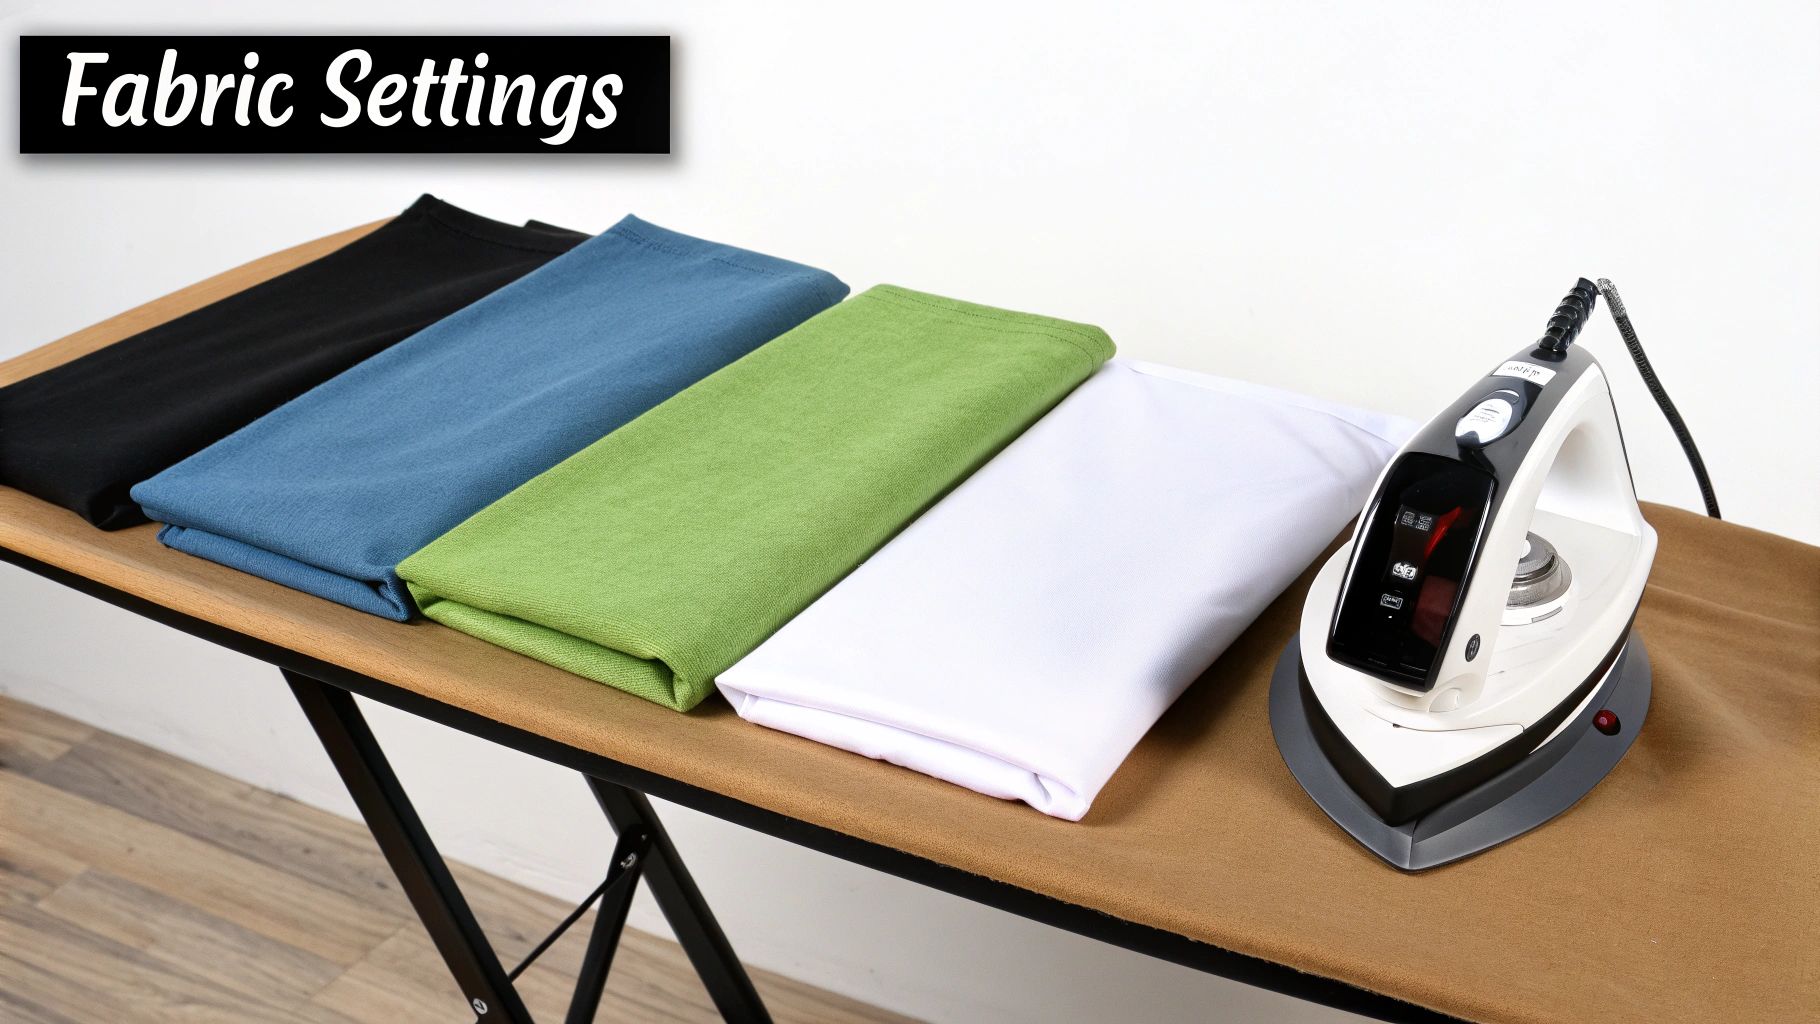
Those generic settings charts you find online? They're a decent starting point, but the real secret to a perfect DTF press lies in knowing your fabric. You can't just use one set of numbers and expect flawless results on everything from a tough cotton tee to a delicate polyester jersey.
Think of it this way: each fabric has its own personality. Cotton can take a punch, while polyester will scorch or bleed if you look at it wrong. Mastering your dtf transfer heat press settings is all about learning to work with the material, not against it.
Perfecting Settings for 100% Cotton
Cotton is the workhorse of the custom apparel world, and for good reason. It's tough, it's breathable, and it’s pretty forgiving under the heat press. That durability means you can crank up the heat a bit without worrying about ruining the shirt.
For your typical 100% cotton t-shirts, this is your go-to recipe:
- Temperature: 300°F to 325°F (150°C to 163°C)
- Time: 10 to 15 seconds
- Pressure: Medium to Firm
This higher heat range ensures the adhesive powder melts completely, getting a solid grip on the cotton fibers. This is what gives you that great, long-lasting print that holds up in the wash. If you're working on something thicker, like a heavyweight hoodie, aim for the higher end of that range—maybe 325°F for 15 seconds—just to make sure the heat penetrates all the way through.
For a deeper dive into fabric choices, our guide on the best shirts for DTF is a great resource.
Navigating Polyester and Its Challenges
Polyester is a whole different ballgame. It's a synthetic, plastic-based fiber, which makes it extremely sensitive to heat. If you hit it with cotton settings, you’re asking for trouble. You’ll either end up with scorching (that permanent, shiny mark) or the dreaded dye migration.
Dye migration is the bane of anyone printing on polyester. The heat causes the fabric's dye to turn into a gas, which then seeps into your transfer and permanently stains it. A beautiful white print on a red shirt suddenly looks disappointingly pink.
To dodge these issues, you have to dial everything back:
- Temperature: 280°F to 300°F (138°C to 149°C)
- Time: 8 to 12 seconds
- Pressure: Medium
This "low and slow" method activates the DTF adhesive without overheating the polyester. My advice? Always start on the low end, maybe 280°F for 8 seconds, and do a test press. If it doesn't stick well, add a couple of seconds to the timer before you even think about upping the temperature.
Pro Tip: When you're pressing on 100% polyester—especially reds, blacks, or royal blues—a blocker-style DTF transfer can be a real game-changer. They're made with a special backing layer that stops dye migration in its tracks.
Finding Balance with Polyester Blends
Poly-cotton blends (like 50/50s) and tri-blends are the happy medium. You get the softness of cotton and the performance qualities of polyester. Naturally, your heat press settings need to find that same middle ground.
For most blends, you'll want to aim for this range:
- Temperature: 290°F to 310°F (143°C to 154°C)
- Time: 10 to 12 seconds
- Pressure: Medium
This gives you enough heat to get a strong bond without risking damage to the sensitive polyester fibers. A great starting point for a classic 50/50 hoodie is 305°F for 10 seconds. This level of precision matters, especially on dark garments where any mistake will be glaring.
Tackling Specialty Fabrics Like Nylon and Fleece
Once you move into more specialized materials, you've got to be extra careful. Things like nylon and fleece have their own unique quirks that demand another adjustment to your settings.
For Nylon: This stuff melts easily. You have to keep the temperature low or you’ll have a gooey mess.
- Temperature: 260°F to 290°F (127°C to 143°C)
- Time: 10 to 15 seconds
- Pressure: Light to Medium
For Fleece: While fleece is usually a poly-blend, its thick, plush texture is the real challenge. Too much pressure will crush that soft pile, leaving a permanent, ugly box around your design.
- Temperature: Stick to the appropriate blend setting (290°F to 310°F).
- Time: 10 to 12 seconds.
- Pressure: Light to Medium. A heat press pillow placed inside the garment is your best friend here. It helps distribute the pressure evenly and saves the fleece's texture.
Remember, these are all battle-tested starting points. The perfect dtf transfer heat press settings will always depend on your specific heat press, the brand of film you're using, and even the humidity in your shop. Before you start a big job, always, always press a test piece first.
The Complete DTF Pressing Workflow
Getting your DTF transfer heat press settings dialed in is a huge win, but honestly, it’s only half the battle. A truly flawless, long-lasting print comes from a consistent workflow—one that starts before the transfer even touches the shirt and finishes well after that first press is done. I've seen it time and time again: people skip these steps and then wonder why their designs are peeling, cracking, or just not sticking right.
Think of it like painting a wall. You wouldn't just slap a coat of paint on a dusty, uneven surface and expect a professional finish, right? You prep the surface first. It's the exact same logic here; preparation is everything.
The Non-Negotiable Pre-Press
Before you even think about laying down that transfer, you must pre-press your garment. This is easily the most critical and, unfortunately, the most skipped step in the whole process.
A quick press for just 3 to 5 seconds at your target temperature does two vital things. First, it zaps any hidden moisture out of the fabric. Cotton, especially, loves to hold humidity from the air, and that moisture instantly turns to steam under the press. Steam is the enemy—it creates a barrier that stops the DTF adhesive from getting a solid grip on the fabric fibers.
Second, it smooths out all the wrinkles, giving you a perfectly flat canvas to work on. Trying to press a design over even a tiny crease is a recipe for instant failure in that spot.
My Two Cents: Make pre-pressing a reflex. As soon as a garment hits the platen, give it that quick press. Turning this into a habit will save you countless headaches and wasted materials. It’s a game-changer.
Once the shirt is prepped, position your transfer. I always recommend using a t-shirt ruler or an alignment tool to keep things consistent, especially if you're running a big order. A small piece of heat-resistant tape on the corners can also be a lifesaver, keeping the film from shifting when you close the press. After that, just cover everything with a protective sheet (Teflon or parchment paper works great) to protect the film and your heat platen.
The Main Event: The First Press
Okay, your garment is prepped and the transfer is locked in. Now it's time for the main press. Use the temperature, time, and pressure settings that are right for your specific fabric. This initial press is all about melting that adhesive powder and fusing the ink right into the garment's fibers.
When the timer dings, open the press smoothly. What you do next depends entirely on the type of film you're using. Knowing the difference is absolutely crucial for a clean peel.
- Hot Peel Film: The name says it all. You have to peel the film off immediately while it's still scorching hot. Don't hesitate. Use a confident, smooth, rolling motion to pull the film away.
- Cold Peel Film: This one requires patience. You must let the garment and transfer cool down completely to room temperature before you even think about peeling. If you jump the gun and peel it warm, you're going to pull up parts of your design.
If you're just starting out, our guide on using custom DTF transfers that are ready to press is a great resource for getting comfortable with different film types.
The Final Touch: The Curing Press
You've peeled the film away and the design looks great—but you're not done yet. The second press, or the "curing" press, is what separates a good print from a great one. If you want maximum durability and a pro-level finish, you can't skip this.
Put your protective sheet back over the exposed design and press it again for another 5 to 10 seconds. This final press accomplishes two key things:
- Boosts Durability: It pushes the ink even deeper into the fabric's weave, which makes a huge difference in its stretchability and how well it holds up in the wash. A cured print is far less likely to crack or fade.
- Improves the Finish: It knocks down any leftover shine from the adhesive, giving your print a soft, matte look that feels like it’s part of the shirt, not a plastic sticker sitting on top.
This workflow—Pre-Press, First Press, Peel, Curing Press—is the complete cycle. Follow it every single time, and you'll be producing commercial-quality results that you can be proud of. You'll move beyond just applying transfers and start truly manufacturing top-tier custom apparel.
How to Fix Common DTF Heat Press Issues
Even when you follow the instructions perfectly, some days the press just doesn't want to cooperate. A perfect print is a delicate balance of time, temperature, and pressure, and a small hiccup in your DTF transfer heat press settings can lead to some seriously frustrating results.
Don't sweat it. Most of these problems are incredibly common and totally fixable once you know what to look for. Forget generic advice; let's dig into the real-world issues you'll actually run into at your press.
The key is understanding that DTF isn't just one step—it's a process. Getting the pre-press, the transfer, and the final cure right is crucial for success.

This workflow shows how each stage builds on the last. Skipping or rushing one of these will almost certainly cause the exact problems we’re about to solve.
Why Is My Transfer Peeling or Cracking?
This is easily the most common—and soul-crushing—problem. You peel back the film, and chunks of your beautiful design are left behind. Or worse, it looks great until it cracks after the first wash. More often than not, the culprit is one of three things.
- Not Enough Pressure: The adhesive needs to be physically forced into the fabric's fibers. If your pressure is too light, you’re just getting a surface-level bond that simply won't last. On a manual press, medium-firm pressure should feel like you need some real effort to lock it down, but not a full-body workout.
- Moisture in the Garment: Skipping the pre-press is a cardinal sin in the DTF world. A quick 5-second press boils off any trapped humidity that would otherwise turn to steam, blocking the adhesive from making a solid connection.
- Bad Peeling Technique: Are you using a cold peel film? If so, you must wait until the garment is completely cool to the touch. Peeling it even slightly warm is a surefire way to lift parts of your design right off with the film.
Quick Fix: If a transfer is peeling, first try increasing your pressure a notch. And always, always pre-press the garment. If you're using a cold peel film, give it an extra minute to cool down before you even think about touching it. A little patience goes a long way here.
What Is This Shiny Box Around My Design?
You press a great-looking transfer, but now there's a faint, shiny rectangle on the shirt where the heat press platen was. This "press box" is caused by the heat and pressure flattening the fabric's fibers, and it's especially noticeable on polyester and dark-colored cotton.
While it sometimes fades after the first wash, it’s much better to prevent it from happening in the first place.
This is almost always a sign of too much pressure. Fleece and other lofty fabrics are especially prone to this. Try lightening your pressure setting just a bit. If that doesn't solve it, a heat press pillow is your new best friend. By placing one inside the shirt, you raise the print area so the press only makes firm contact with the transfer, leaving the surrounding fabric untouched.
Why Are My Colors Fading or Discolored?
If your vibrant reds look dull, or your crisp white print has turned pink on a red shirt, you're likely dealing with a heat issue. This problem, known as dye migration, is notorious when working with polyester fabrics.
- Temperature Is Too High: This is the #1 cause. Excessive heat turns the fabric's dye into a gas, which then stains your transfer ink from below. For polyester and poly-blends, you want to stay under 300°F to be safe.
- Press Time Is Too Long: Even at a "safe" temperature, leaving the garment under the heat for too long can essentially cook the inks, causing them to lose their punch and vibrancy.
Despite these hurdles, there's a reason the industry has overwhelmingly adopted this method. A recent report found that a staggering 88.5% of apparel decorators use DTF transfers as a primary technique. Its success comes from dialing in standardized settings—like a baseline of 310°F for 12-14 seconds—that can deliver prints with wash-fastness ratings of up to 50 cycles. That's 40% better than you can expect from heat transfer vinyl. You can discover more insights about these decoration trends in the full report.
Keeping Your Heat Press in Fighting Shape
Your heat press is the heart of your entire DTF operation. Think of it like the engine in a race car—if it's not tuned up and running perfectly, you're not going to win any races. Neglecting basic maintenance is a surefire way to get inconsistent prints, waste expensive film and garments, and even create a dangerous work environment.
A well-cared-for press is a predictable press. It means your dtf transfer heat press settings will be accurate, giving you that perfect, even adhesion every single time you lock it down.
The Quick-and-Easy Maintenance Checklist
You don't need to be a master mechanic to keep your press in prime condition. Just build these simple habits into your workflow. It's the best way to prevent equipment headaches and make your machine last for years.
- Wipe Down the Platen: After a long day of pressing, bits of adhesive, ink, and stray fabric fibers can bake onto the upper platen. Once the machine is completely cool, just wipe it down with a soft cloth and a non-abrasive cleaner. This simple step stops old gunk from messing up your next fresh t-shirt.
- Hunt for Cold Spots: Over time, heating elements can wear out, leading to uneven temperature across the platen. This is a classic cause of peeling transfers. The best tool for the job is an infrared temperature gun. Every so often, scan the entire platen surface to make sure the temperature is uniform and matches what your controller says.
- Inspect Your Cords: Give the power cord a quick look-over for any signs of fraying or damage. A solid power connection is absolutely critical. Make sure your press is plugged securely into a dedicated, properly rated outlet to prevent power dips that can ruin a press and create a fire hazard.
A huge mistake I see people make is plugging a commercial heat press into a power strip or a circuit that's already running other heavy equipment. This starves the press of the power it needs, leading to inconsistent heat. Always give your press its own dedicated circuit.
Don't Skip These Safety Steps
We're working with high temperatures and powerful electronics here, so safety can't be an afterthought. These aren't just suggestions; they're essential rules for keeping you and your shop safe.
Let the Air Flow
When you're curing DTF powder or pressing transfers, some fumes are unavoidable. You absolutely must work in a well-ventilated area. If your workspace is small, an exhaust fan or a quality air purifier is a must-have, not a nice-to-have. It's a critical investment in your long-term health.
Watch Those Hands
This sounds like a no-brainer, but it's easy to get complacent and forget just how hot that platen is. It stays dangerously hot long after you've shut it down. Get into the habit of using heat-resistant gloves, especially when adjusting garments on the platen. And always, always keep flammable materials like solvents or stacks of raw t-shirts a safe distance away while the press is running.
Your Top Questions About DTF Settings Answered
Even when you think you have a solid workflow, questions are going to pop up. Your heat press has its own personality, the film you bought might be different from the last batch, and every garment is a little unique. Let’s tackle some of the most common questions we hear about DTF transfer heat press settings.
Getting these details right is what separates an amateur-looking shirt from a professional, sellable product. This is your go-to guide for those moments when you're standing in front of the press and need a quick, reliable answer.
Can I Just Use the Same Settings for All My DTF Films?
Absolutely not. This is one of the most common mistakes people make, and it's a huge source of frustration. Hot peel and cold peel films are designed with totally different adhesives, so they need their own specific settings to release cleanly.
- Hot Peel Films: These are built for efficiency. You're meant to peel the backing off immediately after the press opens. For these, you're typically looking at a temperature range of 300-320°F for about 10-15 seconds.
- Cold Peel Films: With these, you have to be patient. The garment has to cool down completely before you even think about peeling the film. They often work best with slightly lower temperatures and sometimes a bit more time on the press.
When in doubt, always start with the manufacturer's recommendations for the specific film you're using. They've done the testing so you don't have to guess.
Is That Second Press Really Necessary?
I get it, you want to move quickly. But if you're serious about the quality and longevity of your prints, the second press isn't optional—it's essential. This final step is what "cures" the transfer and makes all the difference.
After you've done the initial press and peeled the film, just cover the design with parchment paper or a finishing sheet and press it again for another 5-10 seconds. This quick press does two crucial things: it pushes the ink deeper into the fabric fibers for much better washability, and it gets rid of that plastic-y shine from the adhesive.
The result is a soft, matte finish that feels like it’s part of the shirt instead of a sticker sitting on top. It’s the single best thing you can do to make your prints last.
How Can I Tell if My Heat Press Pressure Is Right?
Pressure can feel like a guessing game, especially with manual presses that don't give you a digital PSI reading. "Medium to firm" pressure means you should have to use some muscle to lock the handle down, but you shouldn't be fighting it with your whole body.
Here's a simple trick I swear by: the "dollar bill test." Tuck a dollar bill under each of the four corners of your platen and close the press. Try to pull each bill out. You should feel a consistent, firm drag on all four. If one slides out with no resistance, you've got uneven pressure, which is a classic reason why transfers start peeling up at the edges after a wash.
For those with automatic presses, a good starting point for most DTF work is in the 40-60 PSI range.
Ready to stop guessing and start producing flawless prints every time? Cobra DTF provides premium, USA-made DTF transfers that deliver consistent, vibrant results. Eliminate the variables and get the quality your business deserves. Explore our products at https://cobradtf.com today.