
Your Guide to DTF Print T Shirt Production
Before you can bring that first design to life, you need to build your workshop. Getting your DTF t-shirt printing setup right is the most important part of the puzzle. This isn't just about buying a printer; it's about creating a complete system where the hardware, software, and materials all work in harmony. Think of it as your foundation—a solid setup is what allows you to consistently produce vibrant, durable, and professional-grade shirts your customers will love.
Building Your DTF T-Shirt Printing Setup
Jumping into Direct-to-Film printing means making a smart investment in the right gear. Don't think of it as just a shopping list; you're essentially building a small-scale production line. Every single piece of equipment has a critical job to do, turning a digital file on your computer into a high-quality garment you can sell. The quality and dependability of these components will directly shape your final product, your shop's efficiency, and your bottom line.
The real goal here is to create a smooth, seamless workflow. You want each step to flow logically into the next, cutting down on mistakes and wasted materials. A little extra investment upfront in quality equipment will save you a ton of headaches, reprints, and money down the road. Ultimately, a reliable setup is the only way to guarantee that every DTF print t-shirt leaving your shop meets the high standards customers expect.
Core Hardware: The DTF Printer and Heat Press
The absolute heart of your operation is the DTF printer. And no, this isn't your average office inkjet. This is a specialized machine built to handle pigmented DTF inks and print flawlessly onto PET film. It’s a two-part process: the printer first lays down the CMYK color layer, then immediately follows it with a critical base layer of white ink. That white ink is what makes your designs pop on any color fabric, from black to heather gray.
Just as crucial is your heat press. This workhorse does two major jobs: first, it cures the adhesive powder onto the printed ink, and second, it presses the finished transfer onto the t-shirt. Precision is everything here. Your press absolutely must deliver consistent, even temperature and pressure across the entire platen. If you have cold spots or uneven pressure, you'll get transfers that peel, crack, or just feel wrong.
For a detailed walkthrough on nailing your settings, check out our comprehensive DTF press instructions to get started on the right foot.
A common rookie mistake is skimping on the heat press. A cheap, unreliable press will ruin a perfect transfer in a heartbeat, wasting your time, materials, and money. A quality press is an investment that pays for itself over and over in consistency and professional results.
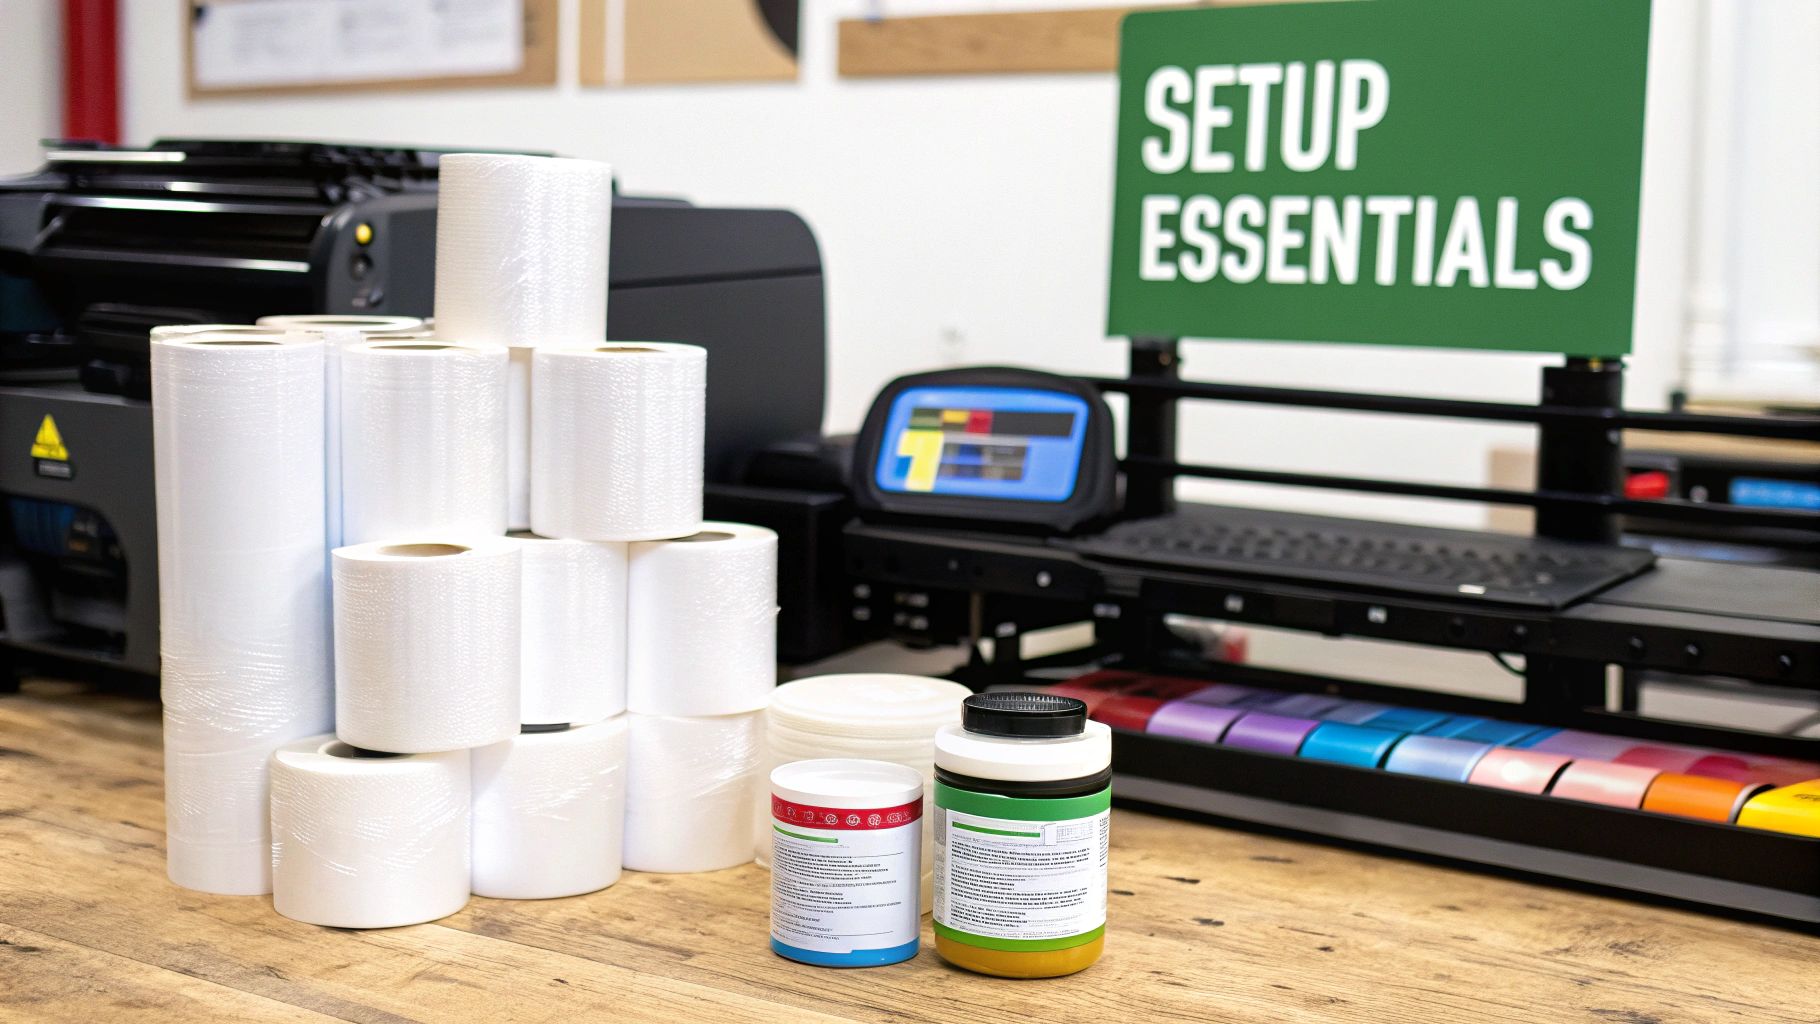
Software and Consumables: The Unsung Heroes
While the big machines get all the attention, your software and consumables are the true unsung heroes of the DTF process. It all starts with your Raster Image Processor (RIP) software. The RIP is the brain of the whole operation, taking your beautiful artwork and translating it into a language the printer can execute perfectly.
It handles a few non-negotiable tasks:
- Color Management: It makes sure the vibrant colors you see on your screen are the same ones that come out of the printer.
- White Ink Generation: It automatically creates the perfect white underbase needed for dark or colored garments, saving you a huge design headache.
- Ink Control: It dials in exactly how much ink is used, preventing muddy, oversaturated prints and saving you money on ink costs.
Then you have the day-to-day materials—the consumables.
- PET Film: This is the specially coated film you print onto. Good film grabs ink well and, just as importantly, lets it go cleanly during the pressing stage.
- DTF Inks: These are specially formulated, water-based pigment inks. Using high-quality, USA-made inks like ours at Cobra DTF is a game-changer for getting brilliant colors and top-notch wash durability.
- Adhesive Powder: This is a fine, hot-melt powder that you apply to the wet ink. When you heat it, it transforms into the adhesive that bonds your print to the fabric. The quality of this powder directly impacts how durable the print is and how soft it feels.
Choosing premium consumables isn't about being fancy; it's about performance. High-grade films, inks, and powders lead to fewer failed prints and a much better final product—one that holds up to wear and washing, keeping your customers happy and coming back for more.
Here's a quick checklist to help you piece everything together.
Essential DTF Printing Equipment and Materials
| Component | Primary Function | What to Look For |
|---|---|---|
| DTF Printer | Prints CMYK and white ink onto PET film. | Print width (24" is common), printhead quality, and reliable ink delivery system. |
| Heat Press | Cures adhesive powder and applies transfers to garments. | Even heat distribution, accurate temperature control, and consistent pressure. Clamshell vs. swing-away style is a personal preference. |
| RIP Software | Translates art files and manages color/ink output. | Compatibility with your printer, intuitive user interface, and robust color profile management. |
| PET Film | The transfer medium that holds the ink and powder. | Look for "cold peel" or "hot peel" types. Consistency in thickness and coating is key. |
| DTF Inks | Specially formulated pigment inks (CMYK + White). | High-quality, vibrant pigments. Sourcing from a reliable supplier like Cobra DTF ensures consistency and durability. |
| Adhesive Powder | A hot-melt polyurethane powder that bonds the print to the fabric. | A fine-to-medium grain provides a good balance of durability and soft feel. |
| Curing Oven/Shaker | Automates the powder application and curing process. | For higher volume, a shaker/dryer unit automates a messy, time-consuming step. Otherwise, a low-temp oven works. |
Having this full system in place is what separates a hobbyist from a professional print shop. Each component supports the others, creating a reliable production line for top-tier apparel.
Getting Your Files Ready: The Pre-Press Workflow
The secret to a brilliant, professional-looking DTF print t shirt doesn't start when you hit "print." It begins on your computer. Your pre-press work—getting the artwork and software dialed in—is what really sets the stage for a great final product. This is where you take control and turn a good design into something you can proudly sell.
If you rush this part, you'll end up wasting film, ink, and time. Things like muddy colors, fuzzy edges, or that awful white halo peeking out from behind a design? Almost every one of those problems can be traced back to a mistake made before a single drop of ink was laid down. Nail down a solid pre-press routine, and you’ll get consistent, high-quality results every single time.
Preparing Your Digital Artwork
Let's be blunt: your final print can only be as good as the file you start with. The first and most important rule is to use high-resolution artwork. The industry standard is 300 Dots Per Inch (DPI) for a reason. If you try to print a low-res image you grabbed from a website (usually 72 DPI), you're going to get a blurry, pixelated mess that just looks cheap.
Once you’ve got a high-res file, there are a few other critical setup details.
- Transparent Background is a Must: Your design file must have a transparent background. If you want white in your print, it has to be part of the actual design. Otherwise, the software will just ignore it. Saving your files as a PNG, TIFF, or PSD is the best way to make sure that transparency is preserved.
- Stick with RGB: This might sound counterintuitive since DTF printers use CMYK inks, but you'll almost always get better results by designing in an RGB color space like sRGB. Your RIP software is calibrated to handle the conversion perfectly, translating those RGB values into the printer's specific ink set to produce the most vibrant, accurate colors possible.
- Check Your Edges: Zoom way in on your design and give the edges a close look. You're looking for any stray pixels or semi-transparent glows left over from when the background was removed. These tiny, nearly invisible artifacts will get picked up by the printer and can create a fuzzy, discolored outline on your final transfer.
Remember, the printer does exactly what it's told. If your artwork has flaws, those flaws are going straight onto the shirt. Spending an extra five minutes cleaning up your file now can save you the headache and cost of a reprint later.
Mastering Your RIP Software Settings
With your artwork looking pristine, it's time to run it through your Raster Image Processor (RIP) software. Think of this program as the translator between your computer file and the printer. It takes your design and turns it into a precise map of where every drop of ink should go. For DTF, its most important job is creating the white underbase.
This white layer is what makes your colors pop on dark or colored shirts. It's printed on top of the color layer, acting as a bright white canvas. Without it, your colors would just soak into the fabric and look dull. While your RIP software generates this layer automatically, you need to get in there and fine-tune the settings to get that truly professional finish.
Fine-Tuning Your White Ink Layer
The single most important setting you'll learn to love is the choke. A choke ever-so-slightly shrinks the white underbase, pulling its edges in just a tiny bit from the edges of the color layer. We're talking a very small amount, usually between 1 to 3 pixels.
Why is this tiny adjustment so crucial? It’s what prevents that dreaded "white halo" from showing up around your design. Even the slightest machine misalignment can cause a sliver of the white base to peek out from behind the colors, which immediately screams "amateur job." Dialing in your choke is how you get those crisp, clean, perfectly registered edges every time.
Another key dial to turn is the ink density, or saturation. This controls the amount of white and color ink being put down.
- Too much white ink can make the transfer feel thick and rubbery, and it might not cure properly.
- Too little white ink will give you poor opacity, making your colors look weak and washed out on the final shirt.
Finding that perfect balance usually takes a little trial and error with your specific printer, ink, and film. A great starting point is to use the software's default profile and run a small test print. From there, you can make small tweaks until you get that perfect combination of vibrant color, solid opacity, and a soft feel on the shirt. This knowledge is fundamental for anyone serious about the craft.
The Core DTF Process from Print to Cure
This is where the magic really happens—turning your digital file into a tangible, ready-to-press transfer. Getting the core DTF process right, from the first drop of ink to the final cure, is all about technique. Each step is built on the one before it, and paying close attention to the details here is what separates a fantastic print from a failed one.
It all starts with your DTF printer laying down the ink on the PET film. First comes the CMYK color layer, meticulously mapping out your design. Then, right on top of that, the printer lays down a solid, bright white ink layer. This white underbase is the secret to getting vibrant, punchy colors on any garment, whether it's black, blue, or red.
Of course, before any of this, you’ve done the digital prep work: finalizing the artwork and running it through your RIP software. This prepress stage is what tells the printer exactly how to create the print.

As you can see, the digital setup is the foundation. Once that's locked in, you're ready to get your hands dirty.
Mastering the Art of Powdering
With the ink still wet on the film, it’s time to apply the adhesive powder. This isn't just dust; it's a finely granulated polyurethane that acts as the glue, bonding your design to the fabric. The goal is simple: get a perfectly even coat of powder over every bit of wet ink, without making a mess or leaving stray granules behind.
If you're doing this by hand, grab the film by the edges and be generous with the powder, sprinkling it all over the design. Gently rock the film back and forth and side to side. You'll see the white powder cling to the wet ink, which is exactly what you want.
Next, you have to get rid of the excess.
- The Flick Method: My go-to trick. Just give the back of the film a few firm flicks with your finger. The vibration is surprisingly effective at knocking off any loose powder.
- The Shake Method: Another option is to hold the film straight up and down over a collection tray and give it a couple of sharp shakes. Gravity does the rest.
For shops churning out high volumes, an automatic powder shaker is a must-have. These machines handle the entire powdering process—applying, coating, and removing the excess—in one smooth, automated step. It's a huge time-saver and keeps your results incredibly consistent.
The Critical Curing Stage
Now that your print is perfectly powdered, it's time to cure it. This step melts the powder, turning it from a grainy layer into a smooth, sheet-like adhesive. Trust me, you can't skip or rush this. Getting the cure right is what makes a dtf print t shirt last.
An under-cured transfer won't stick right and will probably start peeling after the first wash. Go too far and over-cure it, and you'll scorch the transfer, leaving it discolored with a stiff, plastic feel that also won't adhere well. Precision is everything here.
You have two solid options for curing: a dedicated curing oven or your heat press.
- Using a Curing Oven: This is the best way to get consistent results. Set your oven between 240-265°F (115-130°C) and let the transfer bake for about 2 to 3 minutes. You might need to tweak this based on your specific powder and oven setup.
- Using a Heat Press: No oven? No problem. You can "hover" your heat press. Set the temperature a bit higher, around 300-320°F (150-160°C). Lower the top platen until it’s about an inch above the transfer—don't let it touch! This method usually takes 4 to 6 minutes.
The visual cue you're looking for is what we call an "orange peel" texture. The powder will go from looking grainy to a smooth, slightly rubbery finish. Once you see that, your transfer is officially done and ready to be pressed. If you want to bypass this whole part of the workflow, you can always look into professionally made DTF transfer sheets ready to press.
The growth in this space is impossible to ignore. The global DTF printing market hit USD 2.72 billion in 2024 and is expected to climb to USD 3.92 billion by 2030. Think about this: over 7.2 billion DTF prints were made in 2024 alone. That's a 30% jump from the year before, showing just how fast shops are adopting this technology. You can dig into more stats about this growing market at Grand View Research.
Applying Your Transfer with Perfect Precision
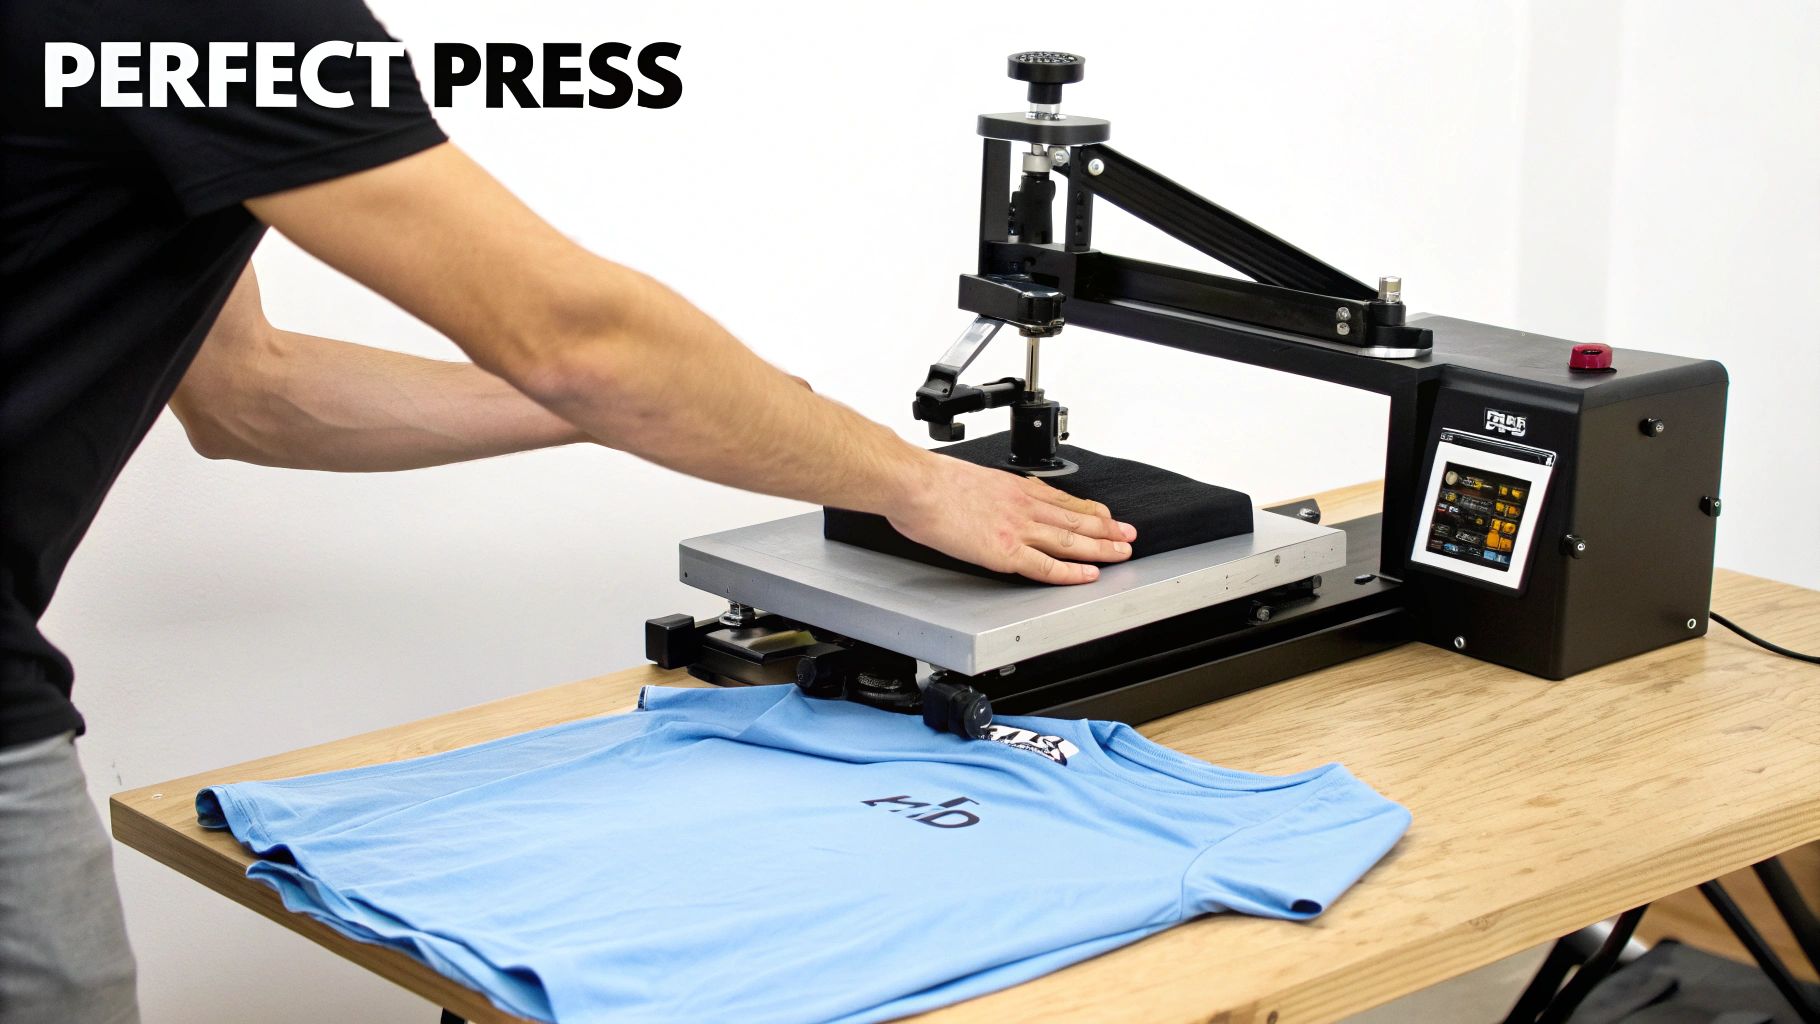
Alright, this is where all your prep work pays off. The moment you permanently marry that cured transfer to the garment is easily the most satisfying part of the entire process. Getting this right is what separates a good-looking shirt from a great one—a print that's not just vibrant but also durable and feels fantastic.
The whole game here is a delicate balance of three things: temperature, time, and pressure. Nail the combination for your specific fabric, and you're golden. But before you even think about pressing the transfer, do a quick pre-press on the blank garment for about 5-7 seconds. This little step is a non-negotiable for me; it zaps any moisture and smooths out wrinkles, giving you a perfect canvas.
Dialing In Your Heat Press Settings
Every fabric is its own animal. The settings that work for a heavy cotton hoodie will absolutely torch a lightweight polyester shirt. That's why starting with a reliable baseline is so important, especially when you're just getting the hang of things.
I've pressed thousands of shirts, and these are the settings I come back to time and time again. They're a solid starting point for the most common fabrics you'll run into. But always, always do a test press if you're working with a new garment or brand.
My Go-To Pressing Parameters
| Fabric Type | Temperature | Time | Pressure |
|---|---|---|---|
| 100% Cotton | 300-320°F (150-160°C) | 12-15 seconds | Medium to Heavy |
| 50/50 Cotton-Poly Blend | 280-300°F (138-150°C) | 10-12 seconds | Medium |
| 100% Polyester & Blends | 260-280°F (127-138°C) | 8-10 seconds | Light to Medium |
Getting your equipment calibrated just right is critical for flawless results. If you really want to get into the nitty-gritty, this guide on Mastering Heat Press Settings for DTF Transfers is a fantastic resource for fine-tuning these numbers for your specific setup.
The Hot Peel vs. Cold Peel Decision
Once that timer beeps and the press opens up, you've got a choice to make. Do you peel the film off right away while it’s screaming hot, or do you let it cool down completely? This is the age-old "hot peel vs. cold peel" debate, and your choice here really shapes the final look and feel of the print.
There’s no single right answer—it’s all about what you’re trying to achieve.
When deciding between a hot or cold peel, it's helpful to compare their key differences and how they affect the final product. Your choice will depend on the design's complexity, the desired finish, and your production workflow.
Hot Peel vs Cold Peel DTF Transfers
| Attribute | Hot Peel Transfers | Cold Peel Transfers |
|---|---|---|
| Peel Time | Immediately after pressing (while hot) | After the transfer has completely cooled |
| Finish | Tends to be slightly glossier | Typically results in a flatter, matte finish |
| Feel | Can have a softer, more integrated feel | Often feels extremely smooth and flat on the shirt |
| Best For | Bold, simple graphics; high-volume production | Intricate designs with fine lines or small text |
| Workflow | Faster, more efficient for quick turnarounds | Slower, requires waiting time between presses |
Ultimately, using high-quality transfers like the ones we make here at Cobra DTF gives you the flexibility to choose either method with confidence. Personally, I lean towards a cold peel for designs with tiny text or intricate details because it gives the adhesive a moment to fully set. For big, bold graphics on a classic cotton tee, a hot peel can give you a fantastic, slightly shiny finish that really pops.
Your peeling technique is just as crucial as the timing. Always peel the film low and slow. Think of it as rolling it back on itself rather than yanking it straight up. This puts minimal stress on the fresh ink and gives you that perfect, clean release.
Don't Skip The Final Finishing Press
After the film is off, you’re left with a beautiful print. But we’re not quite done yet. A quick finishing press is the secret sauce that takes your shirt from "homemade" to "professional grade."
Just place a protective sheet (parchment or Teflon works great) over the design and give it one last press for 5-7 seconds using the same settings. It’s a tiny step that makes a huge difference.
Here’s why it’s so important:
- Boosts Durability: It helps embed the ink deeper into the fabric fibers, making it far more resistant to cracking and peeling in the wash.
- Improves the Hand: This final press softens the print, knocking down any plastic-like texture and giving it a much more pleasant, screen-print-like feel.
- Evens Out the Finish: It melts everything together perfectly, creating a consistent, professional-looking texture across the entire design.
This quick finishing touch is what separates the pros from the amateurs. It’s a simple habit that ensures every single shirt you make not only looks amazing off the press but is built to last. Happy customers and a stellar reputation will follow.
Working Through Common DTF Printing Hiccups
Sooner or later, you're going to run into a print that just doesn't cooperate. It happens to everyone. Don't sweat it—this is just part of the learning curve when you're aiming to produce a top-notch dtf print t shirt. The trick is knowing how to spot the problem and fix it fast, without burning through your precious film and ink.
Most of the time, these issues boil down to just a few usual suspects: your settings are off, the room environment is working against you, or a small machine adjustment is needed. Think of this section as your field guide for troubleshooting the most common DTF headaches and turning a frustrating moment into a quick fix.
Why Do My Colors Look Muted or Just… Wrong?
You pull the shirt off the press, peel the film, and the colors look flat. That brilliant red you saw on screen is now a sad, dull maroon on the fabric. This is easily one of the most common frustrations, but thankfully, the fix is almost always found in your software.
Your first stop should be the RIP (Raster Image Processor) software. Nine times out of ten, the problem is a color profile mismatch. You need to make sure the software is interpreting your RGB artwork correctly and using the right output profile for your specific printer and ink combination.
Another common culprit is the ink density setting. If your colors look washed out, you probably need to nudge up the color ink saturation in the RIP. On the flip side, if the colors are bleeding together or look muddy, you're likely putting down too much ink. The best way to solve this is to run a small test print with adjusted settings until you dial in that perfect, vibrant sweet spot.
Here's something you learn from experience: what you see on a backlit computer screen will never be a perfect one-to-one match for a physical print. Your goal isn't a perfect replica; it's consistency. Calibrating your workflow is how you get predictable, professional results every single time.
Taming Ink Bleeds and Fuzzy Edges
Nothing tanks a great design faster than blurry edges where crisp lines should be. When you see ink bleeding on the film, it’s almost always one of two things: you're laying down too much ink, or your print room's environment is the problem.
If the edges of your design look fuzzy, the first thing to try is backing off the ink saturation levels in your RIP. Too much ink simply has nowhere to go and will spread beyond the design's borders before the powder can be applied.
It's also a good idea to check the humidity in your shop. If it's too high (anything over 60%), the ink struggles to set properly on the film, which leads directly to bleeding. A simple dehumidifier running in the corner can be a total game-changer for keeping your environment stable and your prints sharp.
What to Do When the Adhesive Powder Won't Stick
You’ve just printed a beautiful, crisp image, but when you go to apply the adhesive powder, it's patchy and won't stick in certain spots. This is a dead giveaway that the ink in those areas wasn't wet enough when you applied the powder.
Here’s a quick rundown of what's likely happening:
- The Ink is Drying Too Fast: If you wait too long between the print finishing and applying the powder, the ink can start to "skin" over. You want to get that powder on almost immediately after the film comes off the printer.
- Not Enough Ink: If the ink deposit is too light—especially the white underbase—there just isn't enough moisture for the powder to grab onto. Try bumping up your white ink percentage just a bit; it usually does the trick.
- Clogged Nozzles: It's always a good idea to run a quick nozzle check. If a few nozzles are clogged, you'll get dry spots in the print where not enough ink was laid down.
Preventing a Design from Peeling or Cracking After Washing
The real test of any DTF print is how it holds up in the wash. If a customer comes back saying the design is cracking or peeling after just one wash cycle, the problem almost certainly happened during the curing or pressing stage.
The number one cause is an incomplete cure. If that adhesive powder isn't fully melted into a smooth, even layer, it can't create a strong bond with the fabric. Take another look at your curing temperature and time. You're searching for that classic "orange peel" texture on the back of the transfer—that's the visual cue that you've got a perfect melt.
The other major cause is not using enough pressure during the final press. You need firm pressure to physically push the transfer's adhesive into the garment's fibers. If the pressure is too light, the design just sits on top of the fabric instead of bonding with it, leaving it vulnerable to peeling off later.
Direct-to-film printing has truly changed the game in the custom apparel world, and the numbers back it up. This technology is a huge driver in the textile printing market, which is projected to hit USD 5.79 billion globally by 2025. The DTF segment alone is expected to grow to USD 5.18 billion by 2035, proving it's here to stay. This boom is all about DTF's ability to produce incredibly durable and detailed designs with impressive efficiency, making it a go-to for everyone from small shops to massive operations. For a deeper dive, you can explore more data on the state of the print market on StickerYou's blog.
Got Questions About DTF T-Shirt Printing?
Once you get your hands dirty with DTF, you’ll realize it's a craft with a ton of small details. Even seasoned pros run into new questions. Let's walk through some of the most common ones that pop up in print shops, whether you're just starting out or have been pressing for years.
Think of this as a cheat sheet to help you make smarter decisions, from picking the right fabrics to knowing what to tell your customers about durability.
What Fabrics Can I Actually Use for DTF?
This is where DTF really shines. Its versatility is probably its biggest selling point. Forget being boxed in by material limitations like you are with other print methods.
You can confidently press DTF transfers onto a huge range of stuff:
- 100% Cotton: The go-to classic. DTF looks and feels fantastic on it.
- Polyester: Perfect for athletic wear. The print adheres beautifully to synthetics without any trouble.
- Cotton/Poly Blends: 50/50s, tri-blends, you name it. DTF handles them all like a champ.
- The Weird Stuff: Seriously. We're talking nylon, leather, and I've even seen people press onto wood. This opens up so many more products you can offer beyond just t-shirts.
How Long Does a DTF Print Really Last?
Everyone wants to know about durability, and for good reason. A properly applied DTF transfer is tough as nails and will often outlive the t-shirt itself. When you get your curing and pressing dialed in, these prints are incredibly resilient.
We're talking 50+ wash cycles without any serious fading, cracking, or peeling. The secret is in the application—that final finishing press is absolutely critical. It also helps to give customers simple care instructions, like washing inside out and avoiding super high-heat dryers.
The longevity of your print comes down to your process. If you rush the cure or skimp on pressure, you’ll get a design that fails fast. Take the extra minute to get it right, and your prints will look great for years.
Is DTF Printing an Eco-Friendly Option?
Compared to something like traditional screen printing, DTF is definitely a greener choice. The inks are water-based, so you’re not dealing with the harsh solvents and chemicals common in plastisol inks.
Plus, because it’s a digital process, the waste is minimal. You print exactly what you need for the job. There's no water wasted on screen prep and cleanup, which is not only better for the environment but also for your wallet.
This shift toward more sustainable methods is being seen worldwide. The global DTF printing market was valued at an estimated USD 2.89 billion in 2025 and is expected to climb to USD 4.59 billion by 2032. Europe is leading the way, in large part because of a big push for eco-friendly printing. You can dig into more of this data by checking out the global forecast for direct-to-film printing on Research and Markets.
For more general tips and conversations happening in the custom apparel industry, blogs are a great place to hang out. Resources like the Branditok Blog are packed with insights that can help you grow your business.
Ready to produce vibrant, durable, and professional-grade t-shirts with transfers you can trust? At Cobra DTF, we provide 100% USA-made transfers with same-day shipping, ensuring you get top-quality results without the wait. Start your order today.